
Introduction
Recently I wrote an article highlighting 5 ways to try Linux without messing up windows (/2012/09/5-ways-to-try-linux-without-messing-up.html).
In the article I highlighted that you can use the WUBI installer to install Ubuntu within Windows. One of the comments at the bottom of the article asked "What about virtual machines?".
This article shows how to do both within Windows 7.
WUBI Install
Go to this link http://www.ubuntu.com/download/desktop/windows-installer.
Run the downloaded file and the following screen will appear.
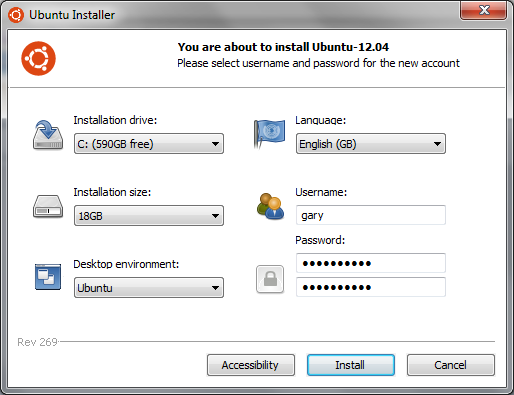
The installer is very easy to work out
1. Choose the drive that you want to install to
2. Choose your language
3. Choose the amount of disk space to set aside for Ubuntu
4. Choose the desktop environment (Ubuntu, Kubuntu (KDE), Xubuntu (XFCE), Lubuntu LXDE)
5. Choose a user and password to run under.
When you have entered all the details click install.
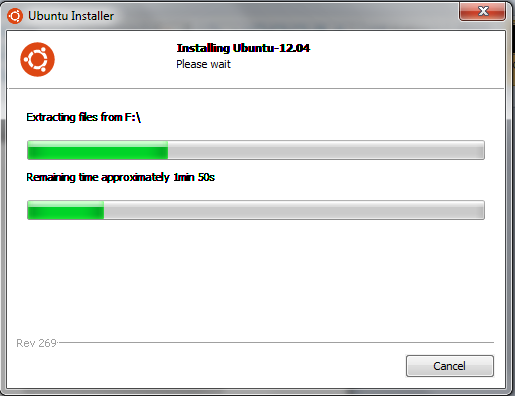
The installer will process the installation and download the files needed from the Ubuntu server and then you will be asked to reboot your machine.
When you reboot, Ubuntu will finish installing and you will be given the choice whether to boot into Ubuntu or boot into Windows.
Every time you boot the computer from this point on you will be need to choose whether to use Windows or Ubuntu.
The files for the Ubuntu install can be found in c:\wubi (or whichever drive letter you chose to install WUBI under). You should not mess around with these files directly. Either boot into Ubuntu to use Ubuntu or boot into Windows to use Windows.
If you do not want to use Ubuntu anymore simply run the Ubuntu Uninstall program within Windows.
Virtual Box (Not Virtual PC)
You may be wondering why I am comparing the WUBI install to Virtual Box and not Virtual PC. I found trying to use Virtual PC a complete pain. Ubuntu would load to the language choice screen and then the Virtual PC would shut down. This link sums it up for me (http://www.zdnet.com/blog/hardware/ubuntu-on-virtual-pc-2007-no-way-dude/273)
Virtual Box provides the same functionality as Virtual PC and is free to download from https://www.virtualbox.org/wiki/Downloads. Virtual Box is provided by Oracle so it is a fairly trustworthy source.
Virtual Box basically gives you the ability to run virtual computers or a machine within a machine. You simply create a virtual machine, specify a virtual hard drive (which is basically a file on your hard drive) and then you can install any operating system you choose.
 Run the installer by double clicking on the executable file that you downloaded.
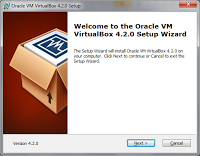
The first screen is just a welcome screen.
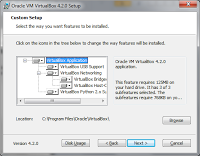
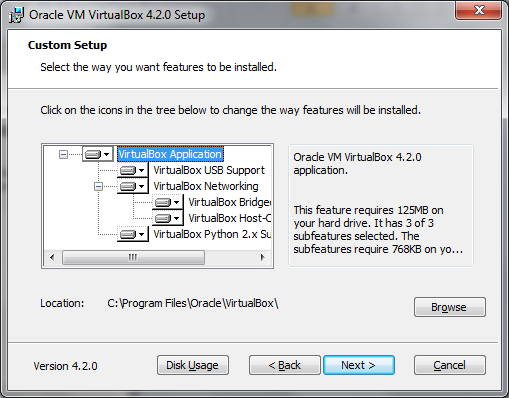
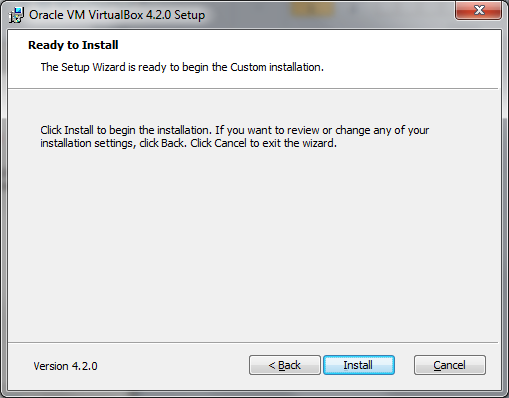
Clicking next takes you to a screen where you can choose which parts of VirtualBox you wish to install.
Unless you are limited by space I would recommend accepting the default options and choosing next.
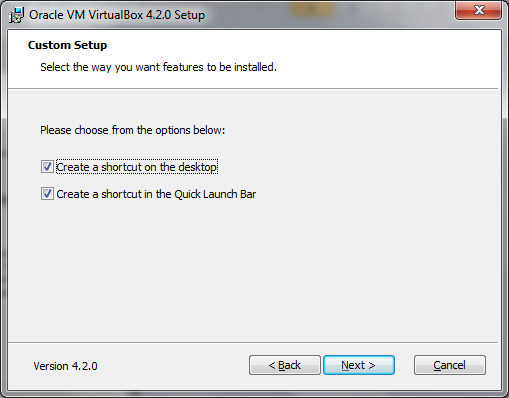
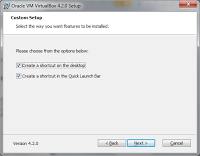 The third screen asks where you want the icons for Virtual Box to go. You can choose to have an icon on the desktop and/or on the quick launch bar.
Virtual Box provides the same functionality as Virtual PC and is free to download from https://www.virtualbox.org/wiki/Downloads. Virtual Box is provided by Oracle so it is a fairly trustworthy source.
Virtual Box basically gives you the ability to run virtual computers or a machine within a machine. You simply create a virtual machine, specify a virtual hard drive (which is basically a file on your hard drive) and then you can install any operating system you choose.
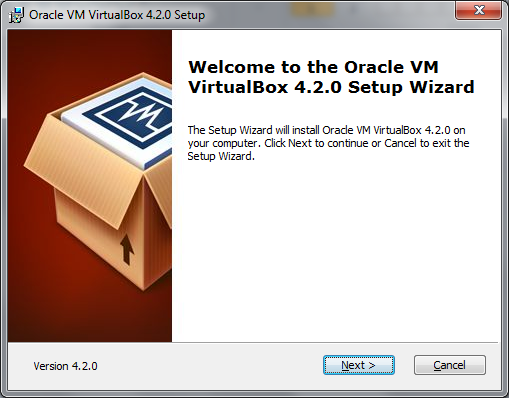
The first screen is just a welcome screen.
Clicking next takes you to a screen where you can choose which parts of VirtualBox you wish to install.
Unless you are limited by space I would recommend accepting the default options and choosing next.
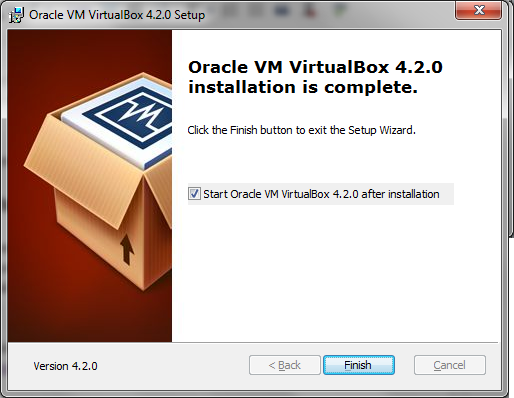
To run it either click the quick launch icon, double click the icon on the desktop or click the start button and type virtualbox into the search box.
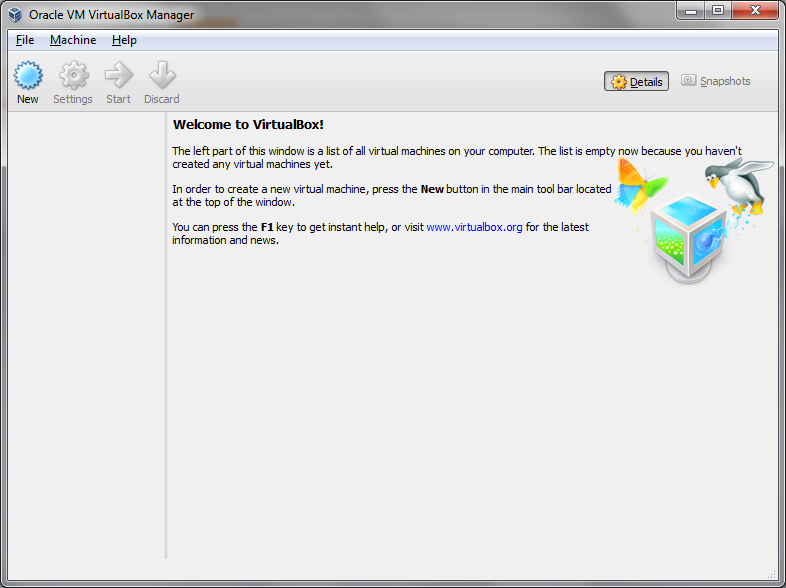
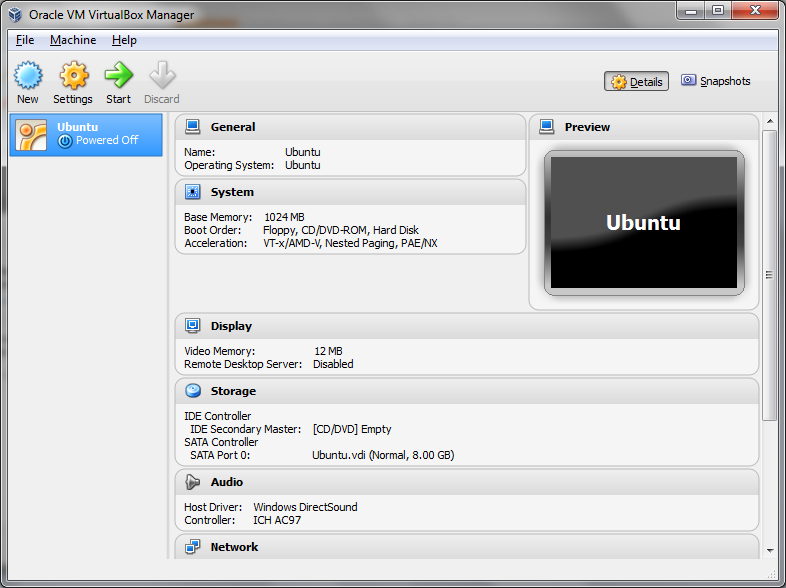
There is a menu at the top and under that a bar with icons.
The left pane shows a list of virtual machines (Of which there should be none as you won't have installed any yet).
The right pane gives details about selected virtual machines.
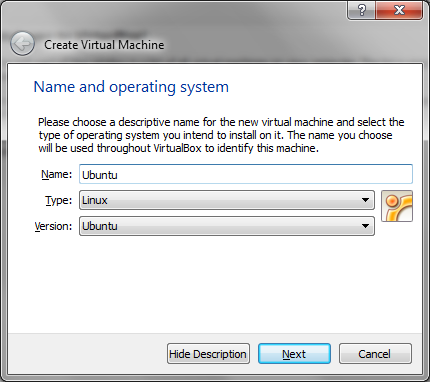
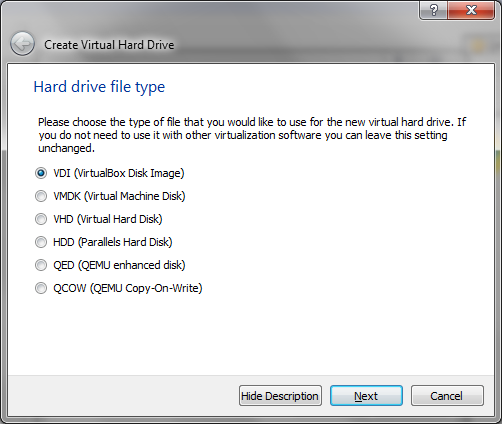
The screen to the right appears. Type the name Ubuntu into the name box.
This automatically sets the type to Linux and version to Ubuntu.
If you were installing other versions of Linux you would obviously choose a different version. Do not worry if the particular distro you want to use does not appear, just pick the version that is closest. All this does really is predict the memory usage and disk space required on subsequent screens.
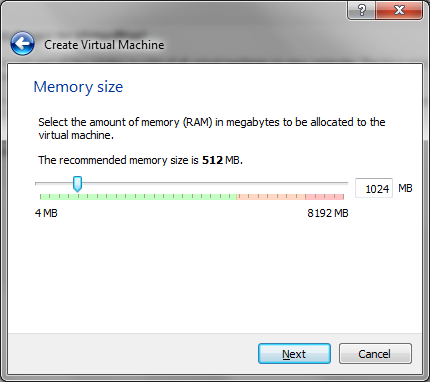
Based on the selection of Ubuntu on the previous screen Virtual Box has suggested using 512mb of ram. In reality I would at least double that if at all possible.
Remember not to allocate all your memory to the virtual machine as your computer will need memory for running other applications and services.
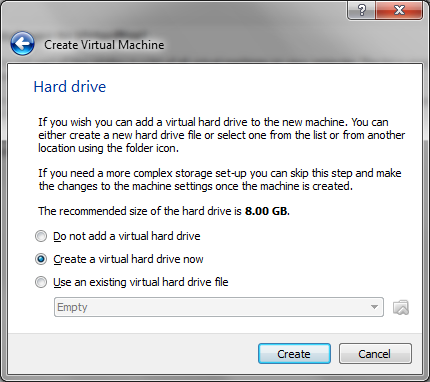
Select create a virtual hard drive and click create.
Generally I accept the default option and I won't pretend that I have even read up on the other options because I haven't.
The default option has always served me well.
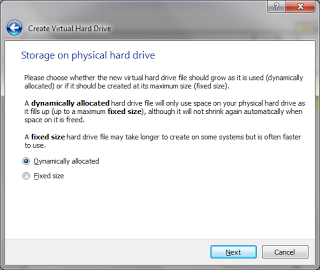
You can either allocate a fixed amount or dynamically add space when it is required.
If you dynamically add space then you optimally only use space as you require it whereas setting a fixed size takes a chunk of space and preallocates it.
If you dynamically add space then every time you install software within Ubuntu it will take longer to install because space has to be first allocated to the virtual hard drive and then the installation can take place.
If you choose a fixed size then because the space is pre-allocated you will only have to wait for the time for the application to install.
If you have a large enough hard drive I would recommend choosing a fixed size and make it big enough to store an operating system and other files.
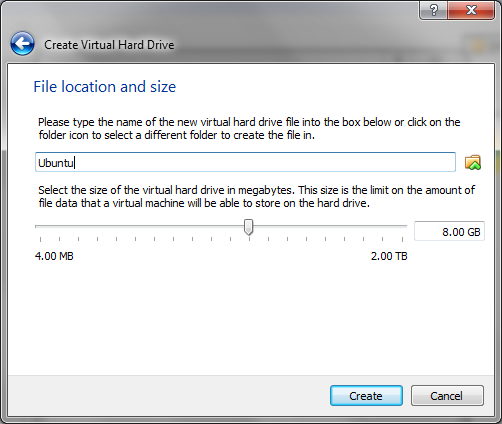
The installer will have made a guess at the minimum space required to install Ubuntu.
If you can I would recommend increasing the space as 8gb isn't all that much.
Again be careful not to allocate all your remaining disk space.
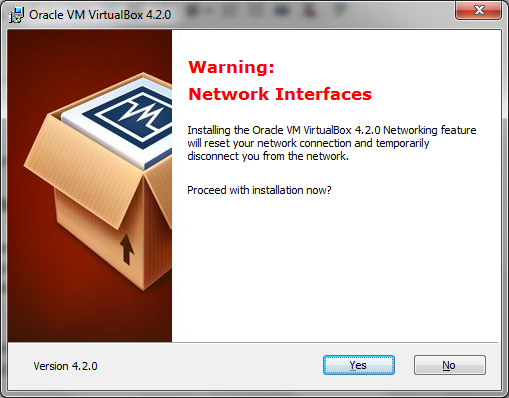
If you are going to install Ubuntu from a CD drive insert the CD now. If you are going to install Ubuntu from an image (ISO) then simply start the virtual machine by double clicking on it.
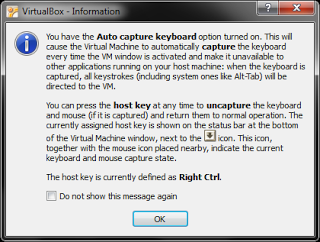
I would click the "Do not show this message again" checkbox and click ok.
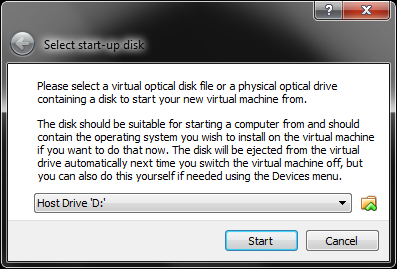
If you are installing from an image click the folder icon and find the ISO file to install.
Click start to continue.
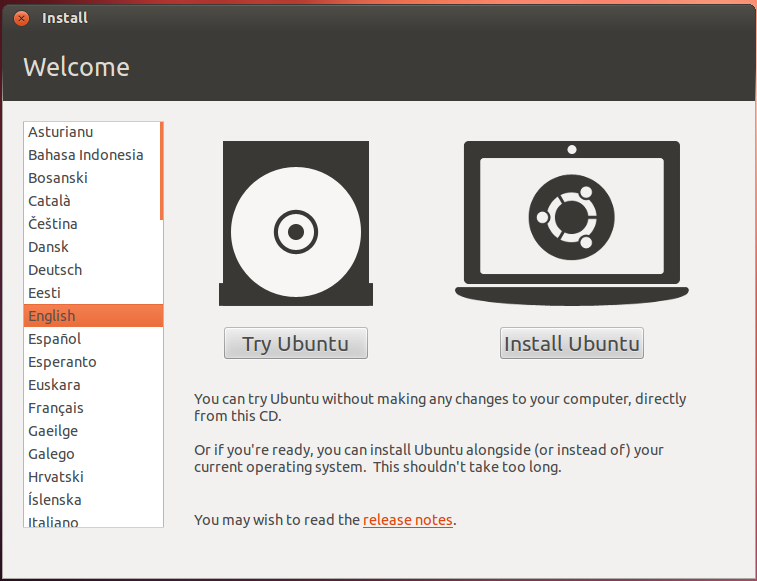
If you just wanted to try the live media then you probably shouldn't have followed this article at this stage as you can just burn the ISO to a CD or USB drive and reboot your computer to use Ubuntu in live mode.
Click on install Ubuntu to continue.
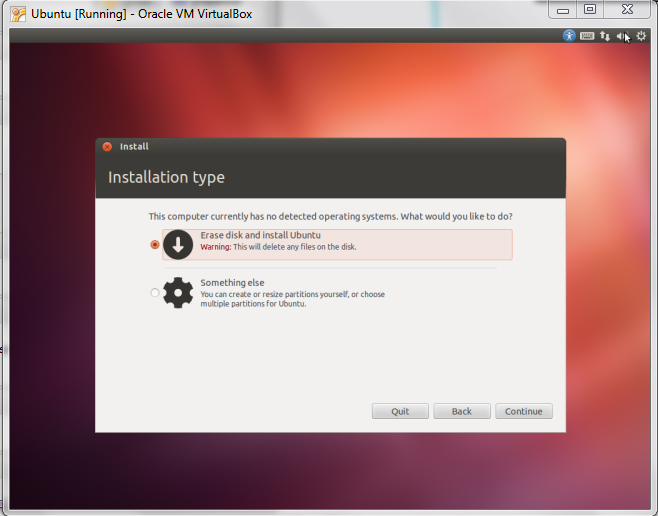
Do not worry, your Windows is safe. Remember this is a virtual machine with a virtual hard disk. The virtual hard disk has nothing on it. Simply leave the default option to install Ubuntu to use the entire disk.
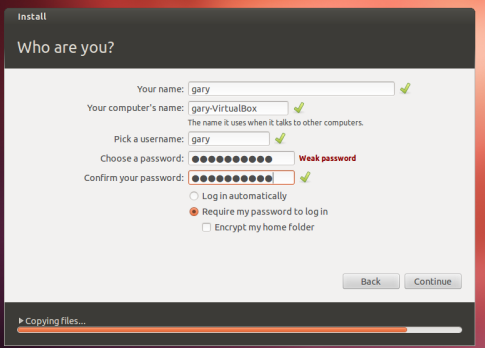
Whilst this is going on you can fill in the installation options such as picking your location and the username and password to be used within Ubuntu.
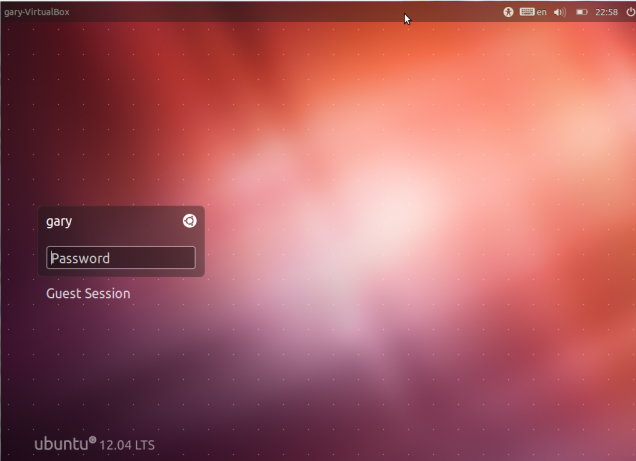
That is it you have a virtual machine installed.
Summary
So WUBI or Virtual Box?
WUBI is great if you plan to try Ubuntu out over a period of time and gradually ween yourself off Windows. You can try it for a period of time and if you don't like it simply uninstall it. When you boot your PC you can choose to boot into Ubuntu or Windows and so when you choose Ubuntu you are actually using Ubuntu on your computer as it would be if you chose to do a full install. The downside is that it really only works for Ubuntu.
If you plan to try out a few versions of Linux then Virtual Box is a much better proposition. You can choose to create a number of virtual machines each running different versions of Linux. Virtual Box makes it possible to make a more informed choice over which Linux distribution would work best for you.
You could of course use live versions of distributions but these don't really give you the full picture of how the operating system would work when installed fully. Virtual Box for me is the next step after using the live media.
The live media is the sales brochure, the virtual machine is a fully working prototype, the full install is the end solution.

The big difference is whether you want to re-boot to use it. WUBI while it is installed in Windows must be re-booted to use. VB allows you to stay in Windows.
ReplyDeleteOf course if you just want to use Ubuntu and you use virtual box you have to wait for Windows to load before you can use the Ubuntu virtual machine whereas with WUBI you can just boot straight into Ubuntu which will of course be quicker.
ReplyDeleteNice post. Like this. I also publish these kind of posts on my blog too. :)
ReplyDeleteWubi takes ages to install !! Huff
ReplyDelete