Introduction
This is the 4th part in the series looking at how to make Xubuntu the ultimate operating system.
Part 1 was all about the initial review of Xubuntu. The article looked at the base install of Xubuntu and commented on the performance benefits that Xubuntu provides over Ubuntu.
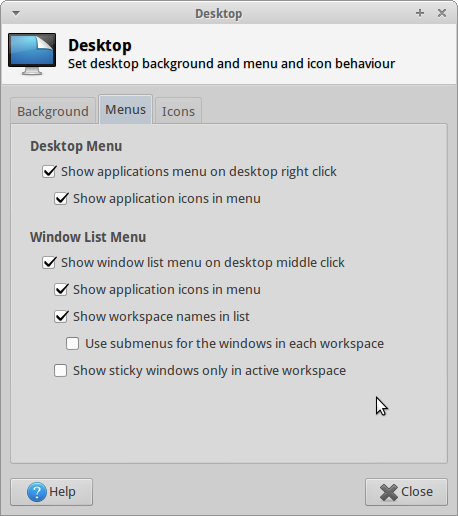
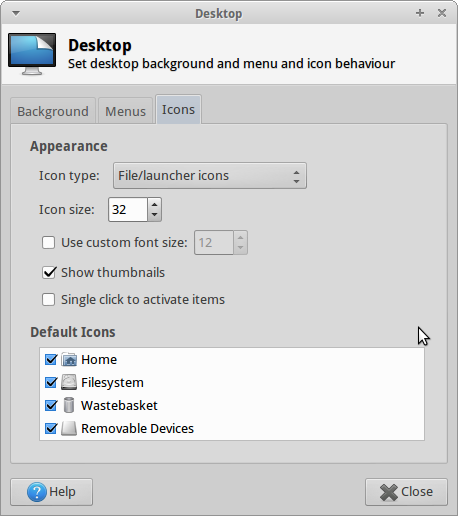
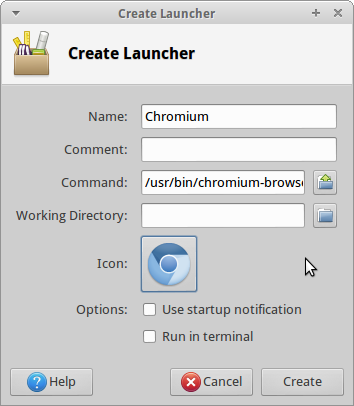
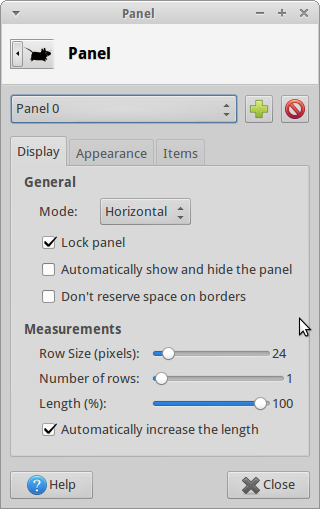
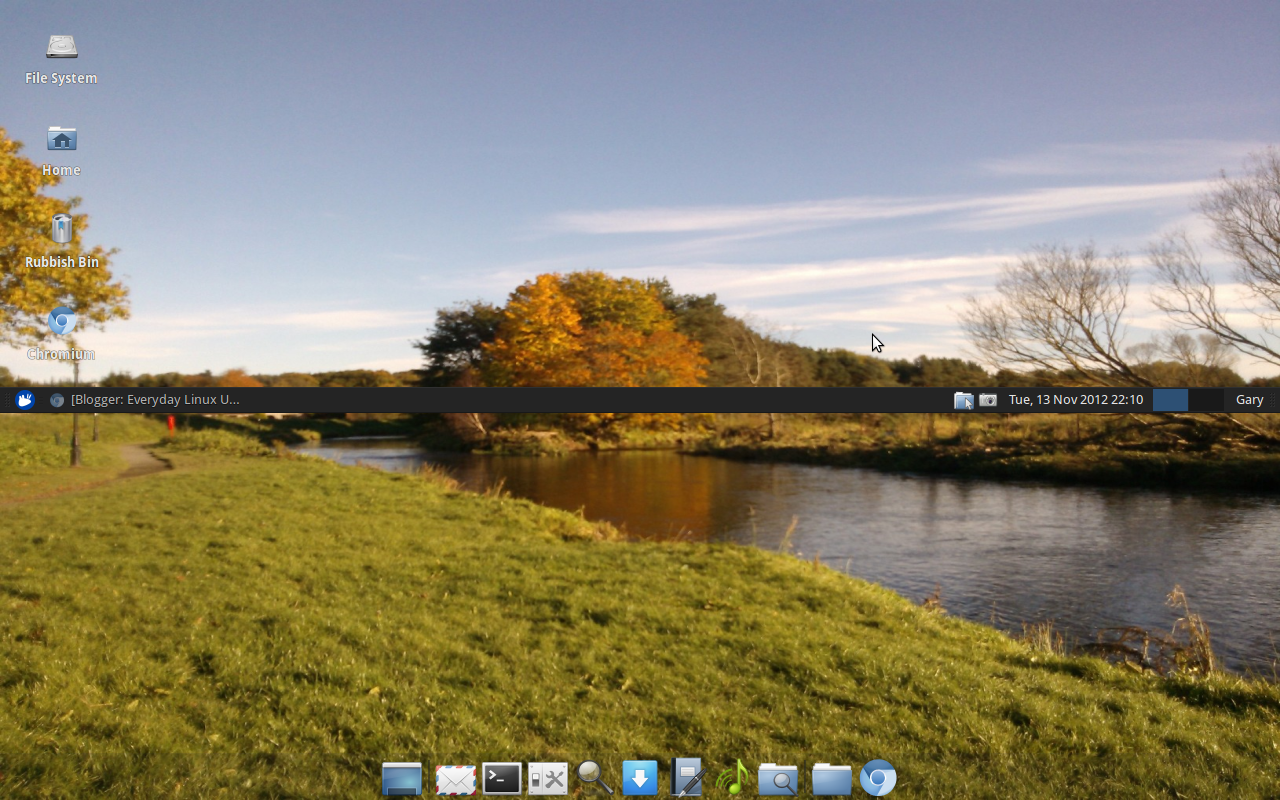
Part 2 I looked at how to customise the desktop in Xubuntu. I showed how it is possible to customer the panels and how to adjust the menus and background themes so that Xubuntu looks just the way you want it to.
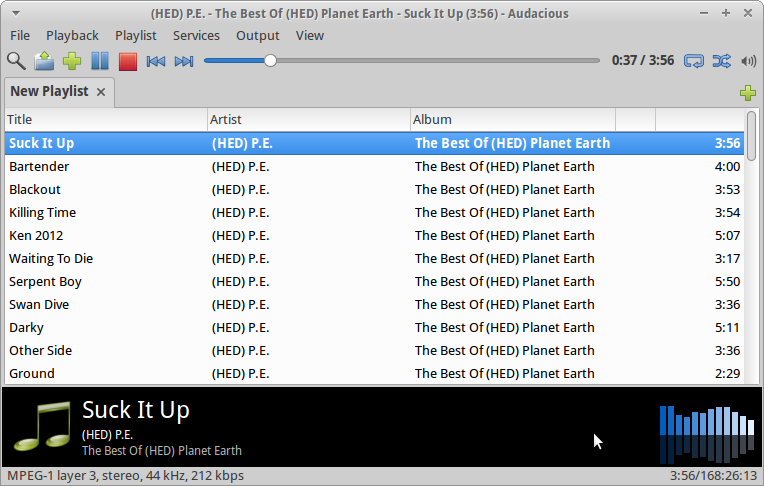
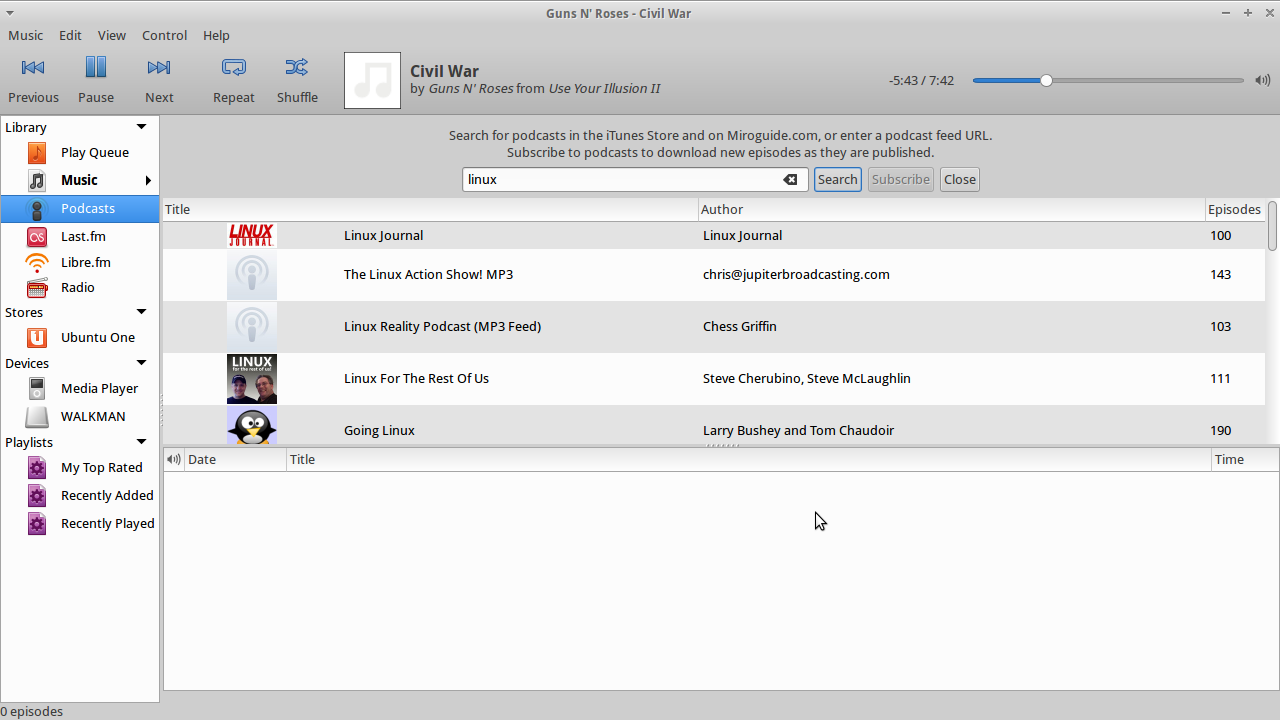
In part 3 I looked at the default music player in Xubuntu and reviewed 4 of the best music applications in Linux.
This is part 4 and today I will be looking at office software. To do a review comparing different office suites would take a considerable amount of time and would bore you long before you made a decision over which package is suitable for you.
Instead I have decided to write just about LibreOffice. For me LibreOffice is the ultimate office suite within Linux and even within Windows.
There was a time when Microsoft Office was head and shoulders above every other office package but there are only so many features you can add before you are either adding for the sake of adding or you are adding features that nobody wants (ribbons anyone).
LibreOffice has managed to incorporate a whole raft of features that makes it comparable with Microsoft Office at a feature level and it has something that Microsoft Office now lacks which is familiarity. The menus are laid out how I'd expect them to be and I don't find myself hunting for features lost in tabs and ribbon bars.
Now you might ask what is wrong with Abiword and Gnumeric. To be honest if you just want to type a letter then Abiword works just fine but for me that is all it is useful for. With Gnumeric it is ok for basic calculations and very simple spreadsheets.
If you have the disk space and you have the resources available then I cannot see a good reason for not having LibreOffice installed.
LibreOffice Writer
LibreOffice Writer is a Word Processing application similar to Microsoft Word. It has a full set of features including access to a wide array of templates, wizards for creating letters and a mail merge facility.
Wizards
To start of with I will highlight the wizard feature. There are wizards for creating letters, fax cover sheets, agendas and even web pages.
For this review I will look at the letter wizard but the other wizards work in a similar way.
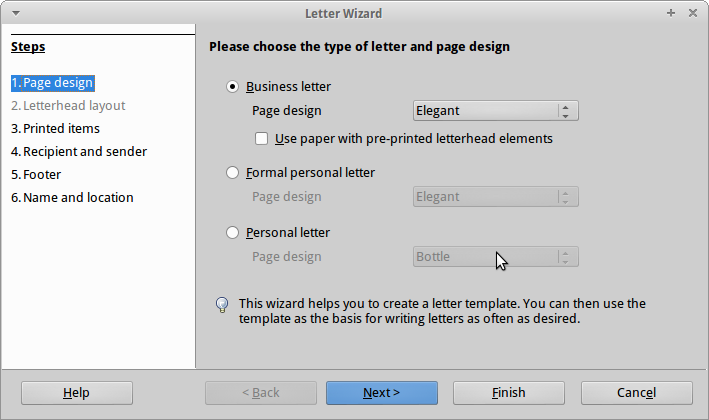
The letter wizard starts off by asking you the type of letter you wish to create, the choices being a business letter, a formal personal letter or a general personal letter.
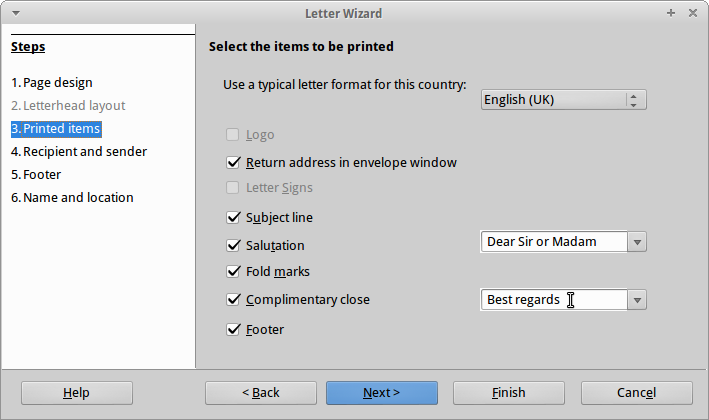
The second page of the wizard lets you determine the items that will appear in the letter such as return addresses, subject lines, salutations and footers.
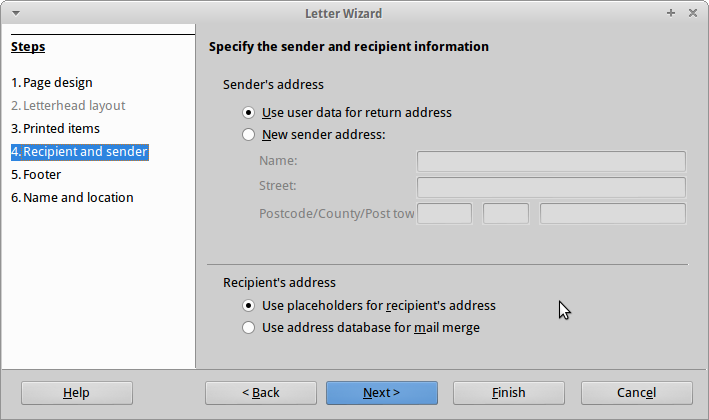
The third step of the wizard lets you determine the addresses that appear on the letter and you can use the mail merge feature to produce multiple copies of the same letter. I will come to this in more detail later on.
The fourth step enables you to enter a footer for the letter and finally on the fifth step you can choose whether to store the settings you have entered as a template.

What is produced is a series of place holders which you then click into and amend in order to write your letter.
Writing one letter this way is far too overkill but if you had to write one letter and then send it to 50 people stored in an address database then you can easily use this system to create a template that can be used again and again.
Templates
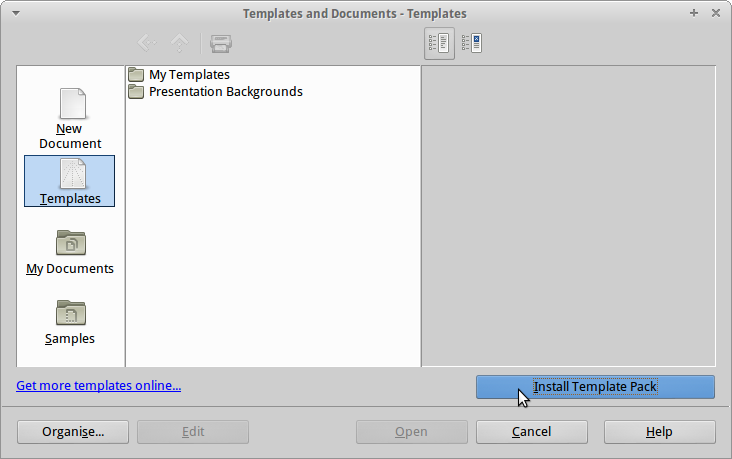
Sometimes you will want to create a document that has been created a million times before and rather than reinvent the wheel you can choose to install a template from the LibreOffice Template library.
Now there is a button that says Install Template Pack but despite clicking this button and following the instructions nothing appears to have happened.
Fortunately there is a link next to the button which says "Get more templates online" which takes you to the Template Library.
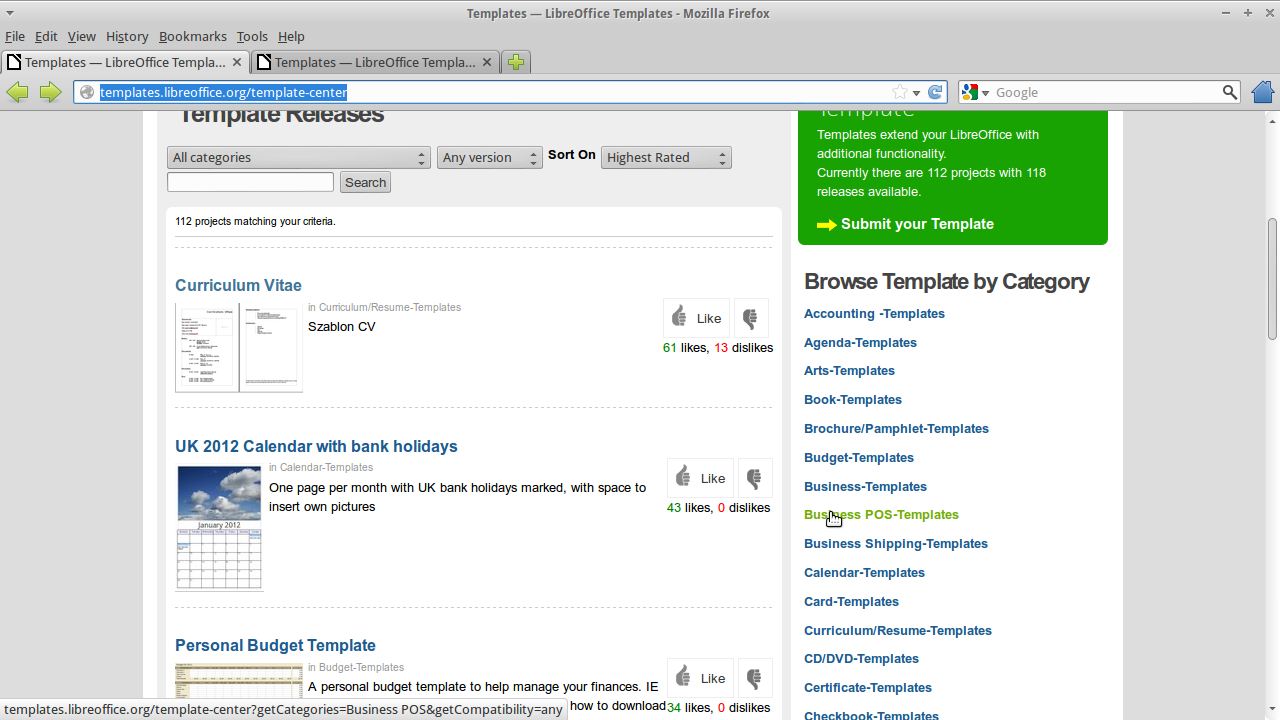
There are templates for a large number of document types including Curriculum Vitaes (Resumes), Calendars, Budgets, Certificates, EBooks, Fax Templates, Magazines, Newsletters, Notes, Labels, CD/DVD labels, Invoices and well to be honest too many to list here.
Mail Merge
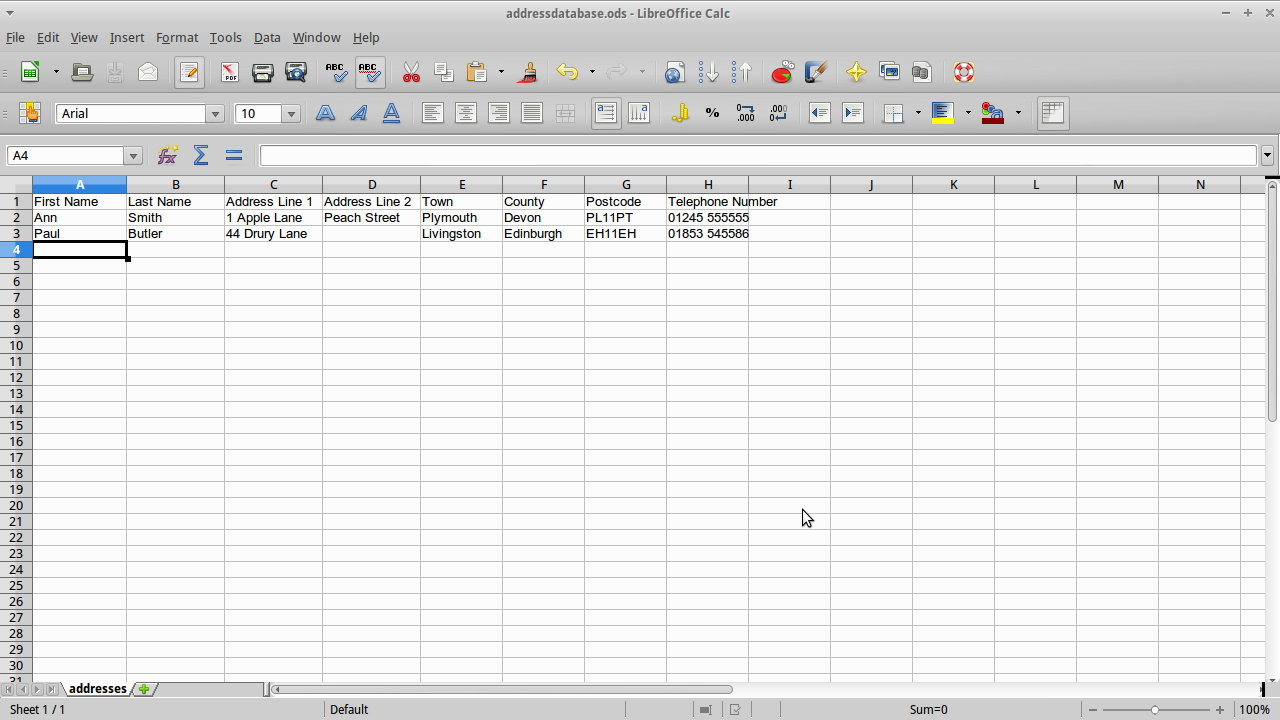
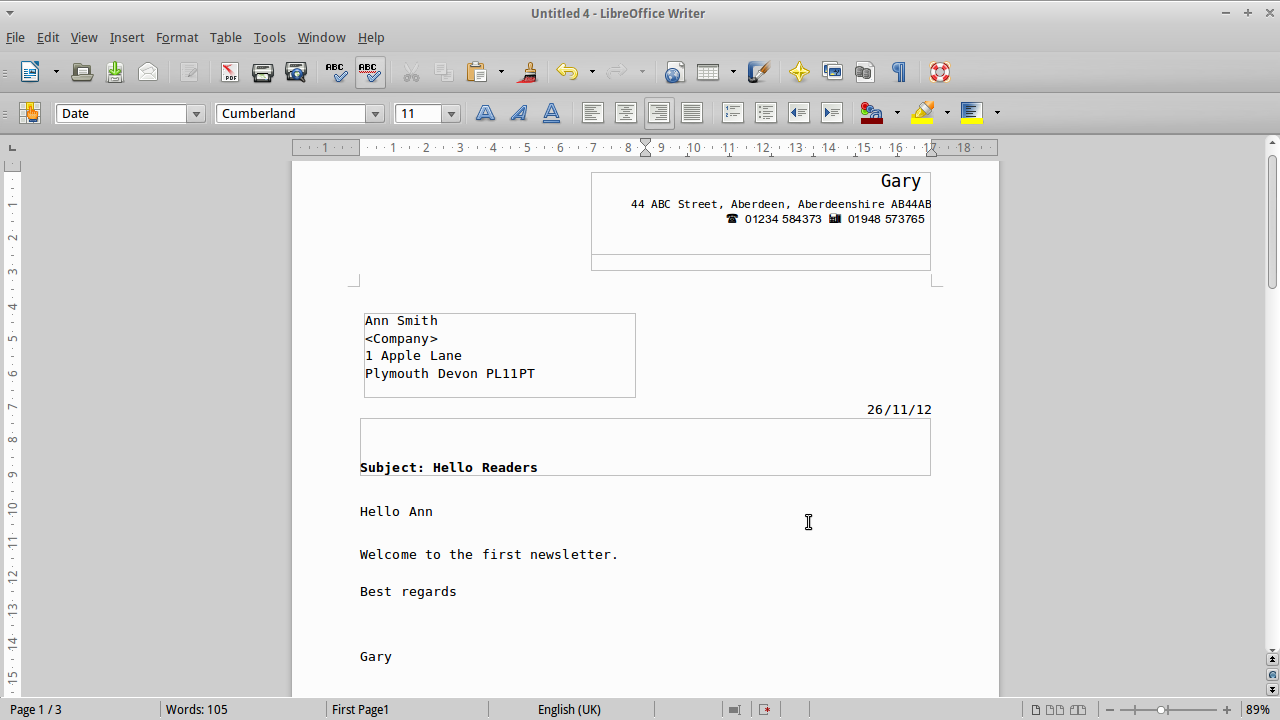
To demonstrate the mail merge feature I created a spreadsheet with two rows in it. Quite simply it has the first and last names of 2 fictional people and their address details and contact phone numbers.
Within LibreOffice Writer I can use a spreadsheet with a list of names and addresses to create a mail shot.
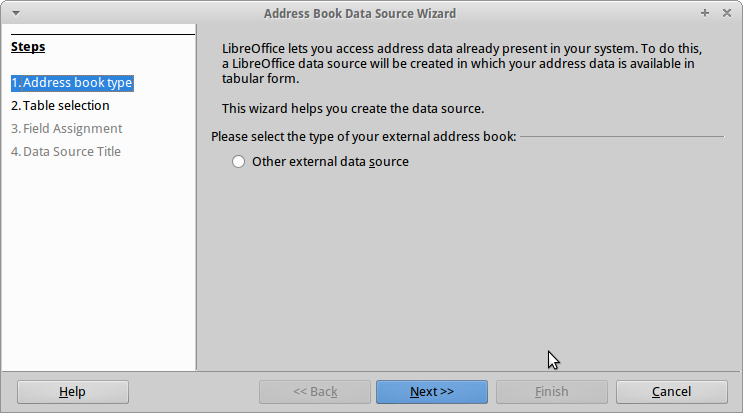
You can either use the letter wizard and then import the addresses or just choose the address data source wizard and pull in the parts you need.
The first thing you need to do is select the data source.
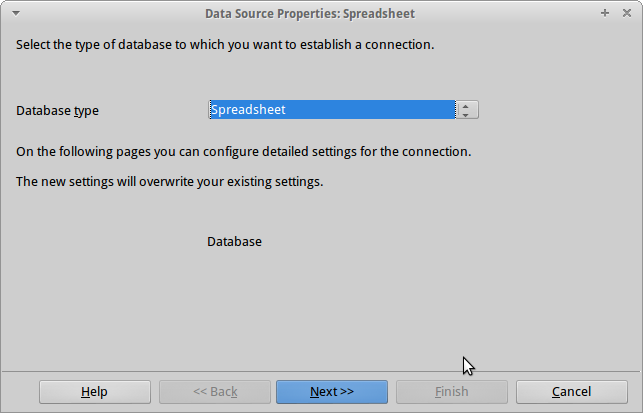
The datatype can be anything from a simple spreadsheet to a complicated MySQL database.
After choosing the database type you can then choose the file to retrieve the addresses from, or if the source is a MySQL database the database name and server to connect to.

Once you have selected the database you can then map the database fields to the fields on the letter template.
Using the simple spreadsheet above all I had to do was match the first name column in the spreadsheet with the <firstname> tag within the letter template.
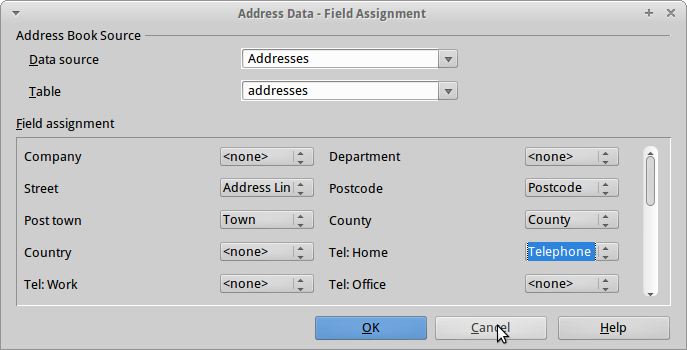
When you have finished mapping the fields you will then see the document with the tags still in place for example <firstname>, <lastname> etc and you might think that nothing has happened.
At this point you are still in the edit mode so you can drag the fields to other parts of the document. For example you might see the word Hello and want to place the <firstname> field after it so that every letter says hello to the person you are sending it to.
To actually generate the letters click the mail merge button and a further wizard will appear which will take you through the actual letter generation process.
Creating Web Pages
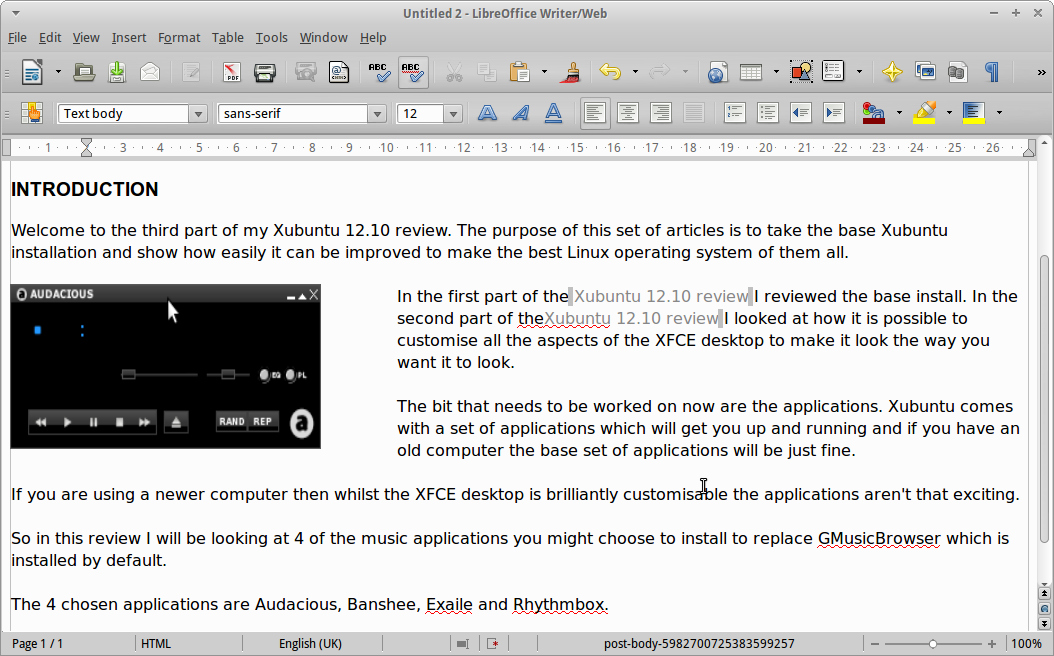
Personally I would never use a word processor to create web pages as there are far better tools capable of producing web pages and I find that word processors have the habit of adding bloat to your HTML.
The interface within LibreOffice is a little bit clunky but as WYSIWYG HTML editors go it works quite well and looking at the source code the HTML generated isn't too bad.
General Functionality
LibreOffice writer can open and store files in multiple formats including ODT, Microsoft Word and PDF.
The document can be sent electronically via email in various formats.
You can expect all the standard functionality that is in other word processors including headers, footers, the ability to add images, videos and other objects.
There is a spell checker and there is also a macro facility similar to the one in Word.
LibreOffice Calc
 The largest corporations around the world have full ERP solutions supplied by SAP and Oracle. The truth is though most large corporations would fall apart if Microsoft Excel didn't exist.
Spreadsheets are the backbone of business and they are perfect for data analysis, tracking of information, charting, basic relational data, bug lists and address lists. Every office has resident experts who know how to use all the functions and how to write complex VBA code.
Spreadsheets are also the scurge of many an IT department as the spreadsheets become unwieldy and people have a habit of connecting spreadsheets to databases by hardcoding connection strings.
 Microsoft Excel is brilliant. I don't often praise Microsoft but there are a few things that Microsoft have created that are really good. Excel is one of them and Visual Studio is another and of course the XBOX 360 is by far the best gaming machine on the planet.
LibreOffice Calc though is now potentially every bit as powerful as Excel although it will be difficult to get companies to rewrite all that VBA code in LibreOffice Basic.
Every function that you can think of using in Excel is covered in LibreOffice Calc. Named ranges are catered for in an almost identical way.
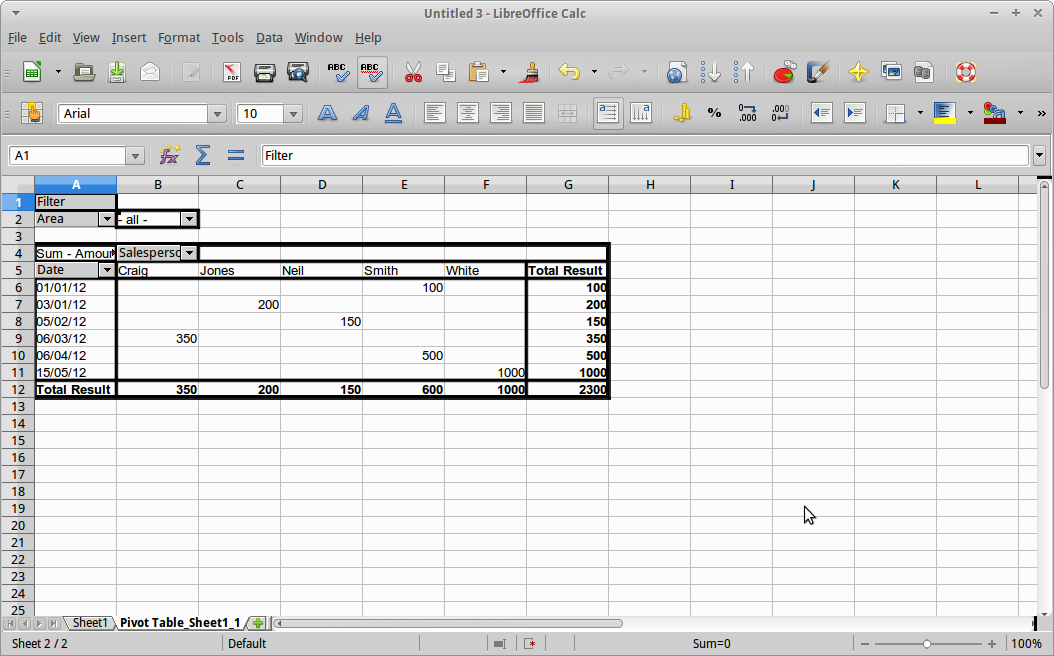
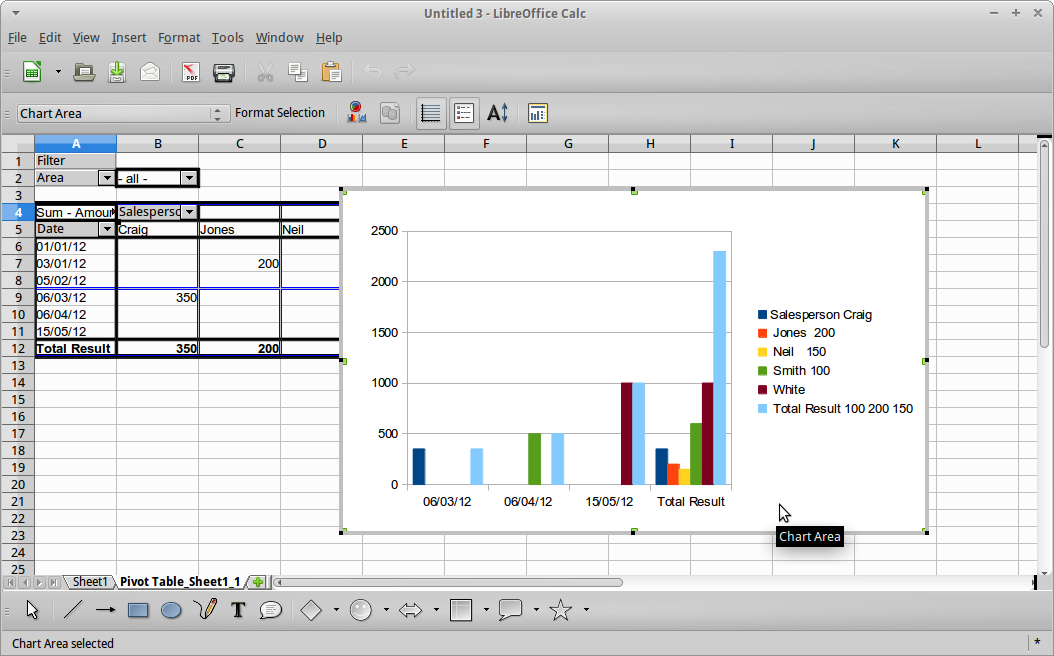
LibreOffice Calc has full support for PivotTables and Charting and using LibreOffice Basic you can create functions every bit as complex as those within Excel.
LibreOffice Impress
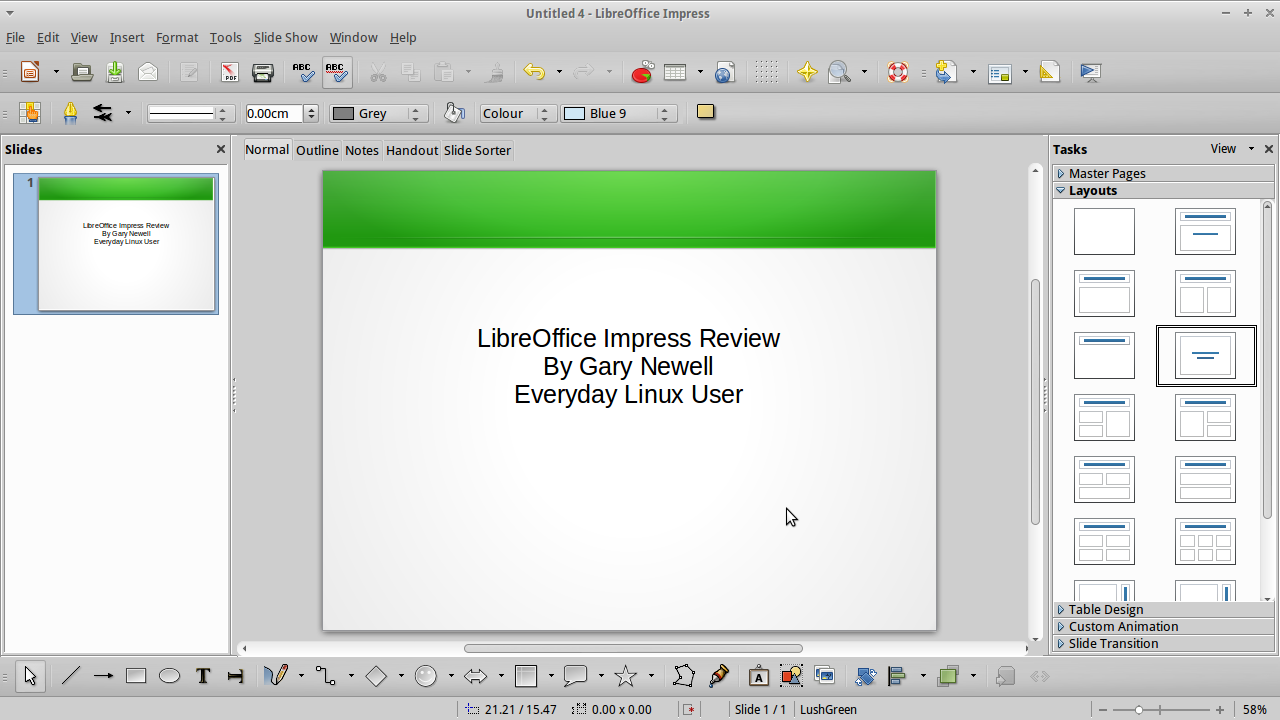
LibreOffice Impress enables you to create presentations in much the same way you would with Microsoft Powerpoint.
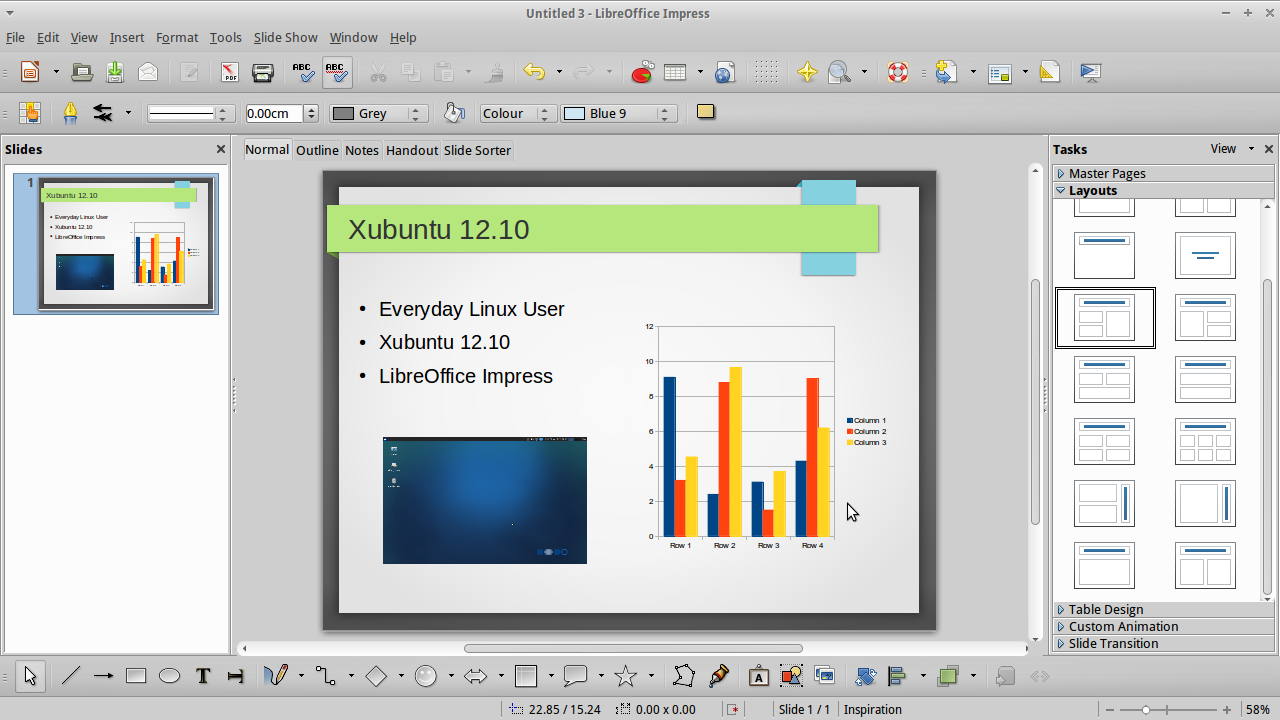
Creating presentations is very easy. You can either use the wizard or you can create a presentation from scratch.
The image above was created by using the wizard. To demonstrate some of the features of Impress I will create a presentation from scratch.
 LibreOffice Impress has a range of default layouts that can be applied to pages.
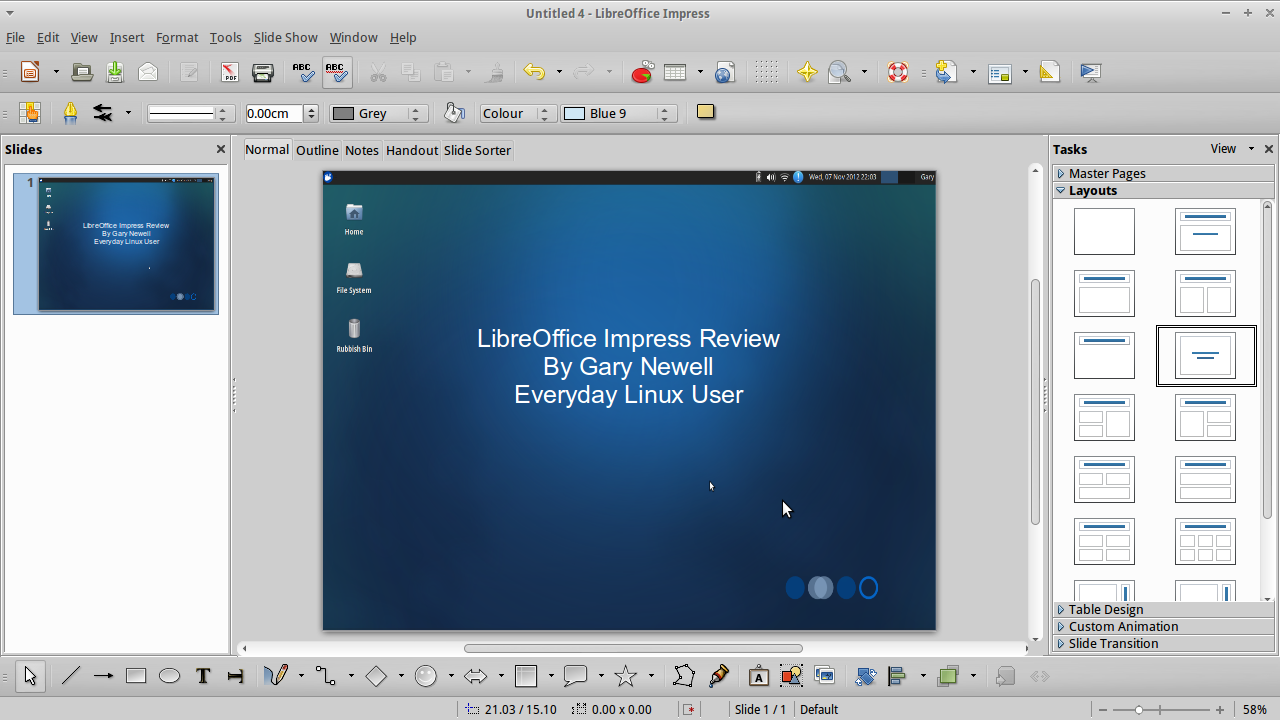
The image to the left shows a simple title page with centred text.
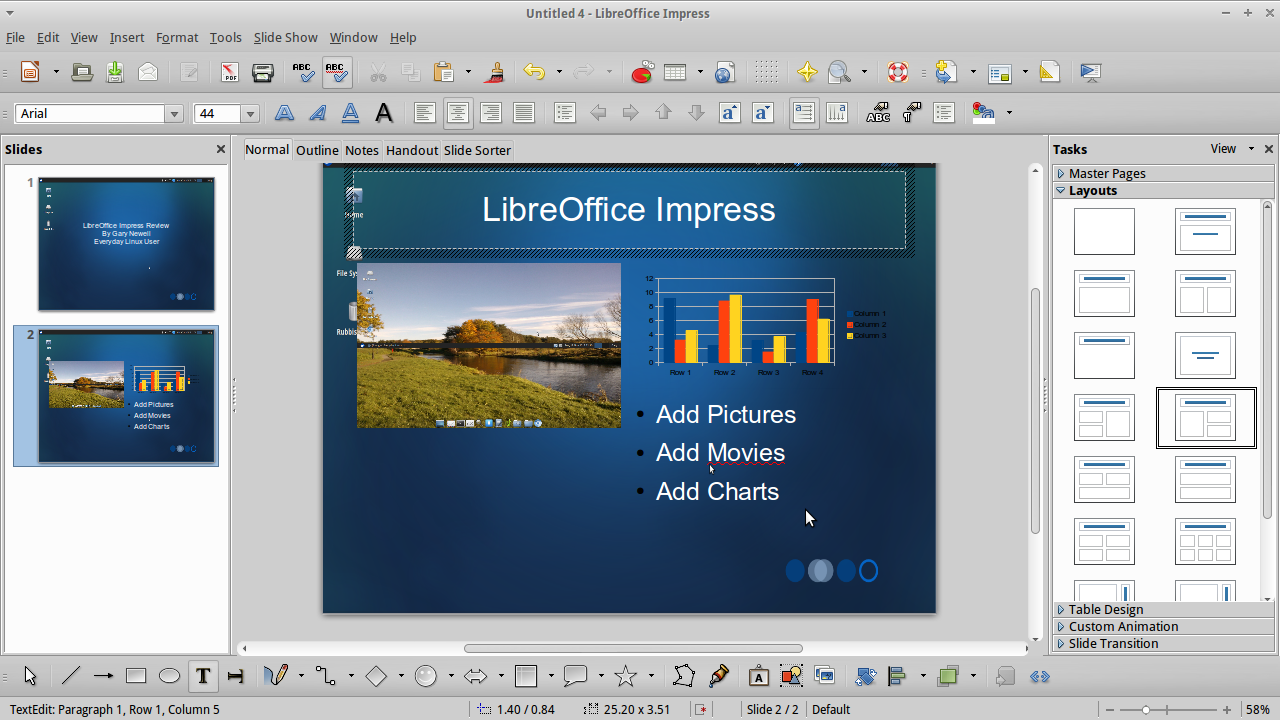
You can choose from a large number of layouts. For example you can have a title with images on the left and text to the right, or text on top and an image at the bottom.
You can change the slide design and pick from a range of templates.
Instantly a dull white slide can be transformed to be something that looks a little more professional.
 You can go one step further and make it look great by adding a background image.
The image to the right is just the default background from Xubuntu 12.10 used as a background for the slide.
Ironically I don't like it as a desktop background but as a slide background it looks good.
 You can add slides simply by right clicking on the slide panel on the left and by choosing the add slide option. Slides can be moved around by dragging them up or down.
You can add images, videos, sounds, charts and text to your presentations.
Everything on the slide is customisable.
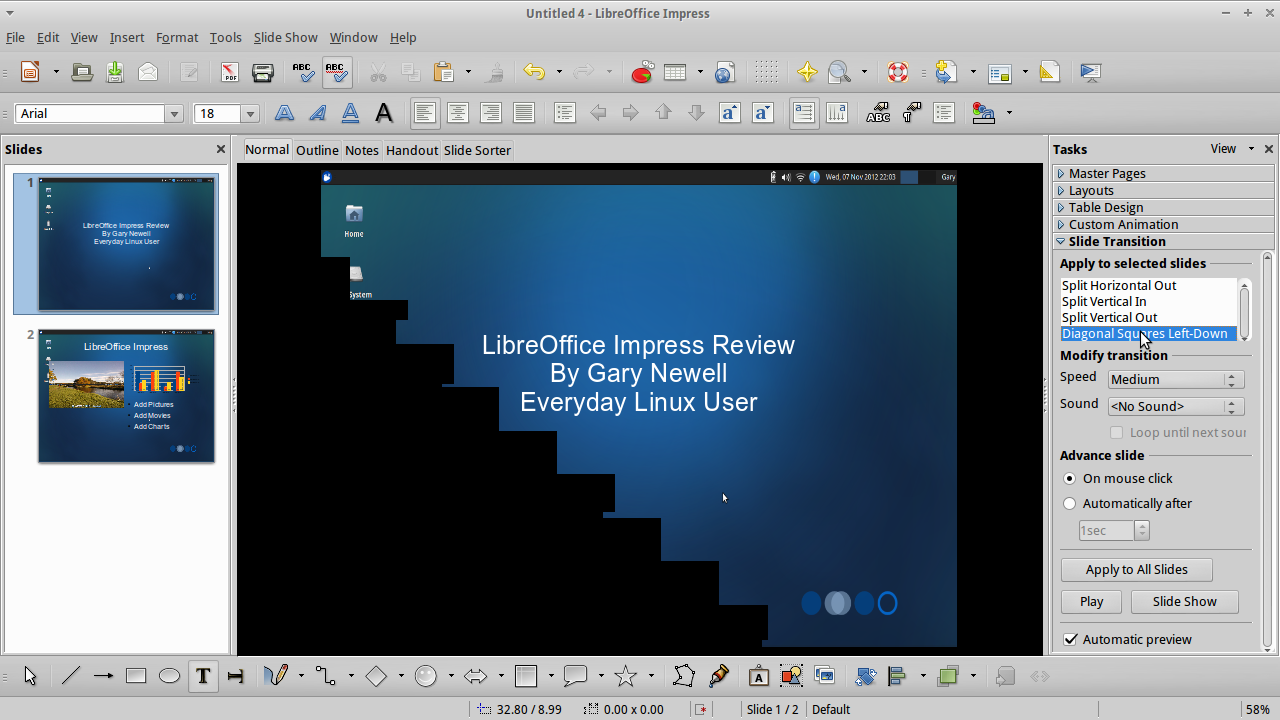 You can add different transition effects to every page to make the presentation visually pleasing.
Presentations can be saved in ODP or PPT format. As there is a portable version of Impress available it is possible to store a copy with the presentation on a USB drive which means you do not have to worry whether Powerpoint will destroy the layout or transition effects.
I have used LibreOffice Impress to produce presentations for work purposes and for my son's school presentations. I think because I can carry LibreOffice around on a USB drive I feel more comfortable creating presentations within LibreOffice. I know how the presentations will look wherever I have to present them because I'm using the software it was created with.
Creating presentations is very easy. You can either use the wizard or you can create a presentation from scratch.
The image above was created by using the wizard. To demonstrate some of the features of Impress I will create a presentation from scratch.
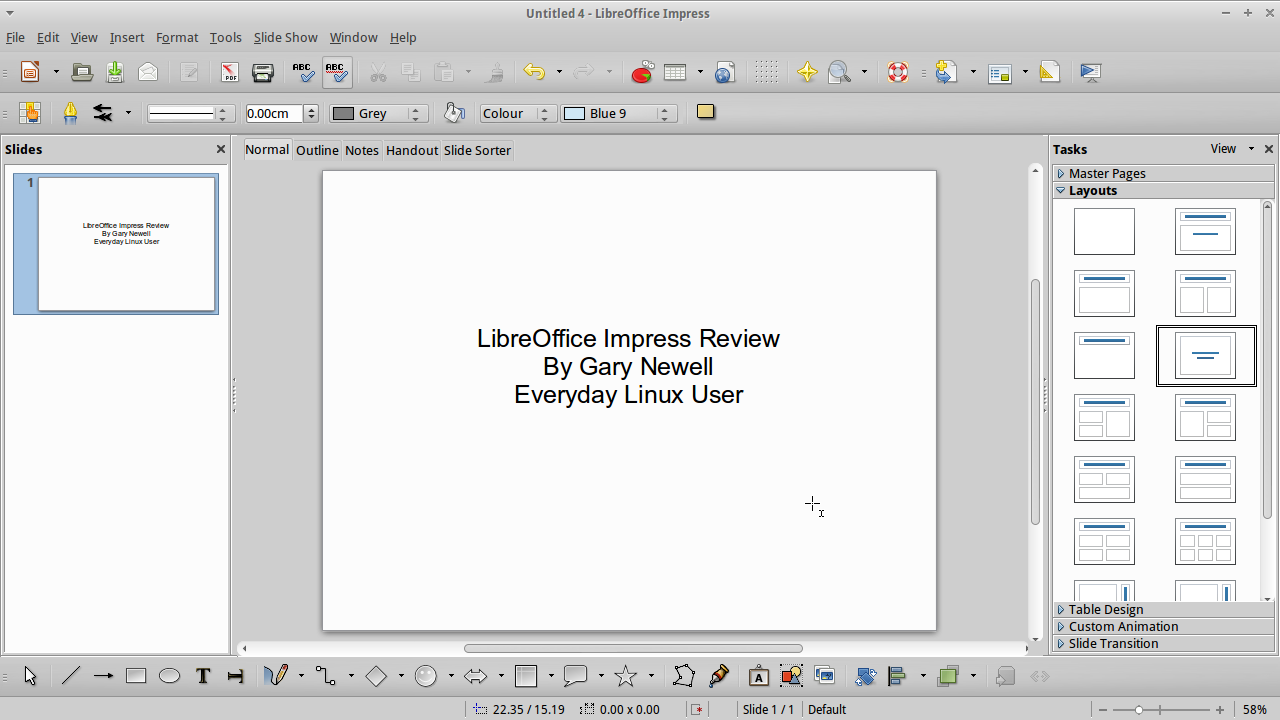
The image to the left shows a simple title page with centred text.
You can choose from a large number of layouts. For example you can have a title with images on the left and text to the right, or text on top and an image at the bottom.
You can change the slide design and pick from a range of templates.
Instantly a dull white slide can be transformed to be something that looks a little more professional.
The image to the right is just the default background from Xubuntu 12.10 used as a background for the slide.
Ironically I don't like it as a desktop background but as a slide background it looks good.
You can add images, videos, sounds, charts and text to your presentations.
Everything on the slide is customisable.
Presentations can be saved in ODP or PPT format. As there is a portable version of Impress available it is possible to store a copy with the presentation on a USB drive which means you do not have to worry whether Powerpoint will destroy the layout or transition effects.
I have used LibreOffice Impress to produce presentations for work purposes and for my son's school presentations. I think because I can carry LibreOffice around on a USB drive I feel more comfortable creating presentations within LibreOffice. I know how the presentations will look wherever I have to present them because I'm using the software it was created with.
LibreOffice Database
A program I really love to hate is Microsoft Access.
The reason for my hatred of Microsoft Access is that every department in every big company has used Microsoft Access as a way of circumnavigating the IT department in order to create an application that is fit for purpose.
The problem with circumnavigating the IT department is that the resident Access expert ends up leaving and the users need new fields, new reports or they just don't know how to use Access well enough to keep it tidy.
Microsoft Access has a purpose and that purpose is not to create huge applications with lots of VBA code. The purpose of Access is to provide small relational databases that can be shared between 1 and 6 users.
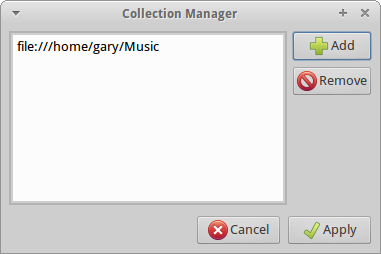
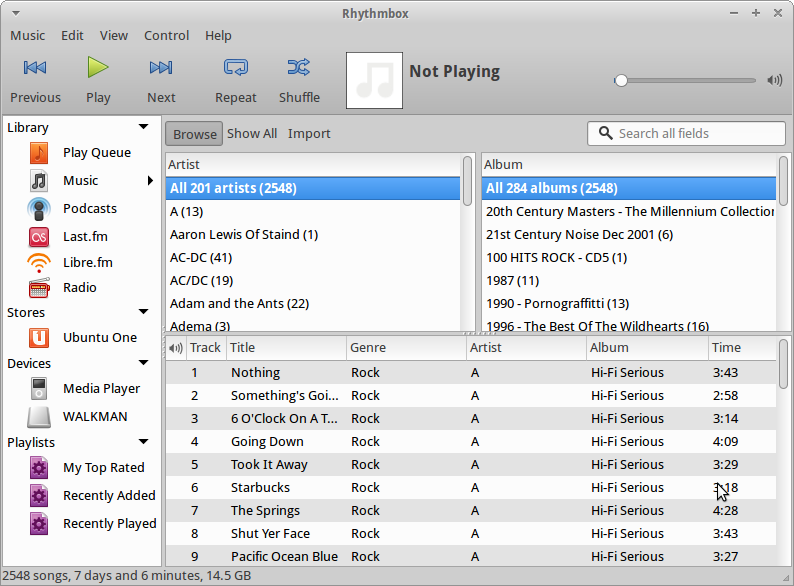
It is perfect for address books, bug tracking, inventory databases such as music collections or for listing all the items in your house in case you get burgled. (Obviously you would need a backup in case the machine containing Access is stolen).
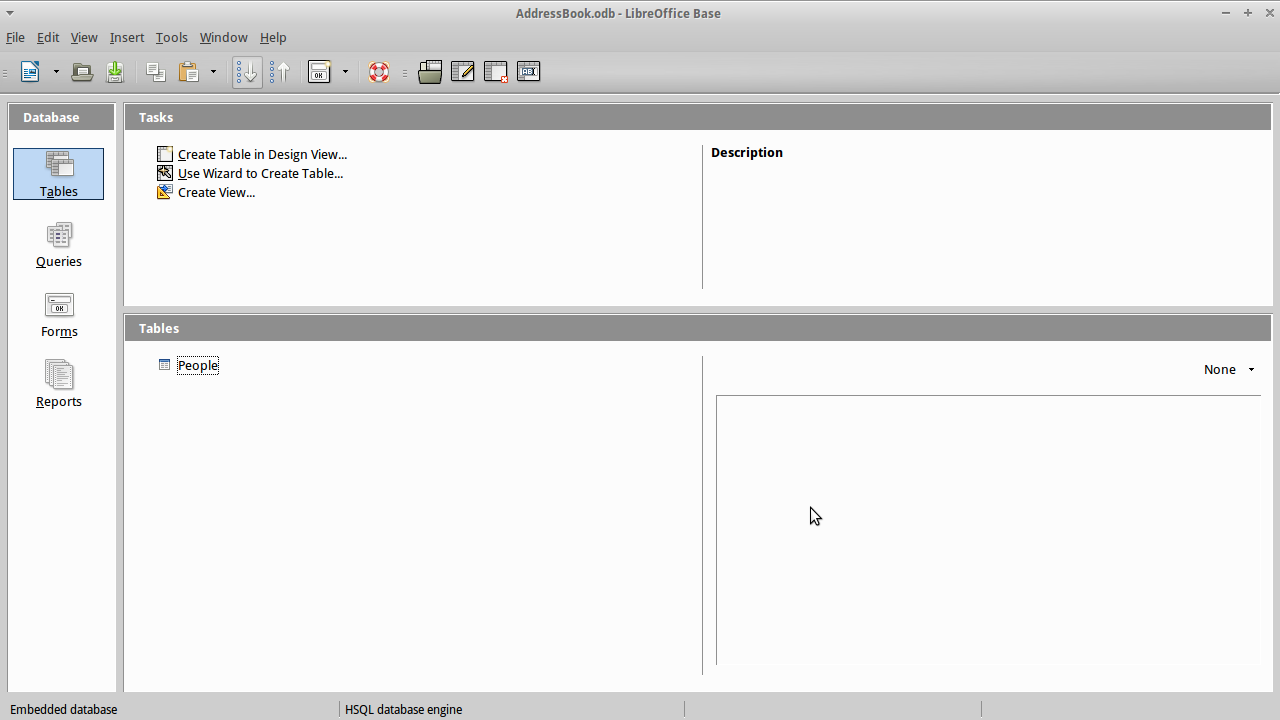
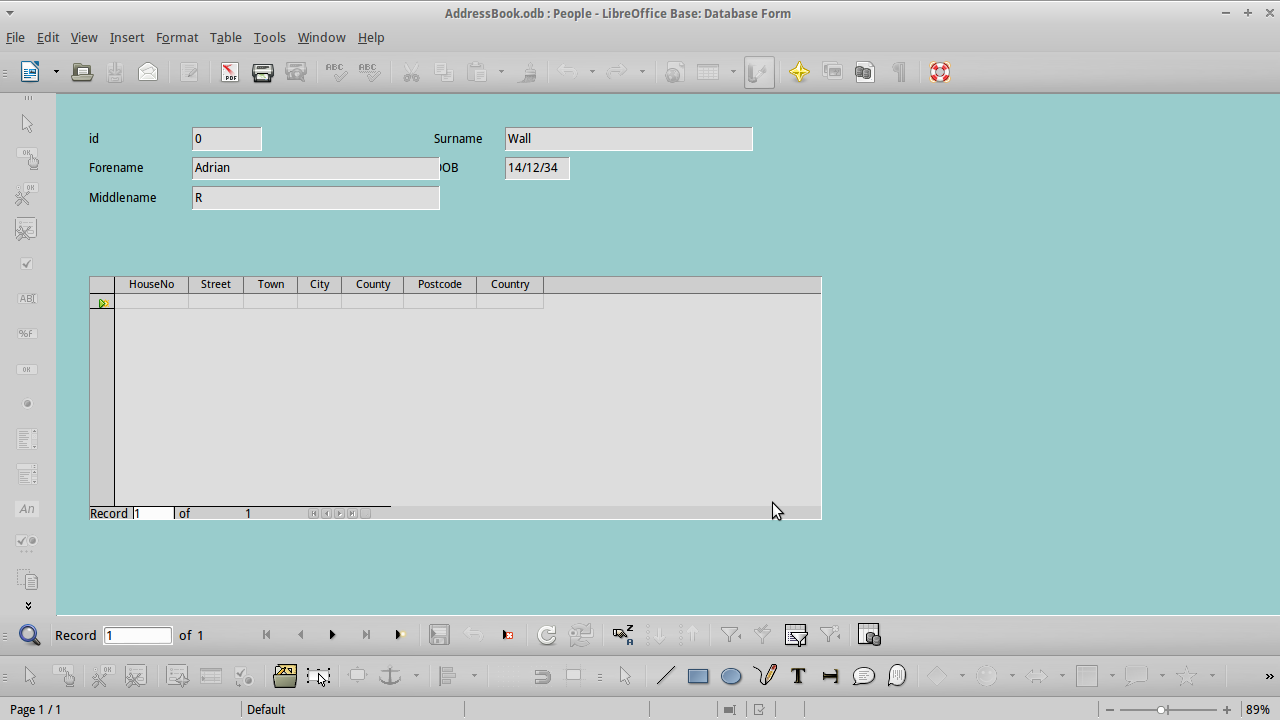
Within LibreOffice there is a database application that works very similarly to Microsoft Access and it is really easy to use.
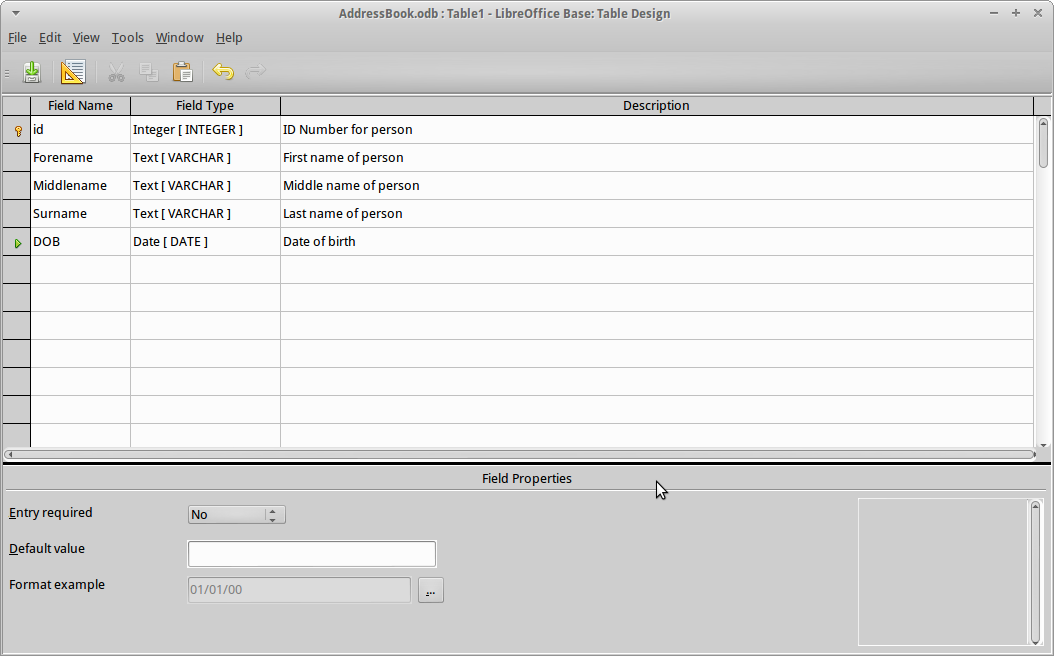
There are two ways to create tables. You can use the design view or you can use the wizard.
The design view makes it easy to add columns including setting their types, whether they are nullable and whether they autoincrement.
The wizard view lets you choose from a pre-determined set of table types such as addresses, customers, bank accounts etc.
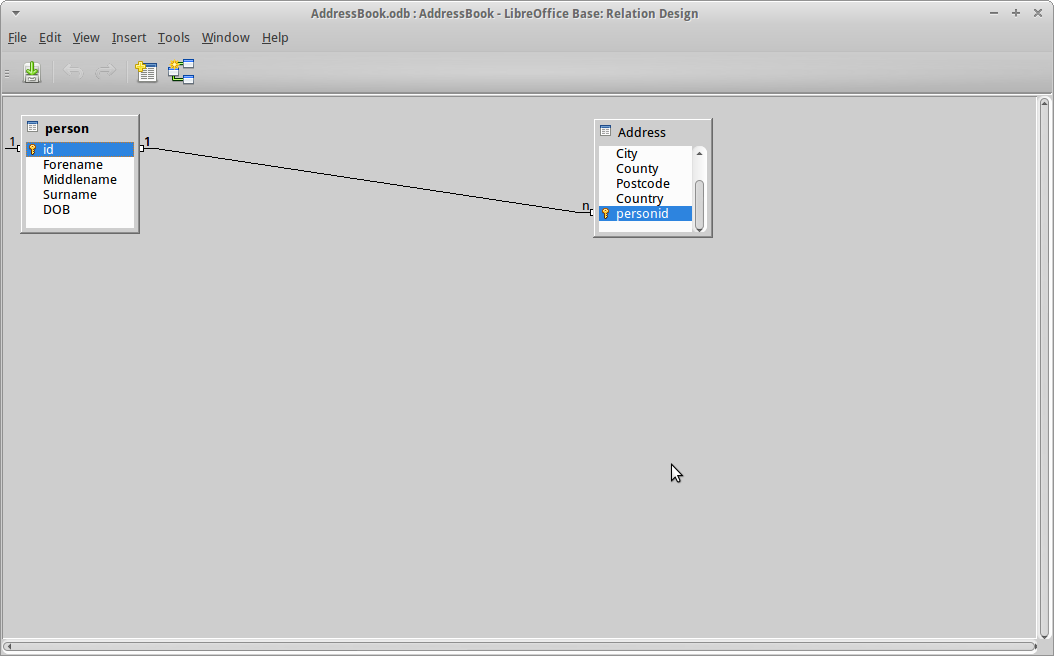
You can create relationships between tables using the relationship wizard. Simply drag from one table to another and a link is made.
You can create one-to-one links and one-to-many links.
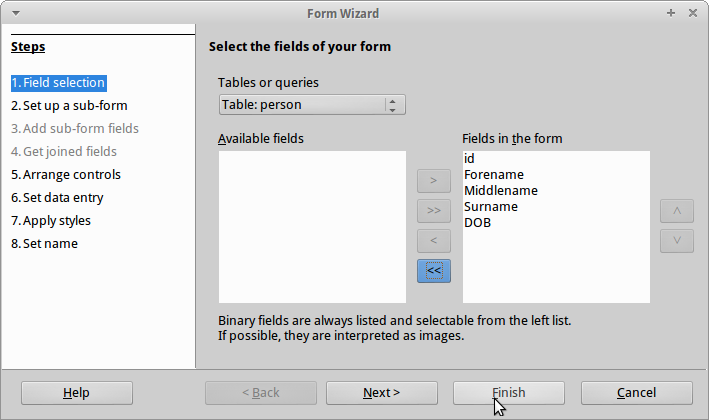
Creating forms for entering data is very easy. You can simply right click on the table and choose the form wizard.
If the table you have chosen has relationships to other tables you can add subforms within the main form.
Reports are as easy to create as forms. Simply right click on a table and click the report wizard.
Summary
The one tool I have not mentioned is LibreOffice Draw.
LibreOffice Draw is similar to Microsoft Visio and would therefore be used to create process diagrams, flow diagrams or network diagrams.
I think LibreOffice is the perfect office tool to go with the ultimate Xubuntu operating system.
So what are the alternative office suites? Well you could go for Open Office, Calligra or stick with individual tools for individual tasks.
As with audio software it is about finding the tools that work for you. Fortunately the Ubuntu repositories are huge and so finding that perfect application should be fairly easy.
In the next instalment I will be listing the other applications that I think would make the perfect Xubuntu operating system.
Thankyou for reading.
5 comments
Posted at 23:06 | by
Gary Newell