
Introduction
Things are easier nowadays. When I was younger I could not afford music and my parents rarely bought me a cassette or 7 inch single. These things were usually saved for Christmas or birthdays and to be honest I preferred getting games for the Sinclair Spectrum.In the 1980s a good number of teenagers and children obtained their music by playing the charts on Radio 1 through a portable stereo.
With a 90 minute TDK cassette at the ready we would sit and wait for each song to come on from 40 down to 1 and every time a song we liked came on we would hit the play and record button.
Great care was taken to make sure we hit pause before the DJ ruined it all by speaking over the top and a pen was at the ready to write down the artist and song on the tiny lines made available on the inlay card.
If you were lucky enough your stereo had a counter which would tell you where in the tape each song started and finished so that you could fast forward and rewind to the songs you liked the best.
Now of course if you can get online then you can listen to most of the songs you want to listen to through sites such as Grooveshark or Spotify and there are a plethora of tools that enable you to rip songs from such sites.
If you are a younger person then your parents may limit your computer use and the price of music hasn't really come down all that much (especially in the UK).
If you are lucky enough to have a Raspberry PI then this guide will show you how to do the modern day version of recording off the radio. Now though you don't have to worry about the adverts because the software is clever enough to strip the adverts and the voice of the DJ. You also have a choice of thousands of radio stations.
By ripping music from the radio you will have access to music even when you can't get connected to the internet.
What do you need?
For this guide you will need a Raspberry PI (actually any computer running Linux will work but this guide is aimed at PI users primarily). I assume you already have your PI set up and ready to go but if not read this guide.You will also need the application streamripper. This is the tool that we will be using to download music from the radio stations of your choice.
Finally it would help if there was a music player installed on the Raspberry PI to play the music through but you can always copy the music off and play it on your MP3 player. The player I recommend for the Raspberry PI is Guayadeque.
Installing streamripper
Open up a terminal window by double clicking on the LXTerm icon which is located on the desktop. (This assumes that you are using Raspbian).
Type the following command:
sudo apt-cache search streamripper
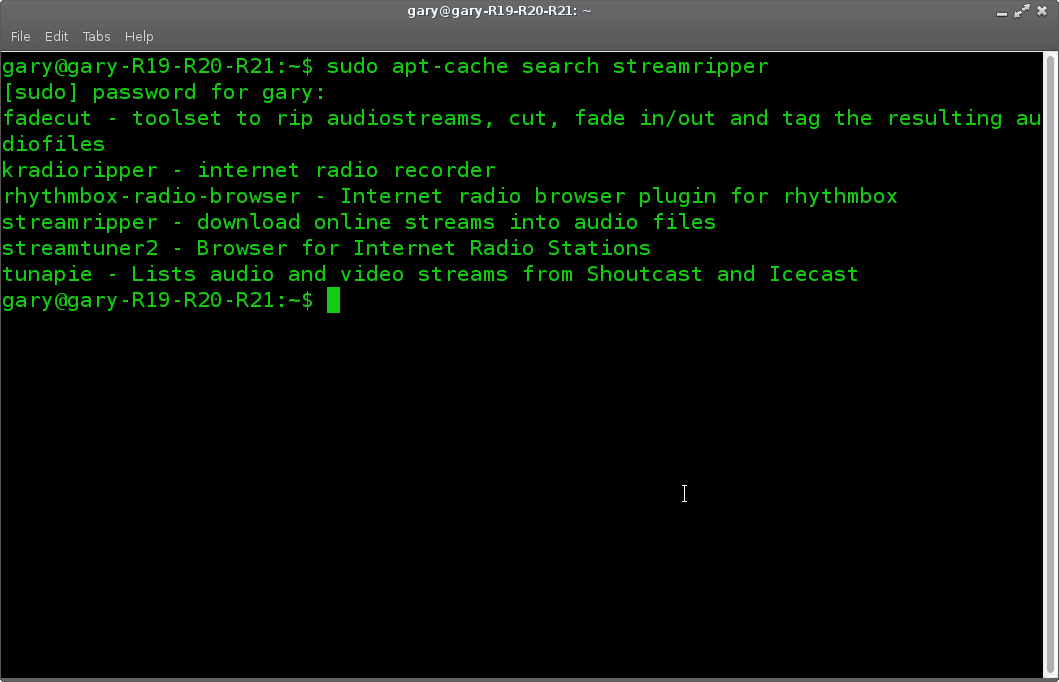
A list with about 6 or 7 applications are listed. We are going to download streamripper.
To install streamripper type the following command:
sudo apt-get install streamripperTo see if the install worked correctly type streamripper and press return.
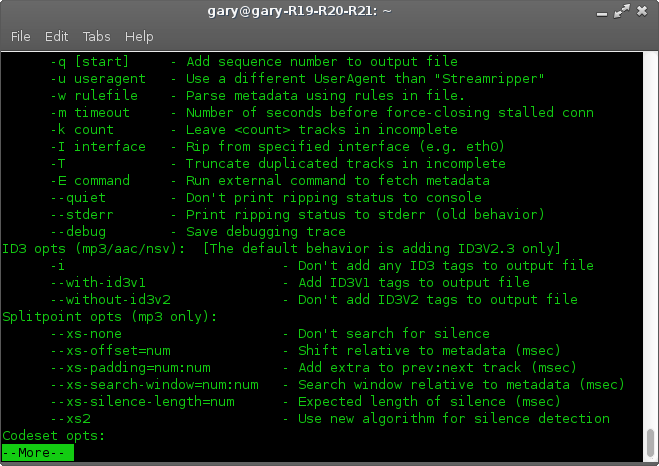
A long list of options should appear. This lets you know that Streamripper is working.
Finding radio stations
There are other tools out there that make finding radio stations easy including streamtuner2 which can be downloaded from the repositories. I have deliberately chosen not to go down this route because there is a lot of questionable material within that application.For the purpose of this guide we will use the humble web browser to search for online radio stations. Google is of course our friend and a search for online radio stations brings back 75 million results.
We will start with http://www.internet-radio.com/.
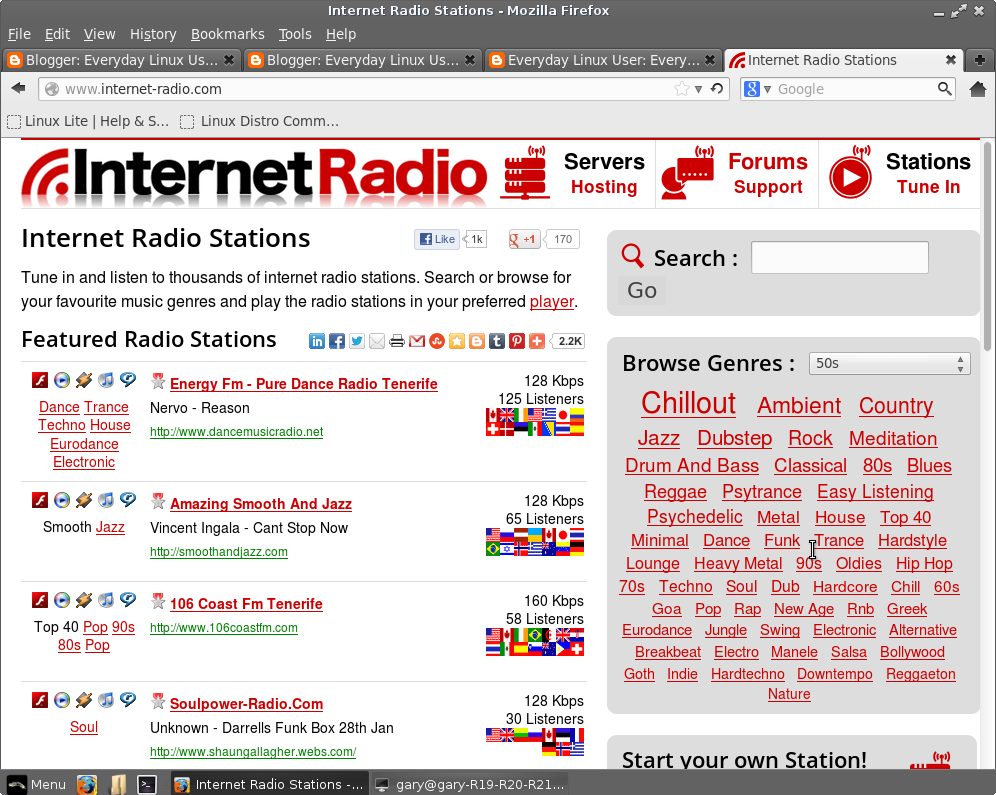
This site has a huge array of musical categories to choose from. You can browse through all the categories or use the search box to search for a style of music.
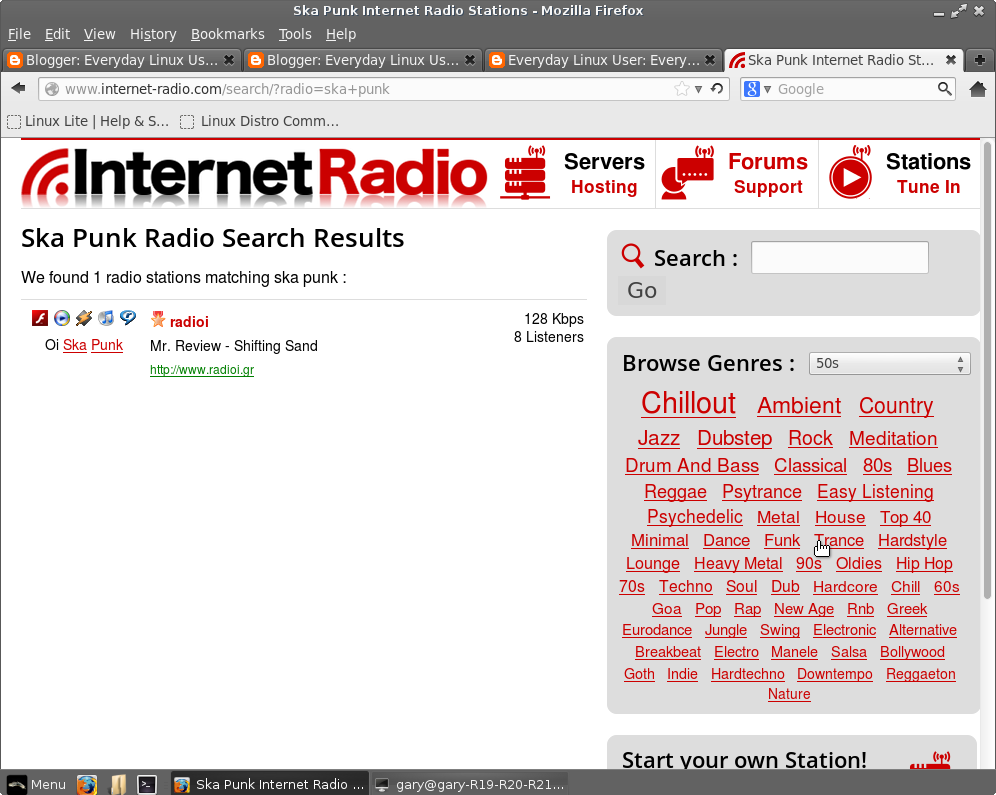
I am getting a bit old so out and out metal is no longer my scene. I prefer a little bit of ska punk such as "Less Than Jake" or "Reel Big Fish". Searching on Ska Punk only pulled back one station but one is enough.
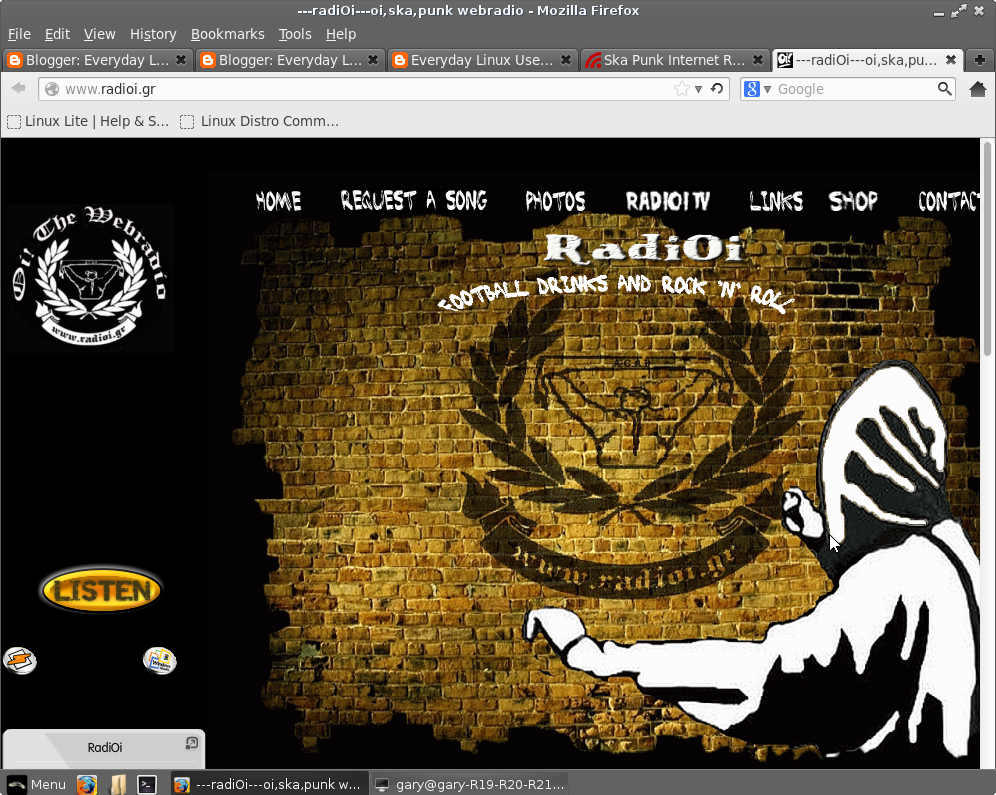
Clicking on the link available I arrived at the radioi site and I was given an option to Listen. I do not however want to just listen. I want to download the tracks. To do this I need the URL to the radio stream.
In this case there is a little link just under the listen button. When I click the link it opens up a dialog box asking how I wish to open the linked file.
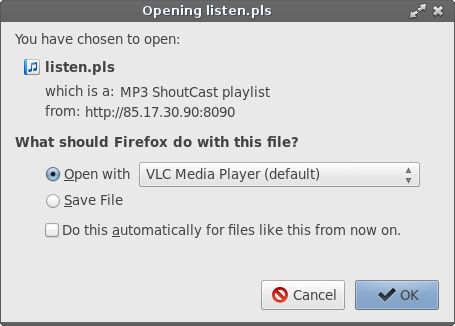
Now I do not want to actually open the listen.pls file. What I need from the above dialog is the URL which is http://85.17.30.90:8090.
Armed with this information I can now start ripping music from this station.
Rip music with streamripper
We will start with the simplest way to use streamripper.To simply start ripping from an online radio stream type the following into a terminal window:
streamripper http://85.17.30.90:8090
Obviously you would need to replace the http part with the URL of the station you wish to rip from.
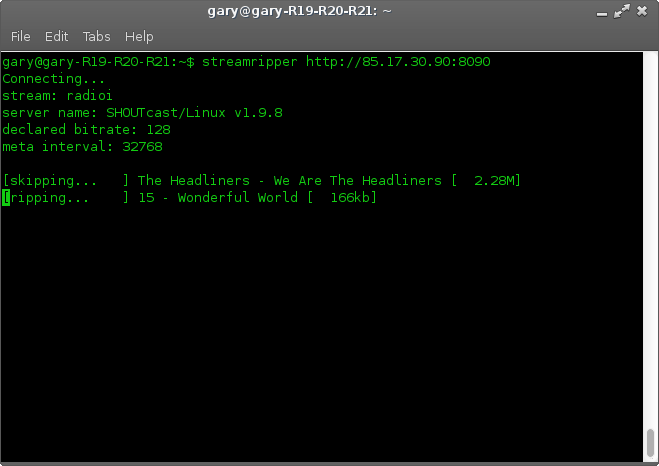
Streamripper will automatically skip parts of songs so you don't get half a song the first time you run it.
When the next song starts it will rip it into MP3 format.
So where does the file go? Streamripper creates a folder with the same name as the stream.
This is the simplest way to rip music. Start it running before you go to bed and by the morning you will have around 6 hours of music.
There are of course a plethora of options available with streamripper and I'm not going to pretend to understand all of them. There are in depth guides on the internet and of course you can type man streamripper to read the manual.
Organising the output
If you want to place the files in another folder you can specify an output folder as follows:streamripper URL -d OutputFolderThe -d switch enables you to specify an output folder where the MP3s will be saved.
Replace the bit that says URL with the radio stream and replace OutputFolder with the name of the folder you wish to save the MP3s.
What will happen is that the stream will be created as a folder within the output folder specified. This is all well and good but what if you want all the songs in one folder no matter which online radio stream you use.
You can choose to suppress the creation of the stream folder by adding -s as follows:
streamripper URL -d OutputFolder -s
If you really like to control the naming of your files you can use the -D option with various switches as follows:
- %S - Stream
- %A - Artist
- %T - Title
- %a - Album
- %D - Date and time (per song)
- %d - Date and time (per execution)
- %q - Sequence number (automatic detection)
- %Nq - Sequence number (starting from number N)
- %% - Percent sign
It is possible that you already have a track that is being ripped again. You can choose whether to always overwrite the track, never overwrite the track, overwrite only if the file is larger or keep both tracks (renaming one).
To do this use the -o option with one of:
- never
- always
- larger
- version
streamripper URL -d OutputFolder -o never
Determine how long to stream
If you have a download limit on your internet account then streaming music continuously will eat into your limit.You do not however want to sit around for hours on end until you have reached your defined limit for the day.
Streamripper provides a number of options to determine how long to keep going.
The first switch you can use is -l. The -l switch determines how long in seconds you want streamripper to run.
To run streamripper for an hour type:
streamripper URL -l 3600You can also keep ripping until a certain number of megabytes have been downloaded by using the -M switch.
To run streamripper until 50 megabytes have been used type:
streamripper URL -M 50
Handling the unexpected
As Streamripper is relying on an internet connection and the stream it is ripping it isn't guaranteed that Streamripper will rip for as long as specified by the -l or -M switches.If the stream drops Streamripper will try and reconnect. If you do not want this to happen use the -c switch as follows:
streamripper URL -cSometimes the stream will hang which means nothing is being downloaded. If you specify the -m switch then Streamripper will shut down and restart in the specified number of seconds, for example:
streamripper URL -m 60
Playing the music
You can of course copy the downloaded MP3 files to an external MP3 device such as a Sony Walkman or you can copy the files onto a USB drive to be copied to another computer or you can play the music direct from your Raspberry PI.I plan to write a more complete guide about playing music on the Raspberry PI soon so I won't go into too much detail here.
I have tried a number of options on the Raspberry PI and there are two that I would recommend generally but for beginners to Linux I would recommend Guayadeque as it is lightweight enough to run on the Raspberry PI but fully featured and easy enough to use.
To install Guayadeque open a terminal window and type:
sudo apt-get install guayadeque
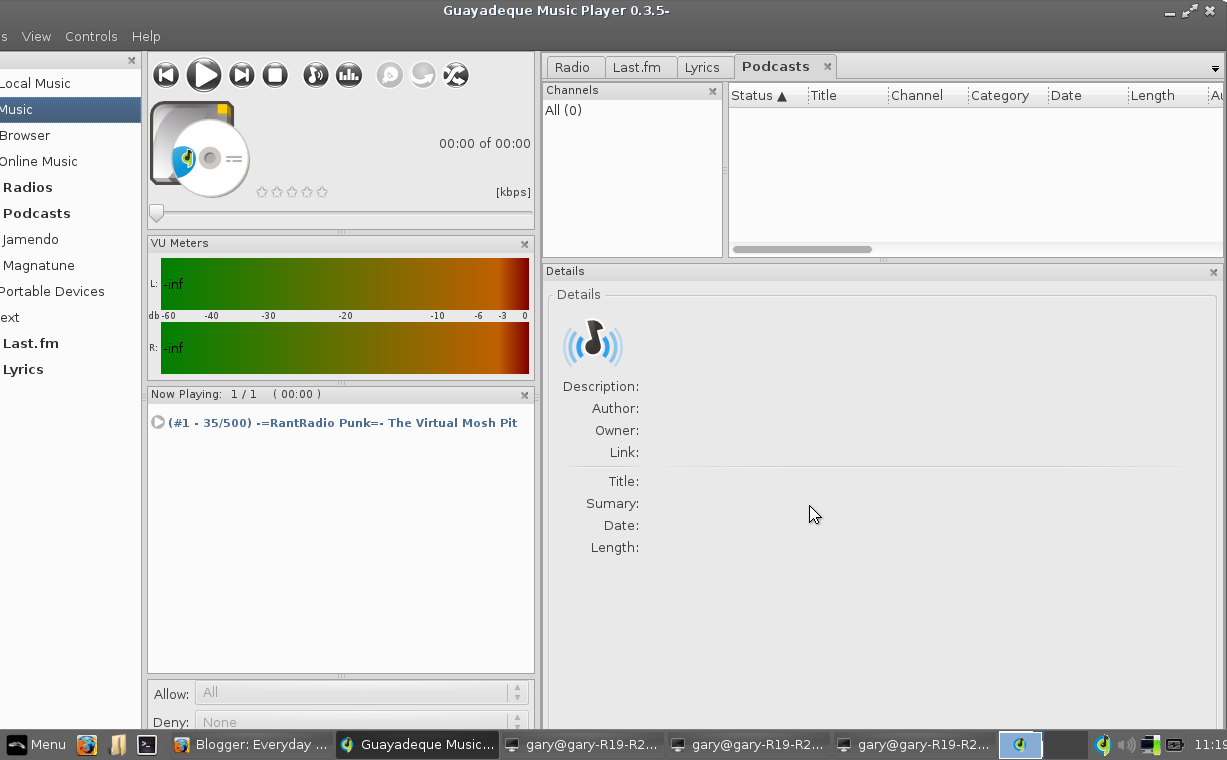
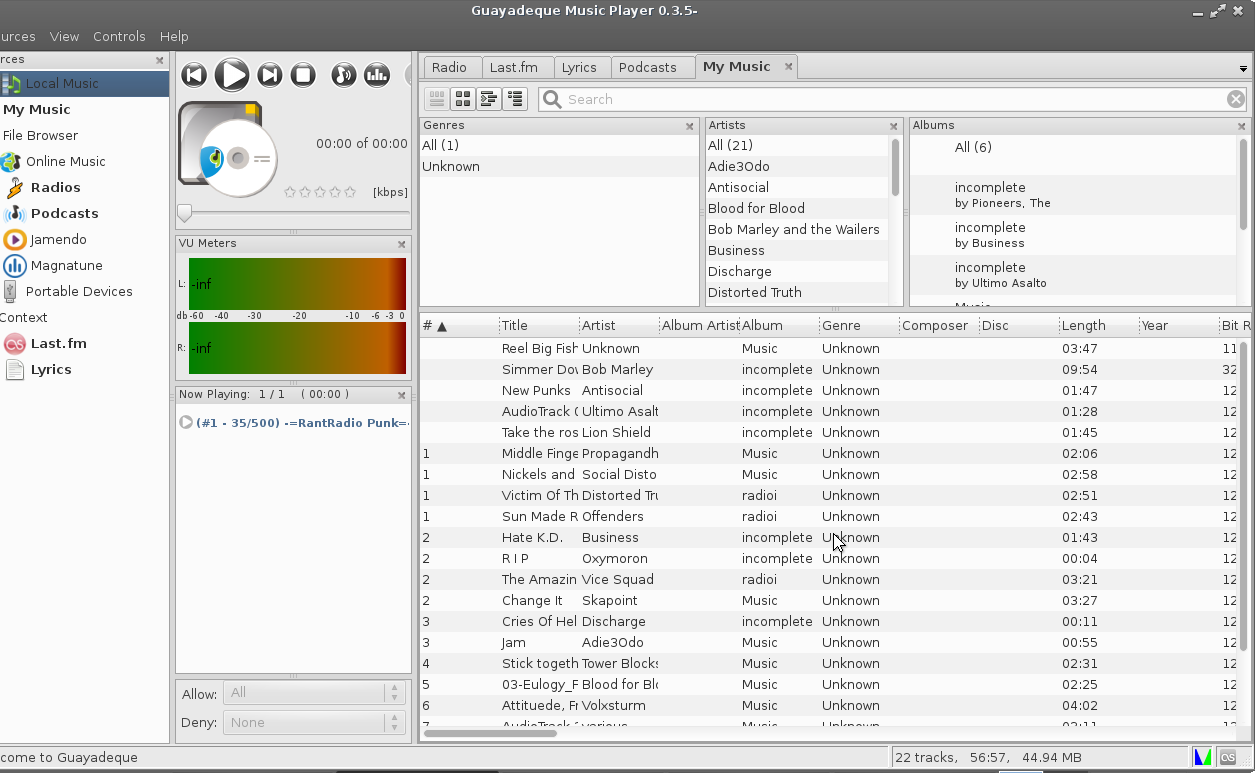
When you start Guayadeque you will see a screen similar to the one above. Click on the My Music option in the "Local Media" section on the left hand side.
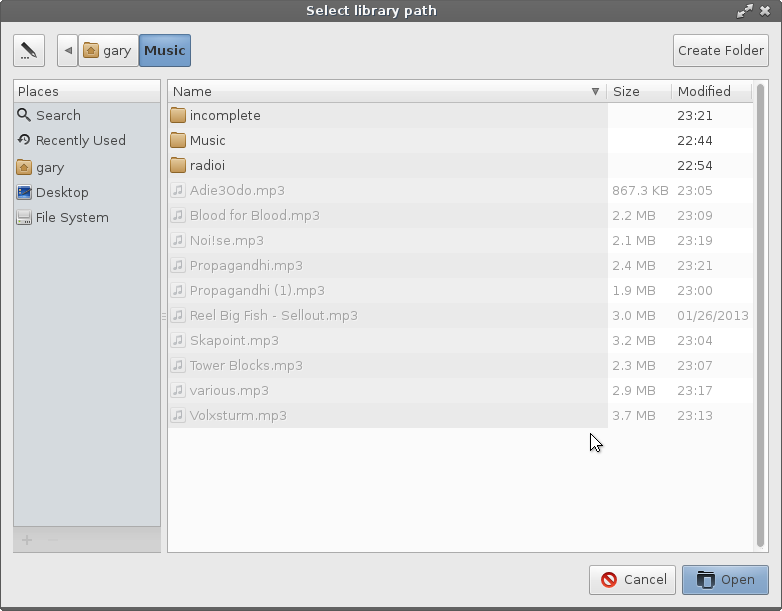
Guayadeque needs a path to import music from. To add a path click on the My Music tab and in the bottom window right click and select "collection -> add path" from the menu.

I don't think Guayadeque has the most intuitive interface but once you get used to it then it does what you want it to which is play music.
The files will be added to the song window.
At this point you will notice that songs from the incomplete folders will probably have been imported as well. You can delete these by right clicking on the file and selecting remove from library.
By using the above technique you can import files in the same folders by choosing the rescan option. Therefore if you rip more and more music to the same folder structure Guayadeque can be kept up to date with the touch of a button.
There is however an easier way to import files and that is to use the file manager. Open up the file manager and find the MP3 files on your machine and drag and drop them into Guayadeque.
To play a track double click it. To queue multiple tracks drag them into the window marked "now playing".
Summary
This guide gives yet another use for the Raspberry PI, the £35 computer with seemingly endless possibilities.With thousands of radio stations available, you will easily be able to find a stream that plays the music you like and then rip the music from that station to your Raspberry PI.
I do not know the legality of downloading music this way and it is up to each individual to check that ripping music does not violate any copyright laws.
If you are satisfied that you are within the boundaries for the law of the country you are living in or you are just going to stick it to the man anyway then happy ripping. (I take no responsibility for anybody dragged away in the night, extradited to the USA, and then ultimately incarcerated at Guantanamo Bay because they upset the record producers).
Thankyou for reading.

Guayadeque supports recording from radio stations without the need to install stream ripper. Also support delete commercials from radio stations.
ReplyDeleteI live in the USA and I love listening to BBC/Radio1. However the time shift is a problem as they get to dance music in the mid-afternoon and I never hear the mornings.
ReplyDeleteI have been looking for a simple way to time shift (delay for my personal use)BBC/R! so I can experience the Brits' program.
This looks like the basics of what is needed to accomplish this.
50 points for a really good R Pi project, thank you.
Any advise on making it output to a network share(NAS)?
ReplyDeletehttps://hylobatidae.org/?action=articleinfo&id=54
ReplyDeleteand... Bingo was his name-o
Thanks very much for the tutorial.
ReplyDelete