
Introduction
This week I discovered a tool that I hadn’t come across before and I thought I’d share it with people who also may not know that this tool exists.
There are a number of different tools out there that enable you to put a Linux based operating system on a USB pen drive. The one that I prefer to use is called UNetbootin.
UNetbootin is a really good tool. There are versions for Windows, Linux and the MAC. Simply choose your distro, pick your USB drive and hit go.
The one thing UNetbootin doesn’t do is enable you to install more than one operating systems to a USB drive and then boot from each one individually.
YUMI
The tool I found for burning multiple Linux distributions to a USB drive is called YUMI and it can be downloaded from http://www.pendrivelinux.com/yumi-multiboot-usb-creator/.
The site www.pendrivelinux.com has links to a number of other very good tools so even if you don’t like the YUMI approach it is worth a visit.
Unfortunately YUMI only works with Windows so to follow this tutorial you will need to go to the dark side for a short period.
Creating a dual boot USB drive with multiple Linux distributions
When you run YUMI for the first time you are asked to agree to the license agreement.
After accepting the license agreement you are straight into the action.
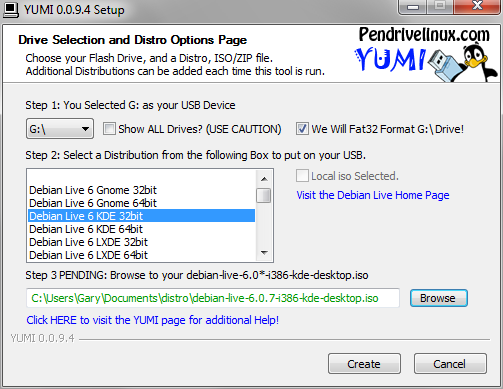
Step 1 - Choose your USB Drive
First of all you need to select your USB drive. It is definitely worth making sure you have the correct drive chosen as the drive will be formatted.
Step 2 - Choose your first operating system
Now go down the list of distributions until you find the one you want to use. There is a huge list of distributions available.
Step 3 - Browse to the ISO
You can choose to let the tool download the ISO or you can download the ISO image yourself from the relevant Linux distribution’s website.
If you download the image yourself then you will need to click the browse button and navigate to the downloaded image.
Step 4 - Click Create
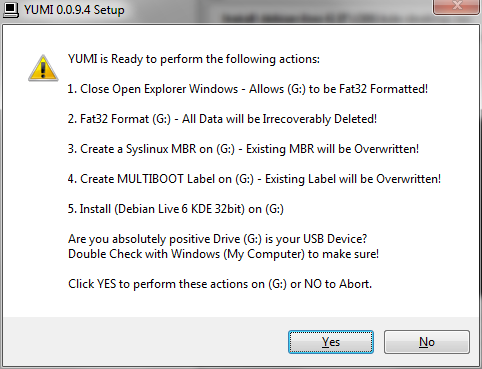
A message appears telling you what is going to happen.
This is the last point to check the drive that you will be writing the image to is correct. If you are unsure, check and check again.
If you are absolutely sure you don’t need anything on the USB drive and that you have indeed selected the correct USB drive click “Yes”.
Step 5 - Wait for the files to be installed
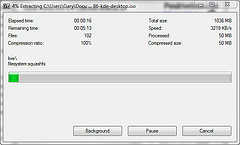
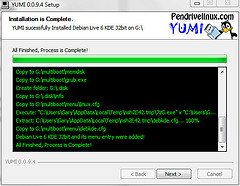
The files will be now be installed to the USB drive and when it is complete you will be asked if you want to install another operating system.
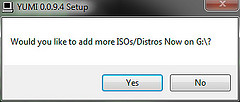
If you choose “yes” then you basically repeat steps 1 to 4 again.
In theory you can install as many operating systems as you desire but it depends on the amount of disk space of the USB drive.
The end result
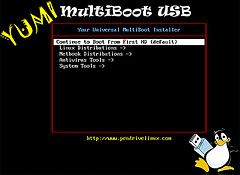 If you reboot your computer and leave the USB drive plugged in then the computer will into a rather garish looking menu.
It isn’t the prettiest menu you will ever see but it is functional.
There are three levels of menu. The first lets you choose whether to boot from the hard drive or the USB drive.
If you choose the USB drive you then get to choose the second menu which lists all the distros that you have installed.
When you choose the distro of your choice you will then see a third menu with the possible options for that distribution
are their easy to remove the distro from usb like lili USB Creator?
YUMI now includes test versions that work in linux so you won't have to go over to windows to make a multiboot capable USB