
Introduction
This is part of a series of articles showing Windows users how easy it is to install and use Linux and is aimed at the Windows XP users whose support is ending and for Vista users who are currently riding in cattle class compared to those users running Windows 7 and Windows 8.
In this series of articles I will show you how to create a bootable Linux DVD using Windows XP and how to create a bootable Linux DVD using Windows Vista.
If you are using a netbook that came pre-installed with Windows XP you may not have a DVD drive and so in this article I will show you how to create a bootable Linux USB drive using Windows XP and Windows Vista.
Further articles will show you how to backup your files and how to create a system image and there will be full guides showing you how to install Linux alongside Windows.
The idea of these articles is to help you make the switch and it doesn't matter how old you are or what your skill level is. The instructions should be easy enough for anyone to follow.
What you will need to follow this guide
- A computer with at least 512 MB RAM running Windows Vista
- A USB drive (At least 1 GB)
- A working internet connection
Strategy
The strategy for creating a bootable Linux USB drive is as follows:
1. Download the Linux ISO
2. Download and install the software to create the bootable USB drive
3. Format the USB drive
4. Create the bootable USB drive
Before you can download Linux you need to know whether the computer you are using has a 32 bit processor or a 64 bit processor.
If you already know the answer to this then you can skip to step 2.
1. 32 bit or 64 bit
If you already know the answer to this then you can skip to step 2.
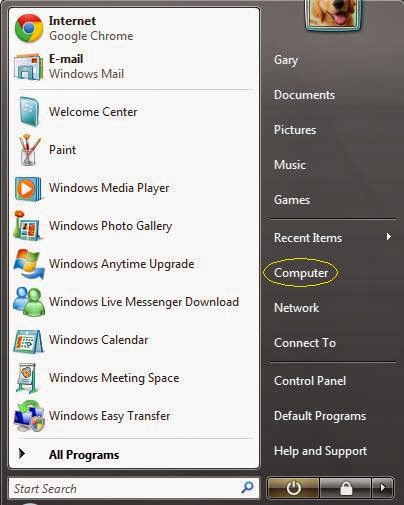
To find out if your computer is 32 bit or 64 bit press the Start button on your computer and choose the "Computer" option.
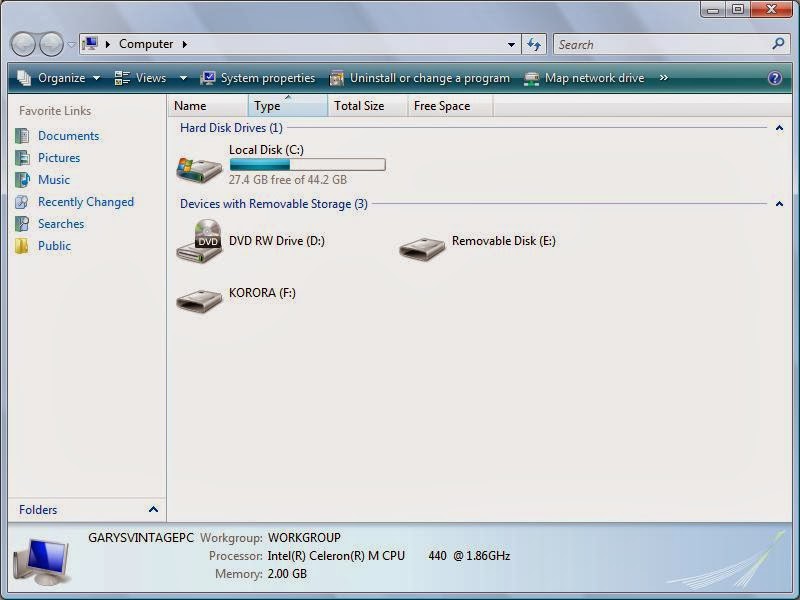
At the top of the "Computer" screen is a menu option which reads "System Properties". Click this link.
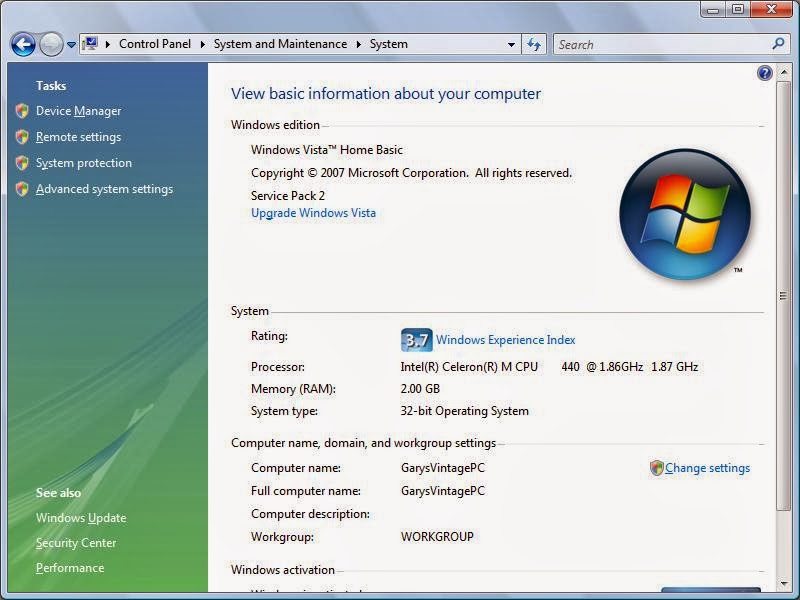
The system information screen tells you about your system, including the version of Windows you are using, and the computer's specifications.
The "System Type" will tell you whether you are using a 32-bit computer or a 64-bit computer.
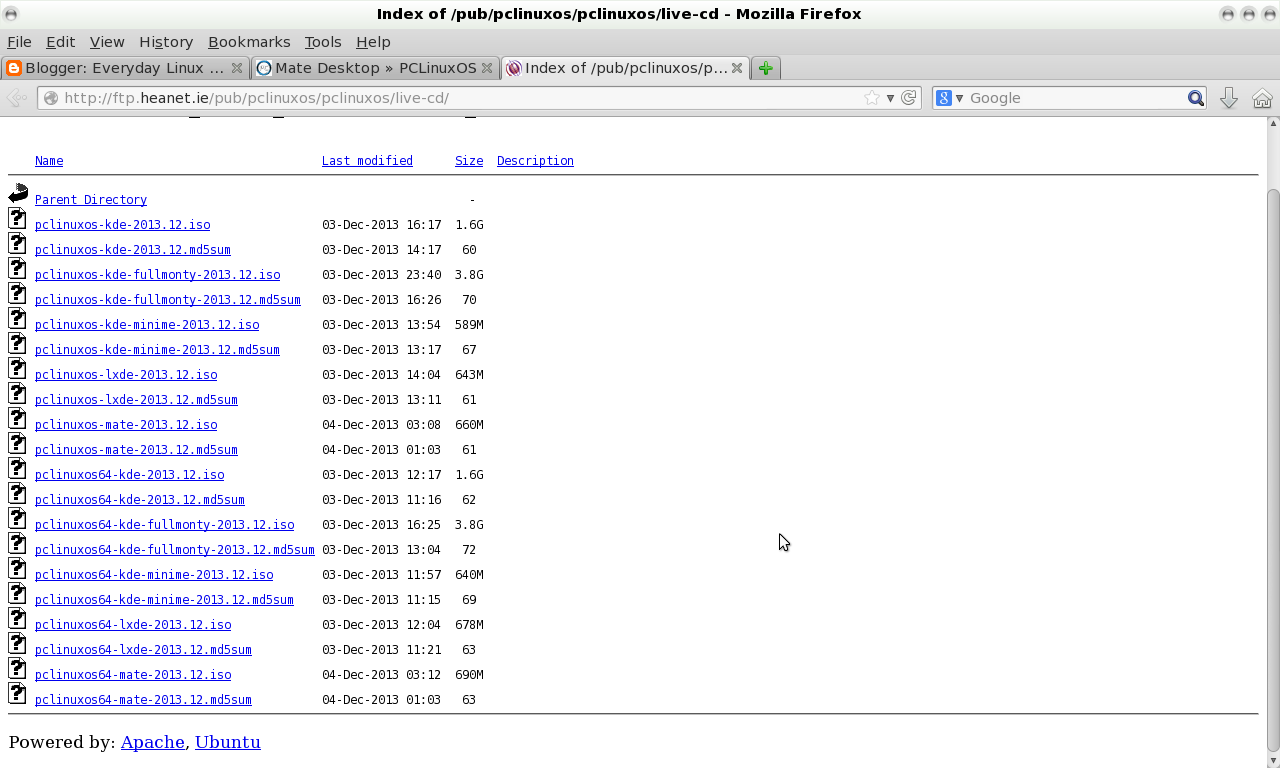
2. Download PCLinuxOS
To download PCLinuxOS visit http://www.pclinuxos.com/get-pclinuxos/mate/#PCLOS mirrors
The version that I am recommending uses the MATE desktop as it is lighter on resources than the KDE default and is therefore more likely to work with any computer currently running Windows Vista.
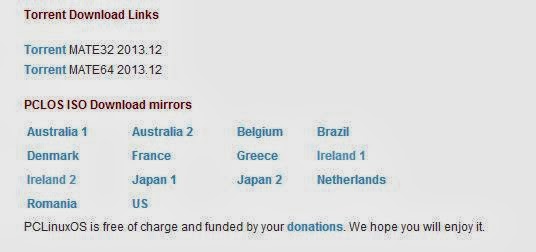
If are used to using BitTorrent software then you can click on the relevant torrent link. (32 bit if you are installing on a 32 bit computer and 64 bit if you are installing on a 64 bit computer).
To download PCLinuxOS directly, click on the name of the country closest to you.
There are a lot of links on the download pages but the one that will work the best for most Windows Vista users is the MATE version.
If you have a 64 bit computer click on the link that is something like the following:
- pclinuxos64-mate-2013.12.iso
Note that the date portion may be slightly different.
If you have a 32 bit computer click on the link that is something like the following:
- pclinuxos-mate-2013.12.iso
The file should start to download.
(If you are using Internet Explorer then a little bar may appear at the top of the screen asking for permission to open the link, click on the bar and allow the link to be opened).
The file size is just 660 MB and so shouldn't take too long.
3. Format the USB drive
Insert the USB drive into your computer.
To find out if your computer is 32 bit or 64 bit press the Start button on your computer and choose the "My Computer" option.
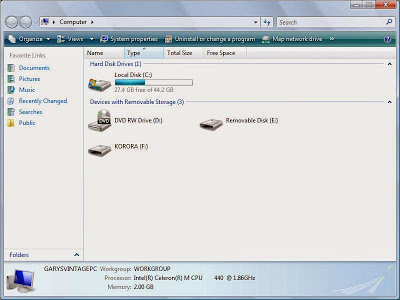
In the section "Devices with Removable Storage" there will be a drive called removable disk. Take a note of the drive letter as you will need it later.
Right click on the drive and select Format.
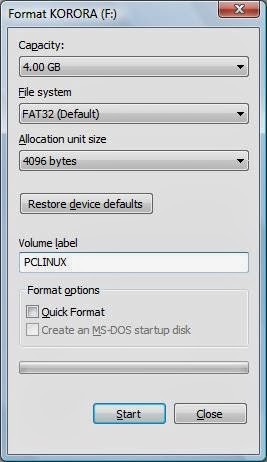
In the window that opens make sure the file system is set to FAT 32. You can also check the box that says "Quick Format".
Note: It is assumed that any data on the drive is not required. If you have data on the drive that you want to keep copy it somewhere else first
Press "Start" to format the drive.
A message will appear when the drive has been formatted.
4. Download and Install UNetbootin
The software that is commonly used to create bootable Linux USB drives is called UNetbootin and can be downloaded from http://unetbootin.sourceforge.net/.

Click the "Download (for Windows)" link. When the download is complete double click on the file to run the installer.
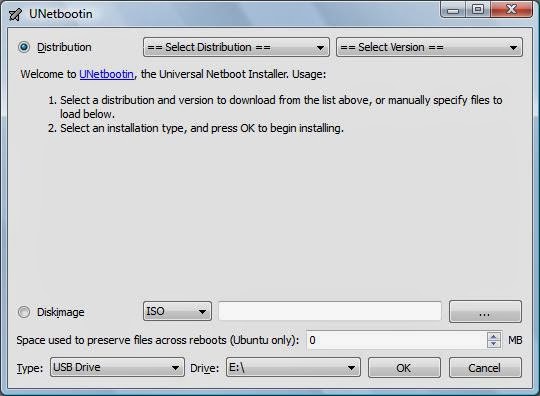
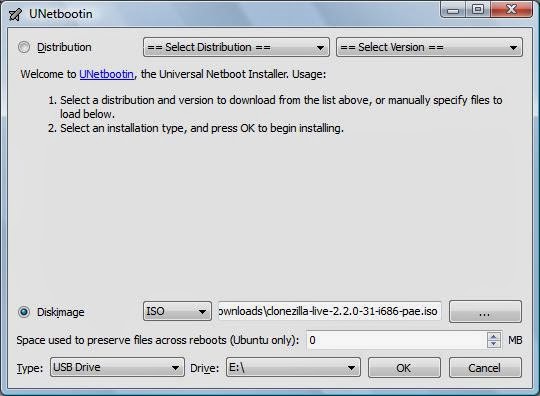
With UNetbootin there are two ways to create a bootable USB drive.
The first method is to choose the distribution you wish to install from a list (a distribution is basically a Linux based operating system such as Ubuntu, Mint, PCLinuxOS etc).
The second method is to choose an ISO image that has already been downloaded and is the method discussed in this tutorial.
To proceed click the "disk image" radio button so that it is highlighted and then click on the button with three dots on it.
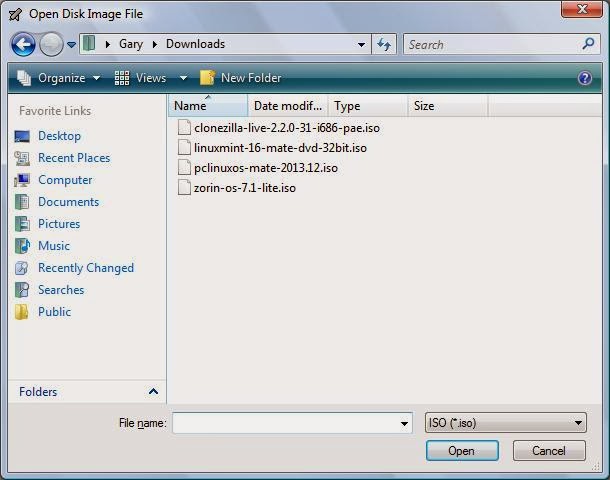
Navigate to your download folder and choose the ISO that you downloaded from the PCLinuxOS website in step 2, Click "Open".
Notice that the filename is now in the box next to the three dots.
Ignore the "Space used to preserve files across reboots".
Change the drive letter to be the same drive letter as your USB drive.
Click "OK" to start the installation.
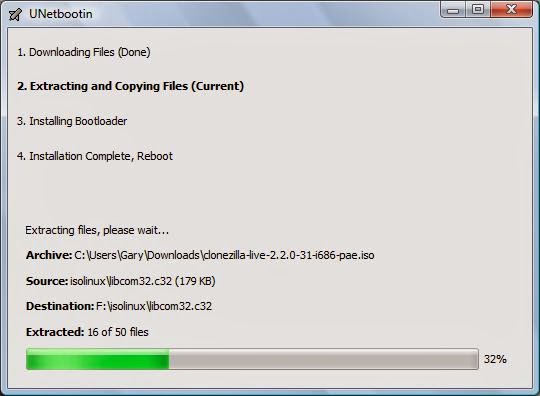
You will now be shown the progress of your installation and after the process completes your USB drive will contain a bootable version of Linux.
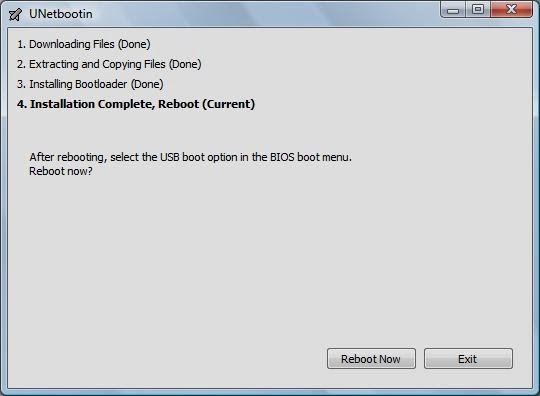
Reboot the computer with the USB drive plugged in and you should now get a menu with the option to boot into PCLinuxOS.
5. Troubleshooting
If your computer boots into Windows without showing a menu first giving you the option to boot into PCLinuxOS it means your USB drive isn't set to boot before the hard drive.
Basically computers have a boot sequence to determine where to attempt to load the operating system.
In the past the boot sequence was:
- Floppy disk
- CD
- Hard Drive
As computers have evolved this has been changed to be
- DVD
- USB
- Hard Drive
If you are using older hardware then your computer may be set up to boot from hard drive before USB.
To fix this reboot your computer and you will see a little message appear before Windows boots that says "Press F2 to enter setup" (It may not be F2. It may be another function key).
Each BIOS is different so I can't explain how to change the boot order of every single machine. Please refer to your computer's manual (or Google the instructions for your make and model).
If all this sounds like too much trouble and you have a DVD drive create a bootable DVD.

I tried this with a different iso but got a "no boot manager installed" message on reboot. What did I do wrong? Thanks.
ReplyDeletewhich iso did you use? did the usb key have enuogh memory? or maybe its the Space used to preserve files across reboots? or the boot sequence?
DeleteI used pclinuxos-mate-2014.12.iso and it is still loading! Do i need to be connected to the internet when it is booting? Because DAMN it have been loading soon ALL Day!
ReplyDelete