
Introduction
This guide shows how to install openSUSE using a DVD or USB drive.Note: This guide was written some time ago now. I have written a new guide over at linux.about.com. Click here to read it.
System Requirements
- Pentium* III 500 MHz or higher processor (Pentium 4 2.4 GHz or higher or any AMD64 or Intel* EM64T processor recommended)
- 512 MB physical RAM (1 GB recommended)
- 3 GB available disk space (more recommended)
- 800 x 600 display resolution (1024 x 768 or higher recommended)
Getting openSUSE
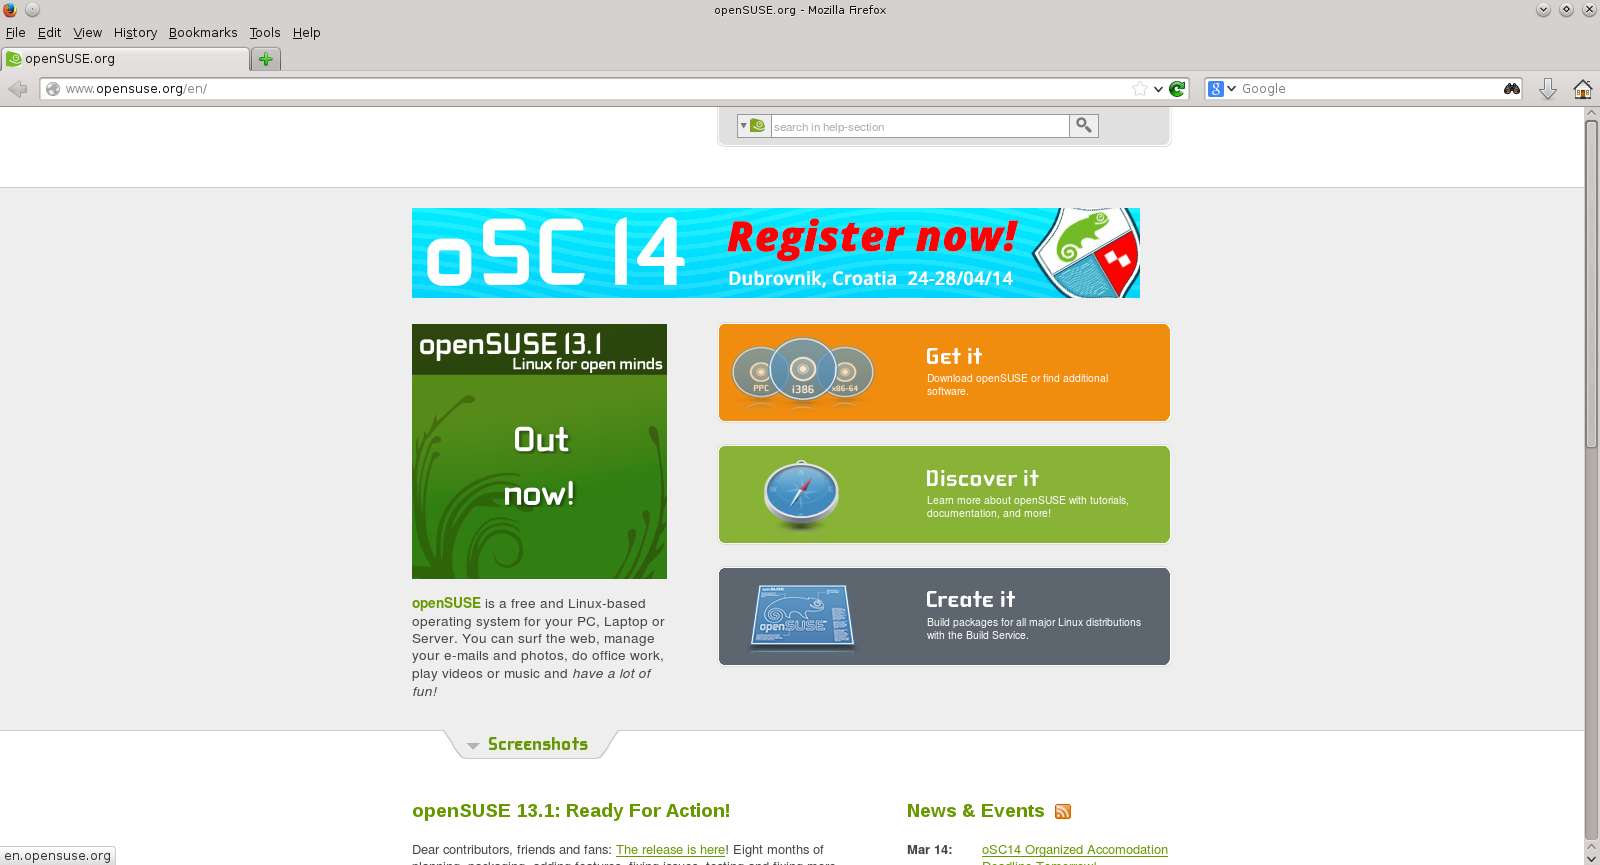
To download openSUSE visit http://www.opensuse.org/en/ and click the "Get It" link.
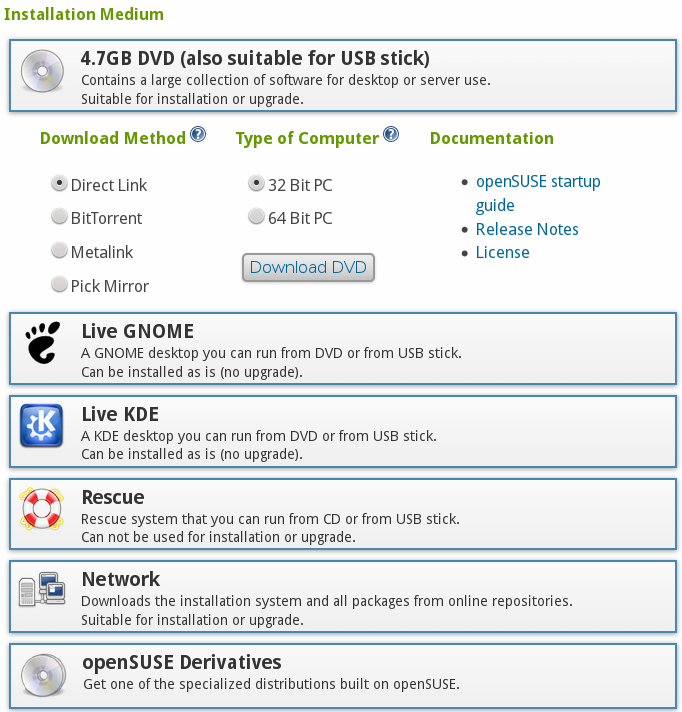
There are a number of options available including a full 4.7GB DVD, various live versions, a rescue disk, network disk and derivatives.
When I wrote the review for openSUSE 12.3 I was criticised for using a live DVD for writing the review and I was told the full disk was the preferred route.
Personally though I prefer the option to download a live version with my chosen desktop and then install additional software later on.
When you choose one of the download options you will be given further choices to make including whether to download from a direct link or bittorrent and whether to download the 32-bit or 64-bit
If you have a download limit on your internet usage or you have a slow internet connection or if you want to skip the hassle of creating a DVD or USB drive .
Create a bootable openSUSE DVD
The easiest way to install openSUSE is to create a DVD from the ISO that you downloaded.Windows 8 users can use this guide for creating a DVD from an ISO.
Windows 7 users can use this guide for creating a DVD from an ISO.
Windows Vista users can use this guide for creating a DVD from an ISO.
Windows XP users can use this guide for creating a DVD from an ISO.
If you are using Linux use your favourite disc burning software to burn the ISO to DVD.
I recommend using either Brasero and XfBurn.
Create a bootable openSUSE USB
You cannot use UNetbootin to create a bootable openSUSE USB drive.If you are using Windows download the SUSE Studio Imagewriter software.
From within Windows open the Imagewriter software
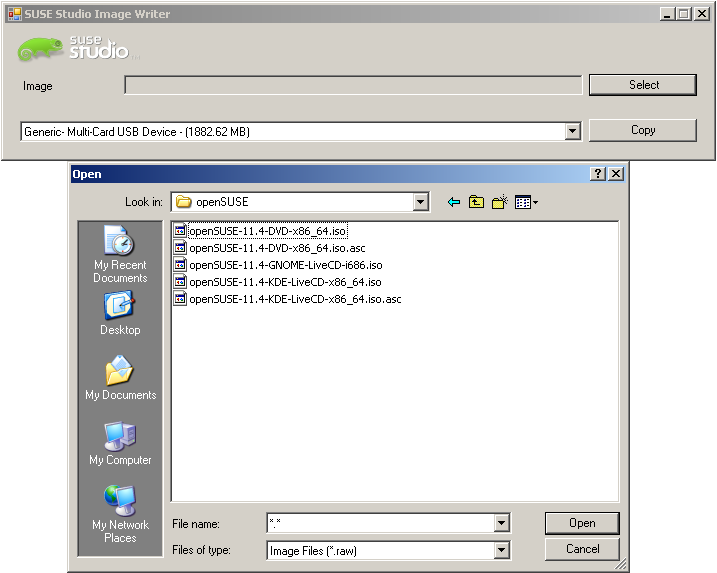
Click the "Select" button and navigate to the folder where the openSUSE ISO is located. You will need to enter *.* into the filename to show the ISO files.
Click the openSUSE file you wish to use and then select "Open". The image will be written to the USB drive.
If you are using Linux then there is a bit more messing around. You can either create a Live DVD of openSUSE and then use a 1-click install to install the image writer software or you can use the command line.
This guide shows the steps required to create a bootable openSUSE USB drive.
Installing openSUSE
The steps below assume you are installing using a live Gnome or KDE image. If you are installing from the full version of the DVD then there are some extra options.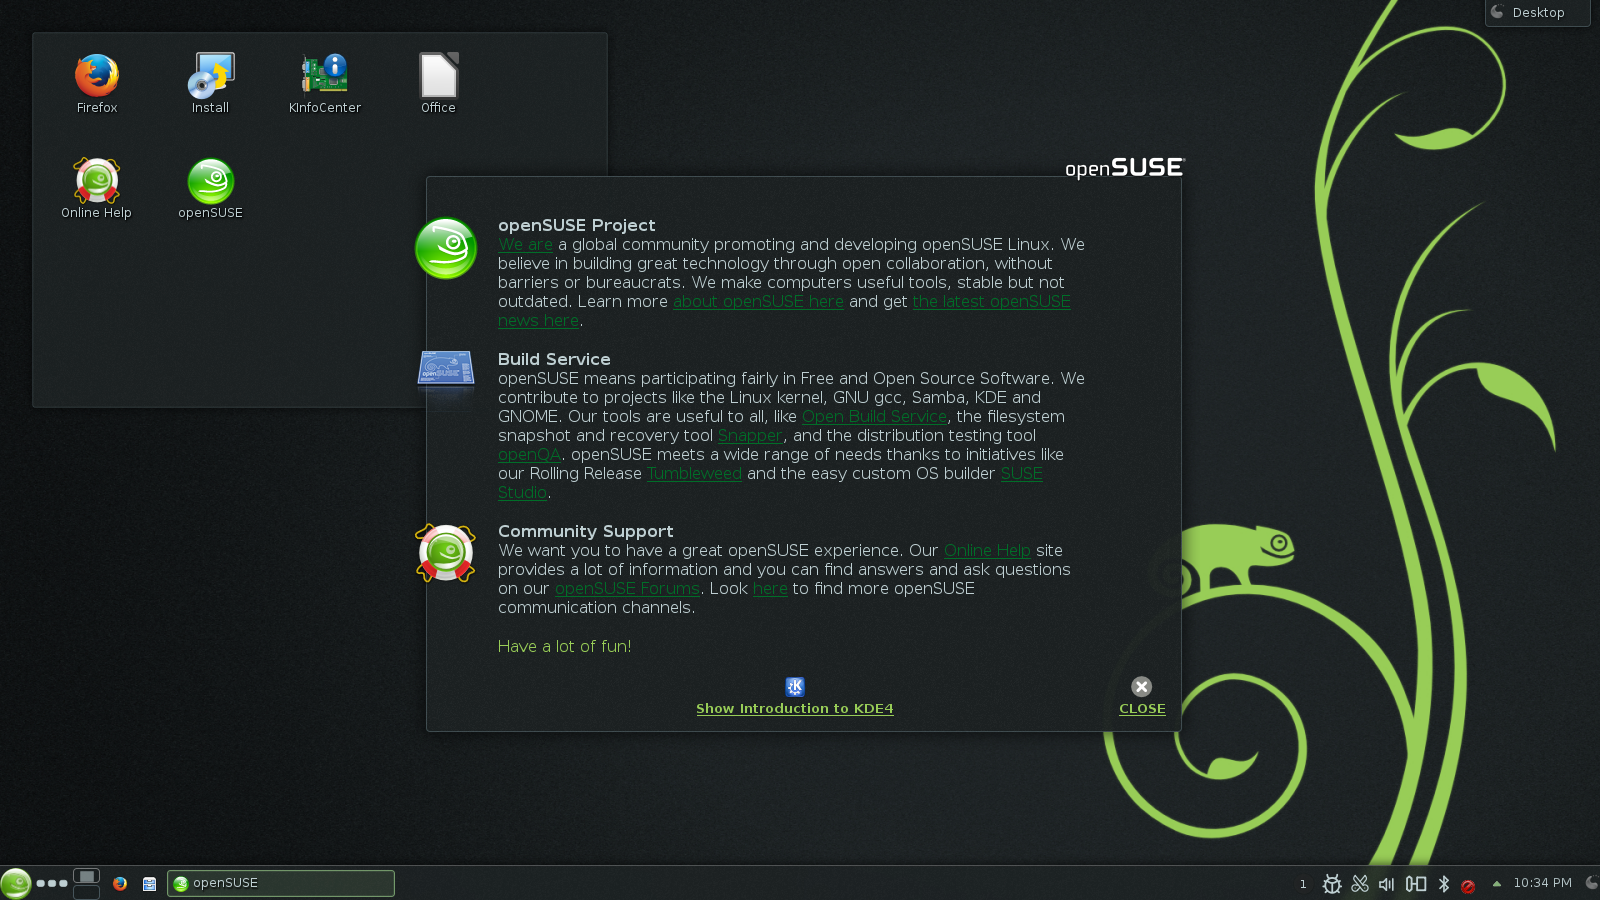
Boot from your chosen media and choose the option to install openSUSE.
The openSUSE installer is actually fairly intuitive and shouldn't cause you too many headaches.
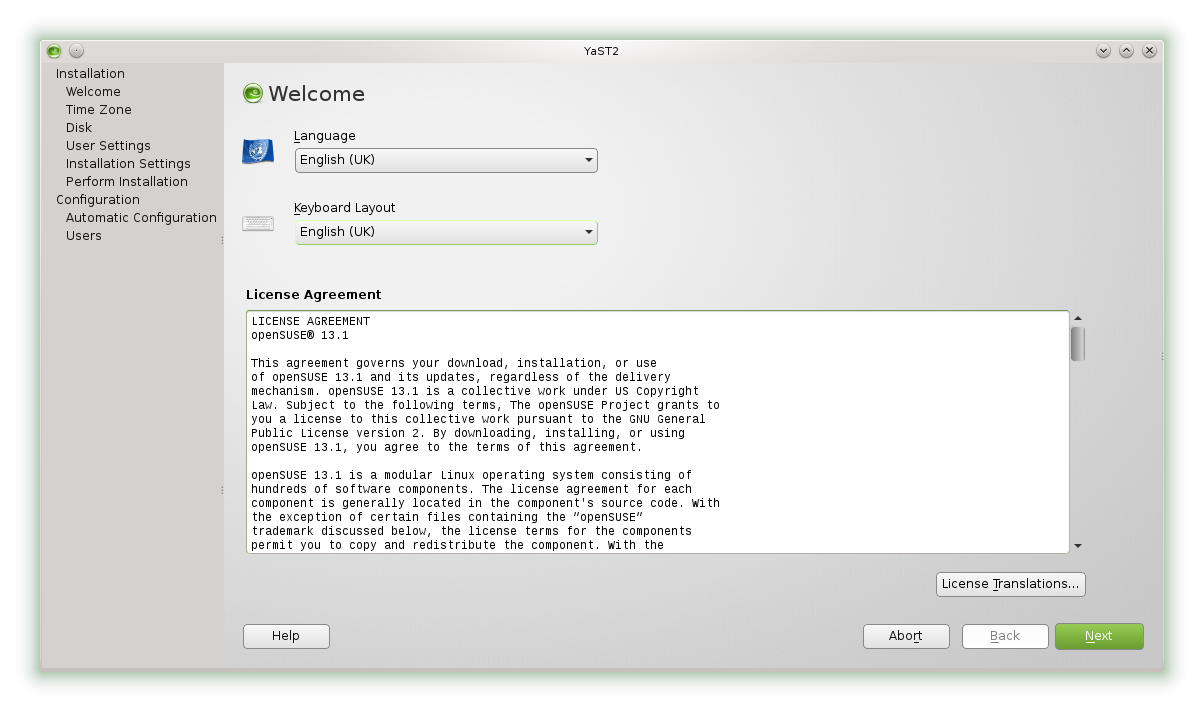
The first screen shows the license agreement. Make sure you read it because there will be a test later.
Click "Next" to continue.
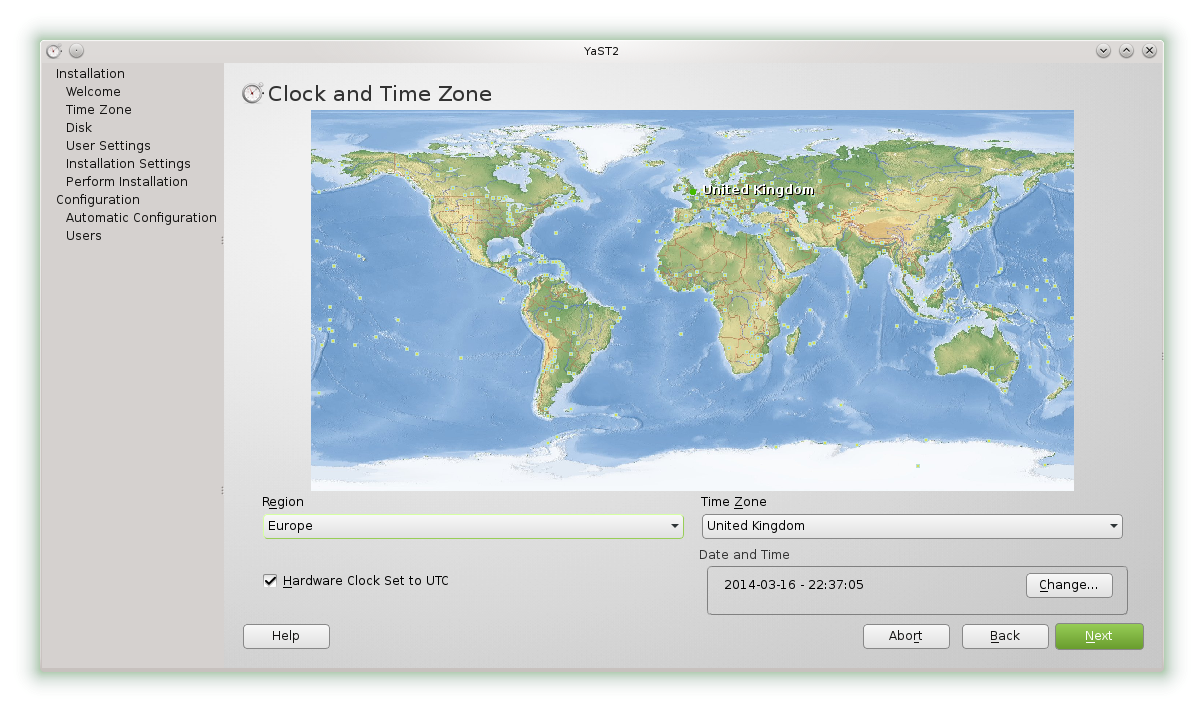
Choose your location by selecting your region and time zone. Click "Next" to continue.
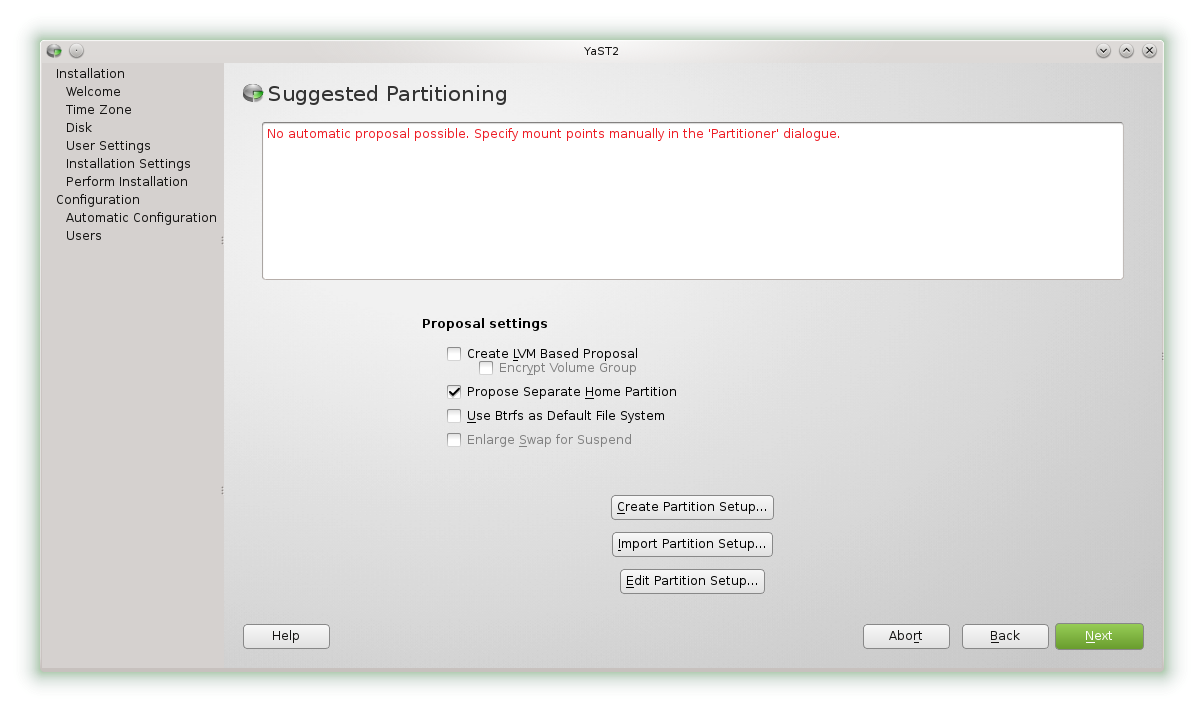
At this point if you are using the full openSUSE DVD you will be asked to choose your desktop environment (Gnome, KDE or other). If you are using the live Gnome or KDE DVD/USB then you will see the screen below.
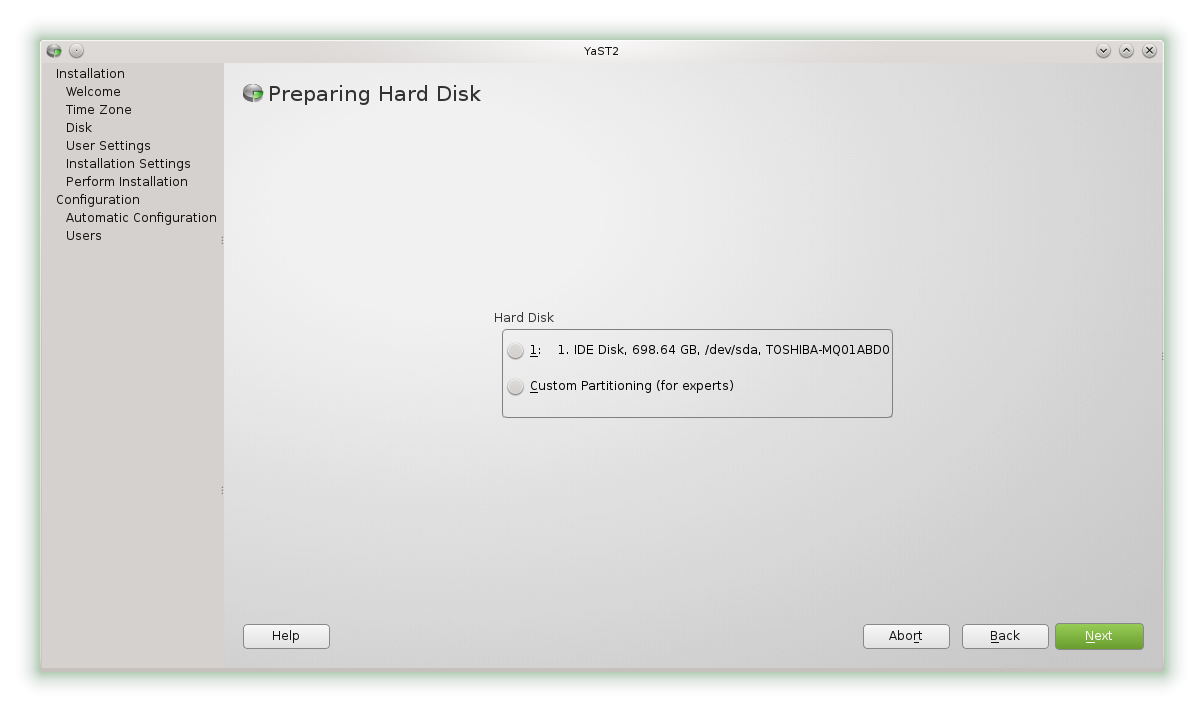
If you selected the "Create Partition Setup" screen you will see a screen like the one above.
If you have multiple disks they will all be shown here. In my case I had one disk and so selected the top option and clicked "Next".
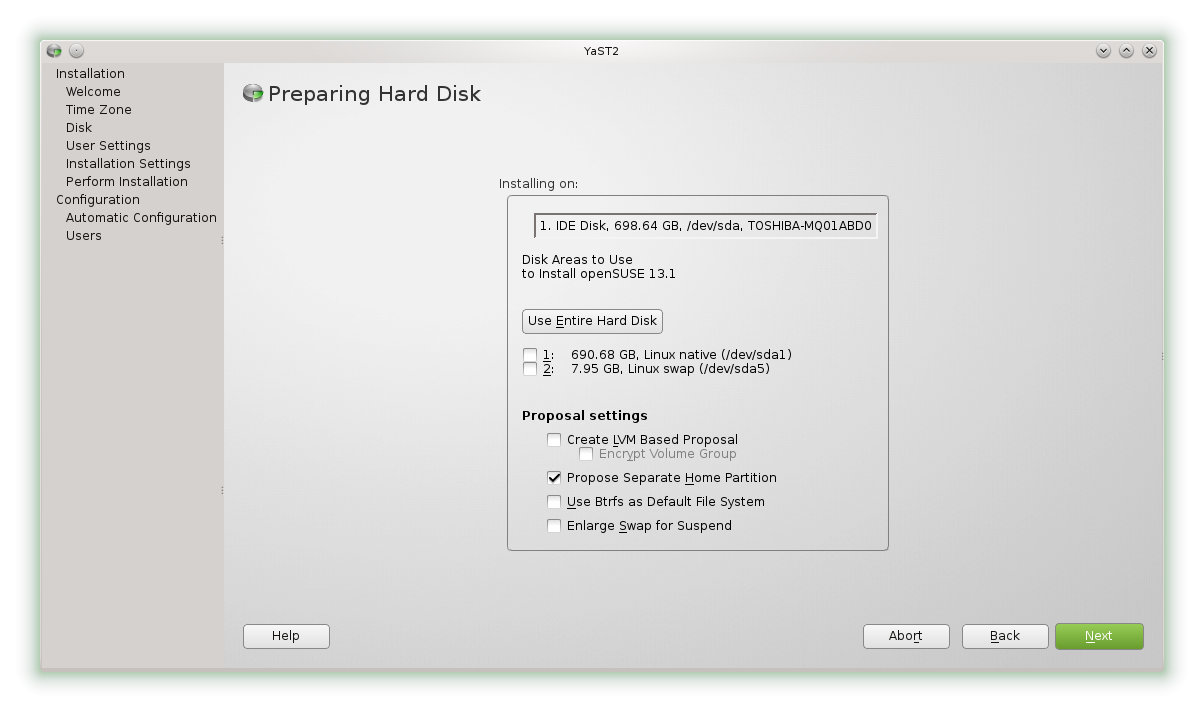
You will now be shown a potential disk layout plan. If you click "use entire hard disk" then both options 1 and 2 will be checked.
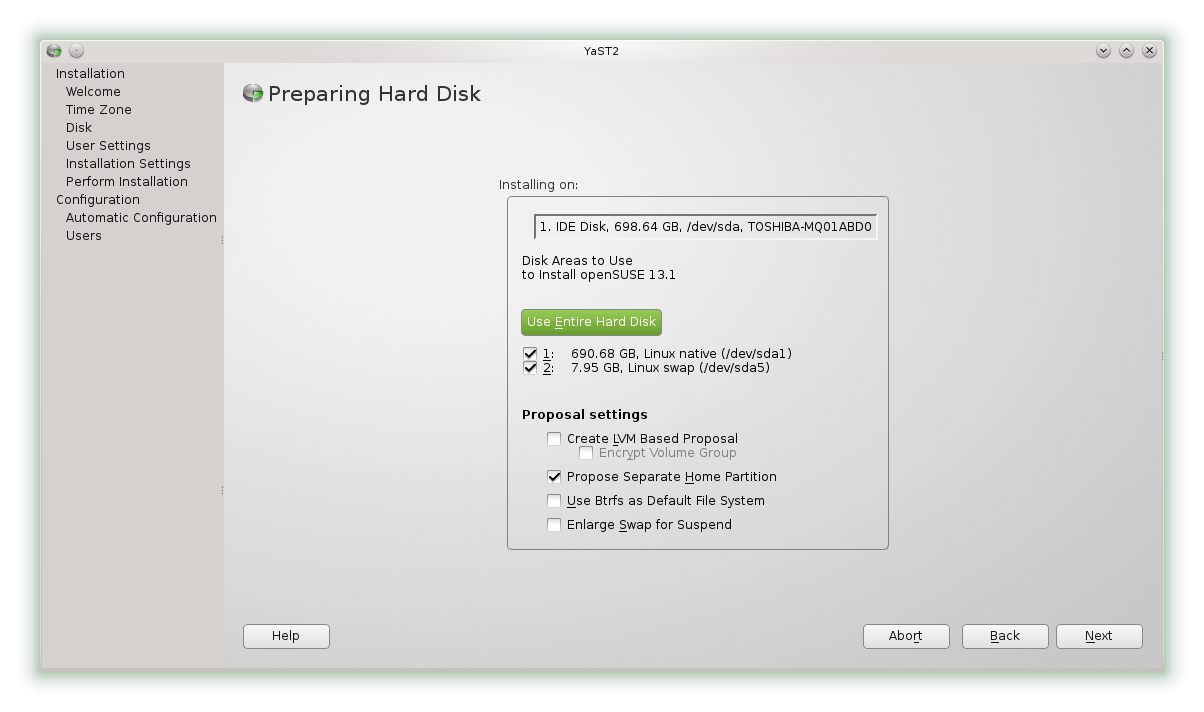
Click "Next" to continue.
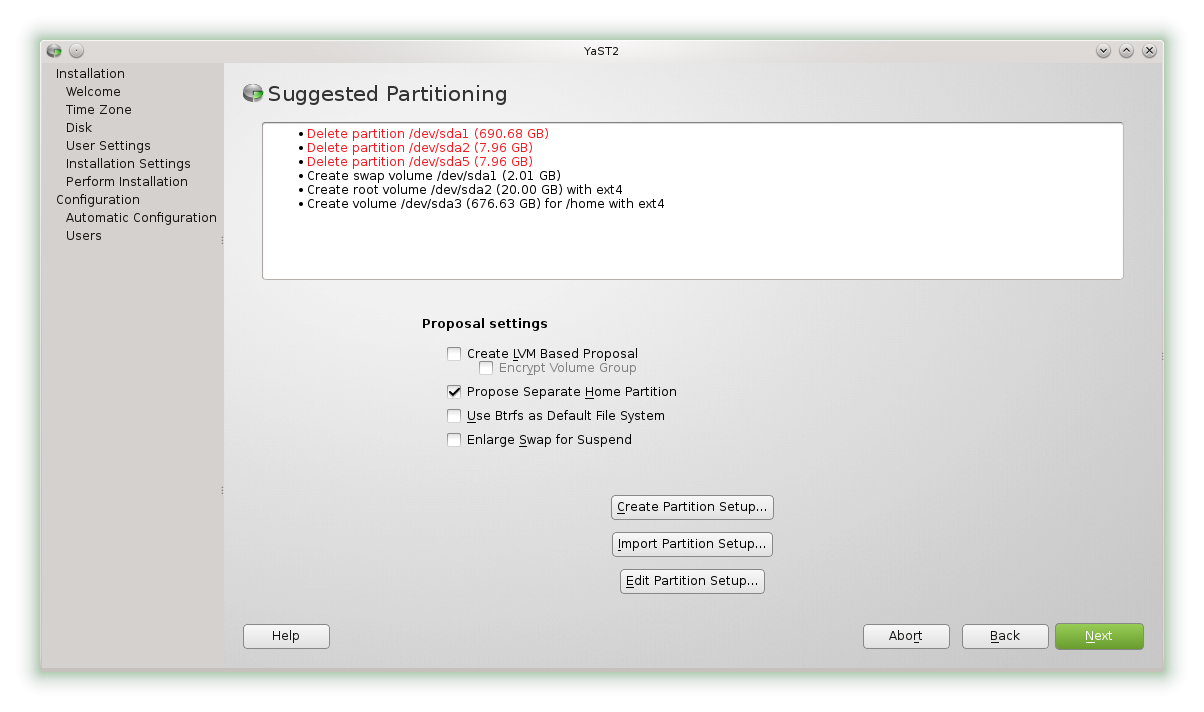
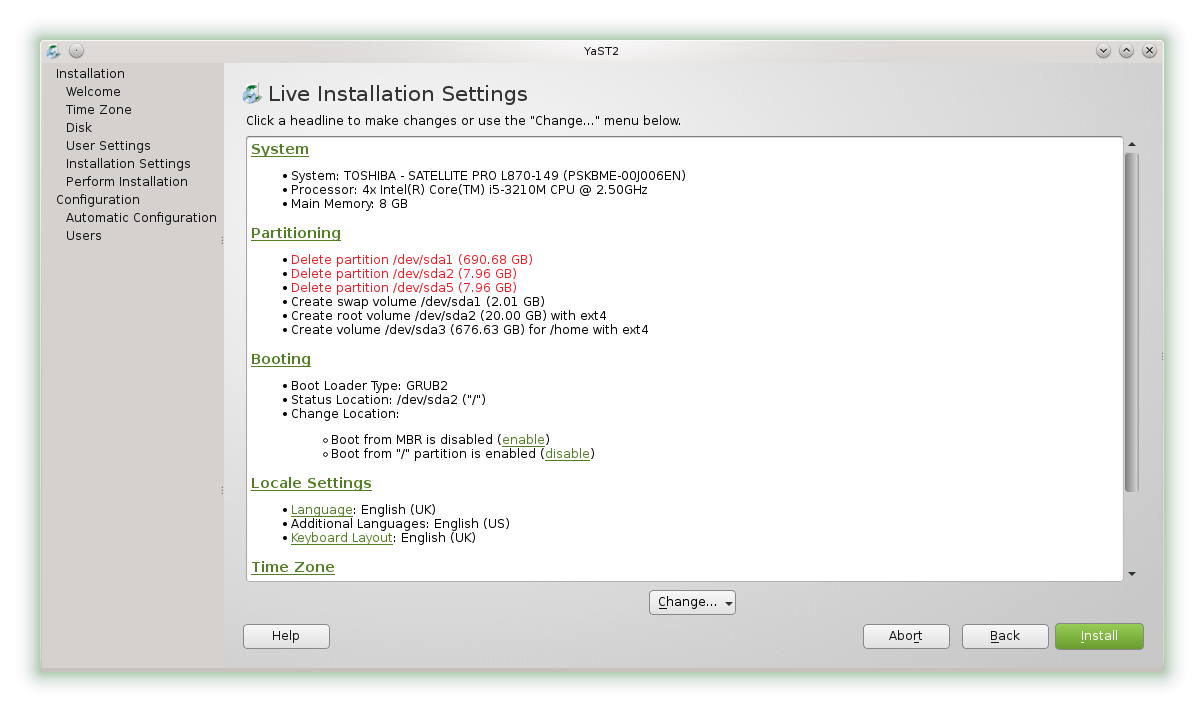
Now hopefully you have a suggested plan. As you can see my plan above shows that it is going to wipe my previous Linux installation and replace it with 3 new partitions.
Note that there is a checkbox to create a separate home partition. Also note the "Enlarge Swap for Suspend" option. If you plan to shut your lid to suspend your computer you will want to check this option.
Click "Next" to continue.
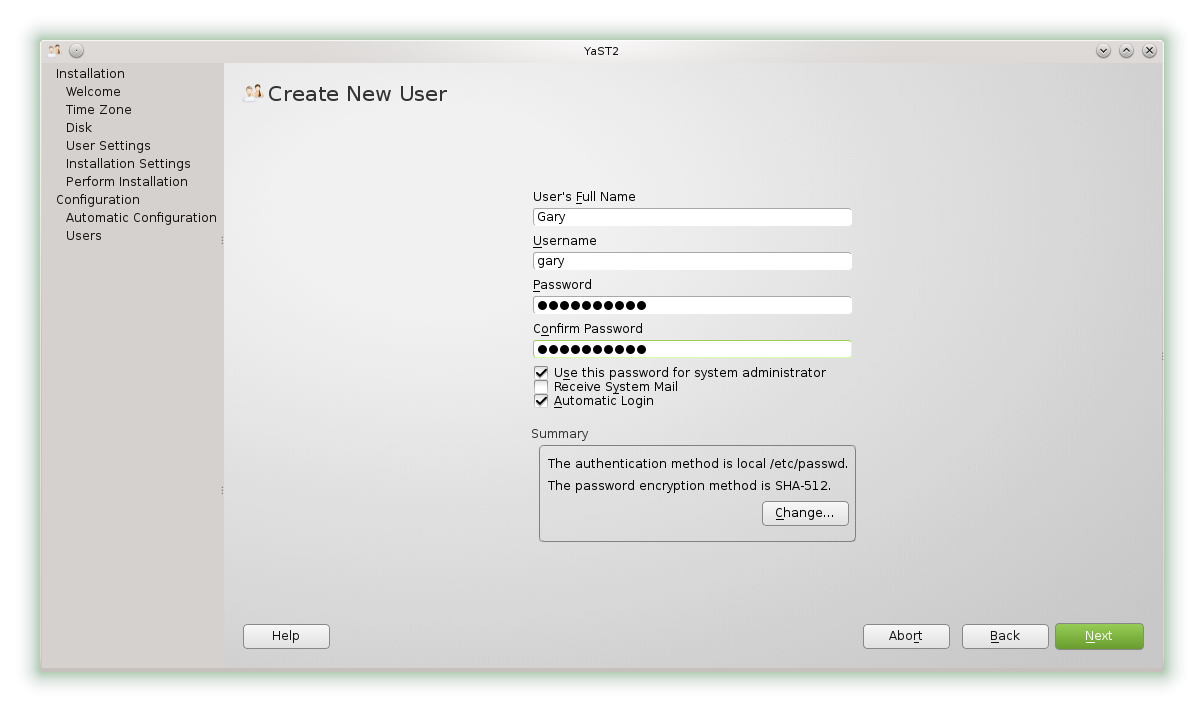
Choose a user name and password. There is a checkbox that is ticked automatically which makes the password you entered the administrator password. Personally I would recommend having a separate administrator password. Note also that you can choose whether to login automatically.
Click "Next" to continue.
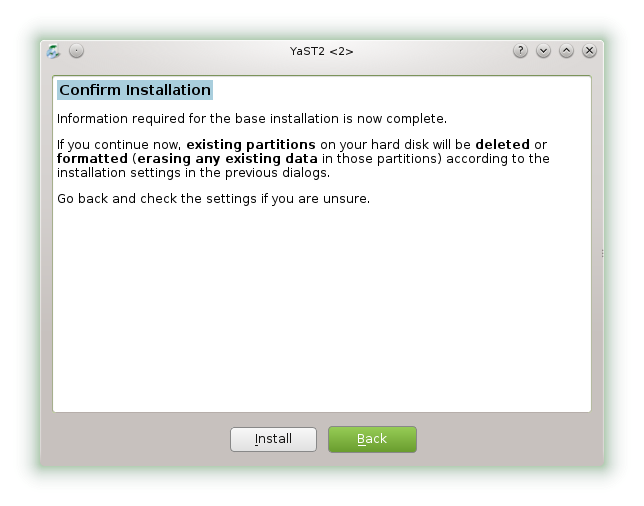
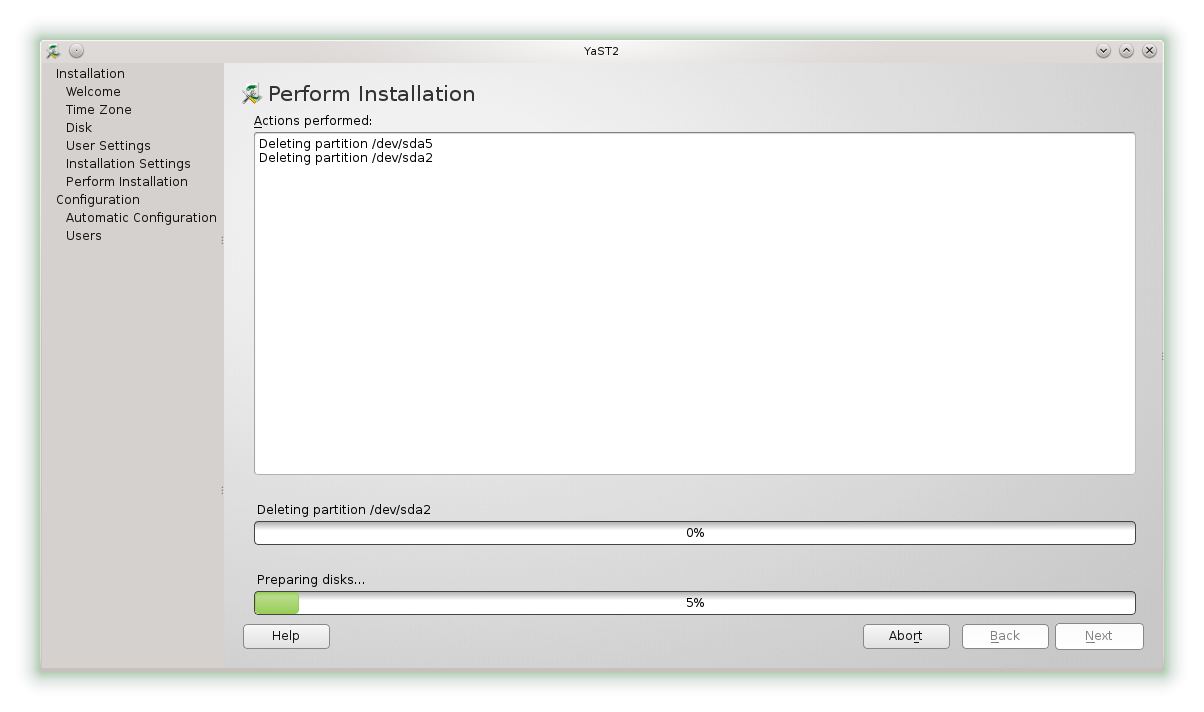
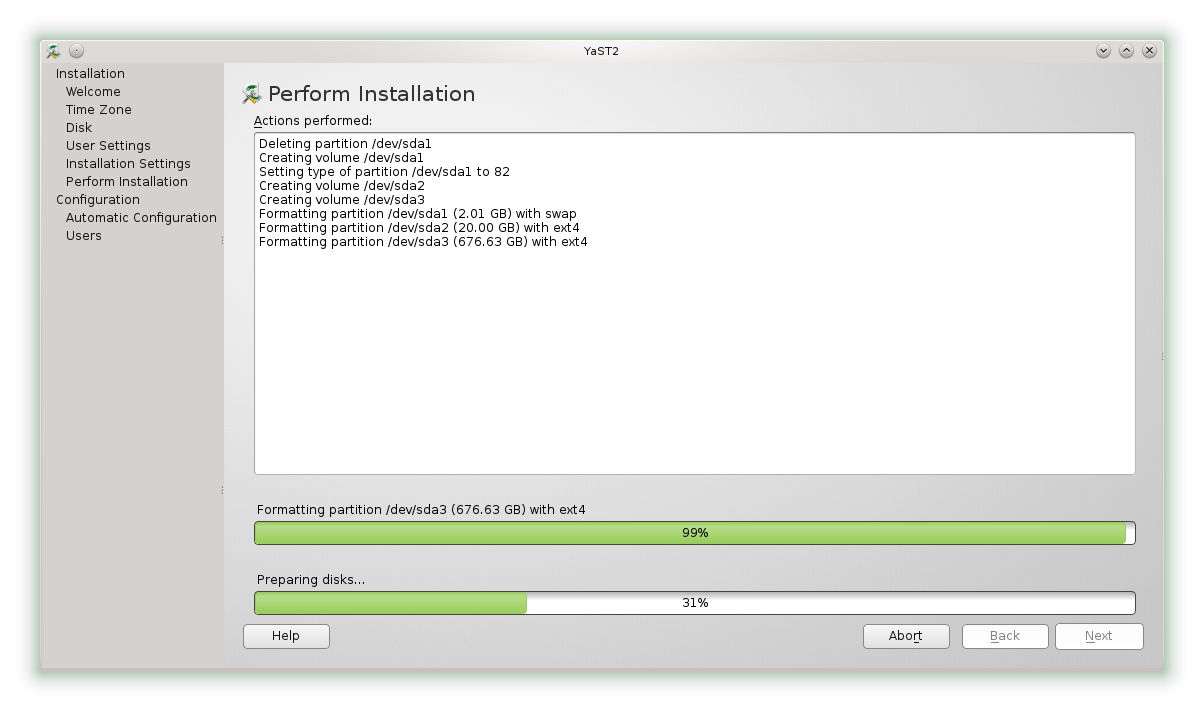
The installation will now begin. Go and get a drink, sit back and relax.
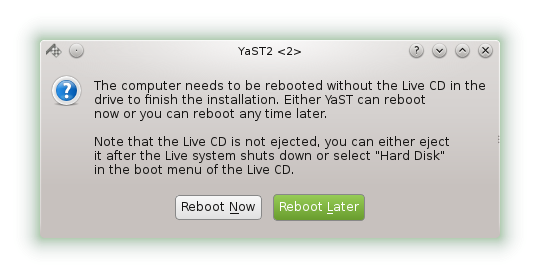
When the process has finished reboot the computer.
You aren't quite done yet though. The system will enter a configuration section where it will start configuring your system. When this is complete you will have a new openSUSE system installed.
I hope this helps some of you. If not there is always the official openSUSE installation guide.

Also feel free to try this ISO to DVD Creator.
ReplyDelete