
Introduction
Before blitzing Windows XP and moving to Lubuntu full time it is worth giving it a test drive to see if it does everything you need it to.
The concept of a live disk is a trick that Linux has that Windows has failed to replicate. You wouldn't buy a car without test driving it so why buy an operating system without trying it?
Now you might think that because Lubuntu is free you have nothing to lose but if you overwrite your Windows XP without trying Lubuntu first and you find out that you don't like it then you will have wasted time and as some people say "time is money".
This guide will show you how to create a live CD and/or a live USB.
If you choose the USB option then you will be able to save data using something known as persistence. This means that when you install applications they will still be installed the next time you reboot from the live USB.
If you choose the live CD then you will be able to try Lubuntu out but every time you reboot you will be back to the base install even if you installed software the last time you used it.
The live version basically loads everything into memory and when that memory is cleared your system is left in the same state as if you hadn't loaded Lubuntu in the first place.
This is the safest way to try Lubuntu without harming your Windows XP installation.
Quick and easy way to get a Lubuntu 14.04 live CD/USB
Creating a live CD is really quite easy but if you would prefer to you can actually buy a live CD with Lubuntu 14.04 already on it or indeed a live USB with Lubuntu 14.04 pre-installed.
1. Download Lubuntu
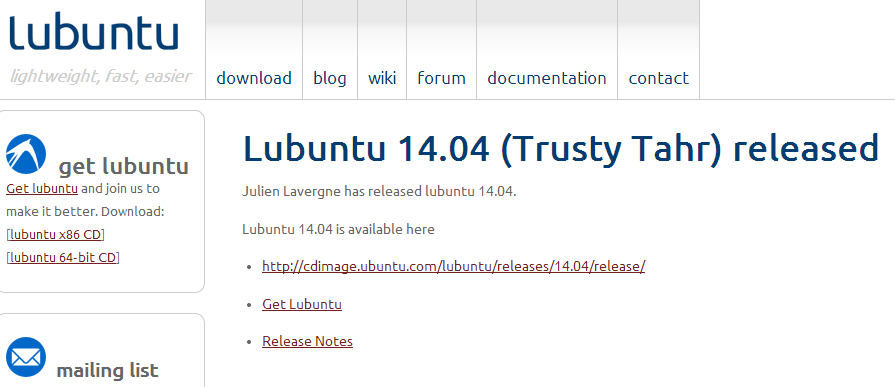
The first thing you will need to do is download the Lubuntu 14.04 ISO image from the Lubuntu website.
To get more information about Lubuntu visit
To download Lubuntu visit https://help.ubuntu.com/community/Lubuntu/GetLubuntu. The download links are halfway down the page.
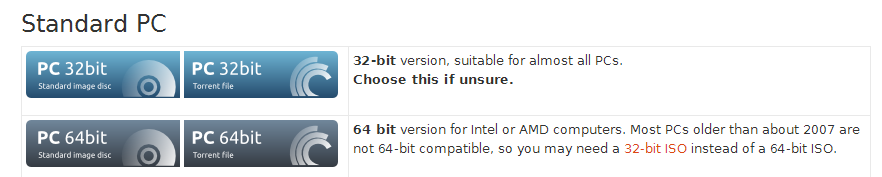
Note that there are two versions of Lubuntu 14.04 available, one is 32-bit and the other is 64-bit.
If you are on older hardware then it is highly likely that you are using a 32-bit computer.
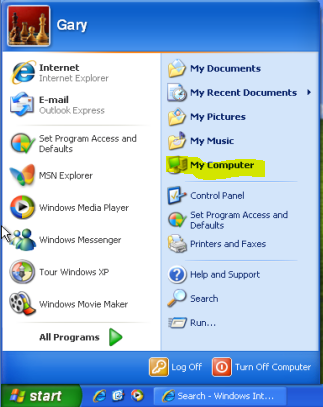
To find out whether you are using a 32-bit computer or not press the Windows start button and right click your mouse on "My Computer". When the context menu appears choose the "properties" option at the bottom.
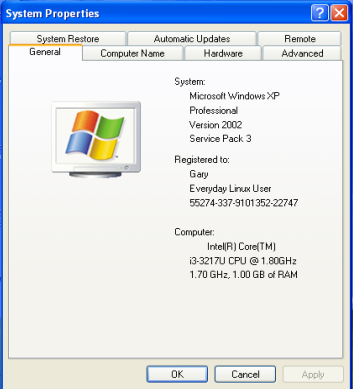
If you are using a 64 bit computer the section that says "Computer" with your computer specifications will say 64-bit. If it doesn't then it is a 32-bit computer.
Note that there are 4 download buttons, 2 for 32-bit and 2 for 64-bit. For a direct download click the "standard image disc" link. If you prefer to use torrent software click the "torrent file".
2. Install Disc Burning Software
If you plan to create a live USB drive skip to step 4.
The disc burning software that I like to use in Windows XP is called CDBurnerXP and can be downloaded for free from https://cdburnerxp.se/en/home
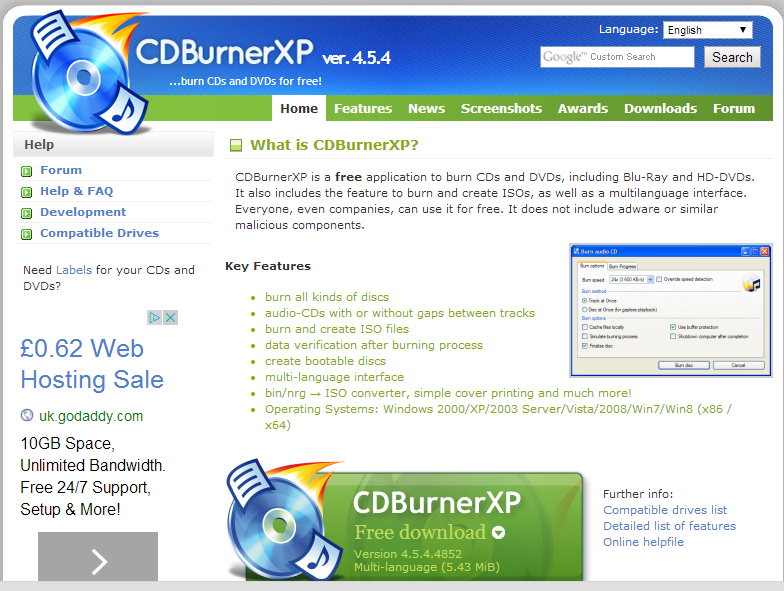
Visit the download page and click on the big download icon with the green background.
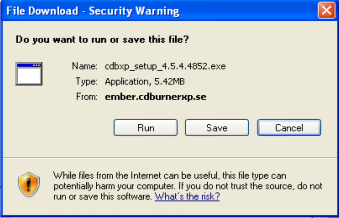
When the file download icon appears it is usually a good idea to save the file, scan it for viruses (using your virus scanner) and then double click the icon. The alternative to this approach is to just fly by the seat of your pants and click "Run".
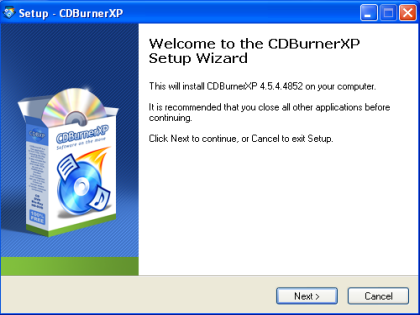
The first screen shows the usual Welcome message and you can just skip through this by pressing "Next".
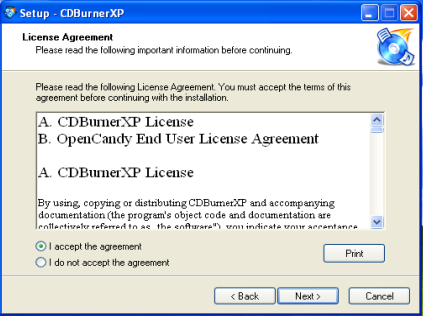
The next screen shows the license agreement. Accept the agreement by checking the radio button and click "Next".
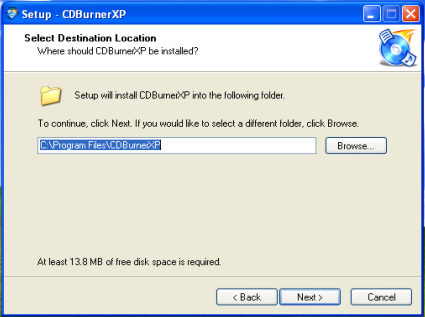
You will now be asked where you want to install CDBurnerXP. Choose the folder you wish to install it to or leave the default if you are happy to.
Click "Next" to continue.
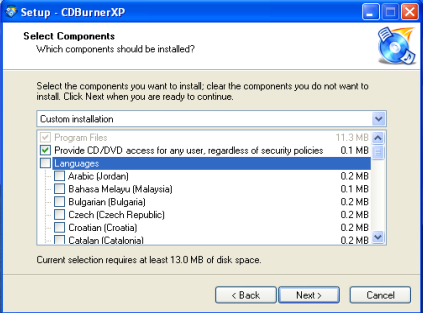
If you so wish you can now choose to add extra languages.
Click "Next" to continue.
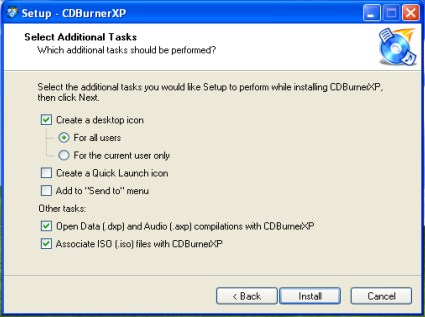
Almost there now. You are now asked to choose whether to create desktop icons, quick launch icons, etc. Notice that there is a checkbox at the bottom that associates ISO files with this program. Make sure this option is checked.
Click "Install".
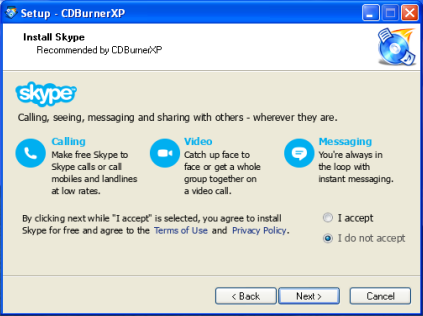
Most free software in the Windows world has the habit of asking whether you want to install something else. I recommend selecting "I do not accept".
Click "Next".
The software will now be copied and installed onto your system and when the installation is complete the application should run.
3. Burn the Lubuntu ISO to a CD
The Lubuntu ISO image still fits onto a blank CD. Most other distros now require a blank DVD. This is important for older hardware because not all the older computers out there will have a DVD writer but most will have a CD writer.
To create a bootable CD either double click on the Lubuntu ISO file downloaded in step 1 or open CDBurnerXP.
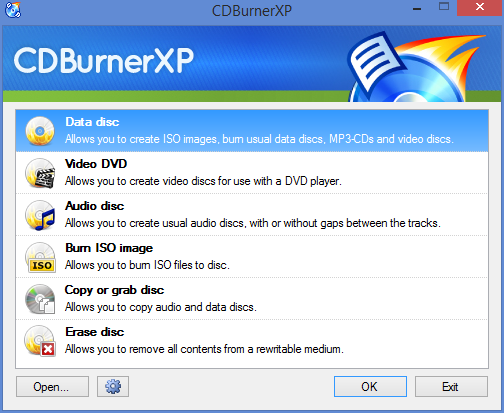
If you opened CDBurnerXP from the desktop icon then you will have a number of options available. Choose "Burn ISO Image".
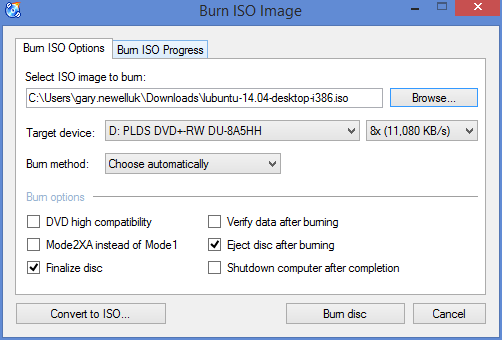
If you double clicked on the ISO you will see the above screen with the ISO image already selected otherwise you will have to click the "Browse" button and find the Lubuntu ISO image that you downloaded in step 1.
Now you will need to insert a blank CD in your CD writer and click "Burn Disc".
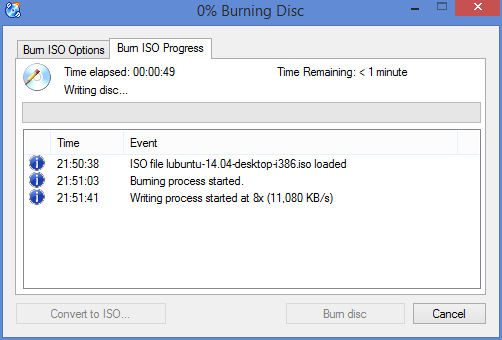
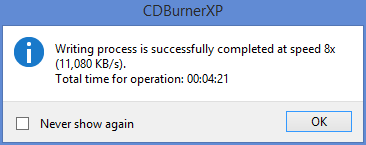
When the process is complete you will now be able to boot into Lubuntu live simply by keeping the CD in the drive and rebooting the computer.
You can now skip to step 6

Halfway down the page is a download link. Click on that link to download the software.
Again, the best thing to do is save the file, scan it for viruses and then double click the executable from the downloads folder but if you feel like going wild simply click "Run".
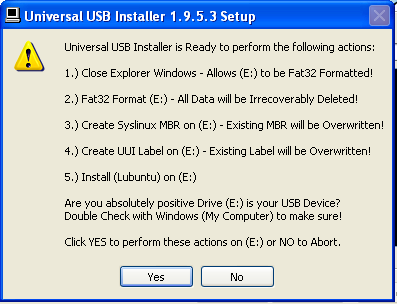
A warning will now appear informing you the steps that the installer will follow.
Click "Yes" if you are happy to continue.
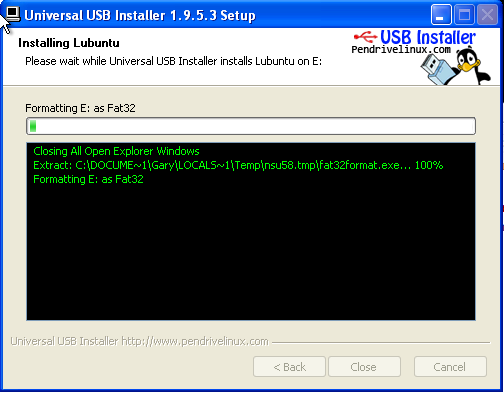
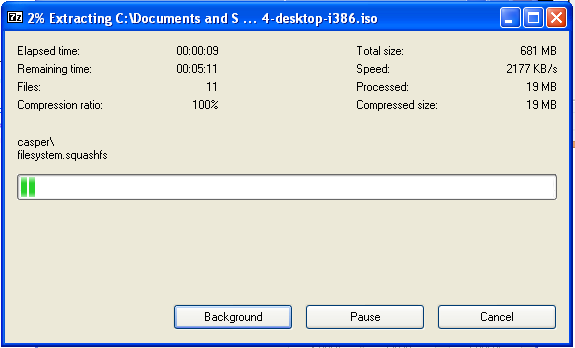
A progress bar will now appear and there is some indication as to how long the process will take.
Note that when this finishes you will go back to the previous screen and a few more minutes will go by as the installer creates the persistence file. Do not close the window, it isn't stuck.
When all is done the close button will become available and a message will appear stating the installation is complete.
You can now skip to step 6
4. How to create a Lubuntu live USB drive
Before you begin make sure that you have a blank USB drive. If you don't have one you can from all good computer supply stores and a few bad ones as well.
Insert the USB drive into one of the available ports on your computer.
The software used to create a bootable USB drive is called "Universal USB Installer". You can download "Universal USB Installer" from http://www.pendrivelinux.com/universal-usb-installer-easy-as-1-2-3/
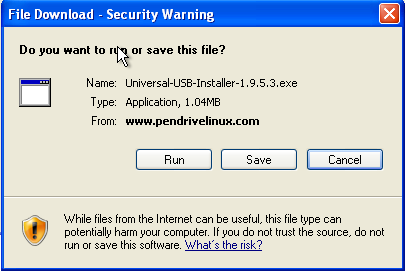
Again, the best thing to do is save the file, scan it for viruses and then double click the executable from the downloads folder but if you feel like going wild simply click "Run".
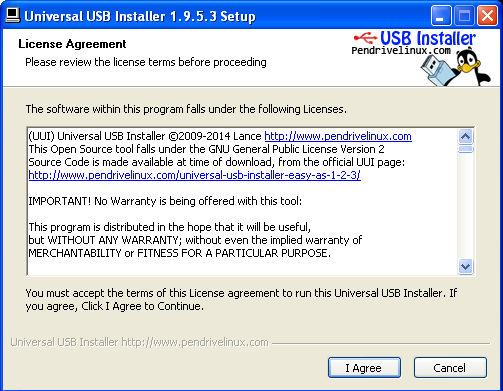
The first step is to agree to the license agreement. Click "I Agree".
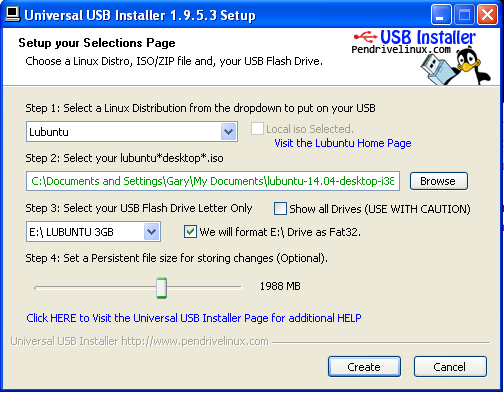
The 2nd screen requires a bit more thought and comes up in stages.
The first thing to do is select "Lubuntu" from the drop down menu. This will bring up the rest of the options.
Click the "Browse" button and find the Lubuntu ISO downloaded in step 1.
Select the USB drive from the dropdown in step 3 and if your USB drive isn't empty then select the "We will format" option.
(Note that you will lose all data on that drive)
To create a persistent USB drive slide the bar along until you think you have allocated enough space for the drive.
Click "Create" to create the Lubuntu live USB drive.
Click "Yes" if you are happy to continue.
The drive will now be formatted and the files will be copied to the drive.
Note that when this finishes you will go back to the previous screen and a few more minutes will go by as the installer creates the persistence file. Do not close the window, it isn't stuck.
When all is done the close button will become available and a message will appear stating the installation is complete.
5. Booting the Lubuntu live USB
If you are on older hardware it is likely that the hard drive is higher in the boot order than the USB drive.
Reboot your computer and before it starts up again look for a message that says something like "Press F2 to enter setup screen". It will flash up very quickly.
If in doubt search Google for your make and model and find out which button to press to enter the BIOS.
Generally speaking it is likely to be F2, F10 or F12. If in doubt try all of them.
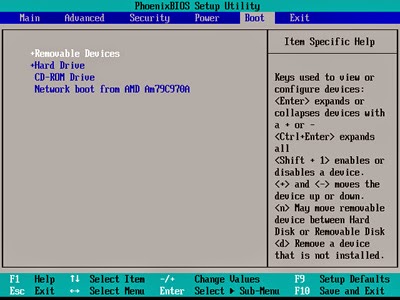
The above image shows a typical BIOS screen. They all differ ever so slightly but what you are looking for is a boot menu which shows the drives available.
You need to get the "Removable Drives" option to appear above the "Hard Drive".
For the BIOS above you would select "Hard Drive" and press the minus button (-) on your keyboard to move it down the list.
Now insert your USB drive from step 3 and press F10 to save and exit (this may be different for other BIOS setups but you are looking for the save and exit option).
Your computer should now boot up into Lubuntu first.
6. Boot into the Live version of Lubuntu
Insert either the CD or USB into the drive and boot your computer.
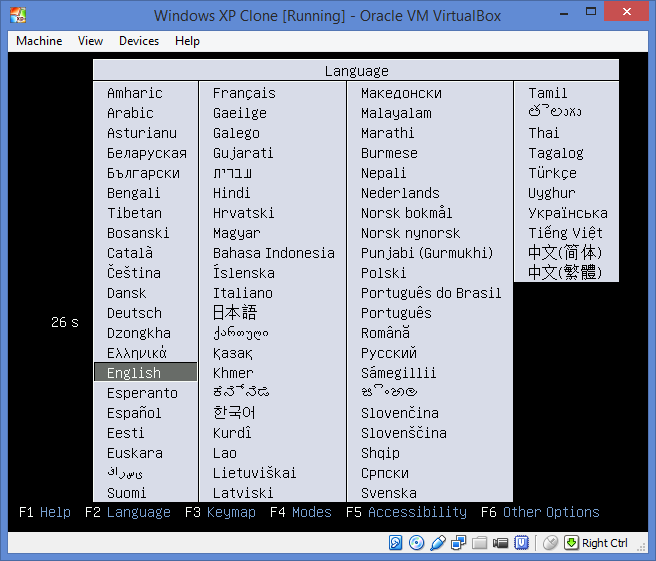
The first thing you will need to do is choose the language you wish to use. You can use the arrow keys for this and then press return.
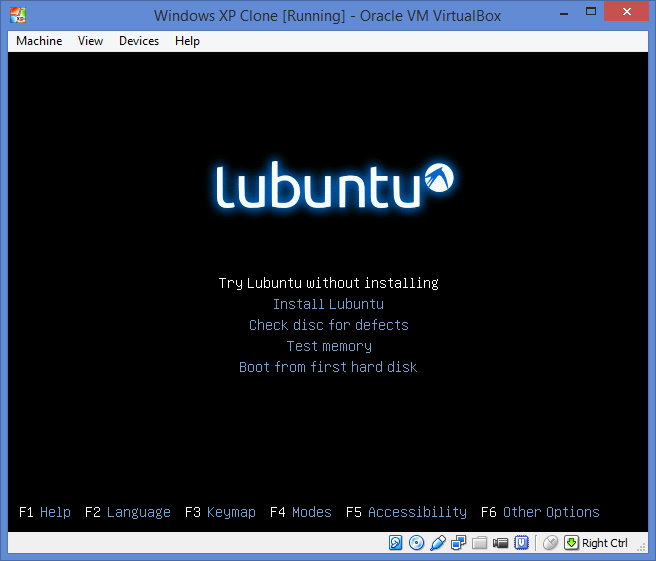
A boot menu will now appear. To boot Lubuntu in live mode make sure the top option "Try Lubuntu without installing" is highlighted and press return.
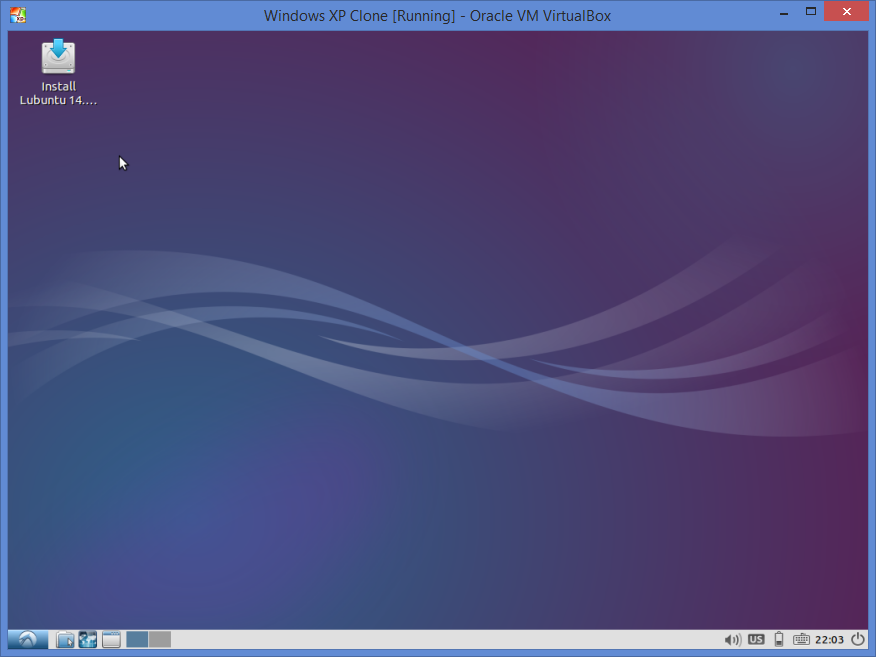
Your computer should now boot into Lubuntu.
To get back to Windows XP reboot your computer and remove the CD or USB drive.
Summary
I realise that you now have a live Lubuntu disk or USB drive and you may not know what to do next.
There are some great videos on Youtube which will give you an insight of how to use Lubuntu.
You can also play around a bit to see if you can work out how it works.
I will be writing a review and tour guide for Lubuntu in a couple of days time.
Thankyou for reading.

Does "Try Lubuntu without installing" mean persisent memory? Can I install something on it? And will it stay the next time I log in again?
ReplyDeletewhat will happen if you press install
ReplyDeleteIt will install it to your hard disk, and you cannot install any more copies of windows. (sorry for late reply)
DeleteWhere did my 20 line comment go???
ReplyDeleteWhere did my 40 line comment / rant go???
ReplyDelete