
Introduction
I reviewed Q4OS for the first time last September and the review was largely positive.
In that review I had mixed feelings however because it looked like Windows from circa 2000 but was incredibly responsive and worked really well.
Well a year has gone past and it is time to take another look. This time I have tried it on a slightly more powerful computer and for the next month I am going to use it as my only operating system to see if it really will work as not only a Windows replacement but also a Ubuntu or Mint replacement as well.
How To Get Q4OS
Visit the Q4OS webpage to find more information about it before committing to installing it on your system.
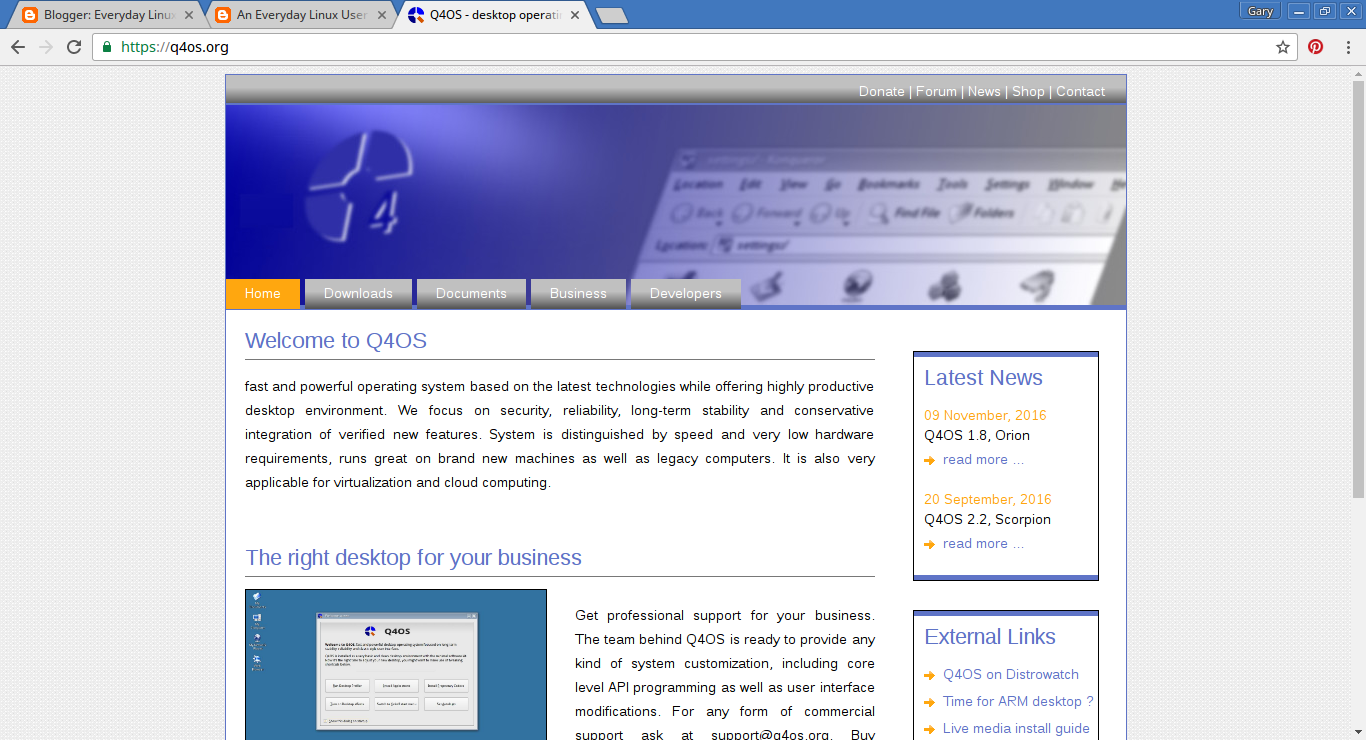
When you are happy that this is the type of operating system you are interested in click on the download page.
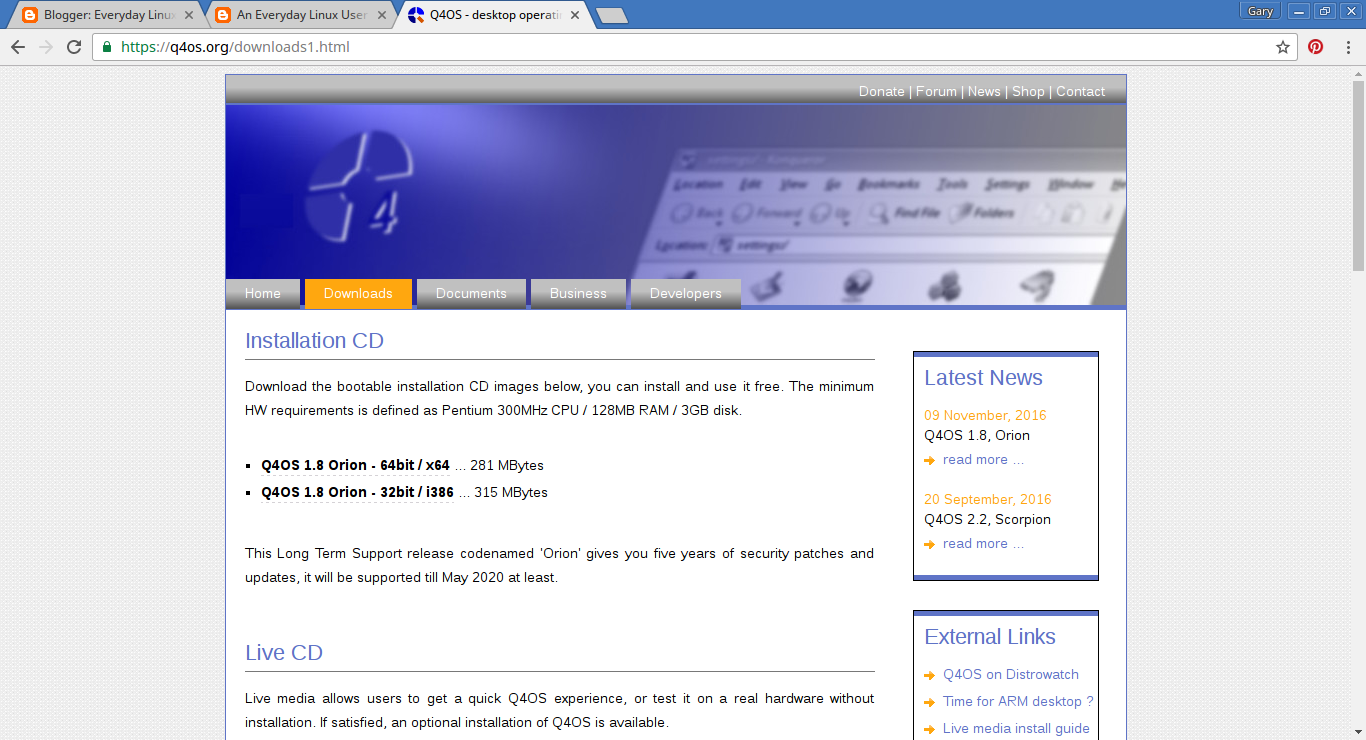
There are a number of options available including an installation image, live image and even a Raspberry PI image.
For each option you can choose between 32-bit and 64-bit.
The first thing you will notice is the size of the ISO images involved. The largest image is just over half a gigabyte.
How To Create A Q4OS USB
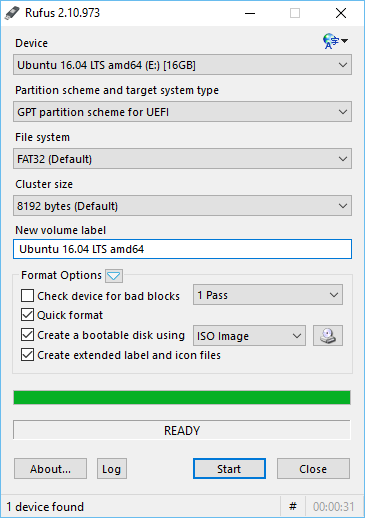
To create a bootable Q4OS drive I found the best tool to use was Rufus which can be downloaded from https://rufus.akeo.ie/.
Start by inserting a USB drive. Make sure it has nothing on there that you want to keep because it will be formatted.
Make sure the device dropdown points to the drive letter of your USB drive.
For the partition scheme you will want to choose MBR for a computer that runs a standard BIOS or GPT for a computer with UEFI.
Give the volume a name and make sure quick format is checked, create a bootable drive using ISO image is checked and create extended label and icon files is checked.
Next to the ISO image dropdown there is a folder icon which when clicked lets you choose the Q4OS ISO image.
When you have chosen the correct ISO image click on "Start".
The USB drive will now be created and you should be able to boot into Q4OS.
How To Install Q4OS
The live version of Q4OS works pretty well. The keyboard is set to US English but this can be fixed although it is better to wait until the full installation.
You can connect to the internet by clicking on the network icon in the bottom right corner and from there you can use the live image to really test it out.
The changes however are not persisted so if you reboot you will lose any changes made.
On the desktop you will see an icon called "Install Q4OS".
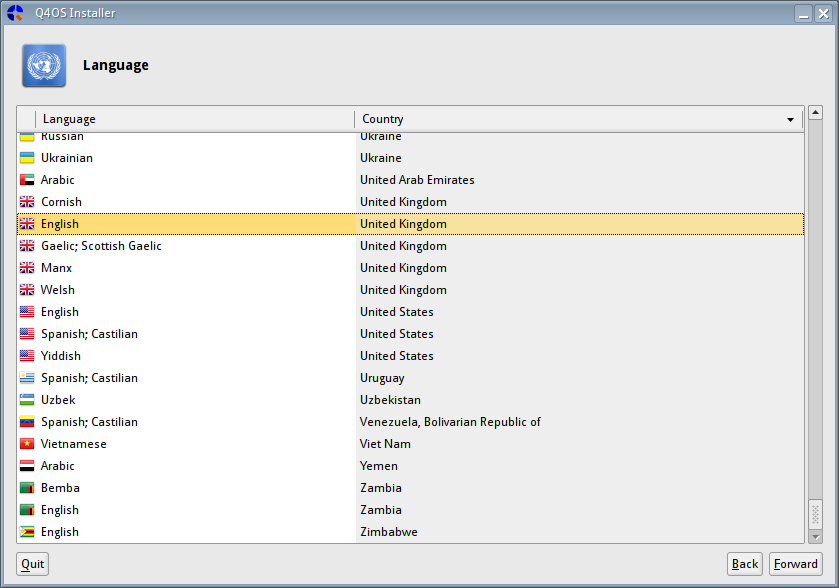
The first screen lets you choose the installation language.
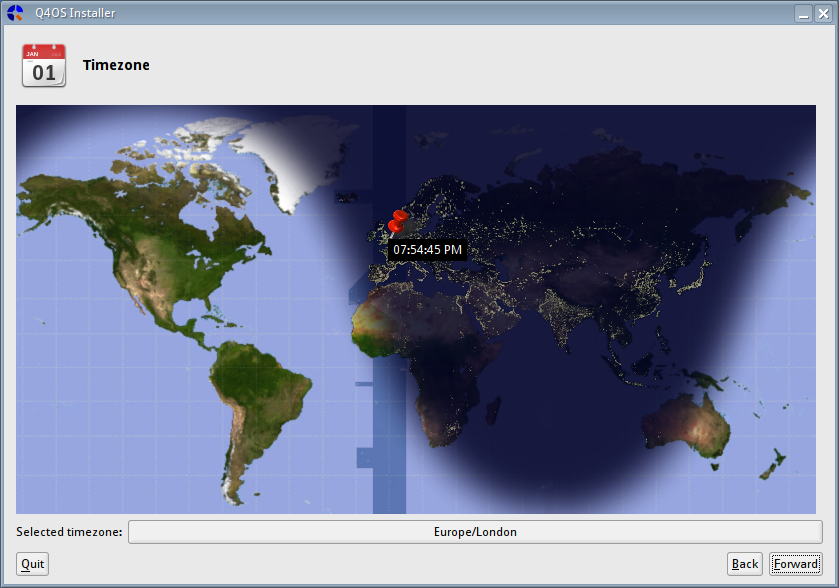
You then choose your location on the map to set your time.
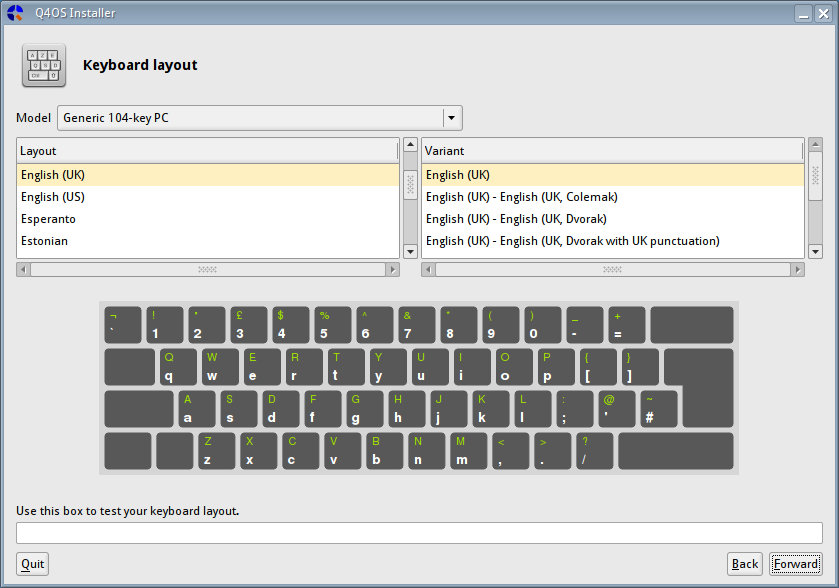
The next step is to choose your keyboard layout.
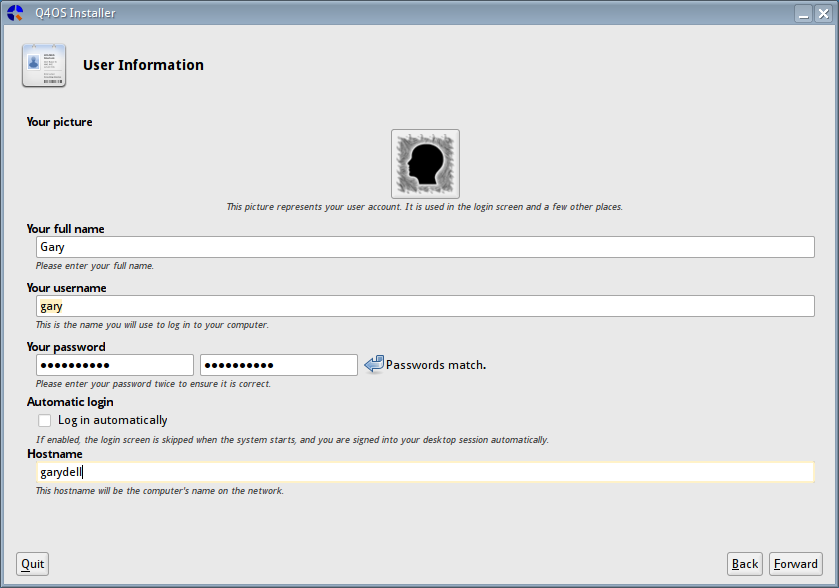
You now need to create a user. Enter your full name and a username and then enter a password (and repeat it).
You can choose whether the computer logs in automatically (not recommended) and you can set the hostname which is how your computer will appear on a network.
If you so choose you can also add an image for the account.
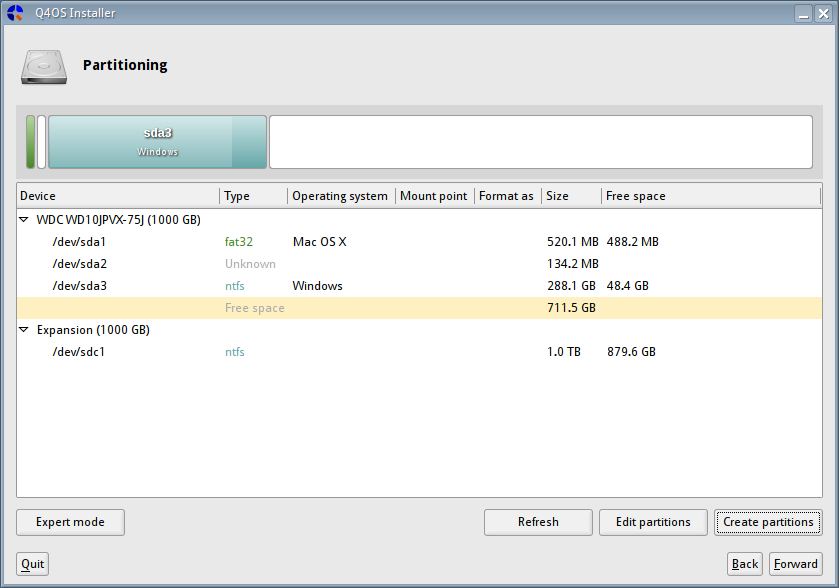
Now comes the tricky bit. Partitioning the drive.
If you are simply replacing Windows or any other operating system then all you need to do is click the "Create Partitions" button.
Note: The "Create Partitions" button is unforgiving. If you click it and answer yes to the warning you will lose anything that is currently on the drive.
If you want to dual boot with Windows (or another operating system) click on the free space (You can get free space from Windows by shrinking the drive). Then choose edit partitions. You can create partitions from the free space. You definitely need a root partition (/) and you can optionally create home and swap partitions from that free space.
I chose to replace Windows with Q4OS and so clicked the create partitions button and accepted the warning.
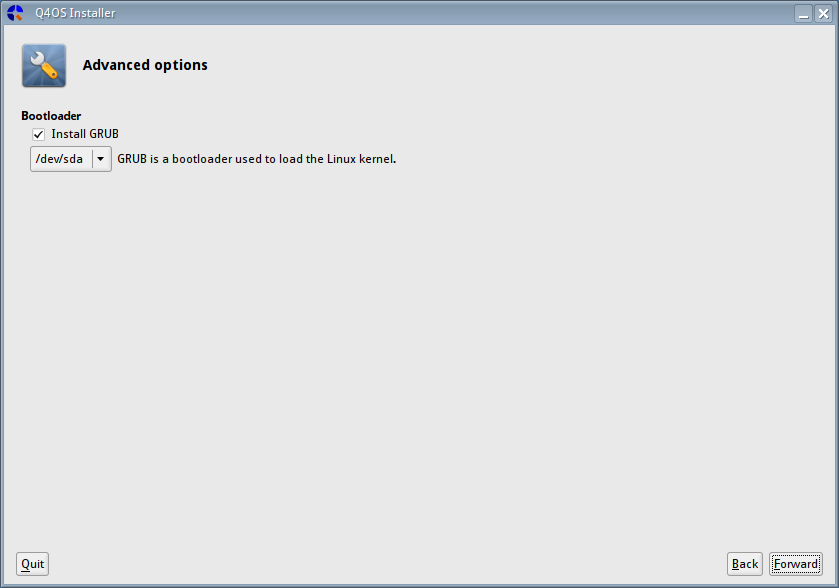
Almost there now. Check the "install grub" option and choose where to install it to.
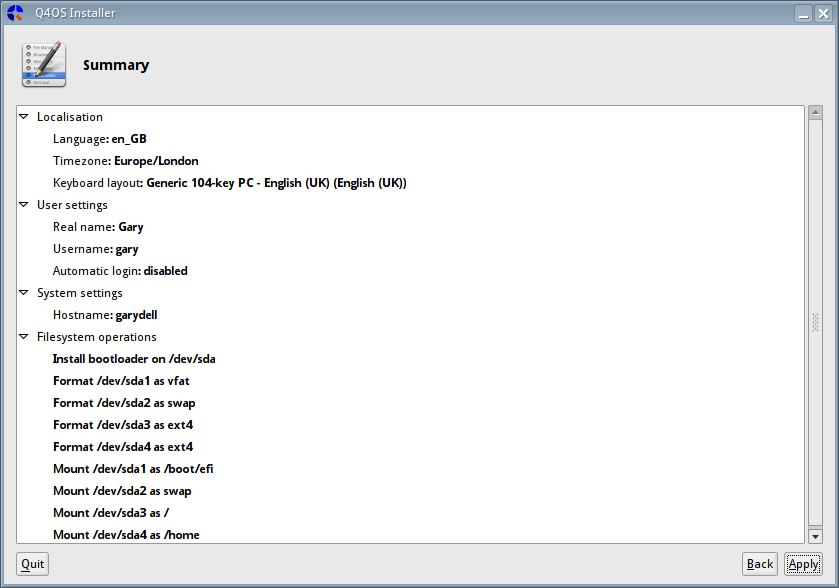
Finally click "apply" and Q4OS will start to install to your computer. When it has finished reboot the machine and remove the USB drive.
It is much easier to install Q4OS to replace Windows than dual boot. Note that Q4OS has a similar look and feel to Windows and therefore dual booting doesn't particularly seem a sensible option in this case.
First Impressions
The initial desktop is fairly plain looking and it has to be said old school.
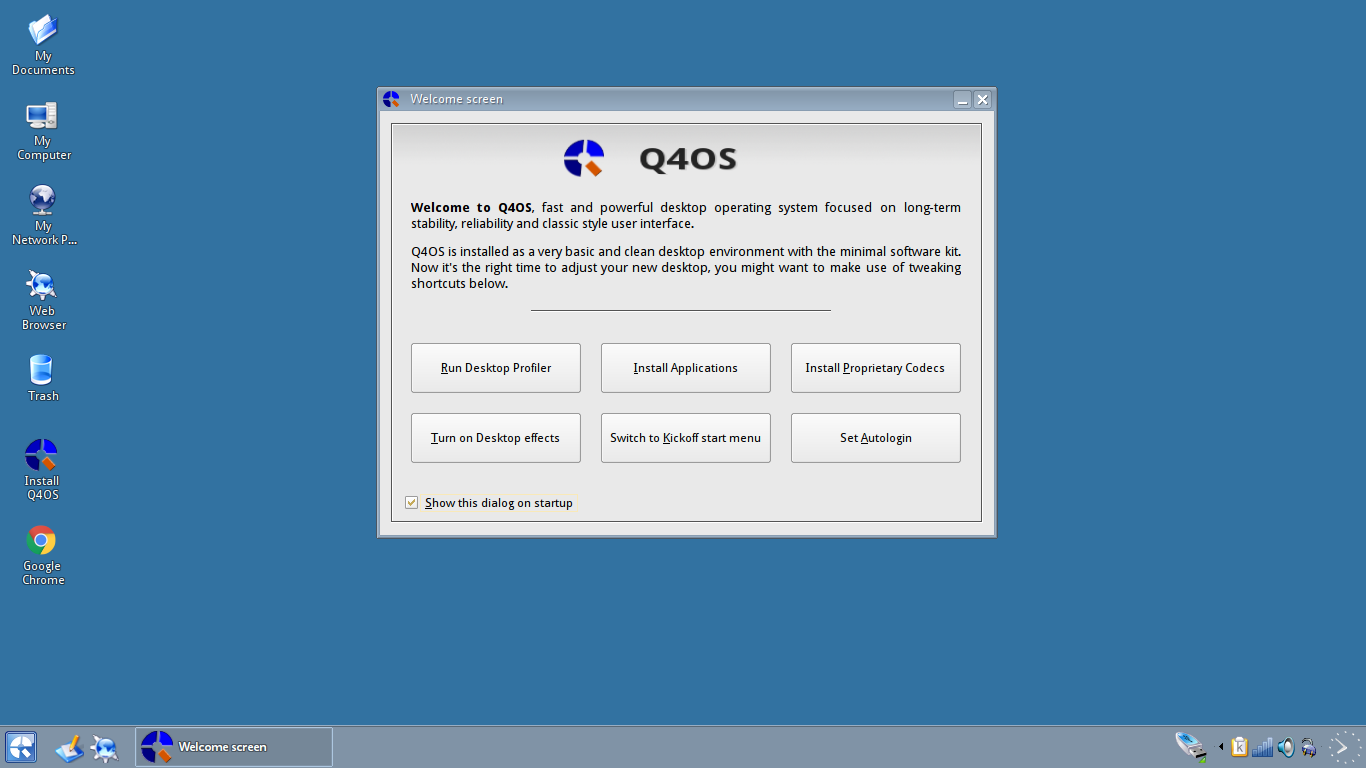
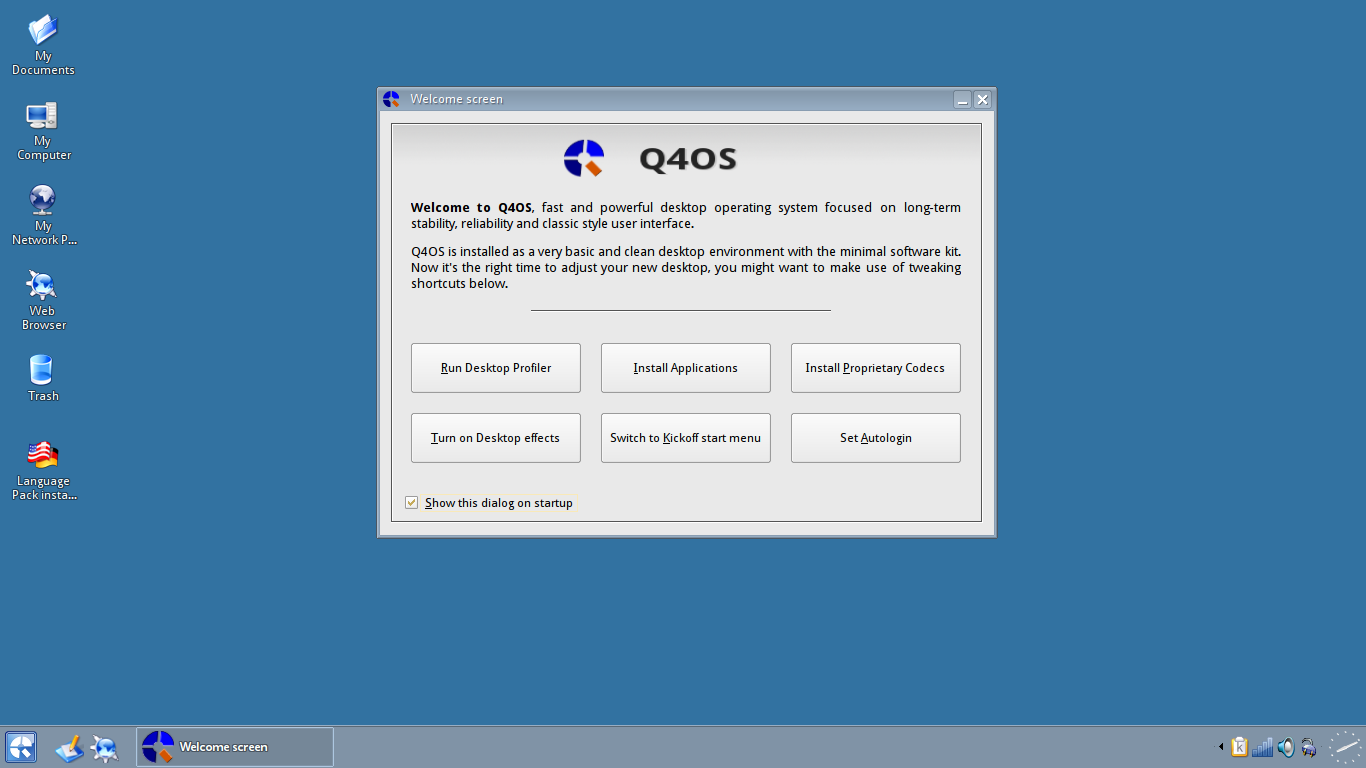
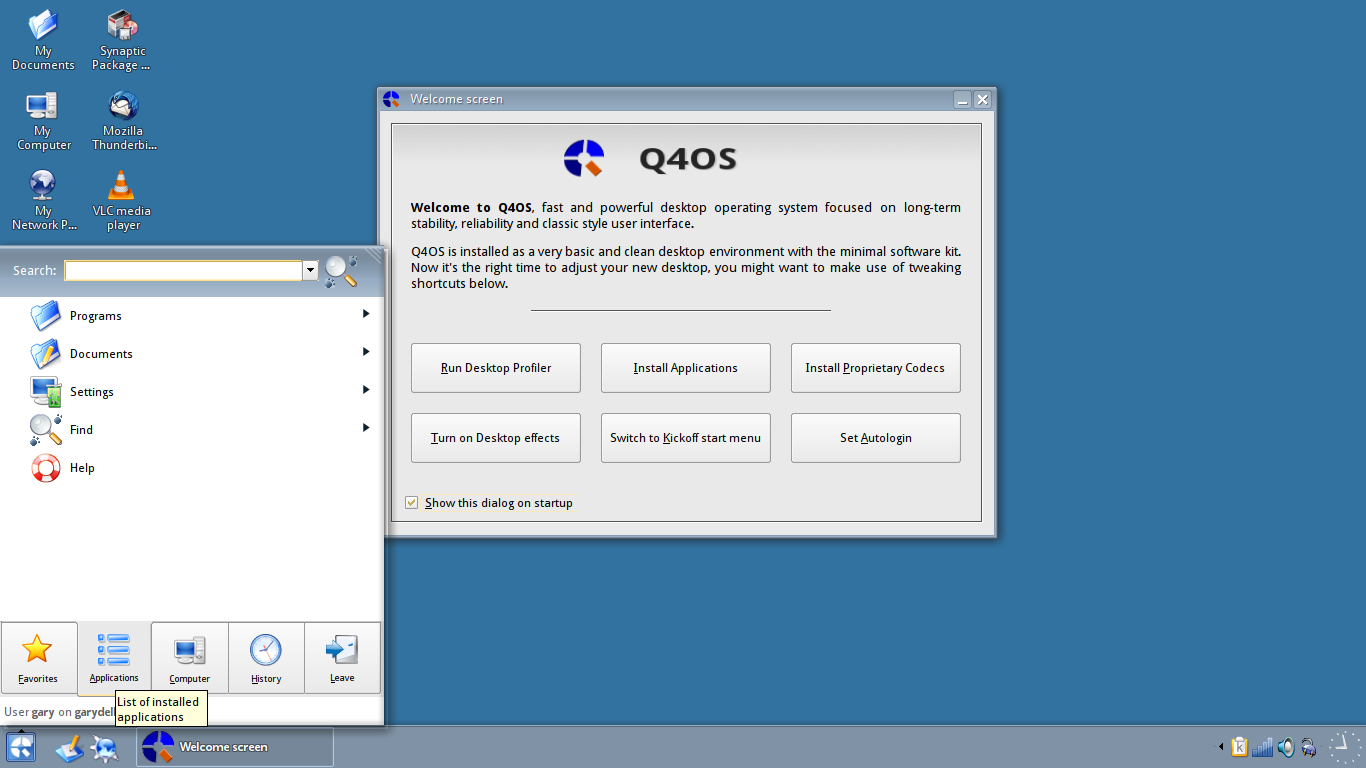
The welcome screen is an important resource and you should work your way through the buttons on the welcome screen before closing it.
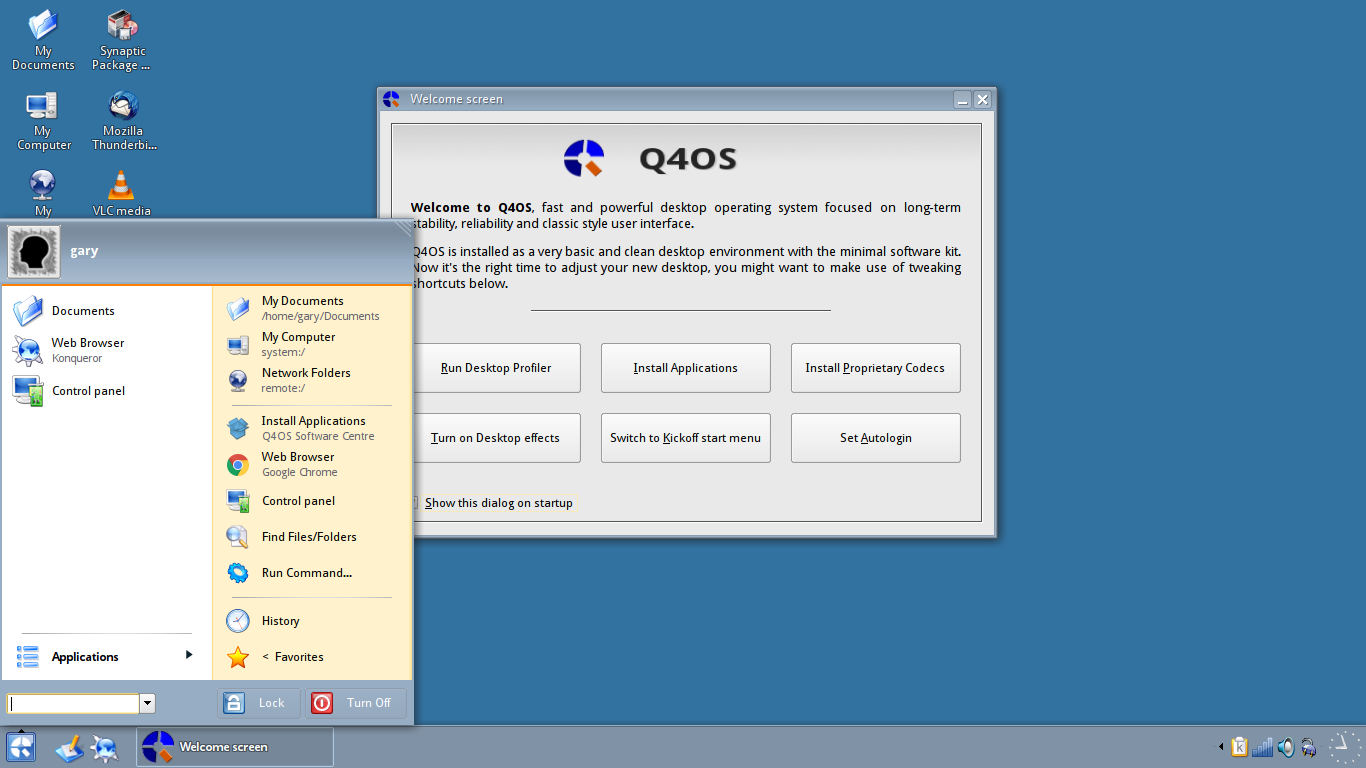
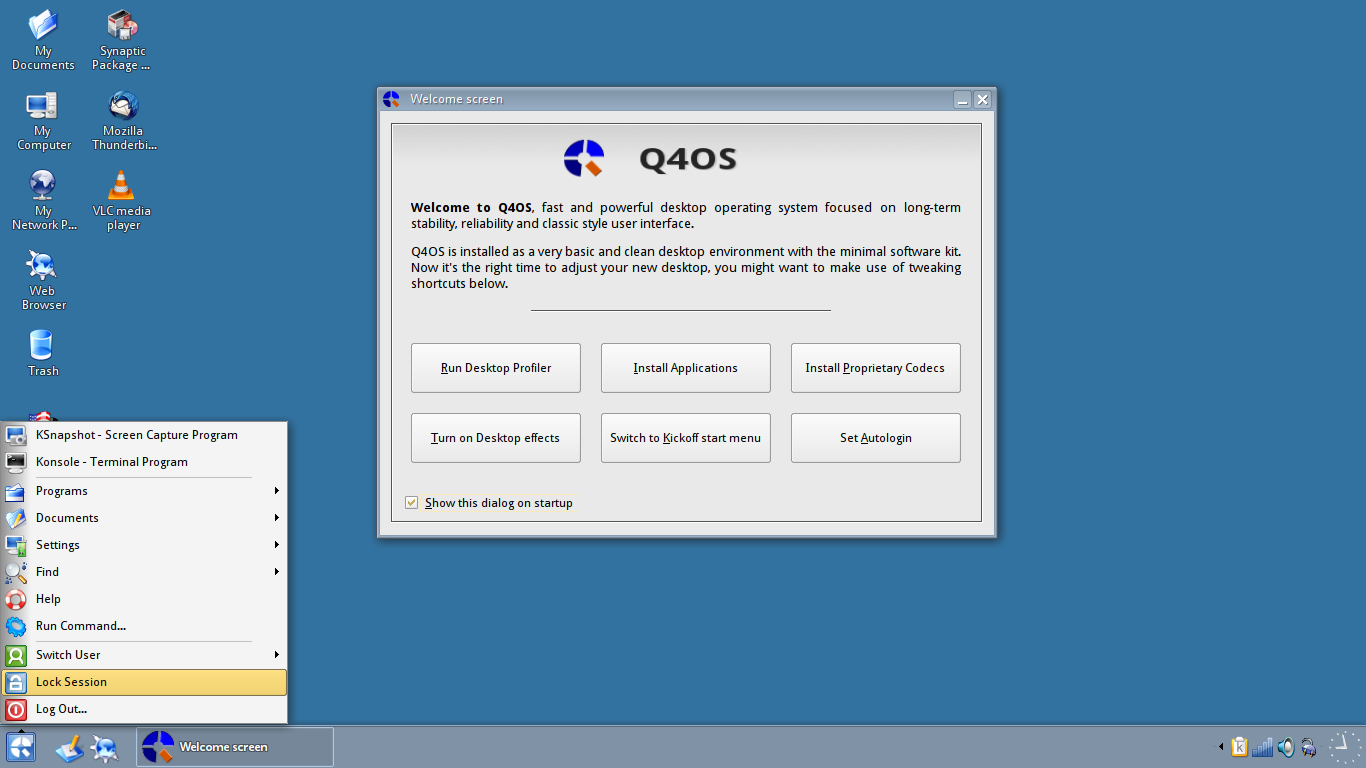
The desktop is very much like Windows with desktop icons, a panel, menu, quick launch icons and a system tray.
Connecting To The Internet
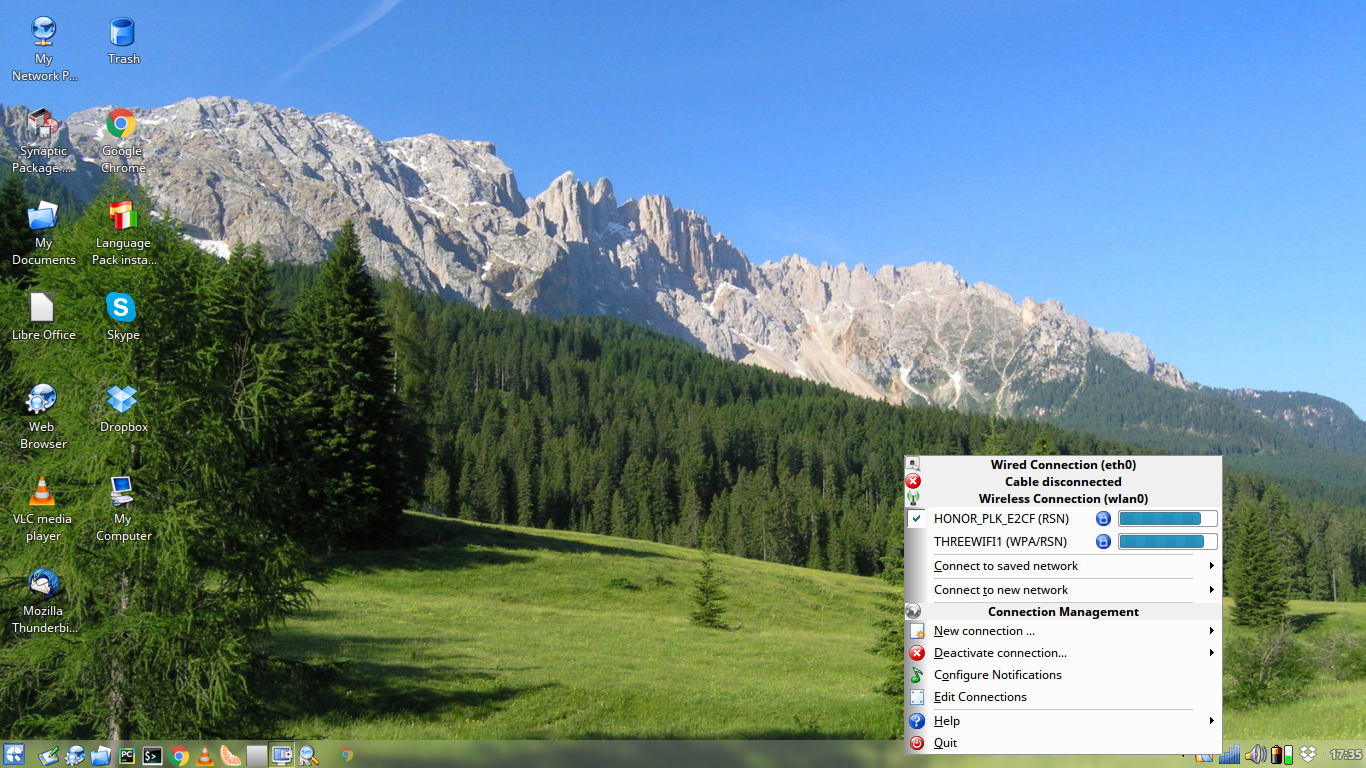
The network tool for connecting to the internet isn't the best I've seen. It is ok but not particularly intuitive.
Click on the network icon in the system tray and choose "connect to a new network".

A list of networks will appear. Double click on a network or choose "Connect and save".
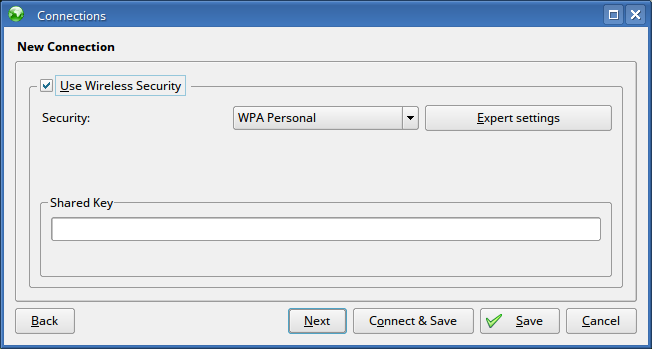
You can now enter the security key and connect and save.
I found this a bit hit and miss. Even though I chose connect and save quite often it just saves. You then have to click the network icon again and choose the network from the saved connections at the top of the little window.
Once you have connected once I recommend installing network manager which works much better. I will show how to do this later on.
Desktop Profiler

The welcome screen has a number of options on it and one is the "Desktop Profiler".
The Q4OS ISO image was fairly small which means you obviously don't get much in the way of software when you first install it.
The desktop profiler lets you choose to install a fully featured desktop which includes Chrome, LibreOffice and VLC or a basic desktop which has some common utilities and tools.
I chose the full desktop and it began downloading about half a gigabyte worth of data and installed Chrome, LibreOffice and a few more tools. I recommend this option for the average person as it saves looking for it later on.
Depending on your internet connection this can take some time.
Proprietary Codecs
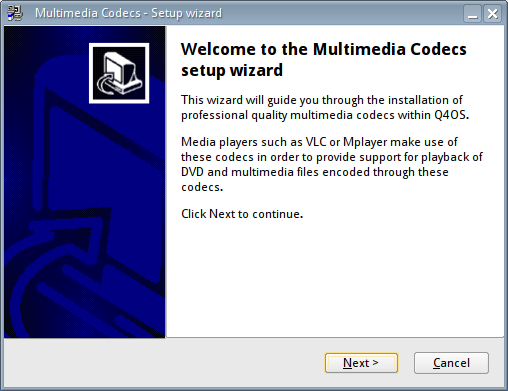
Also on the welcome screen is the option for installing "Multimedia Codecs". The average person will want to install these as they make it possible to play MP3 audio for instance.
When you click on the button a wizard appears. Click "Next" to get past the welcome message.
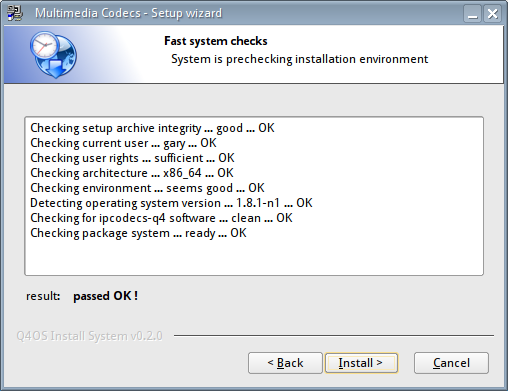
Click "Install" to install the codecs. It can take a short while for this to complete.
The Menu System
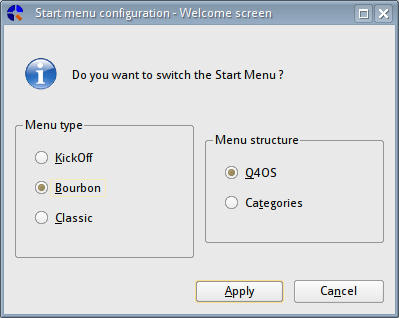
From the welcome screen you can also choose to change the style of the menu.
As you can see from the screen above there are three options available:
- KickOff
- Bourbon
- Classic
The KickOff menu looks like this:
The Bourbon menu looks like this:
Finally the classic menu looks like this:
Installing Applications
Another option on the welcome screen is the option for installing applications.
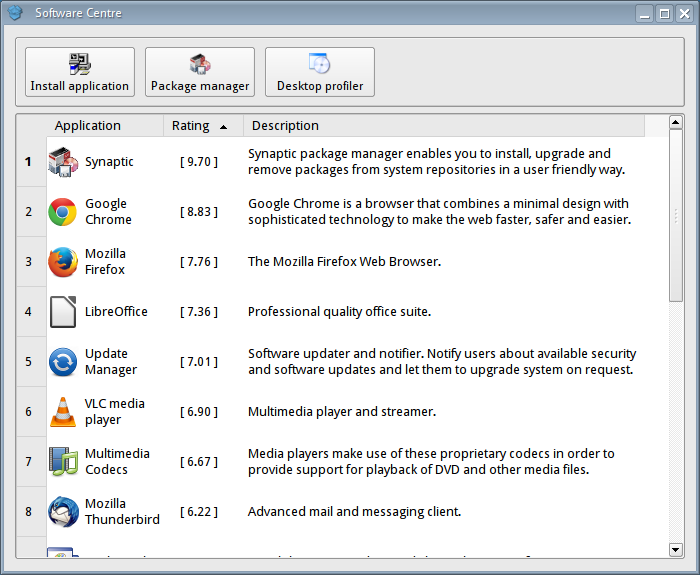
The interface lets you install common and useful applications.
If you haven't chosen the fully featured option from the desktop profiler you can still install applications such as Chrome and LibreOffice quite easily by clicking on them in the list.
The list includes a number of decent options including Chrome and Firefox, Synaptic, Network Manager, Thunderbird, Dropbox and Skype.
You will notice on the top of the screen there are three buttons:
- Install application
- Package manager
- Desktop profiler
The desktop profiler as mentioned earlier lets you install a complete or basic set of packages and the install application button installs the highlighted application on the screen.
The package manager icon tries to open Synaptic. You therefore need to install Synaptic before you can use this option.
Once you have gone for the fully featured desktop and through the list of commonly used applications I could only find two applications that were missing.
For some reason there is no audio player included and of course Steam doesn't show up.
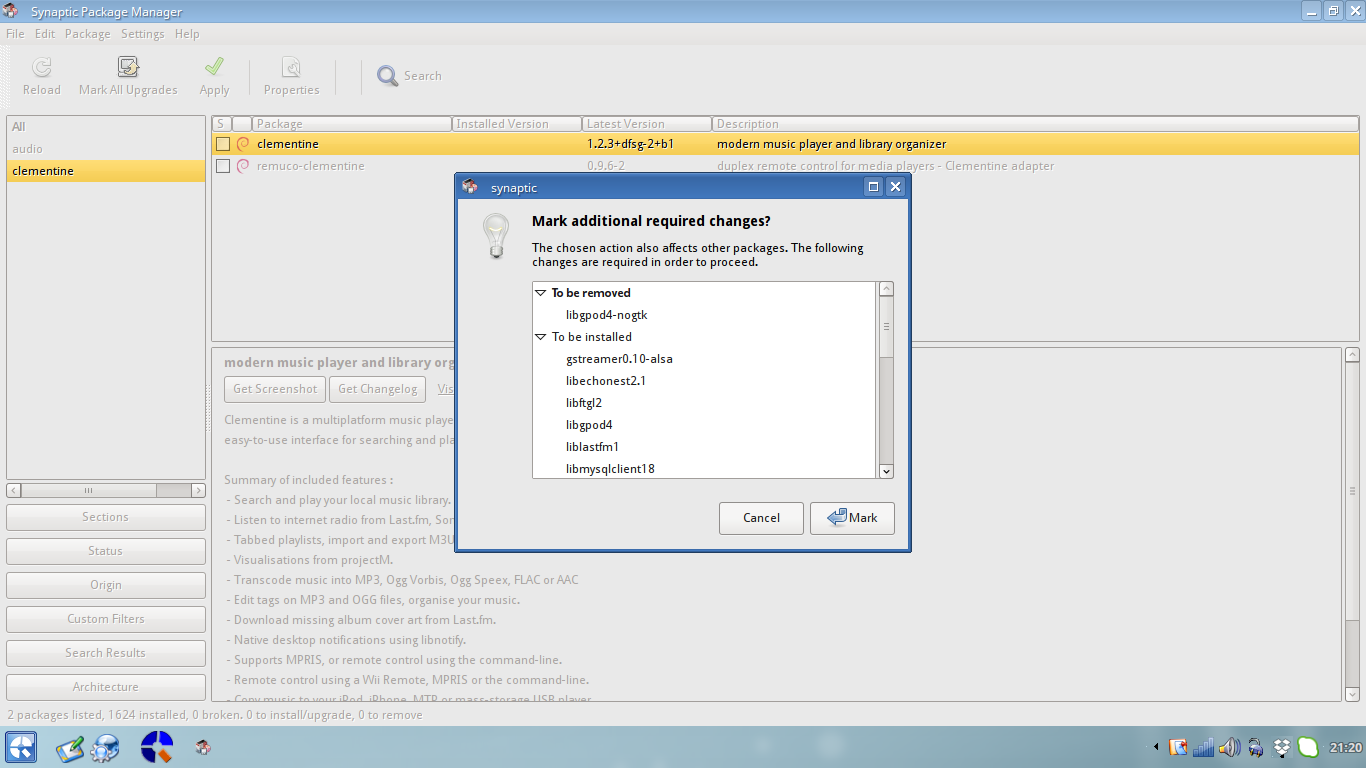
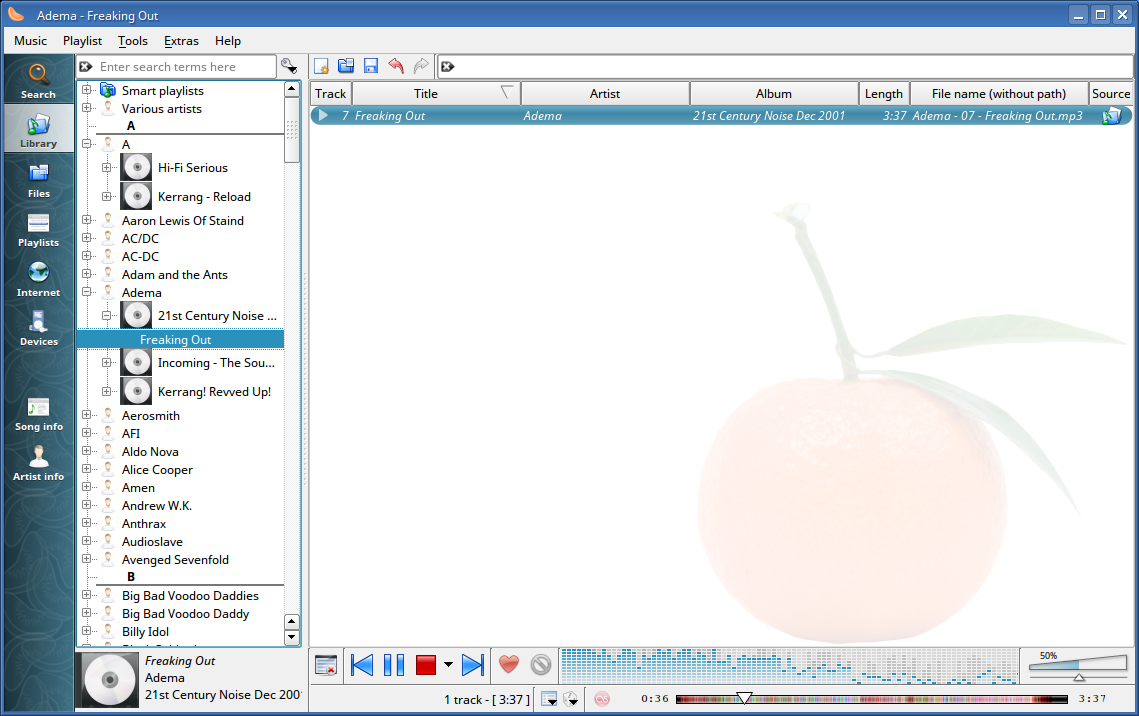
After you have installed Synaptic you can easily find an audio player. I personally recommend Clementine which has a really nice interface for playing music.
Steam is also available via Synaptic although I haven't tried to install it yet. As Q4OS is going to be around on my machine for a while I have left Steam and the setting up of the NAS drive and printer until the weekend.
Desktop Look Changer

One of the applications you can install from the installation screen is the Q4OS look switcher.
There are three options available by default:
- Q4OS Classic
- Q4OS Default
- Spring
The classic option makes your computer run like an old Windows 2000 machine. The default is much like Windows XP and the Spring desktop is the one most people will go for as it provides modern menus and a more up to date look and feel.

The good news is that the performance remains the same whichever you choose.
Customise The Desktop
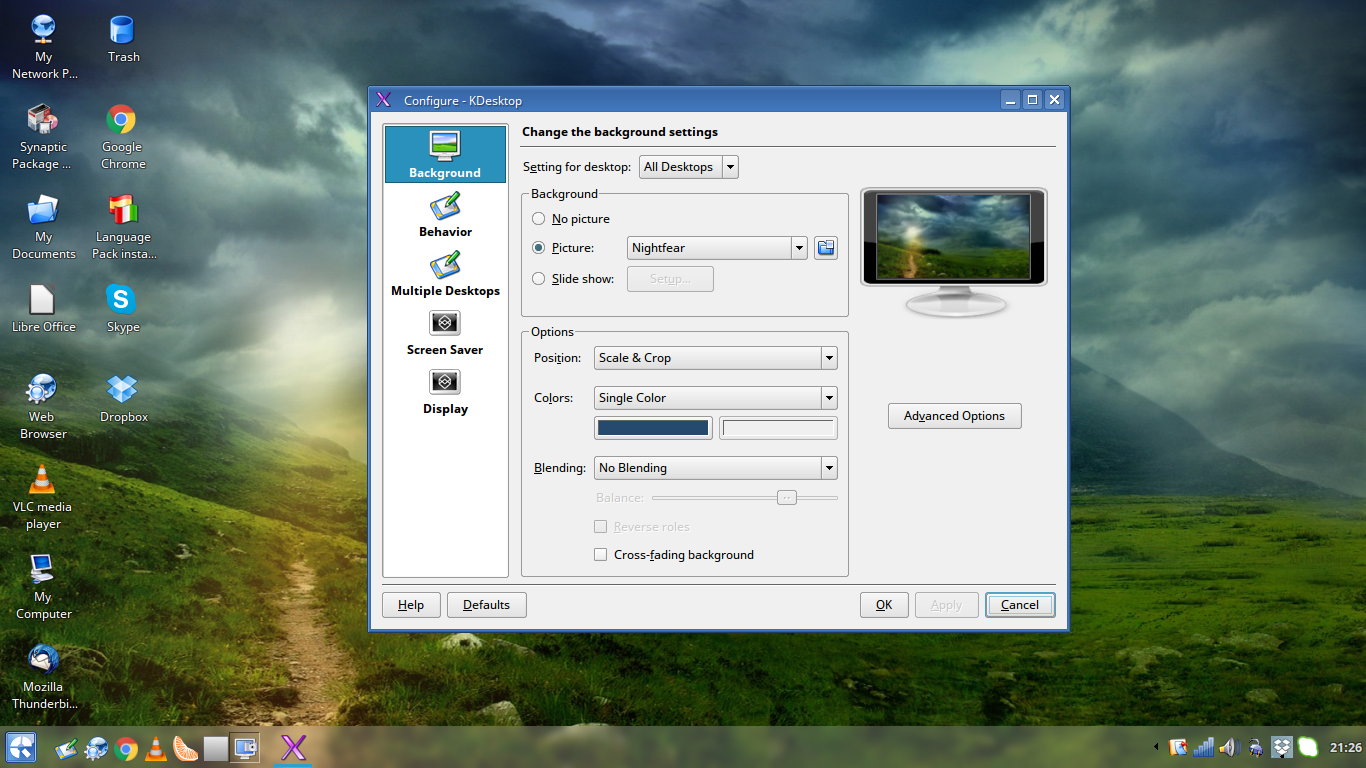
Getting rid of the dull blue background will be of keen interest to most people and you can change the wallpaper simply by right clicking on the desktop and choosing "Configure Desktop".
There are a number of different wallpapers available and you can instantly make your desktop look more interesting.
From the welcome wizard you can also choose to turn on desktop effects and the panel can be adjusted to appear at the top of the screen or on one of the edges. The size of the panel and icons can also be adjusted.
The quick launch bar can be customised to include your favourite applications.
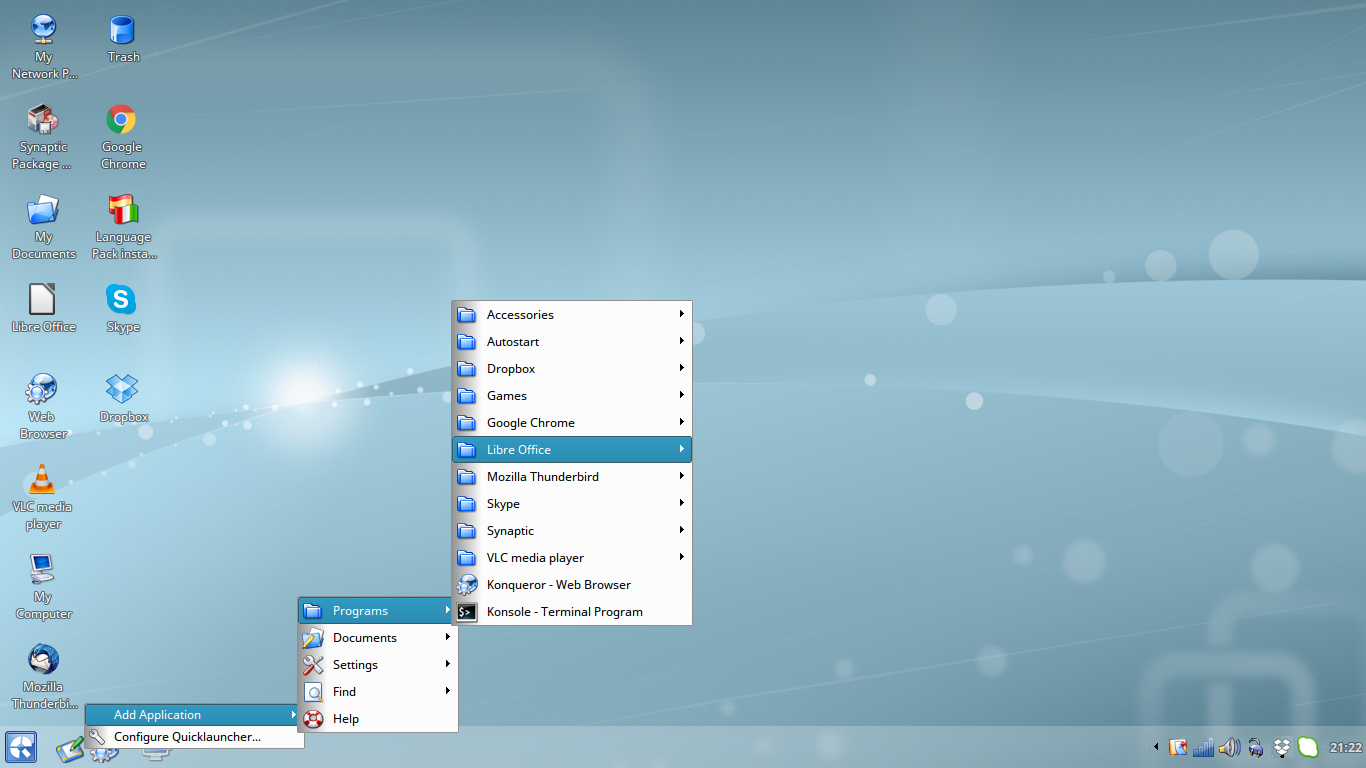
To add an application right click and choose "add application". You can then navigate to the location of the application you wish to add to the launcher.
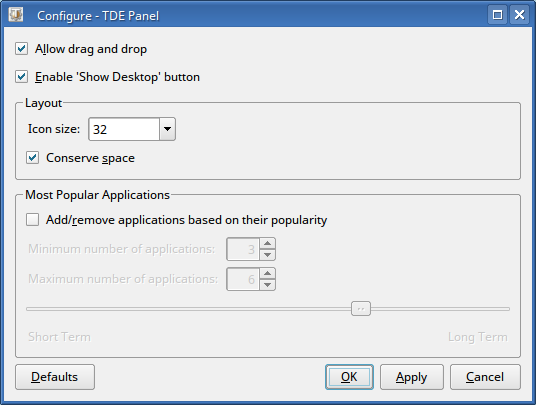
You can also configure the launcher to allow drag and drop which makes it much easier to add icons to it and you can choose to show the "Show Desktop" icon.
Summary
Q4OS is fairly straight forward to get to grips with and it runs like a dream.
When I tried it last year it was on a much older machine and really worked well. On this machine it performs magnificently.
The Windows look and feel might not be to everybody's taste especially the use of "My Documents" and "My Pictures" etc but you can easily rename them.
The desktop environment is Trinity and it lacks certain features such as window snapping.
I haven't tried Q4OS out with my NAS drive or printer and other hardware yet but I did last time around and it had no issues so I suspect it will be the same this time. I will update you in the next blog post about this. I will also update you as to whether Steam works or not.
As with last time around I can't really fault Q4OS on anything. Well I suppoes there are a couple of things that could be improved such as dual booting and the network manager should be installed by default as the one that comes with Q4OS is a bit inconsistent.
After just a couple of hours effort I had Q4OS installed with every application I need including PyCharm. I am now able to listen to music, watch films, surf the web, write software, edit documents, read and send mail, use DropBox, use Skype and play games.
Q4OS also comes with WINE which is useful for running Windows software.
