Introduction
Last year I wrote a
review of openSUSE 13.1 and I followed up the review with a series of articles looking at the applications that were released as part of the distribution:
That particular review looked at the KDE version of openSUSE. This is a review of openSUSE 13.2 and focuses on the GNOME desktop environment.
In my recent review of Fedora 21 I pointed out how far I believe the GNOME desktop has come in the past few years. I would go so far as saying that it is now so good that it is at least on a par with Unity and potentially the best desktop environment available.
The main desktop itself has excellent navigational features and keyboard shortcuts. GNOME 3 is more than just a pretty desktop. Look at
this list of applications which are built to run on top of GNOME.
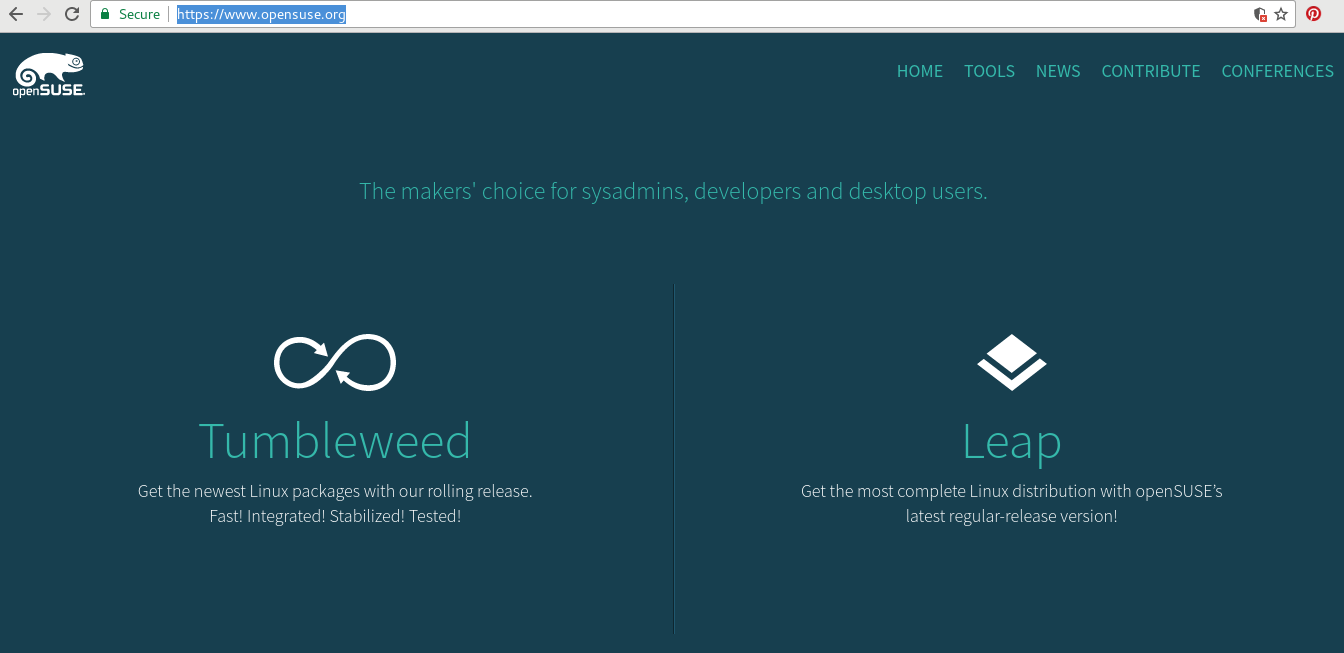
How To Get openSUSE 13.2
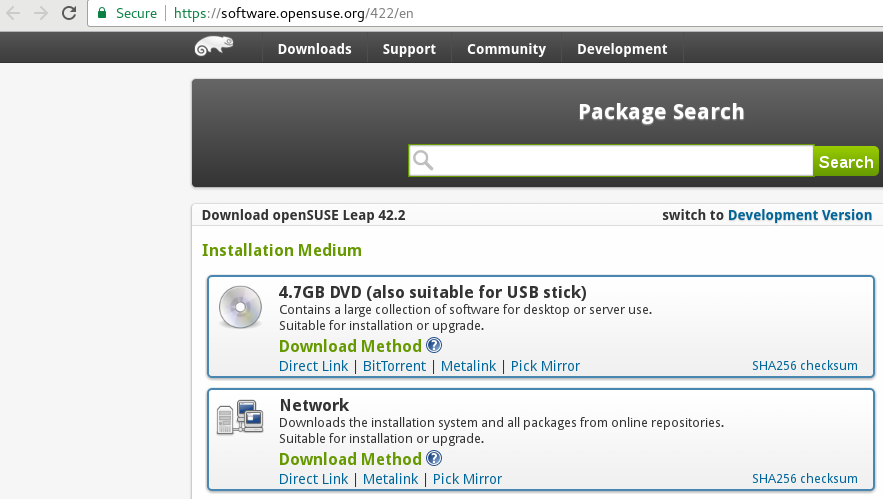
Click here for the openSUSE download page.
The initial download option on that page is 4.7 gigabytes in size. If you have a poor internet connection or a download limit that may seem extreme and to be honest you can guarantee that if you download that file then many of the applications will need to be updated after installing them anyway and you probably wouldn't use most of the software that makes up the 4.7 gigabytes.
Note that there is a link halfway down the page which reads "Click here to display these alternative versions". This option provides links to download a live GNOME and a live KDE version.
You can also .
Minimum Requirements
This page on the openSUSE website lists the following minimum requirements.
- Pentium III 500 mhz or higher (Pentium 4 2.4 ghz or any AMD64/Intel 64 recommended)
- 1 GB RAM (2 GB recommended)
- 3 GB Hard Drive space (5 GB or more recommended)
- Supports most sound and graphics cards. (minimum 800 x 600 resolution, recommended 1024 x 768 or higher)
- USB port or DVD drive
New Features In openSUSE 13.2
- Linux Kernel 3.16
- btrfs is new default filesystem
- Live images are persistent by default
- Revamped Yast installer (which I will come to shortly)
- New Yast is faster, more stable and better integrated with SystemD
- Latest stable version of KDE desktop available (4.11.12)
- Newer GNOME desktop (3.14.1)
- HiDPI Screen Support
- Much improved searching in GNOME shell
- Touch screen gestures supported
- GNOME Maps includes route mapping
- Google Account support for GNOME Photos
- Playlist support in GNOME Music
- New videos interface
- Polari - a modern IRC client
Click here for a full list of new features in openSUSE 13.2
Installation
I recently developed a guide showing
how to install openSUSE whilst replacing your current operating system.
According to the new features list the YAST installer has been improved and in some areas this is true and in others I have a few issues.
The partitioning section is still just plain awful for the everyday user. I know it is easy to always fall back to the installers used by Ubuntu and Linux Mint but they do right what many other installers do wrong.
What is wrong with a simple "replace your current operating system with openSUSE" option which simply wipes your drive and sets up a sensible partitioning scheme?
What is wrong with a simple "install openSUSE alongside Windows" or "install openSUSE alongside your current operating system" option?
Instead, what you get is a long list of planned changes that the installer is going to make, which you have to work through and think about before moving on.
There is an option to enter a setup screen which lets you choose your hard drive and then select all partitions thereby replacing your current operating system with openSUSE but it isn't plainly in sight and even when you choose this option you are back to the big scary list showing dozens of potential partition changes.
Worse than that however, I previously had Fedora 21 on this drive which used an LVM partition. openSUSE couldn't handle replacing that with the partitioning structure I chose to set up. I ended up having to use gParted to remove the Fedora partitions and restart the installer.
There are people out there that will want all of the verbose options, giving access to every available installation option but maybe there could be a general installer and a custom installer to make it easier for the masses.
To be honest I found the openSUSE installer more difficult than the Anaconda installer that is shipped with Fedora and that has taken heaps of criticism over the years. Now I would say that the Fedora installer has greatly improved but the openSUSE installer still has some way to go.
On to the good news though, well kind of. This machine has a standard BIOS and there is no EFI in sight. The openSUSE installer actually throws up an error when installing the bootloader but there is an option to continue trying to set it up. If you choose to continue you are presented with the option to choose between GRUB 2 - EFI and plain old GRUB 2.
What this means of course is that the installer will work perfectly on older and newer computers. The GRUB 2 - EFI option even includes options for handling secure boot. Very good.
First Impressions
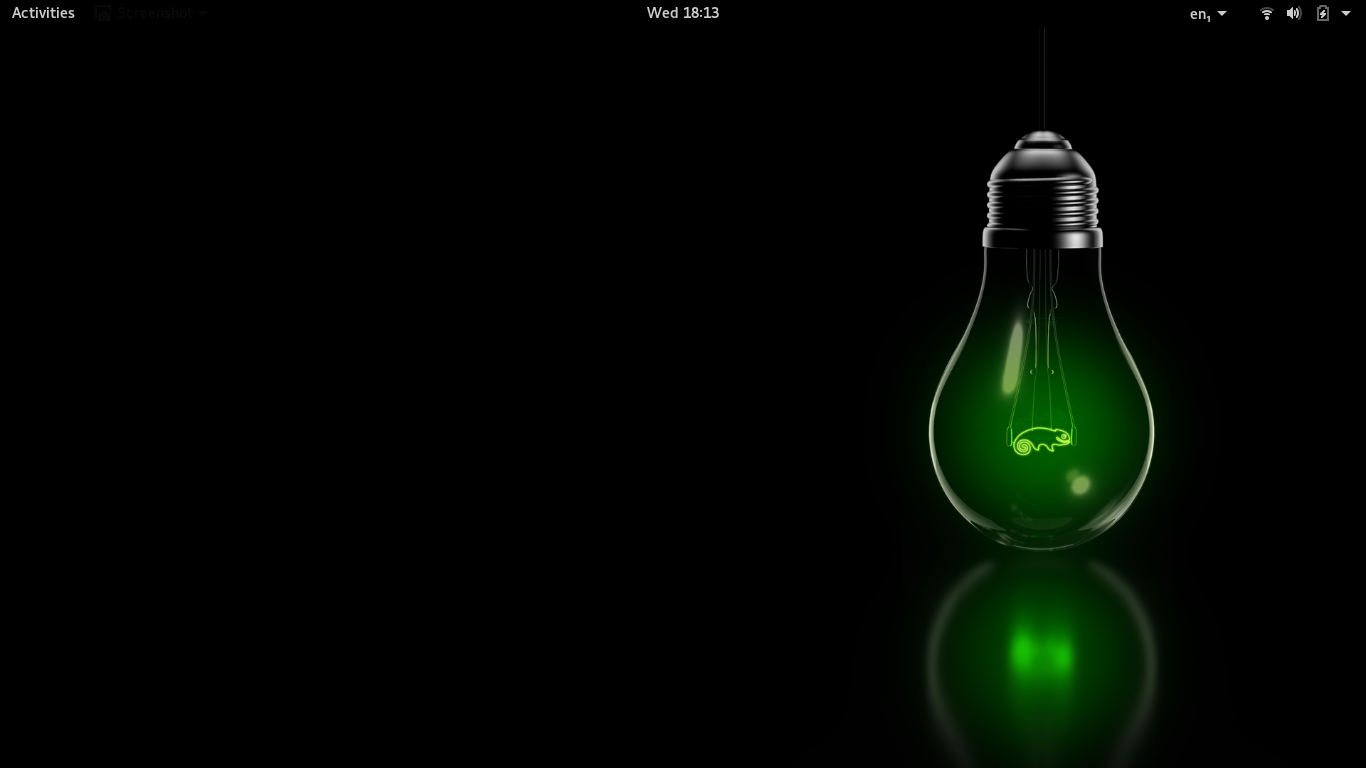
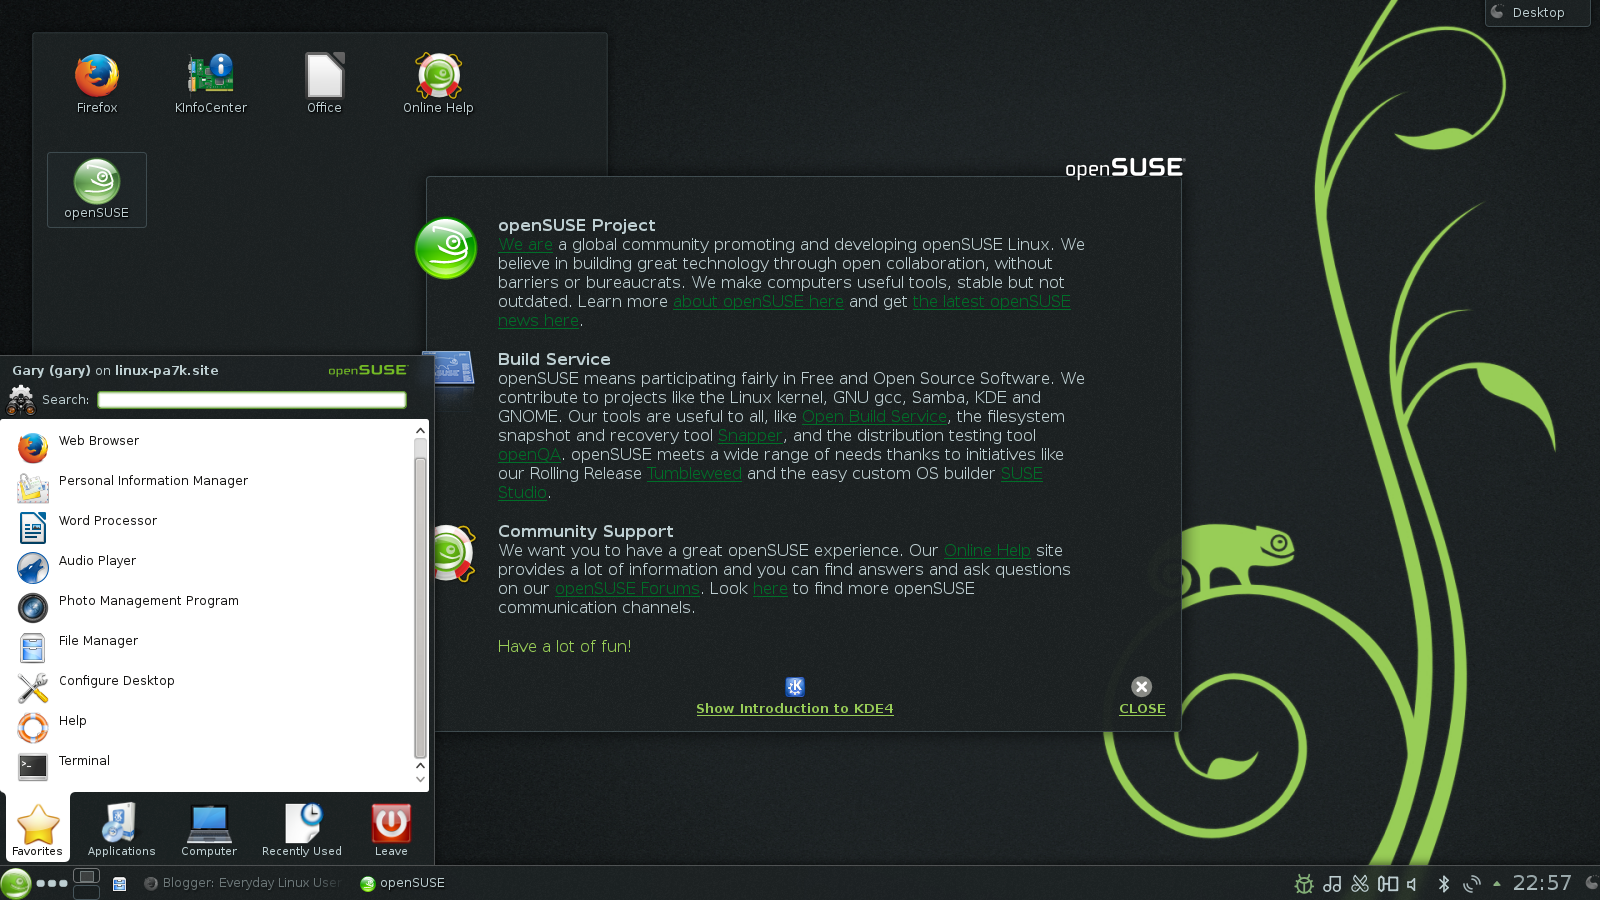
The GNOME desktop is fairly typical although the choice of wallpaper for openSUSE is fairly dull.
GNOME has a panel at the top with the "Activities" option in the top left and a series of icons in the top right which provide access to power management, network settings and user settings.
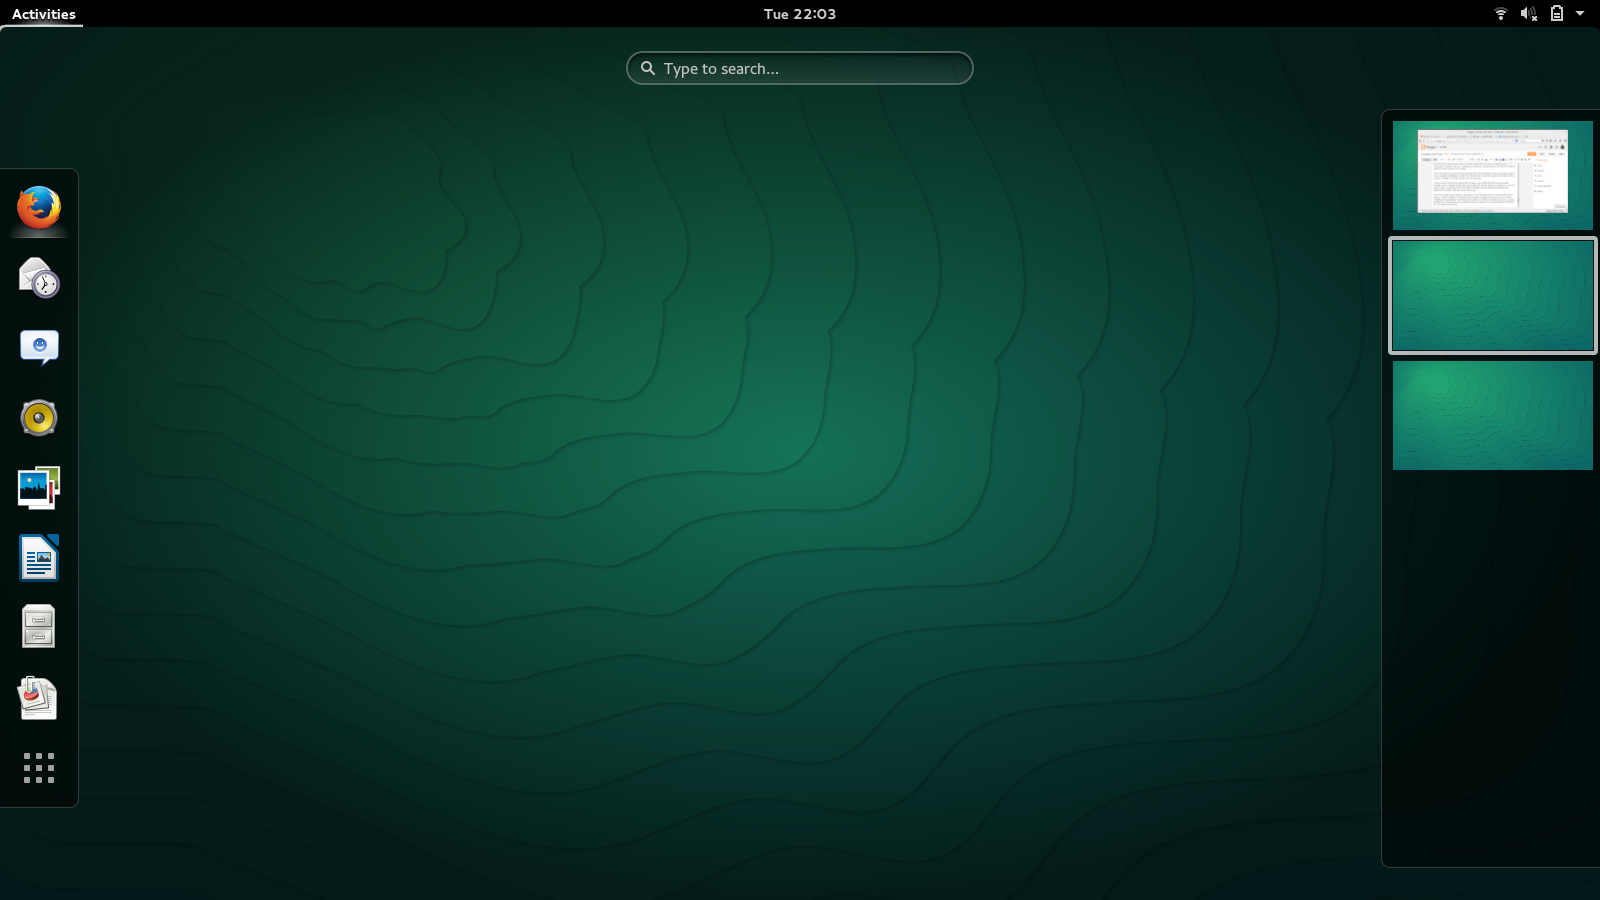
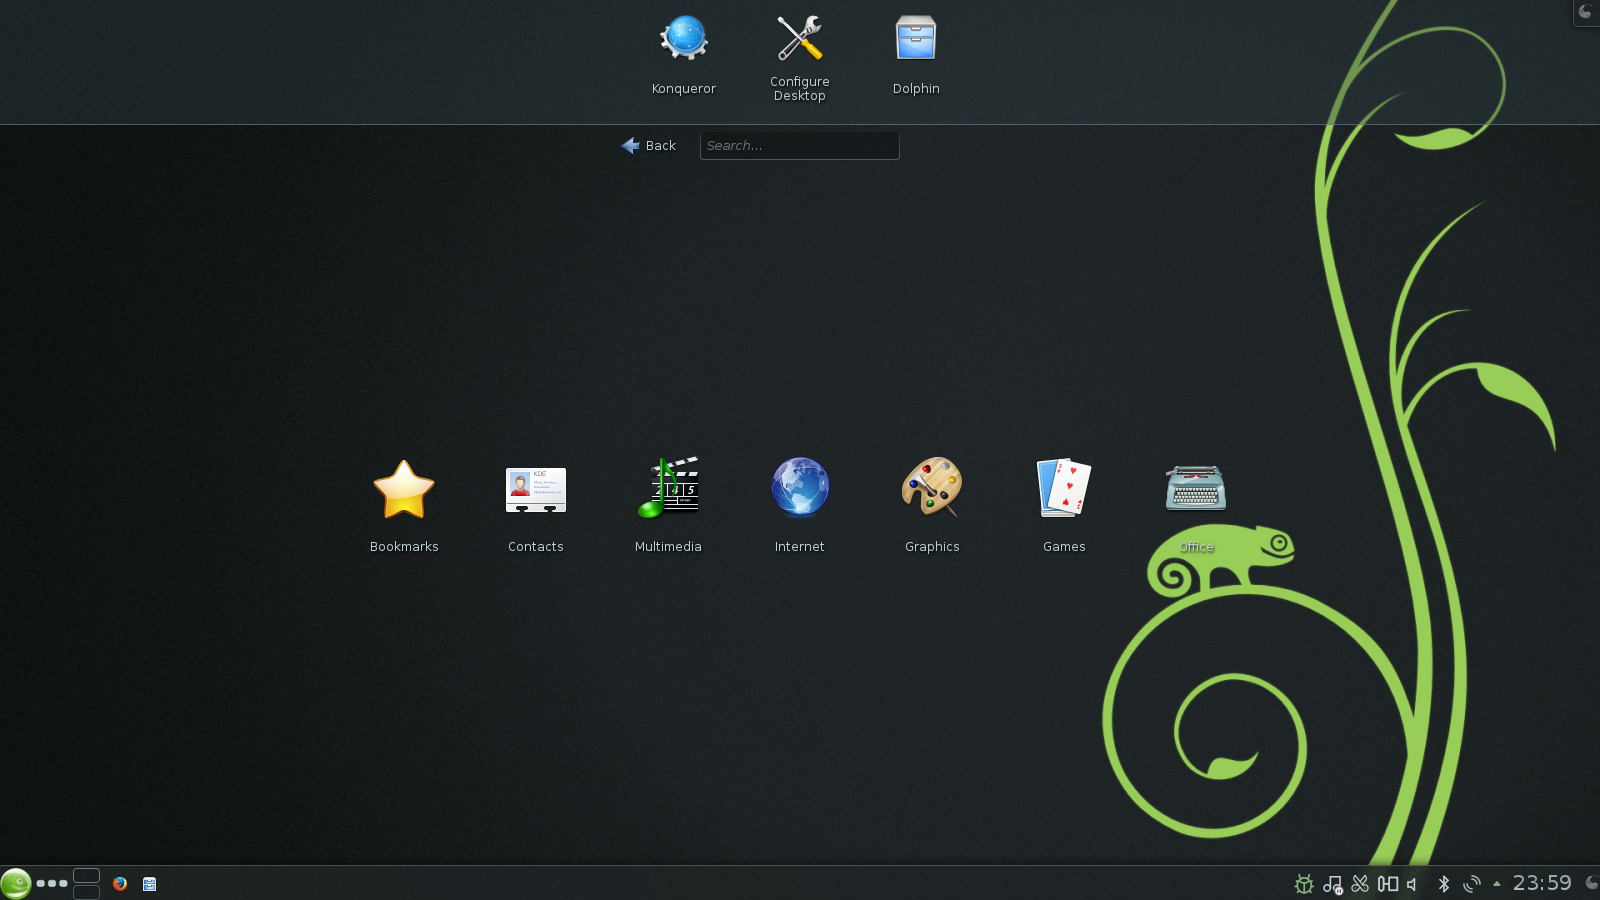
Pressing the super key or clicking on activities brings up the activities screen.
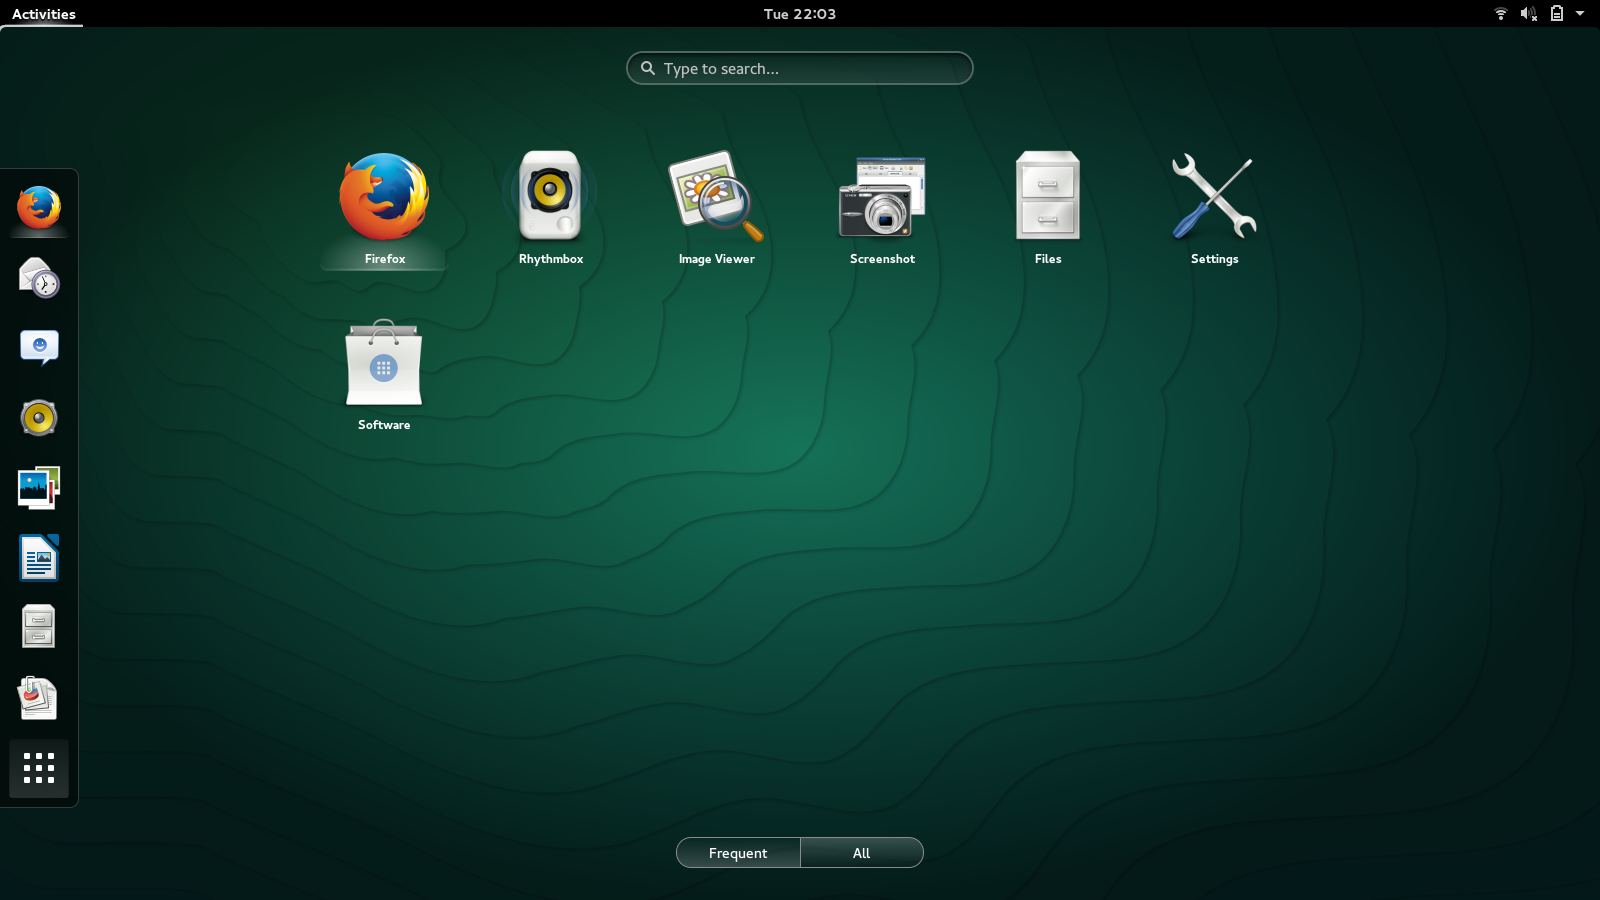
The screen basically has a search box in the top middle, a series of favourite applications icons on the left and access to virtual workspaces on the right. The workspaces hover in from the right when you move the mouse over to that section of the screen.
The favourite icons link to Firefox, Evolution, Empathy, Rhythmbox, Shotwell, LibreOffice and Files.
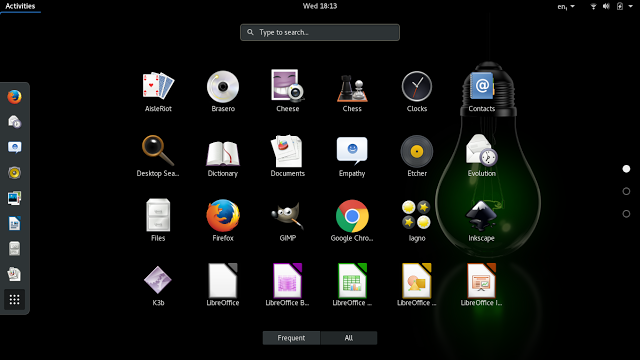
Pressing the super key and the A key brings up the applications view. Alternatively click on the bottom icon in the left bar.
There are two views available which are frequent and all. Clicking the "all" option shows a grid with icons for all of your applications. As you can see from the screenshot the "frequent" option shows a handful of icons to applications used regularly.
Navigation is particularly easy but it is worth
learning all of the GNOME keyboard shortcuts.
The main thing I noticed about the openSUSE version of GNOME is that it performed much better than the Fedora version. The Fedora GNOME desktop performed better when I switched to GNOME Wayland. The trouble is that after switching to Wayland there were more errors and it was unpredictable at times. openSUSE however has performed well and has never crashed on me.
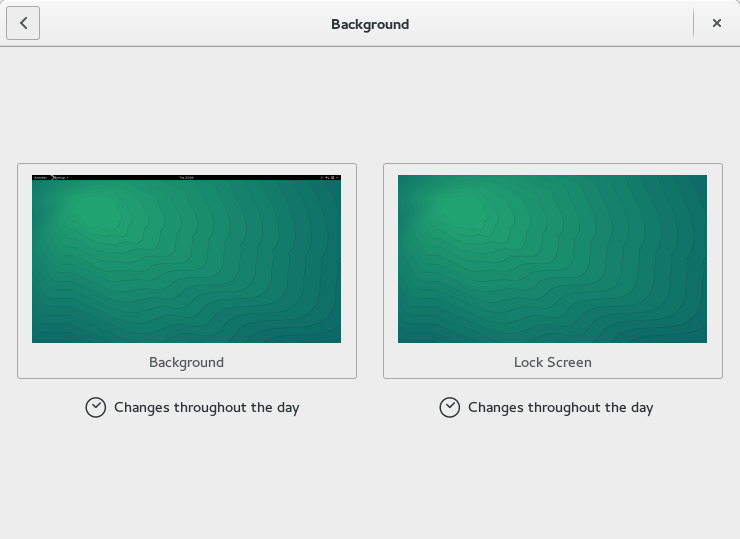
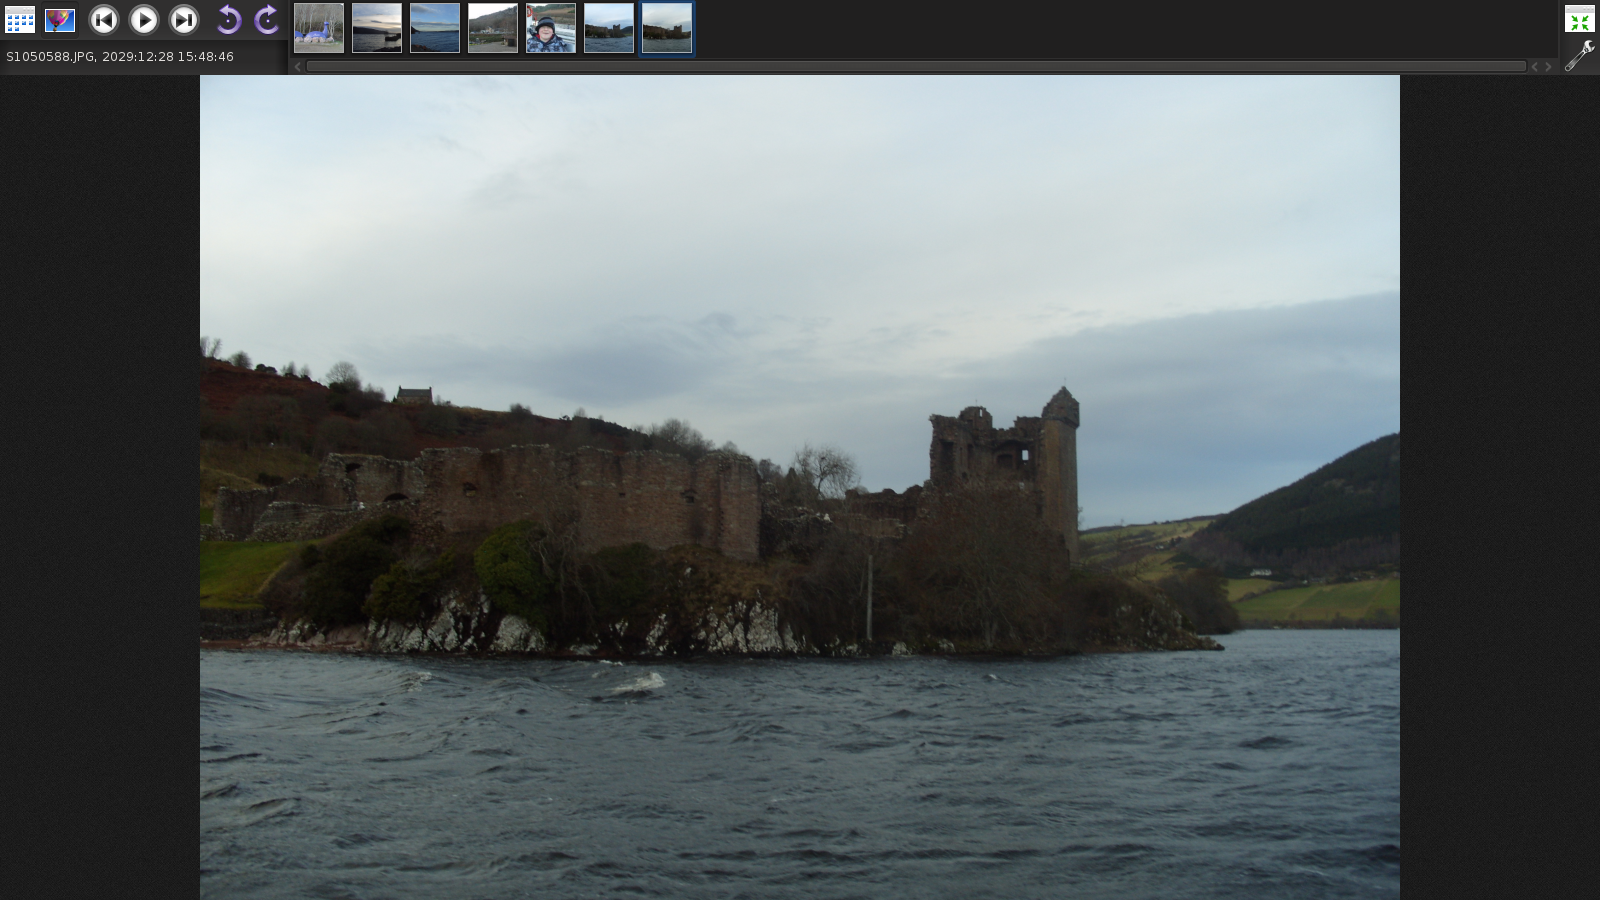
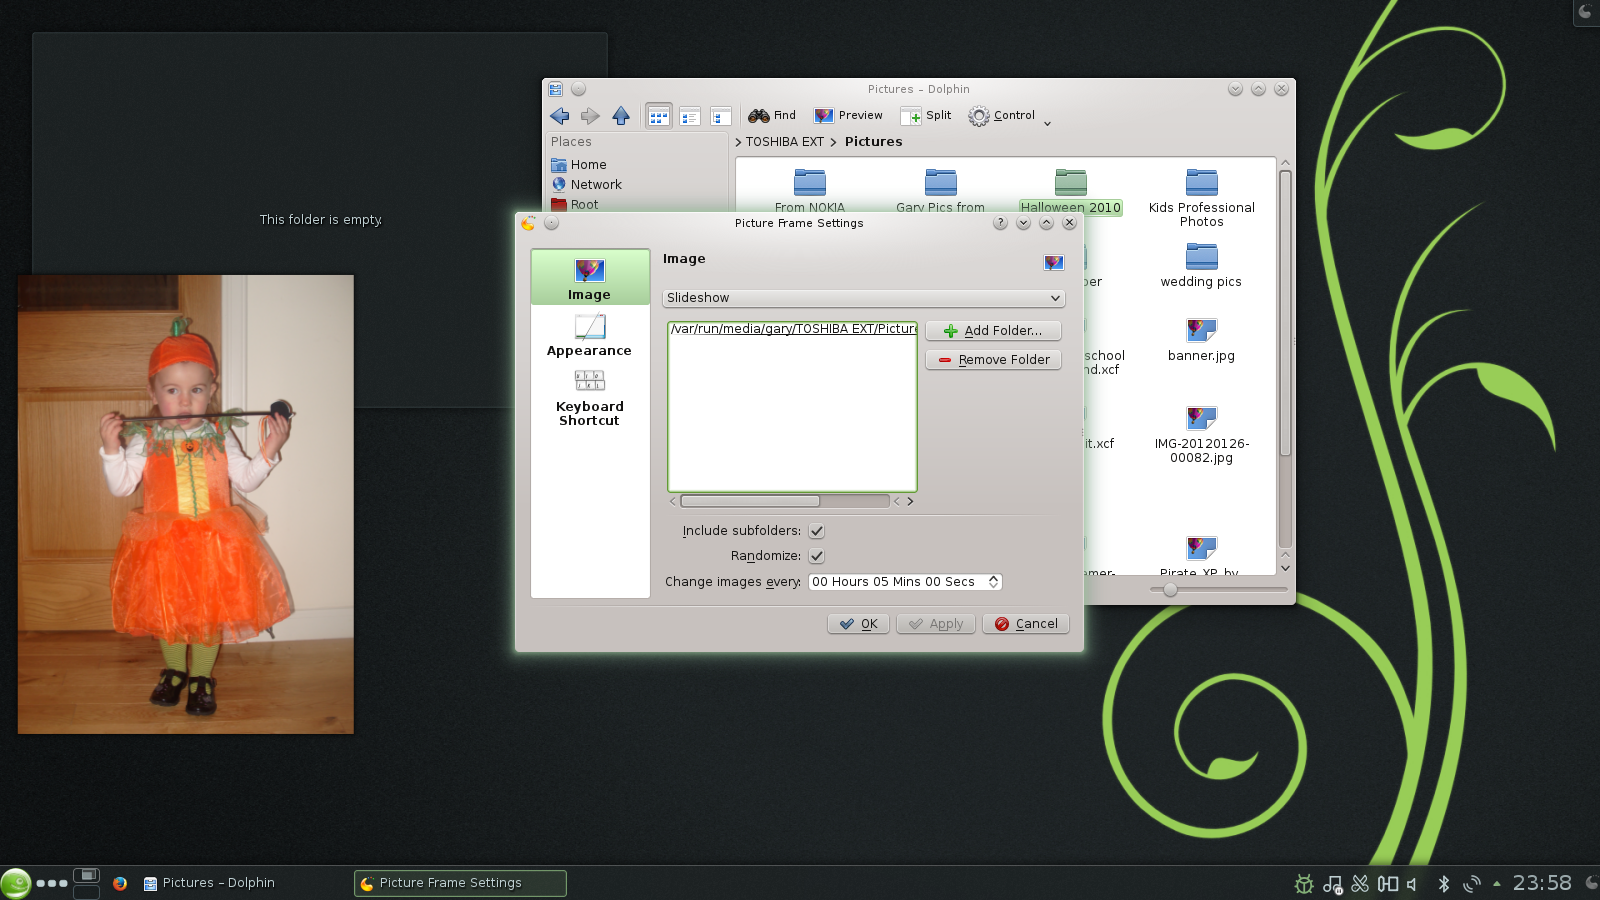
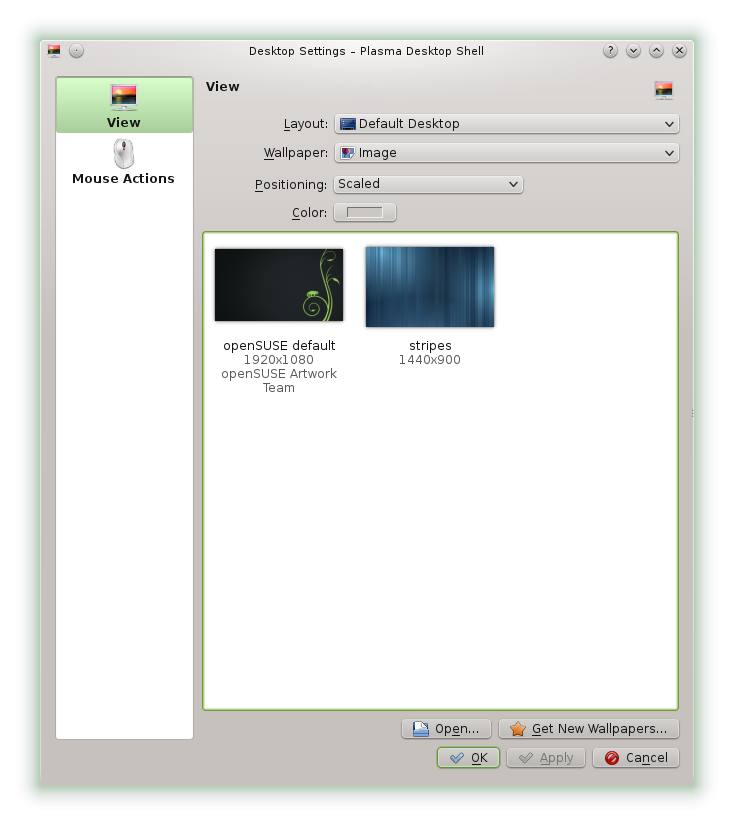
As mentioned previously the main wallpaper is fairly plain. To change the wallpaper all you have to do is right click on the desktop and choose "change background".
You are given the option to change the background for the main desktop or the lock screen.
The trouble is that there are no other wallpapers supplied with the live version of the GNOME desktop.
Luckily there was this cool invention made a while back now called the internet and an even cooler add-on to the internet called Google and after a little bit of searching you can do something like this.
Flash and MP3
openSUSE is a community distribution (although it is backed by a larger corporation much like Ubuntu).
The upshot of this is that proprietary components such as MP3 codecs and Flash aren't installed by default.
You can install both of these options using 1 click installs. I have a guide coming up shortly showing how to do this.
Applications
I have never tried the full installation (4.7 gigabytes!) and so there maybe more applications installed by default with that version.
This review focuses on the live version with the GNOME desktop and as such the applications provided are as follows:
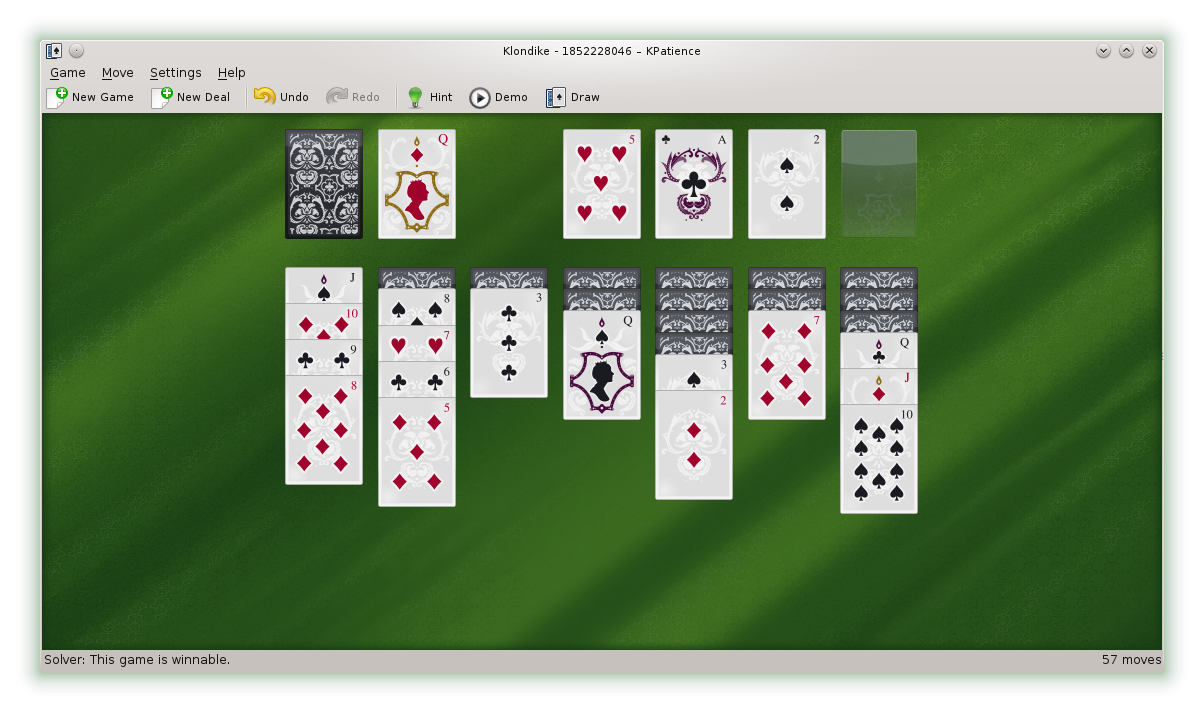
- Aisleriot - solitaire card game
- Brasero - disk burning software
- Cheese - webcam viewer
- Chess - chess game
- Clocks - stopwatch, timer, world clock
- Contacts - address book
- Documents - pdf viewer
- Empathy - chat client
- Evolution - mail client
- Files - file manager
- Firefox - web browser
- gedit - text editor
- gimp - image editing tool
- grsync - backup/syncing tool
- lagno - game
- k3b - disk burning software
- libreoffice - office software (includes word processor, spreadsheet, presentation tool, drawing package etc)
- liferea - RSS reader
- lights off - game
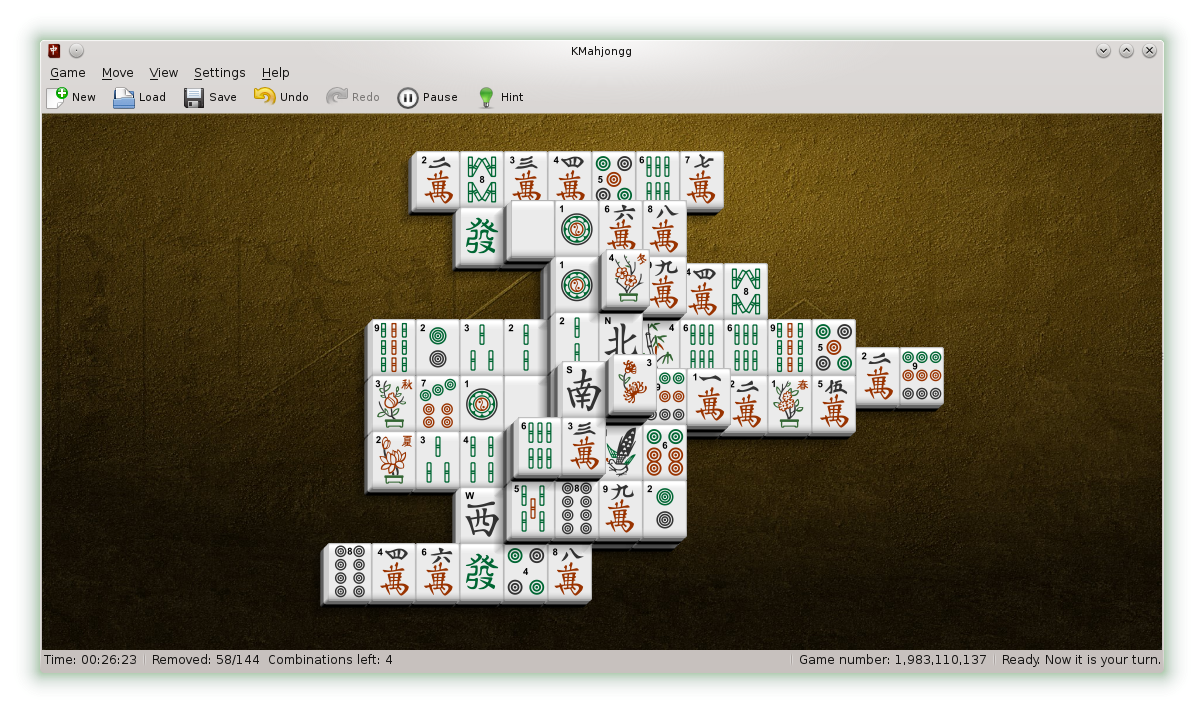
- Mahjongg - game
- Maps - mapping tool
- Midnight commander - file manager
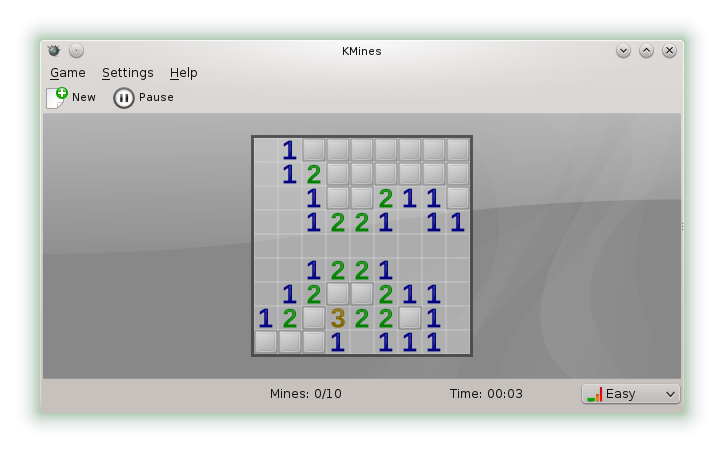
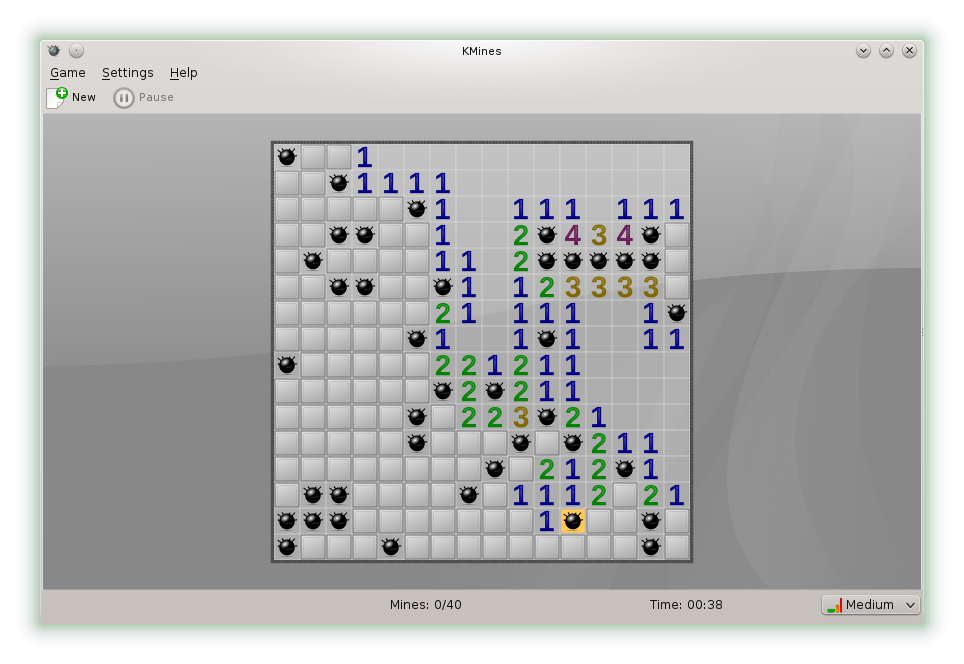
- Mines - game
- Music - Gnome music player
- Network tools
- Notes - Note taking tool
- Polari - chat client
- Quadrapassel - game
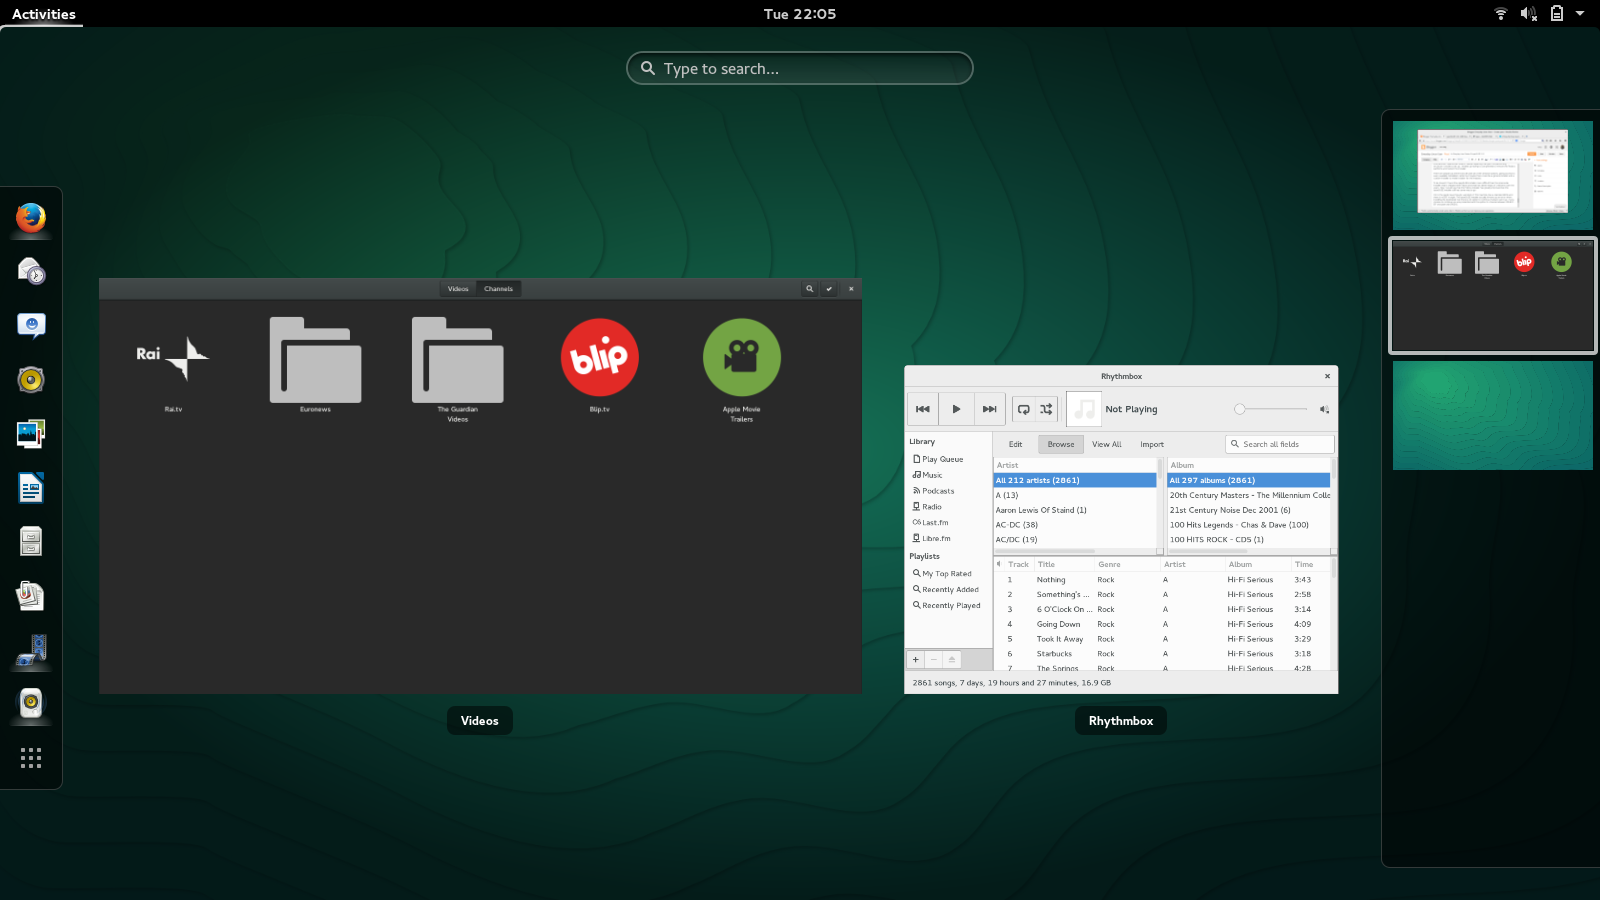
- Rhythmbox - audio player
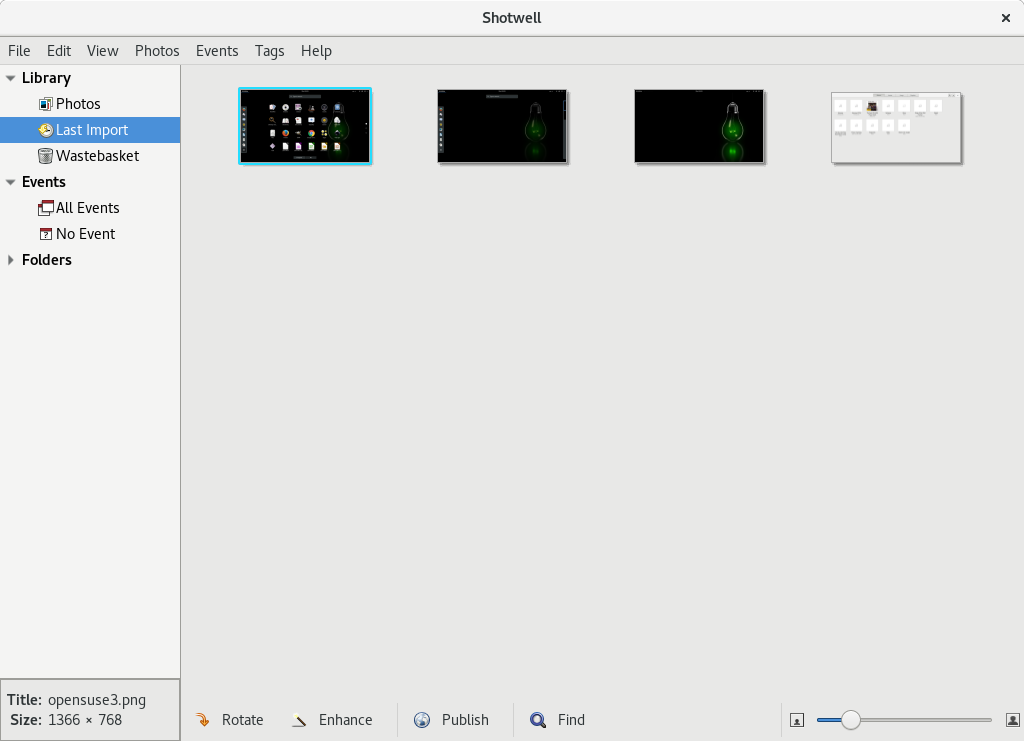
- Shotwell - photo manager
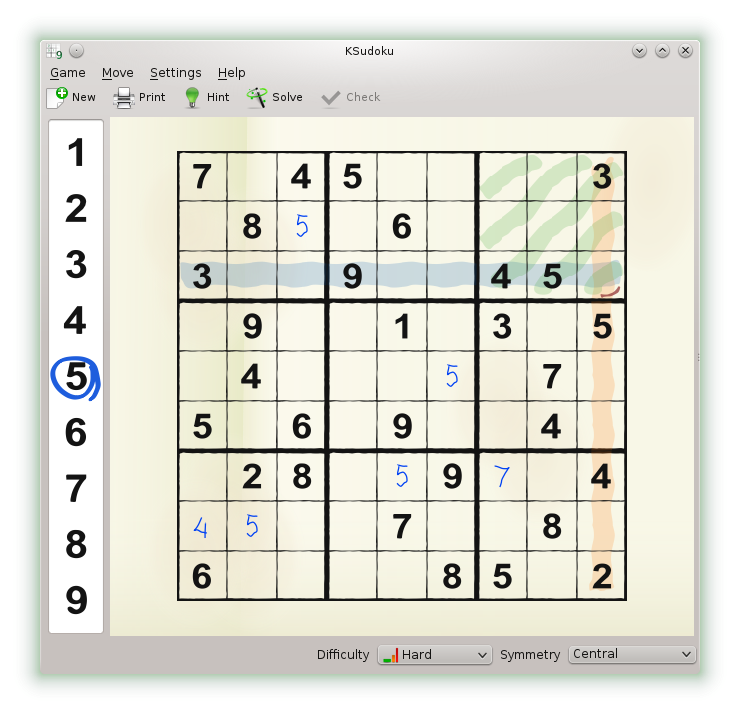
- Sudoku - game
- Swell foop - game
- Transmission - bittorrent client
- Totem - video player
There are quite a few applications really. There is certainly everything that the average person needs for basic homeworking and play with a full office suite, video players, audio players, photo managers, web browsers, chat clients and email clients.
I have written about Rhythmbox a number of times including a full recent review which can be found
here.
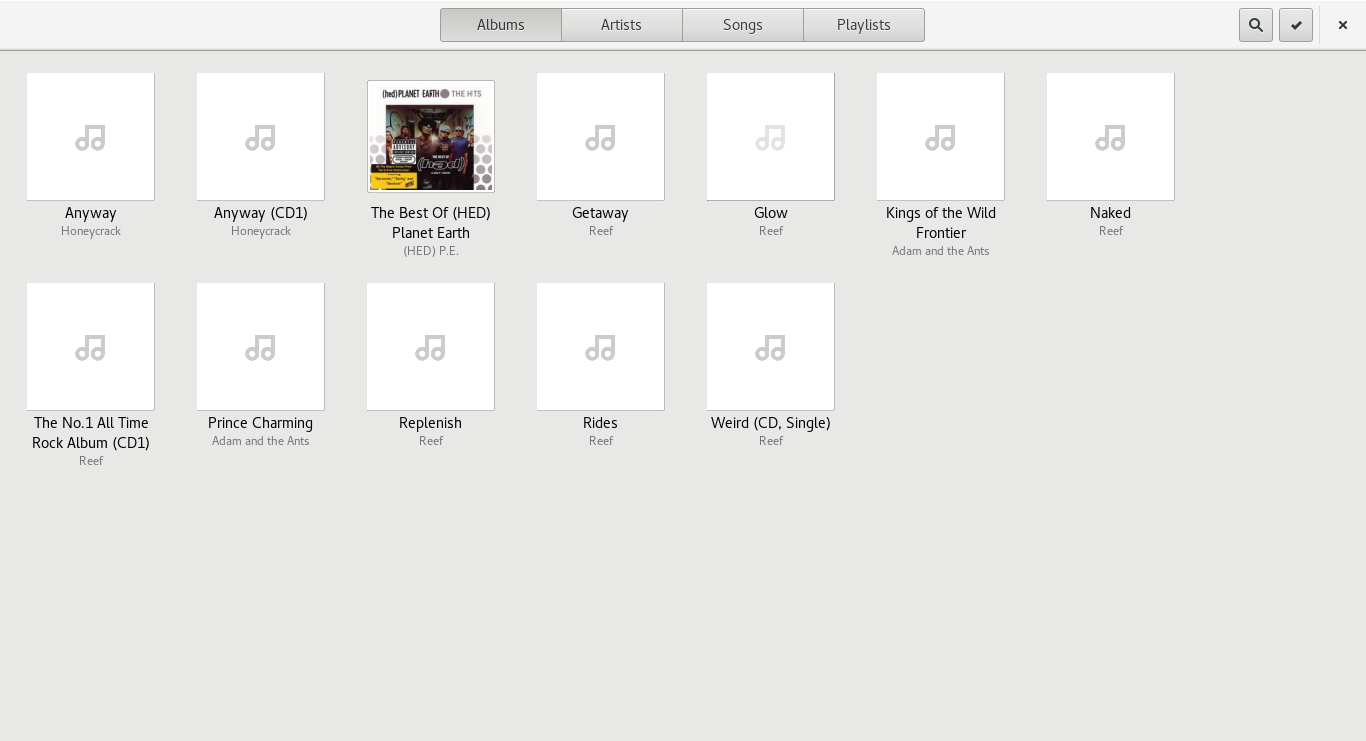
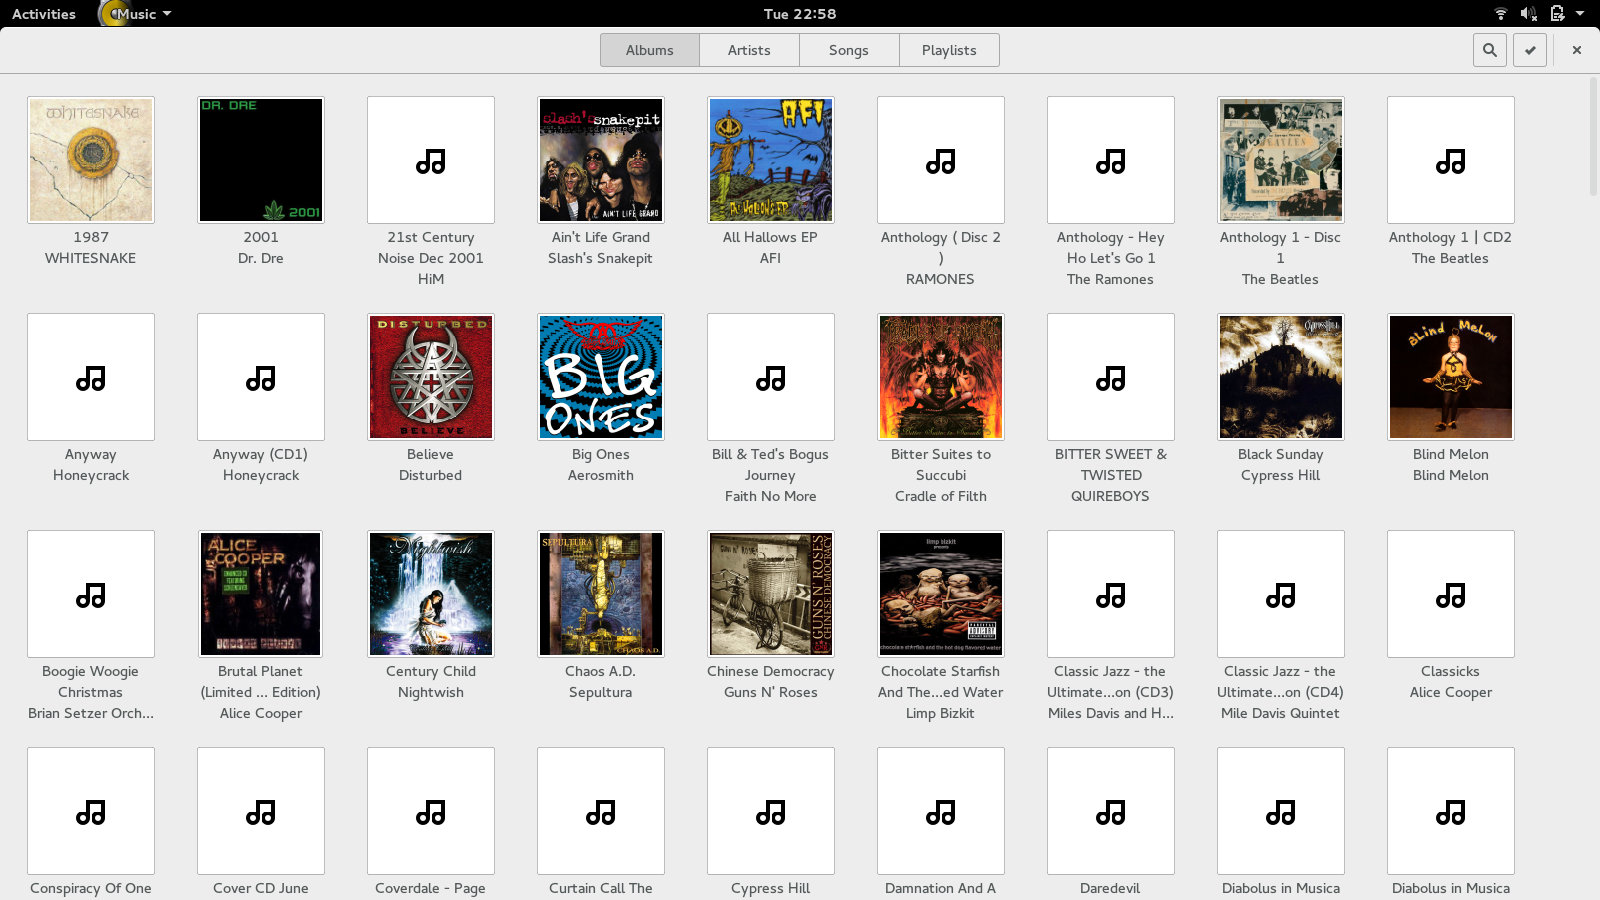
I haven't however touched on the GNOME music player before which integrates nicely with the GNOME desktop.
There are a number of nice views available including by album, by artist, songs and playlists.
Creating playlists is relatively straight forward. You can either start selecting tracks and click the "Add to playlist" option or you can choose "Create a playlist" from the menu.
Whilst the interface is good it doesn't perform as well as Rhythmbox.
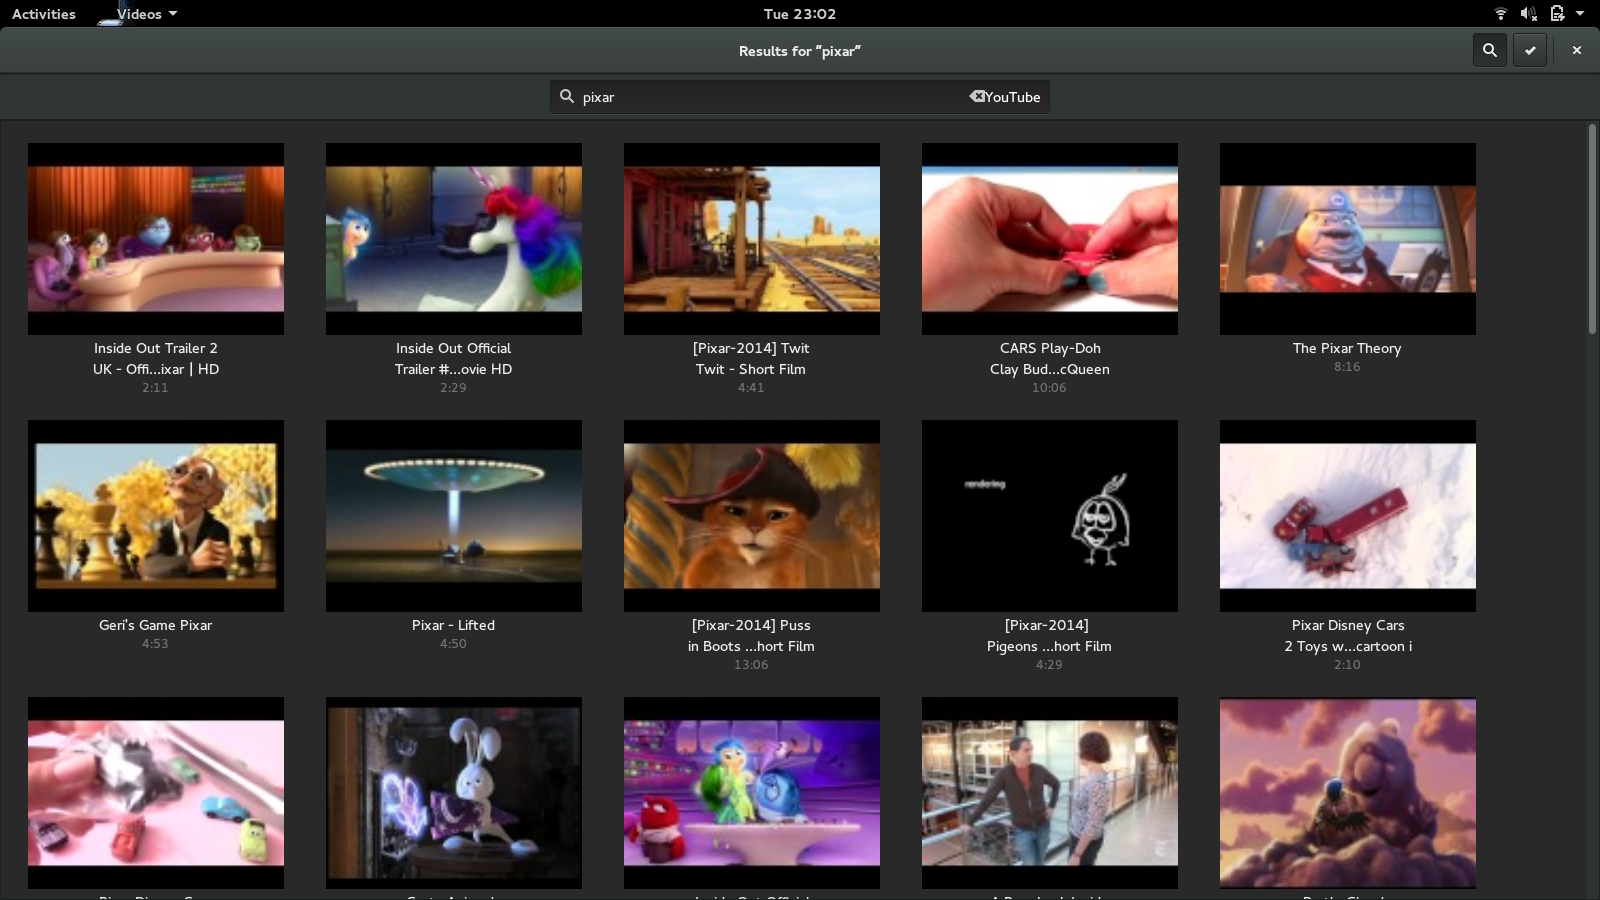
The GNOME video player also integrates itself well to the GNOME desktop. There are options for playing local videos or searching online libraries such as Youtube and Vimeo.
Installing Applications
There are a number of ways to install applications using openSUSE.
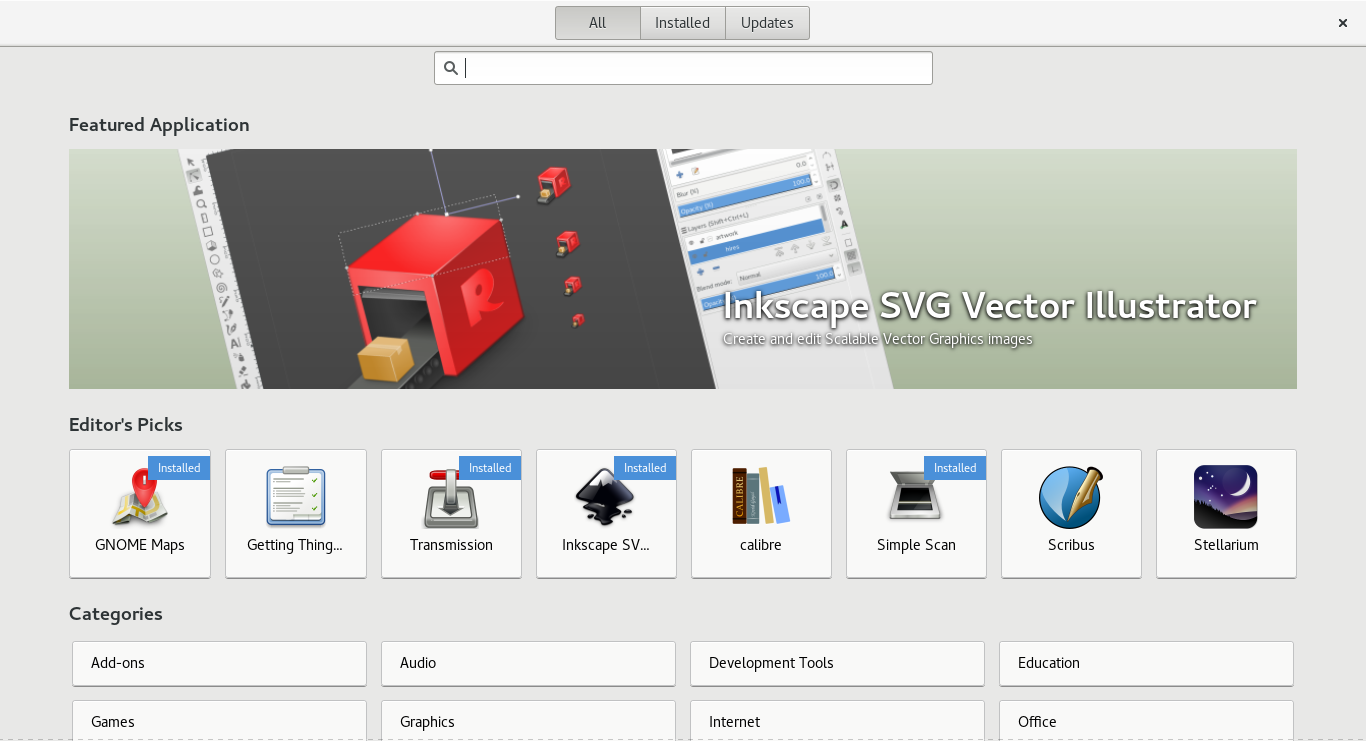
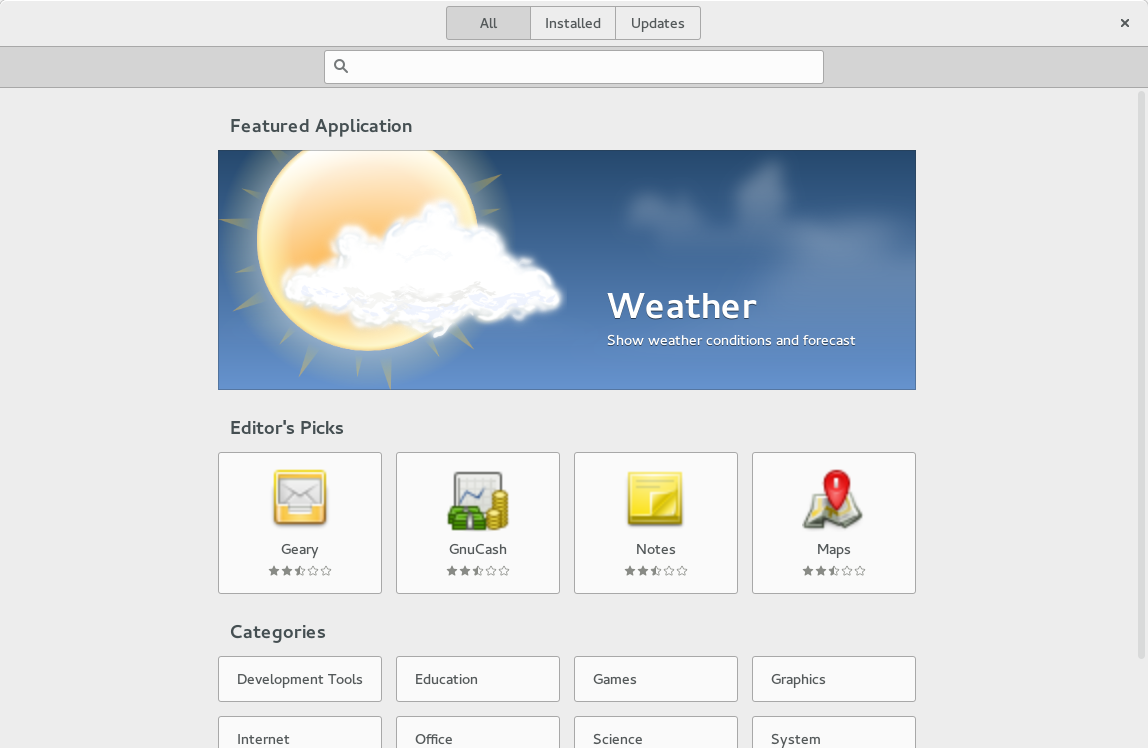
The first and most obvious way is to use the GNOME Packaging tool which can be found by typing "Software" into the search box within the activities window.
This tool is like the software centre within Ubuntu and boasts a search box, multiple categories, iconised views of applications, reviews and ratings.
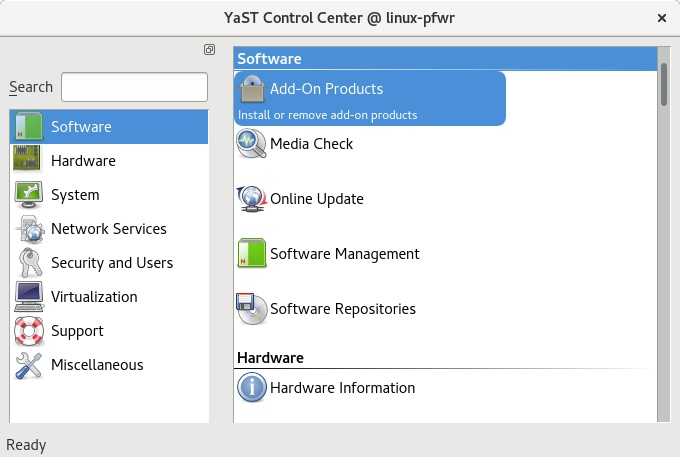
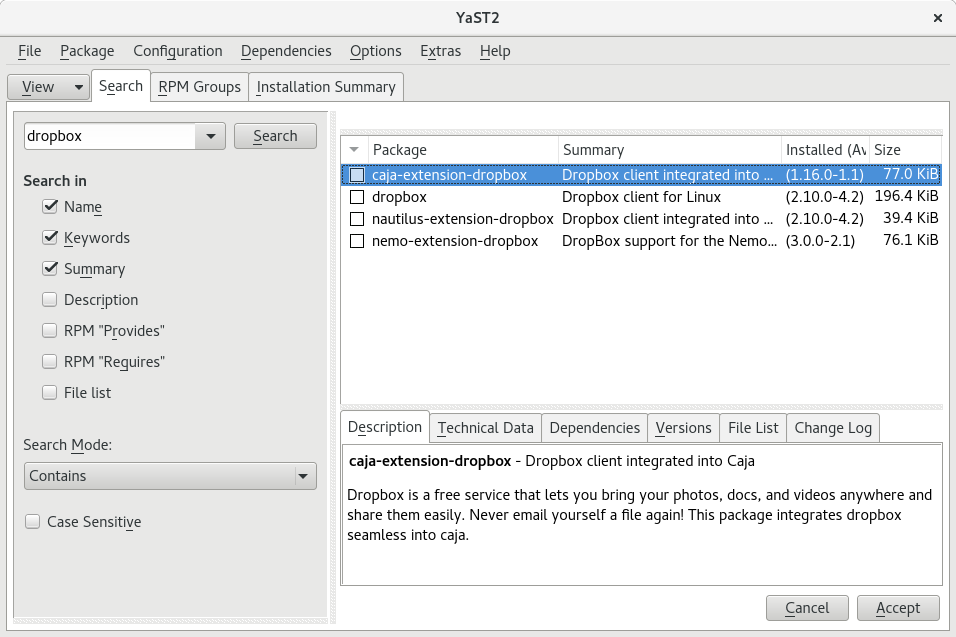
The tool more commonly recognised for installing applications in openSUSE is YAST.
YAST is used for most configuration activities in openSUSE including security, setting up printers, scanners, sound and installing applications.
YAST can also set up and manage other software repositories including the non-free ones used for installing Flash and Java.
My main issue with YAST is the same as it has always been. I chose to install one application and it automatically added 300 megabytes worth of updates to the install without even warning me it was going to do so. Now I know that certain updates are important but it should be my choice when to update and at least a warning message should appear telling me that is going to happen.
The other way to install software in openSUSE is via the terminal window using a tool called zypper which is much like apt or yum.
Summary
openSUSE, Fedora, Ubuntu, Mint. There isn't much between them now in terms of usability.
The openSUSE installer could do with a user friendly option (some people are going to disagree with this as they hate dumbing down) for replacing current operating systems and basic dual booting.
The main GNOME interface is very good and the GNOME tools such as the music player, weather application and video player integrate nicely.
The applications included with openSUSE are also very good. Most users will have everything they need to get going and the package managers will help install everything else.
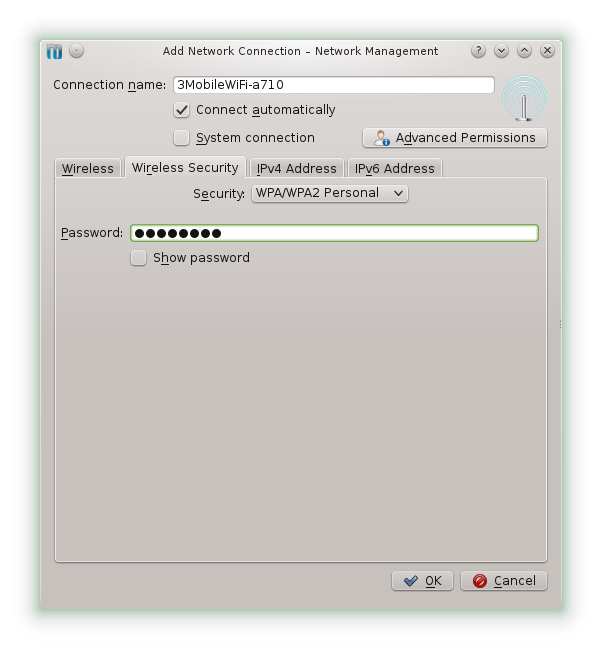
Installing things like Flash, Steam and Skype require using 1-click installs (for everyday users) and the method for doing this can easily be found by searching using Google.
1-click installs could be dangerous security-wise if somebody decides to integrate something malicious into one of them. Users just have to be sensible about how they source their software and use the standard repositories as much as possible.
Stability is very good within openSUSE. I haven't experienced any notifications or errors whilst running openSUSE which is in complete contrast to Fedora which ran ok under the standard GNOME desktop (albeit a bit sluggish) but on the speedy Wayland version there were a number of big bangs.
All in all openSUSE is a good alternative to Ubuntu and Linux Mint. You just need to get it installed first.
Thankyou for reading.
Introduction
Last year I wrote a
review of openSUSE 13.1 and I followed up the review with a series of articles looking at the applications that were released as part of the distribution:
That particular review looked at the KDE version of openSUSE. This is a review of openSUSE 13.2 and focuses on the GNOME desktop environment.
In my recent review of Fedora 21 I pointed out how far I believe the GNOME desktop has come in the past few years. I would go so far as saying that it is now so good that it is at least on a par with Unity and potentially the best desktop environment available.
The main desktop itself has excellent navigational features and keyboard shortcuts. GNOME 3 is more than just a pretty desktop. Look at
this list of applications which are built to run on top of GNOME.
How To Get openSUSE 13.2
Click here for the openSUSE download page.
The initial download option on that page is 4.7 gigabytes in size. If you have a poor internet connection or a download limit that may seem extreme and to be honest you can guarantee that if you download that file then many of the applications will need to be updated after installing them anyway and you probably wouldn't use most of the software that makes up the 4.7 gigabytes.
Note that there is a link halfway down the page which reads "Click here to display these alternative versions". This option provides links to download a live GNOME and a live KDE version.
You can also .
Minimum Requirements
This page on the openSUSE website lists the following minimum requirements.
- Pentium III 500 mhz or higher (Pentium 4 2.4 ghz or any AMD64/Intel 64 recommended)
- 1 GB RAM (2 GB recommended)
- 3 GB Hard Drive space (5 GB or more recommended)
- Supports most sound and graphics cards. (minimum 800 x 600 resolution, recommended 1024 x 768 or higher)
- USB port or DVD drive
New Features In openSUSE 13.2
- Linux Kernel 3.16
- btrfs is new default filesystem
- Live images are persistent by default
- Revamped Yast installer (which I will come to shortly)
- New Yast is faster, more stable and better integrated with SystemD
- Latest stable version of KDE desktop available (4.11.12)
- Newer GNOME desktop (3.14.1)
- HiDPI Screen Support
- Much improved searching in GNOME shell
- Touch screen gestures supported
- GNOME Maps includes route mapping
- Google Account support for GNOME Photos
- Playlist support in GNOME Music
- New videos interface
- Polari - a modern IRC client
Click here for a full list of new features in openSUSE 13.2
Installation
I recently developed a guide showing
how to install openSUSE whilst replacing your current operating system.
According to the new features list the YAST installer has been improved and in some areas this is true and in others I have a few issues.
The partitioning section is still just plain awful for the everyday user. I know it is easy to always fall back to the installers used by Ubuntu and Linux Mint but they do right what many other installers do wrong.
What is wrong with a simple "replace your current operating system with openSUSE" option which simply wipes your drive and sets up a sensible partitioning scheme?
What is wrong with a simple "install openSUSE alongside Windows" or "install openSUSE alongside your current operating system" option?
Instead, what you get is a long list of planned changes that the installer is going to make, which you have to work through and think about before moving on.
There is an option to enter a setup screen which lets you choose your hard drive and then select all partitions thereby replacing your current operating system with openSUSE but it isn't plainly in sight and even when you choose this option you are back to the big scary list showing dozens of potential partition changes.
Worse than that however, I previously had Fedora 21 on this drive which used an LVM partition. openSUSE couldn't handle replacing that with the partitioning structure I chose to set up. I ended up having to use gParted to remove the Fedora partitions and restart the installer.
There are people out there that will want all of the verbose options, giving access to every available installation option but maybe there could be a general installer and a custom installer to make it easier for the masses.
To be honest I found the openSUSE installer more difficult than the Anaconda installer that is shipped with Fedora and that has taken heaps of criticism over the years. Now I would say that the Fedora installer has greatly improved but the openSUSE installer still has some way to go.
On to the good news though, well kind of. This machine has a standard BIOS and there is no EFI in sight. The openSUSE installer actually throws up an error when installing the bootloader but there is an option to continue trying to set it up. If you choose to continue you are presented with the option to choose between GRUB 2 - EFI and plain old GRUB 2.
What this means of course is that the installer will work perfectly on older and newer computers. The GRUB 2 - EFI option even includes options for handling secure boot. Very good.
First Impressions
The GNOME desktop is fairly typical although the choice of wallpaper for openSUSE is fairly dull.
GNOME has a panel at the top with the "Activities" option in the top left and a series of icons in the top right which provide access to power management, network settings and user settings.
Pressing the super key or clicking on activities brings up the activities screen.
The screen basically has a search box in the top middle, a series of favourite applications icons on the left and access to virtual workspaces on the right. The workspaces hover in from the right when you move the mouse over to that section of the screen.
The favourite icons link to Firefox, Evolution, Empathy, Rhythmbox, Shotwell, LibreOffice and Files.
Pressing the super key and the A key brings up the applications view. Alternatively click on the bottom icon in the left bar.
There are two views available which are frequent and all. Clicking the "all" option shows a grid with icons for all of your applications. As you can see from the screenshot the "frequent" option shows a handful of icons to applications used regularly.
Navigation is particularly easy but it is worth
learning all of the GNOME keyboard shortcuts.
The main thing I noticed about the openSUSE version of GNOME is that it performed much better than the Fedora version. The Fedora GNOME desktop performed better when I switched to GNOME Wayland. The trouble is that after switching to Wayland there were more errors and it was unpredictable at times. openSUSE however has performed well and has never crashed on me.
As mentioned previously the main wallpaper is fairly plain. To change the wallpaper all you have to do is right click on the desktop and choose "change background".
You are given the option to change the background for the main desktop or the lock screen.
The trouble is that there are no other wallpapers supplied with the live version of the GNOME desktop.
Luckily there was this cool invention made a while back now called the internet and an even cooler add-on to the internet called Google and after a little bit of searching you can do something like this.
Flash and MP3
openSUSE is a community distribution (although it is backed by a larger corporation much like Ubuntu).
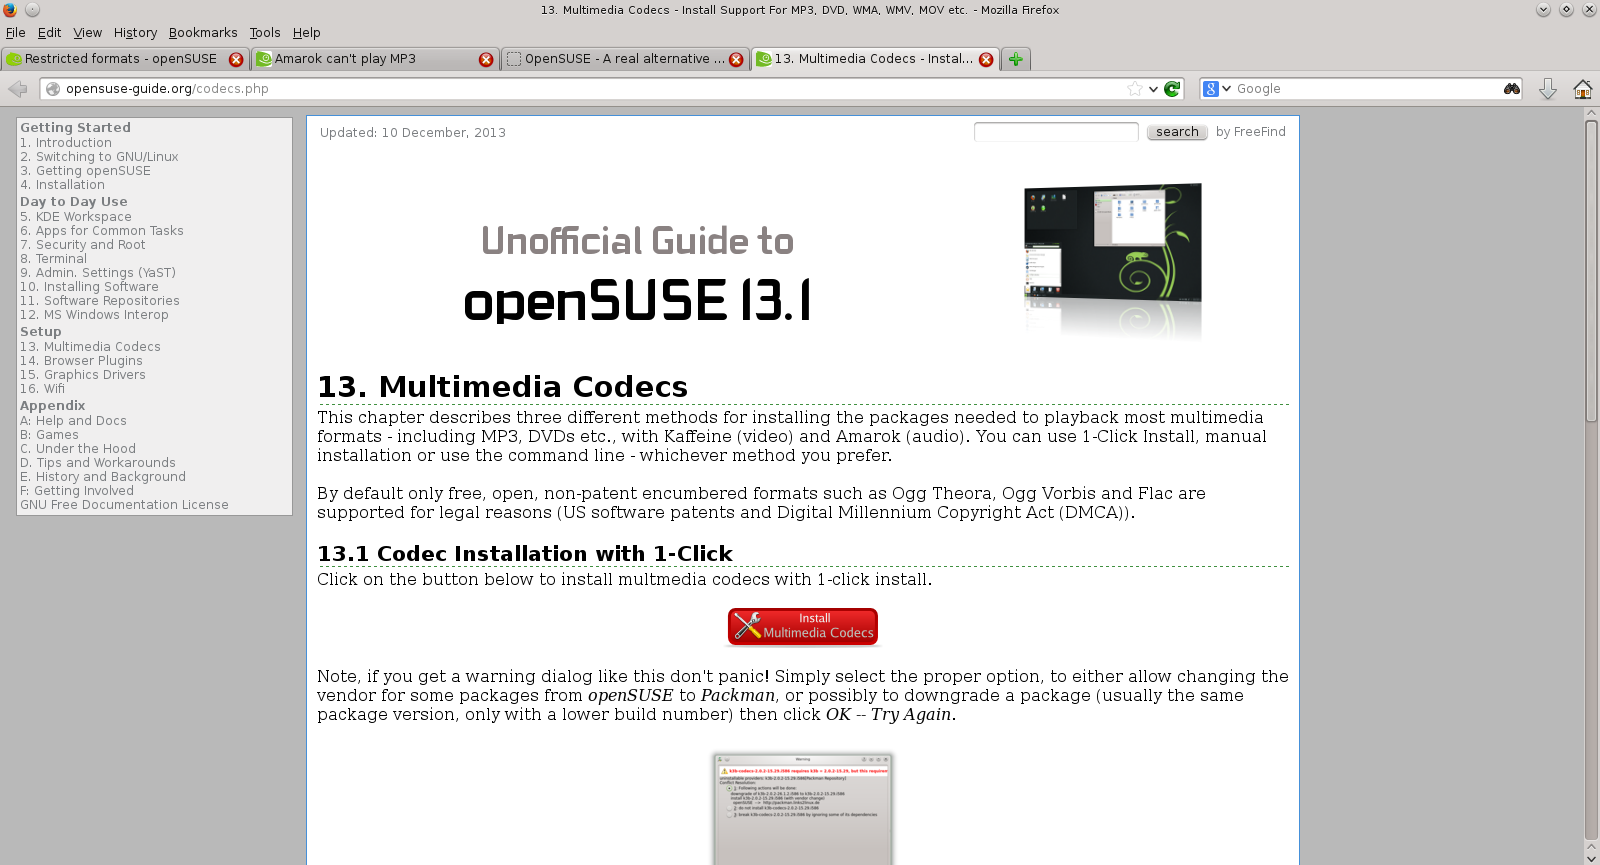
The upshot of this is that proprietary components such as MP3 codecs and Flash aren't installed by default.
You can install both of these options using 1 click installs. I have a guide coming up shortly showing how to do this.
Applications
I have never tried the full installation (4.7 gigabytes!) and so there maybe more applications installed by default with that version.
This review focuses on the live version with the GNOME desktop and as such the applications provided are as follows:
- Aisleriot - solitaire card game
- Brasero - disk burning software
- Cheese - webcam viewer
- Chess - chess game
- Clocks - stopwatch, timer, world clock
- Contacts - address book
- Documents - pdf viewer
- Empathy - chat client
- Evolution - mail client
- Files - file manager
- Firefox - web browser
- gedit - text editor
- gimp - image editing tool
- grsync - backup/syncing tool
- lagno - game
- k3b - disk burning software
- libreoffice - office software (includes word processor, spreadsheet, presentation tool, drawing package etc)
- liferea - RSS reader
- lights off - game
- Mahjongg - game
- Maps - mapping tool
- Midnight commander - file manager
- Mines - game
- Music - Gnome music player
- Network tools
- Notes - Note taking tool
- Polari - chat client
- Quadrapassel - game
- Rhythmbox - audio player
- Shotwell - photo manager
- Sudoku - game
- Swell foop - game
- Transmission - bittorrent client
- Totem - video player
There are quite a few applications really. There is certainly everything that the average person needs for basic homeworking and play with a full office suite, video players, audio players, photo managers, web browsers, chat clients and email clients.
I have written about Rhythmbox a number of times including a full recent review which can be found
here.
I haven't however touched on the GNOME music player before which integrates nicely with the GNOME desktop.
There are a number of nice views available including by album, by artist, songs and playlists.
Creating playlists is relatively straight forward. You can either start selecting tracks and click the "Add to playlist" option or you can choose "Create a playlist" from the menu.
Whilst the interface is good it doesn't perform as well as Rhythmbox.
The GNOME video player also integrates itself well to the GNOME desktop. There are options for playing local videos or searching online libraries such as Youtube and Vimeo.
Installing Applications
There are a number of ways to install applications using openSUSE.
The first and most obvious way is to use the GNOME Packaging tool which can be found by typing "Software" into the search box within the activities window.
This tool is like the software centre within Ubuntu and boasts a search box, multiple categories, iconised views of applications, reviews and ratings.
The tool more commonly recognised for installing applications in openSUSE is YAST.
YAST is used for most configuration activities in openSUSE including security, setting up printers, scanners, sound and installing applications.
YAST can also set up and manage other software repositories including the non-free ones used for installing Flash and Java.
My main issue with YAST is the same as it has always been. I chose to install one application and it automatically added 300 megabytes worth of updates to the install without even warning me it was going to do so. Now I know that certain updates are important but it should be my choice when to update and at least a warning message should appear telling me that is going to happen.
The other way to install software in openSUSE is via the terminal window using a tool called zypper which is much like apt or yum.
Summary
openSUSE, Fedora, Ubuntu, Mint. There isn't much between them now in terms of usability.
The openSUSE installer could do with a user friendly option (some people are going to disagree with this as they hate dumbing down) for replacing current operating systems and basic dual booting.
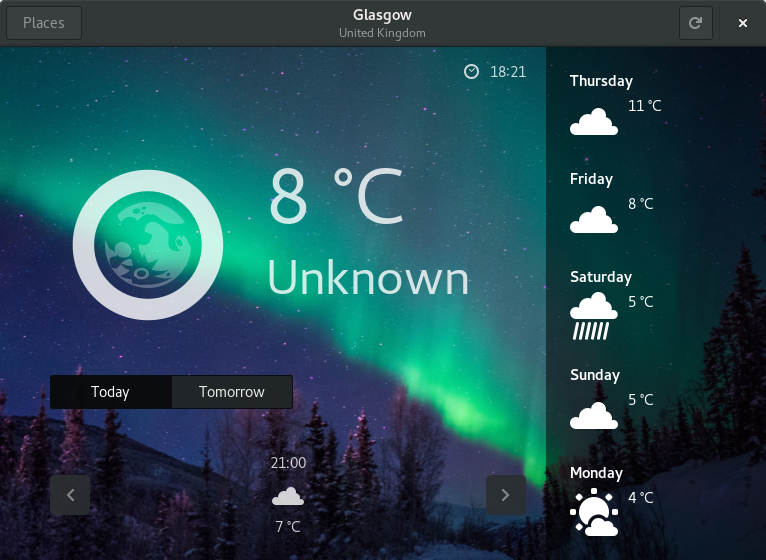
The main GNOME interface is very good and the GNOME tools such as the music player, weather application and video player integrate nicely.
The applications included with openSUSE are also very good. Most users will have everything they need to get going and the package managers will help install everything else.
Installing things like Flash, Steam and Skype require using 1-click installs (for everyday users) and the method for doing this can easily be found by searching using Google.
1-click installs could be dangerous security-wise if somebody decides to integrate something malicious into one of them. Users just have to be sensible about how they source their software and use the standard repositories as much as possible.
Stability is very good within openSUSE. I haven't experienced any notifications or errors whilst running openSUSE which is in complete contrast to Fedora which ran ok under the standard GNOME desktop (albeit a bit sluggish) but on the speedy Wayland version there were a number of big bangs.
All in all openSUSE is a good alternative to Ubuntu and Linux Mint. You just need to get it installed first.
Thankyou for reading.
Posted at 23:51 | by
Gary Newell