
Introduction
You might be surprised to learn that outside of work, bringing up three children and a dog and writing about Linux that I try to find time for other hobbies such as being a navigator at classic car rallies and playing old computer games.This article looks at the options available for potential retrogamers using a fairly standard Linux Mint or Ubuntu setup.
There are already specialist Linux distributions available for playing computer games such as Puppy Arcade. If you just want to play games casually then running a whole distribution to do so might seem a bit overkill.
I have written other articles in the past about games emulation and in one of my earliest articles I showed how to set up the Sinclair Spectrum in Linux Mint 13.
Generally when people think of retrogaming they think of games emulators and ROMS. They will also think of old consoles such as the Atari 2600, Sinclair Spectrum, Commodore 64, NES, SNES, Megadrive and Dreamcast.
Old Windows games can also be considered retro and there are some great examples of games that used to work in DOS or on the earliest versions of Windows such as Sim City, Sensible Soccer, Cannon Fodder and Wolfenstein 3D.
A few years ago I used to own a number of consoles including all those listed above as well as an Atari ST, Gamecube, Playstation 1 and N64. I still have a Gamegear, Gameboy Color and Gameboy Advance.
Unfortunately space was at a premium and so I reduced my collection but in order to do so I bought a Raspberry PI. The Raspberry PI is great for games emulation up to a point but you certainly need patience when setting it up.
My wife bought me an OUYA last Christmas which lets me play Android style games on a television. The OUYA has a large number of games emulators available for it and I find it works much better than the Raspberry PI for this purpose. The Raspberry PI is much more suited to repetitive tasks without a GUI. I therefore now use my Raspberry PI for other purposes and the OUYA for retrogaming using emulation.
For retrogaming with old DOS and Windows games I use my best Linux laptop.
GOG.com

STEAM has been hailed as a Linux revelation as it has brought main stream gaming to Linux.
Before STEAM arrived on the scene however GOG.com (Good Old Games) were providing games that worked very well in WINE and recently they announced that they were releasing games for LINUX.
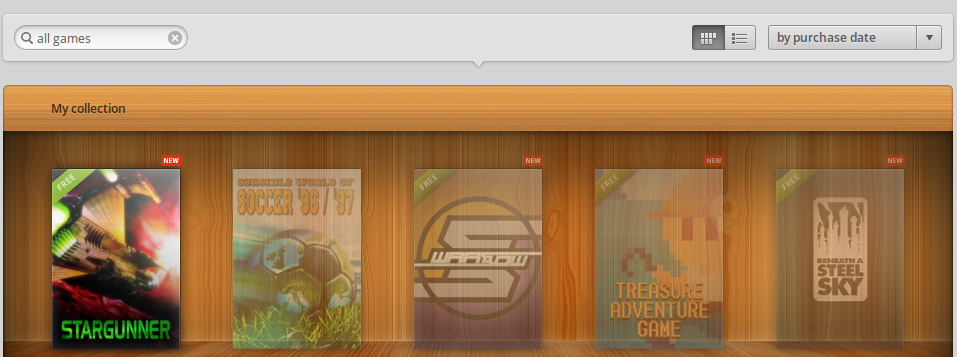
The Linux games library is fairly small at the moment with just under 100 games available.
Titles include Witcher 2, Duke Nukem 3D, Flatout 2, Pinball World, Crystal Caves and The Hugo Trilogy. Prices for the Linux games range from free to £13.
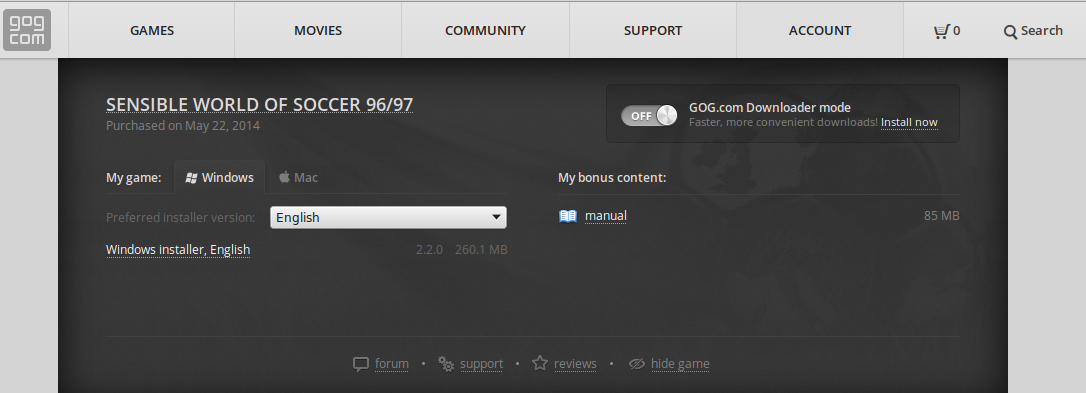
To test out the Linux games I downloaded "Stargunner" which is one of the free games.
You have to sign up for an account in order to download the free games and you are basically sent through the same purchasing procedure although of course you end up paying nothing.
After purchasing the game (even though it is free) you can go to your accounts area and download the game. The game format is provided as a .deb file.
To install the game all you have to do is double click on the .deb file and the GDebi package installer will do the rest. (This is all of course assuming that you are using a Debian based distribution such as Debian, Ubuntu, Mint etc).
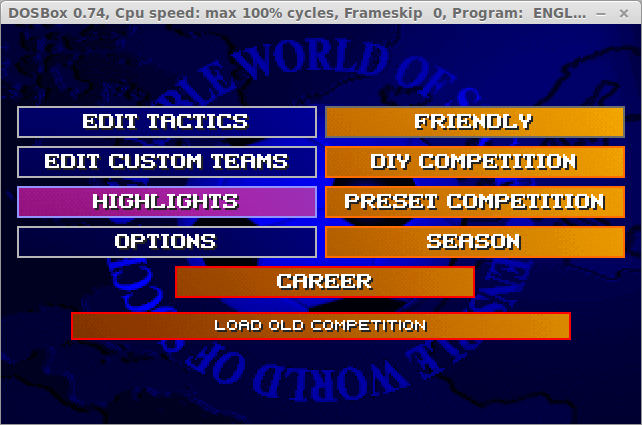
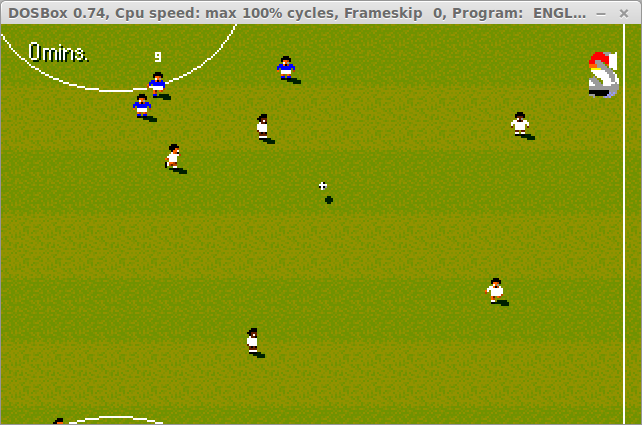
When you start the game it loads in dosbox which is a DOS emulator. The game loads in full screen mode which is probably fine for most people but you can make it open in windowed mode by following these steps:
- Open a terminal window
- Enter cd "/opt/GOG Games/Stargunner"
- Enter sudo nano dosbox_stargun.conf"
- Find the line that says fullscreen=true and replace the true with false
- Press CTRL + O and then CTRL + X to save the file
Controllers
The main problem you will have at this stage is that you can only control the game with the keyboard controls.It is worth noting that whilst a game is open within dosbox that if you press F1 it will provide you a list of other options. For example pressing F4 will let you decide which controller you wish to use (keyboard, mouse, joystick etc).
If you choose to control via joystick then it will ask you to calibrate your joystick.
I have three joysticks available to me:
- XBOX 360 Controller (Wired and Wireless)
- WII Remote
- OUYA Controller

Plugging the XBOX 360 Controller in using the USB port is the easiest way to get started and if you have one of those then I recommend using it.
The is fairly straight forward as well. If your computer has bluetooth available then all you have to do is search for a new bluetooth device and then hold in the OUYA controller power button until the device is found.
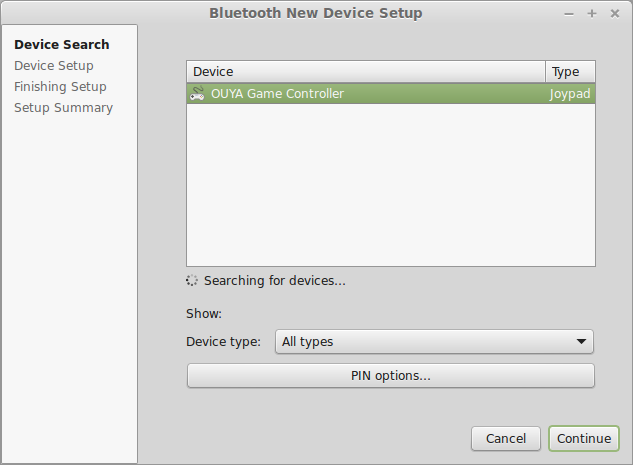
I think most bluetooth or would work well enough.
Calibrating Joysticks
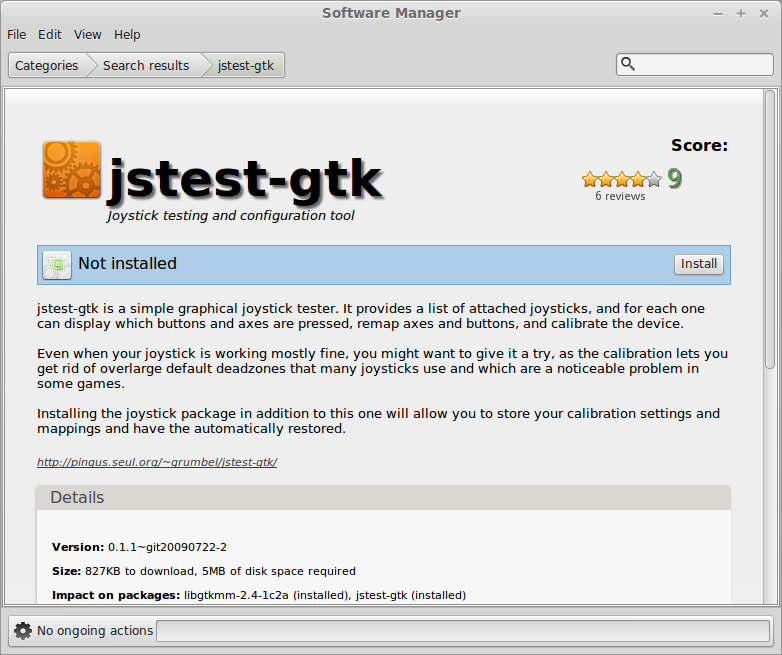
jstest-gtk is available from the software manager or software centre.
Simply search for jstest-gtk and click install.
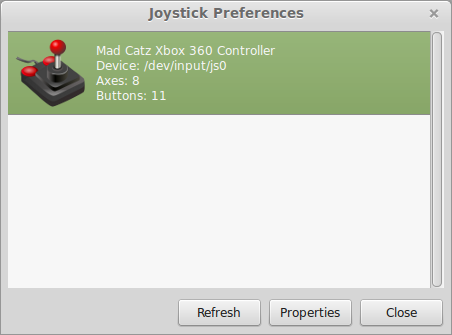
Make sure you have the controller plugged in. If it isn't plug it in and click refresh. Click on properties to start calibrating.
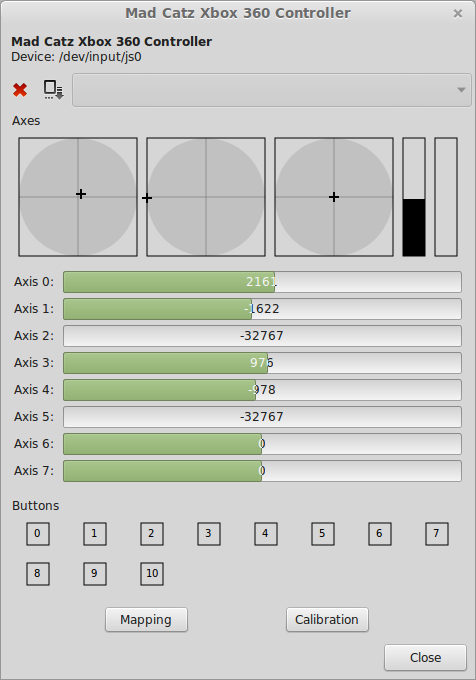
All the button presses should light up a number button.
The left joystick on an XBOX controller or the OUYA controller will move the cross on the left hand axes dial.
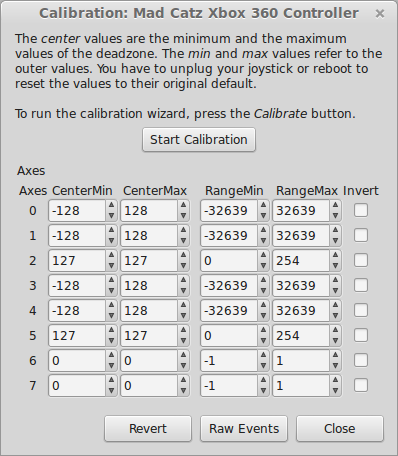
If something doesn't seem right click on the calibrate button.
WINE
If 100 games isn't enough for you (and it really isn't for me) then you can also try out the Windows games at GOG.com by installing WINE. You can also install your own Windows and DOS games that you have on CD/DVD.You can install WINE from the Software Manager.
All you have to do to install a game is find the setup program, right click and select open with WINE Windows Program Loader.
Once the game has been installed it is likely that an icon will have appeared on your desktop. If it hasn't then you should be able to run the program from the menu or dash depending on your distribution.
There are other programs that you might wish to run such as WINE Graphic Mode Setup.
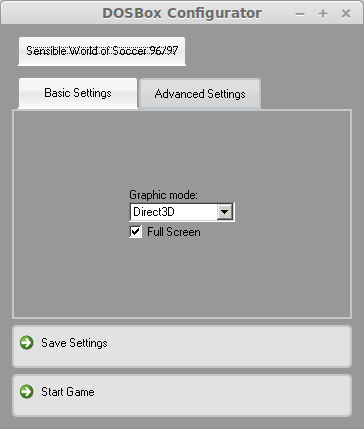
This application lets you determine whether the program opens full screen and the graphics mode it uses.
The Advanced Settings screen lets you choose the window resolution (Note that choosing a smaller resolution in Mint made my bottom panel move halfway up the screen).
The scaling engine is probably the most useful feature as it lets you set the size the game appears in Windowed mode.
The main issue I found with WINE games (and I tried about a dozen of them) is that the joystick sensitivity is crazy on older games.
There is a program called WINE Control which can be ran from the terminal which lets you test the calibration of the joystick and certain games have a joystick calibration option which came as part of the installation.
Neither of these options fix the sensitivity issues and this is because modern joypads have far more axis than older joysticks from the past.
QJoyPad
In order to get the joysticks to work properly with older WINE games I used an application called QJoyPad.
QJoyPad is not available from the default repositories and you will need to follow this guide in order to set up the getdeb repository.
I recommend following option 2 as option 1 still appears to be pointing at an older version.
When you have the repository set up open a terminal and type:
sudo apt-get install qjoypad
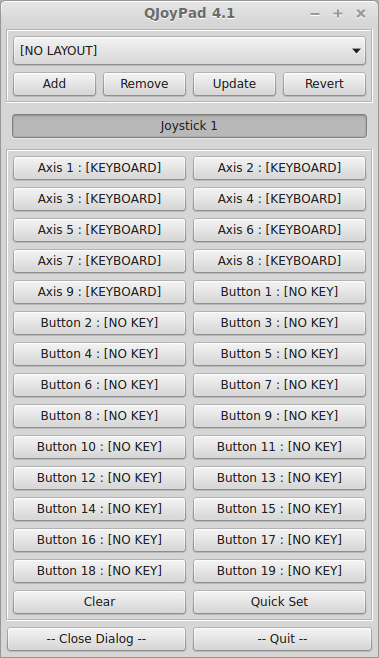
QJoyPad is a GUI application and can be ran from the menu or dash (depending on your distribution and desktop environment) and the screenshot is shown above.
QJoyPad lets you map each direction on your joystick/joypad to a key on the keyboard.
Press "Quick Set" to map the keys.
You will be asked to select an axis on the joypad and then you will be asked to map that axis to a key on the keyboard.
The point of this is to press up on the joystick and select a key, press down on the joystick and select a key, press left and select a key, press right and select a key, press fire and select a key. Each joystick function has a key on the keyboard assigned to it.
Remember that older games only had a 4 (or 8) directional joystick and a couple of buttons. All you need to do now is select keyboard as the input device within the game and remap the keys.
The game will ask you to choose the key for up when remapping the keys and instead on pressing a key on the keyboard you press up on the joystick. Similarly when it asks for the down key press down on the joystick and so on.
You will find that old games play much better using this method than using the joystick in its full glory.
Summary
This is only the first part of this series and I have only just touched on the subject of gaming thus far.
In the next article I will be looking more closely at PlayOnLinux and WINE and I will also look at some of the games emulators that are out there.
In future articles I will be looking at distributions specifically designed for playing games.
Thankyou for reading.
