Introduction
Over the past week there has been somewhat of a frenzy in the Linux blogosphere.
I wrote an article highlighting the many articles that appeared due to the release of
Ubuntu 13.10.
In that article I mentioned that I would be looking at Lubuntu 13.10 as it is a distribution that I haven't yet reviewed.
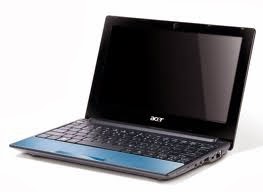
Lubuntu is supposed to be a lightweight Linux distribution and therefore it should be more than suitable for my Acer Aspire One D255 Netbook boasting an Intel Atom Processor (1.66 ghz) and 1 GB memory.
So how did it fare? read on to find out.
Downloading Lubuntu 13.10
You can download Lubuntu 13.10 from
http://lubuntu.net/blog/lubuntu-1310-saucy-salamander-released.
By clicking the above link you can also read about the purpose of Lubuntu, the features of Lubuntu and changes that have been made specifically for Lubuntu 13.10.
Lubuntu is available as a 32-bit download or a 64-bit download.
How to buy a copy of Lubuntu 13.10
If you have a poor internet connection or a download limit then you may wish to on DVD or a USB drive.
System Requirements
To run Lubuntu 13.10 you will need an Intel Pentium Pro or above. Basically your computer needs to have a CPU with Physical Address Extensions (PAE).
If you are running a computer without PAE incorporated then it is still possible to run Lubuntu but you need to install version 12.04.
In the comments below I have been informed that you can use Lubuntu 13.10 with or without PAE but it has to be the 32-bit version. The information I have given in my review comes from http://www.lubuntu.net/.
I guess the best advice is therefore to give Lubuntu 13.10 a go and if it works then great but if not falling back to a previous version should work.
The minimum requirements state that you need just 128 mb of RAM. To be honest you need more than this. The Lubuntu website is a bit vague in regards to the recommended requirements. I would suggest 1gb of RAM nowadays is a minimum.
Installation
If you are downloading Lubuntu then the first thing you need to do is either burn Lubuntu to a DVD or write it to a USB drive.
If you are using Windows go to
http://unetbootin.sourceforge.net/ and download the Windows version of Unetbootin. If you are using Ubuntu then you can download Unetbootin from the software centre. For all other versions of Linux check the repositories using the appropriate package manager to see if Unetbootin is available.
Insert a blank USB drive and run Unetbootin. Select the Lubuntu 13.10 that you downloaded and then the drive that depicts your USB device.
When Unetbootin has finished writing Lubuntu to the USB drive remove the drive and insert it into the computer that you wish to install Lubuntu on and boot it up.
From the menu select default and this will load up a live version of Lubuntu. Click the install icon on the desktop.
Installing Lubuntu is fairly easy and if you have ever installed any other version of Ubuntu then it should be straight forward.
Basically the steps are:
1. Select where you are on a map
2. Create a user and password
3. Partition your drive
Now the partitioning is the bit that most people find the trickiest especially if you are installing side by side.
There are options for replacing the current operating system, installing side by side or something else. On a netbook I think it is fine to use either replace (if you don't need what is there already) or side by side. There is no need to get too technical with the partitioning on what is usually a fairly small hard drive.
For a
full Lubuntu 13.10 install guide click here.
First Impressions
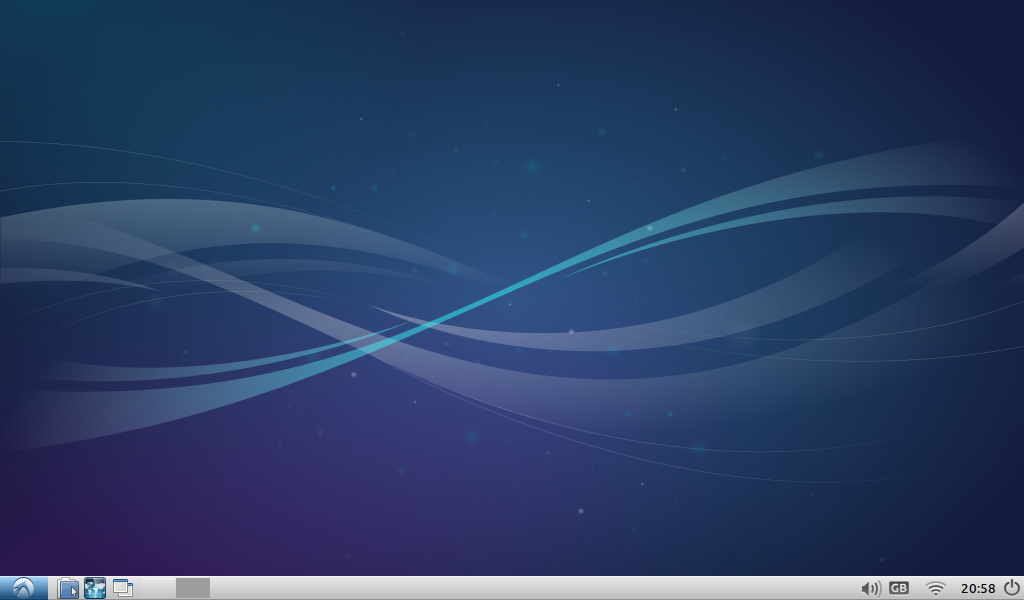
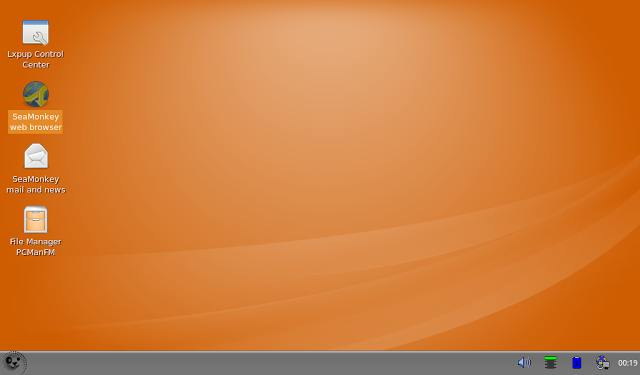
Lubuntu 13.10 will look and feel quite familiar for those of you who have used any version of Windows in the past 20 years (Windows 8 excluded).
There is a taskbar at the bottom which consists of a menu, quick launch icons and a system tray.
Lubuntu uses the LXDE desktop environment.
The components of LXDE include lightweight panels, menus, the Openbox window manager, file managers, text editors and terminal emulators.
The menu is a throwback to the Windows XP classic menu.
The system tray contains icons for audio settings, language settings, network settings, a clock and an icon for logging off.
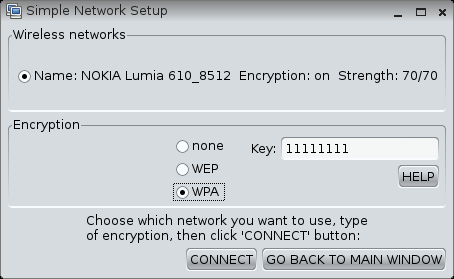
Connecting to the internet
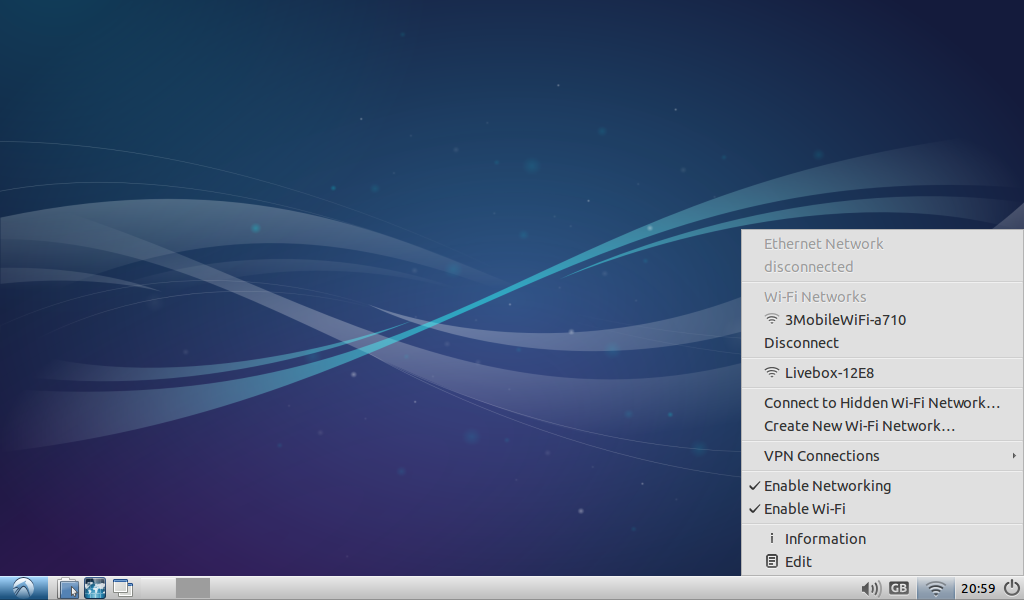
As Lubuntu is based on Ubuntu it is very easy to connect to the internet.
Simply click on the network icon and choose the wireless network (or indeed wired network) that you wish to connect to.
You will be prompted for your password and then you will be asked for the security key to the network.
The browser included with Lubuntu is Firefox (version 24).
Applications
Lubuntu doesn't come with a lot of applications but for a netbook there is more than enough to get you started and certainly enough for browsing the web and staying connected.
Accessories
Archive Manager, Disk Management Utility, File Manager (PCManFM), Calculator, Image Viewer (GPicView), Text Editor (Leafpad), Terminal.
Games
Penguin Canfield, Freecell, Golf, Mastermind, Merlin, Minesweeper, Pegged, Solitaire, Spider, Taipei, Thornq.
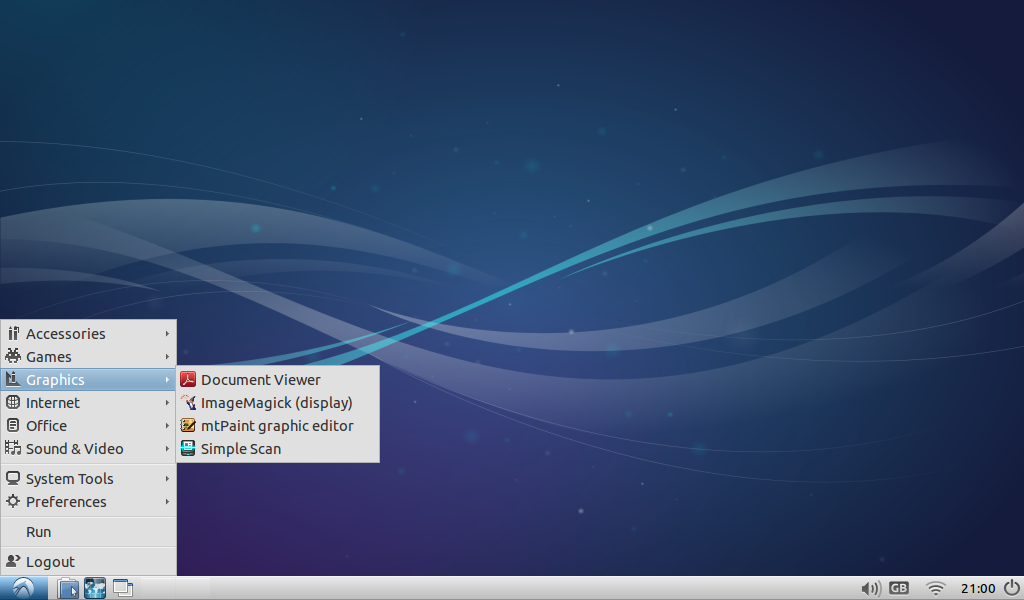
Graphics
Document Viewer, mtPaint Graphic Editor, Simple Scan.
Internet
Web Browser (Firefox), Messenger (Pidgin), Email Client (Sylpheed), Bittorrent Client (Transmission)
Office
Word Processor (Abiword), Spreadsheet (Gnumeric)
Sound and Video
Audio (Audacious), Media Player (MPlayer), Webcam (GUVCView), Disc Burning (XFBurn).
System Tools
Lubuntu Software Centre, Package Manager (GDebi, Synaptic), Startup disk creator.
Installing Applications
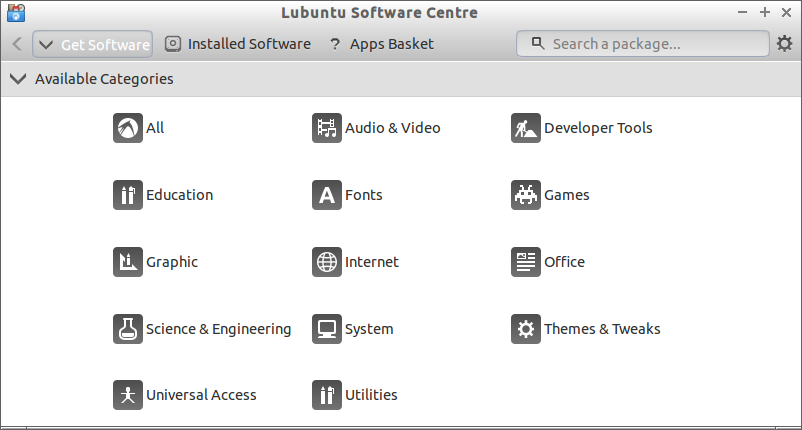
There are various ways to install applications using Lubuntu. I would imagine the intended preferred method would be the Lubuntu Software Centre.
You can find the software you are looking for using the software centre by clicking on the various categories to browse, or by searching using the search box in the top right corner.
I had an issue on the netbook whilst using the search function and I traced it to this bug report (
https://bugs.launchpad.net/lubuntu-software-center/+bug/1043595).
The search function starts searching after just 300 milliseconds of typing. So if you haven't finished typing your search term in that time then you have to wait for the search to complete before you can enter the rest of the search term.
On top of this I regularly received the following error message when using the Lubuntu Software Centre.
The first few times I thought the software centre had stopped responding but by clicking wait eventually it came back with some results. This isn't ideal.
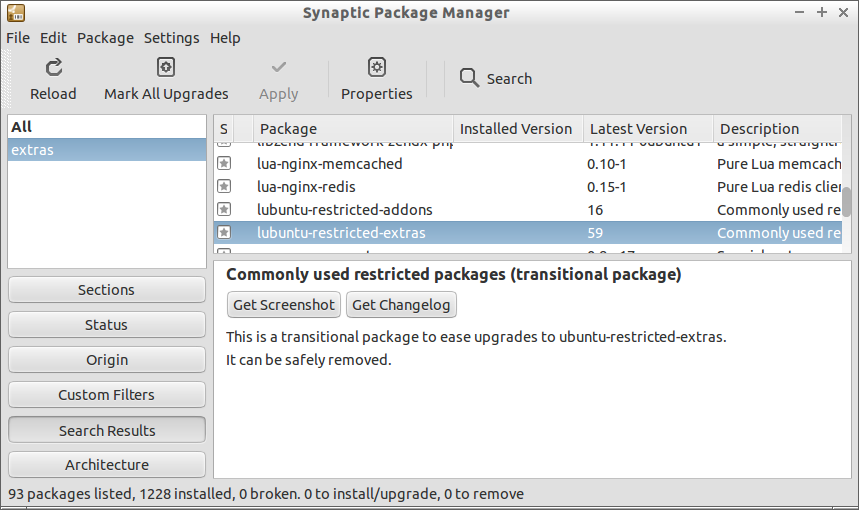
However all is not lost because Synaptic is installed and I think this is a better tool for installing software anyway.
Simply type a keyword or the name of an application into the search box and a list of relevant programs will appear.
To install the applications, mark them for installation and when you have chosen all the items you need press the apply button to install them.
You will need to use the program installer if you harbour any hopes of watching Flash videos, playing Flash games or listening to your music collection (assuming your music is in MP3 format).
Flash and MP3
To be able to play Flash or to listen to MP3s you will need to install the Lubuntu-restricted-extras package.
Either load Synaptic and search for Lubuntu-restricted-extras or open a terminal and use "Apt".
To use "Apt" first of all run "sudo apt-get update" and then run "sudo apt-get install lubuntu-restricted-extras".
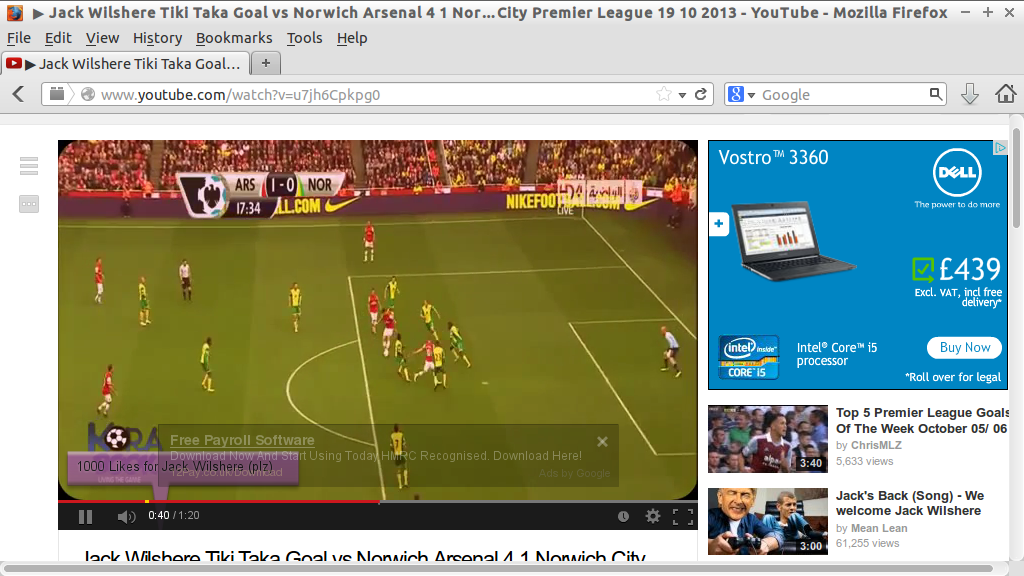
As you can see by installing the restricted extras package I was then able to see Jack Wilshere's brilliant goal from last weekend.
I was also able to listen to Chas and Dave in MP3 format.
Everybody now... "I don't care, I don't care, I don't care if he comes round 'ere, I got my beer in the sideboard here, let mother sort it out if he comes round 'ere".
Customising Lubuntu
Lubuntu uses the LXDE desktop.
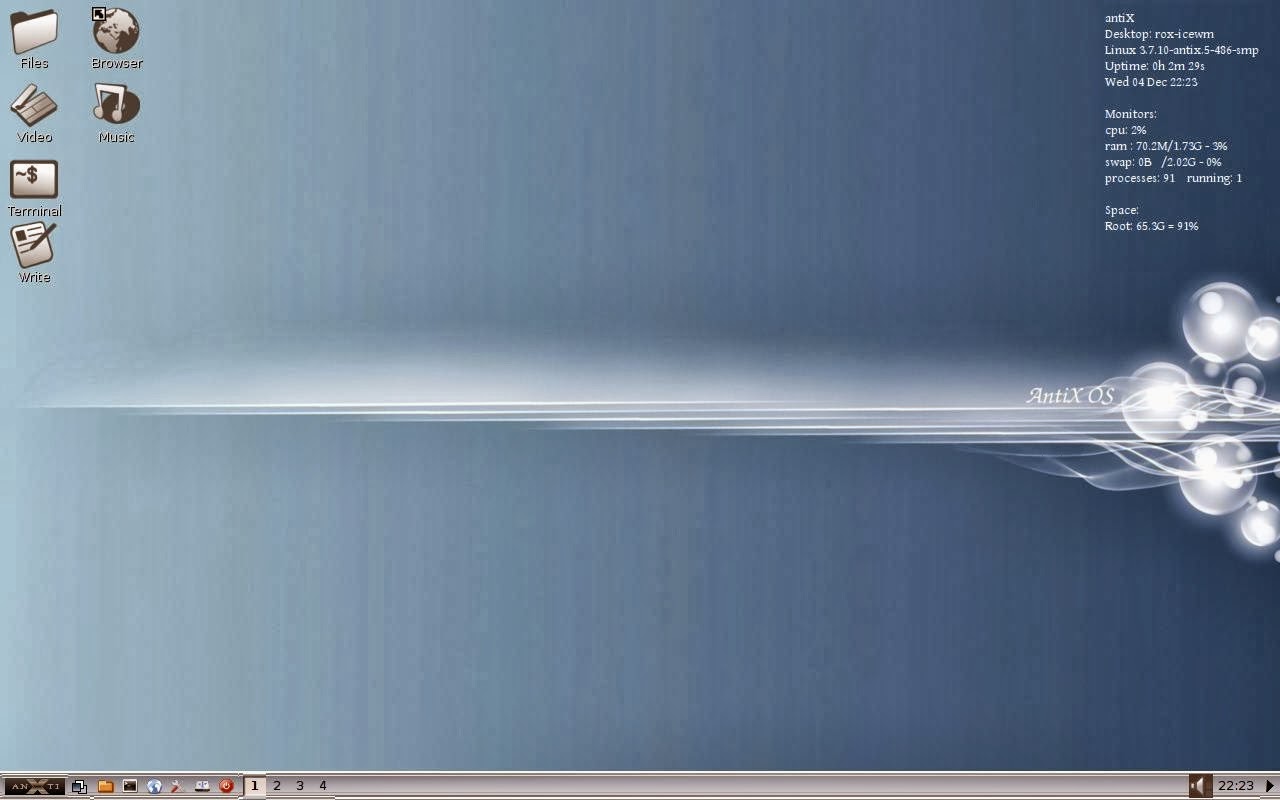
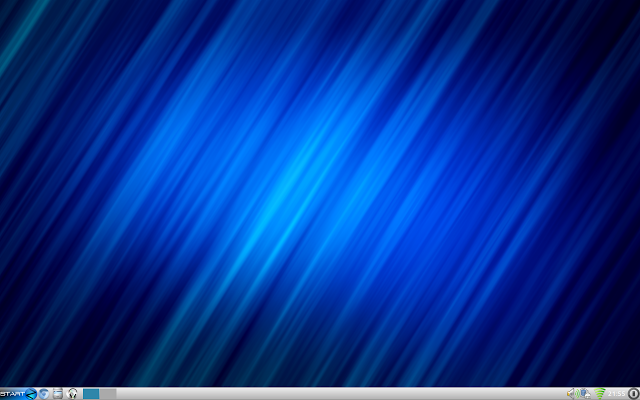
I found that the default layout looked very uninspiring with just a panel at the bottom and a blue desktop.
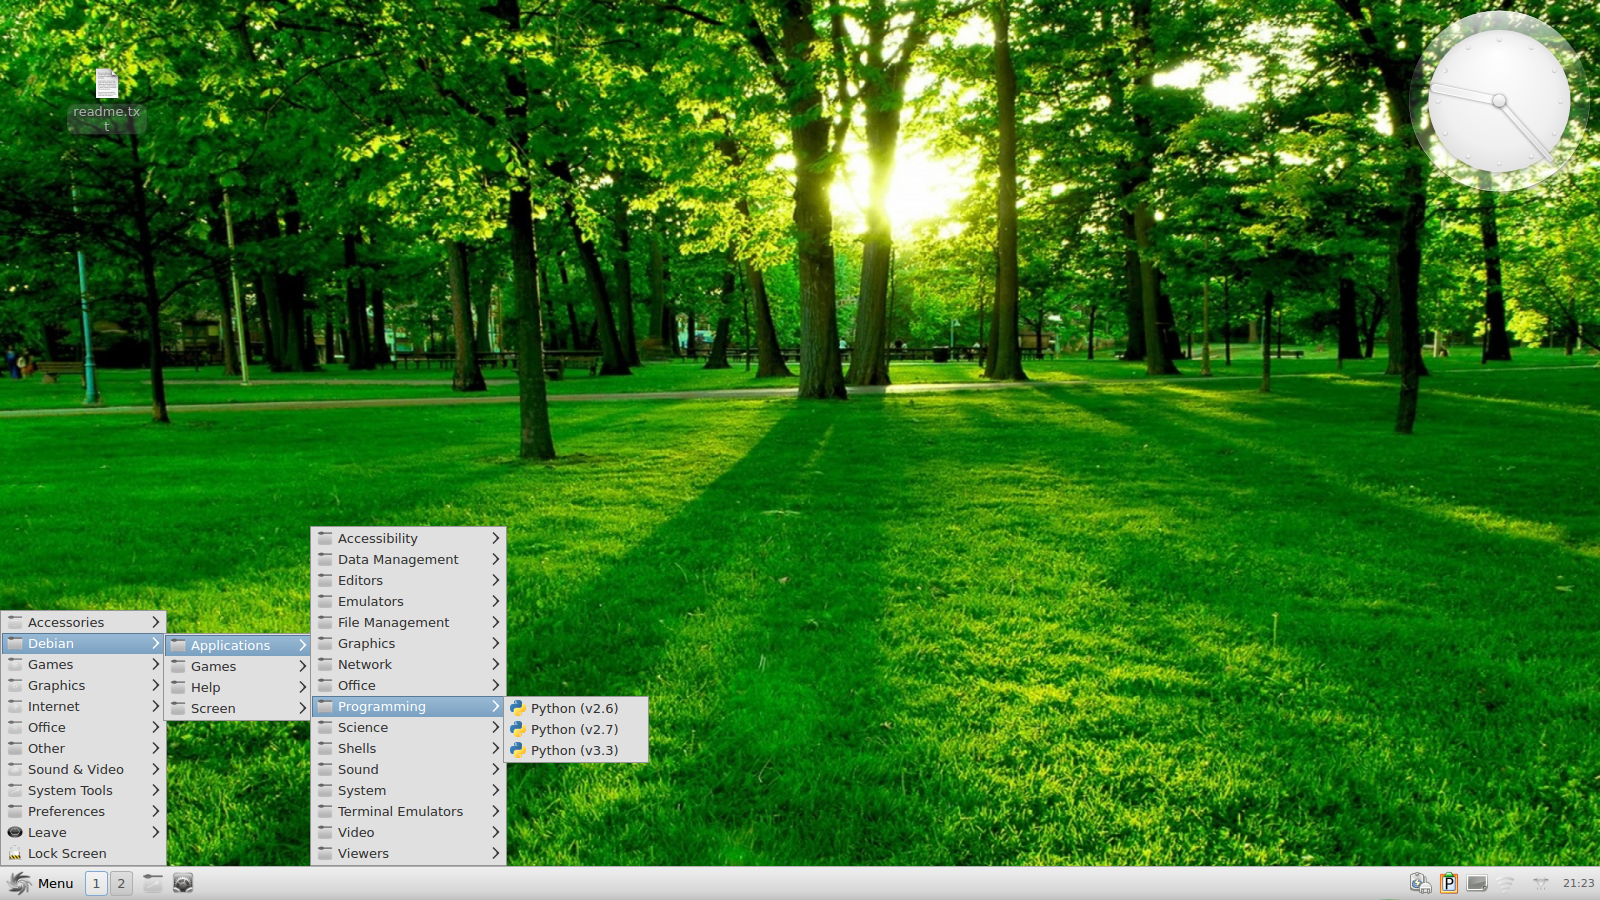
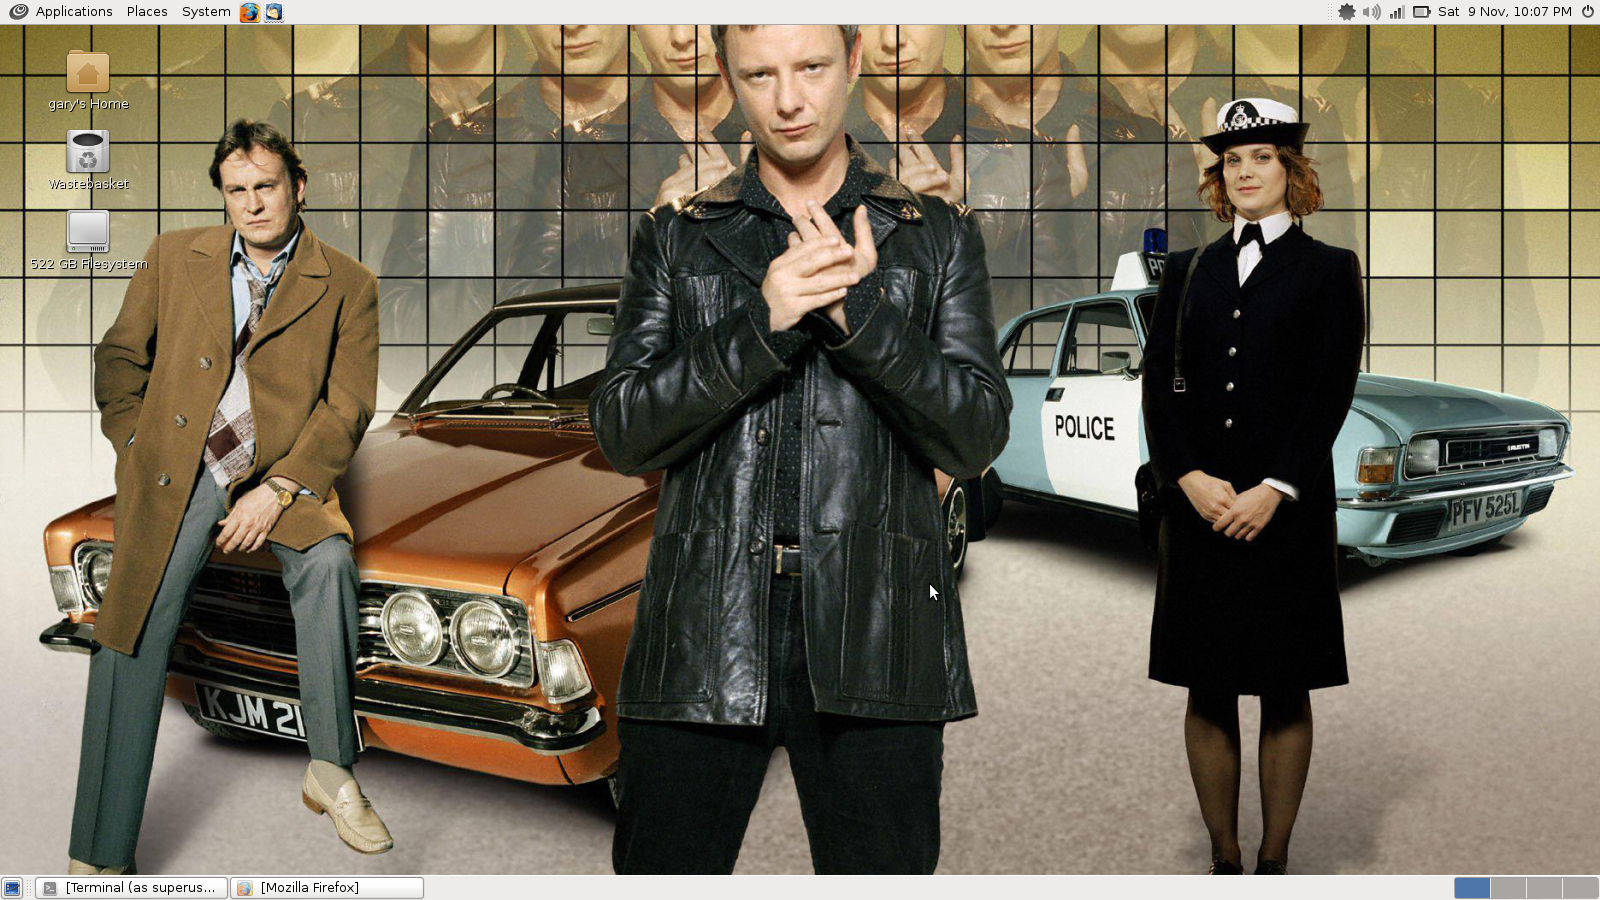
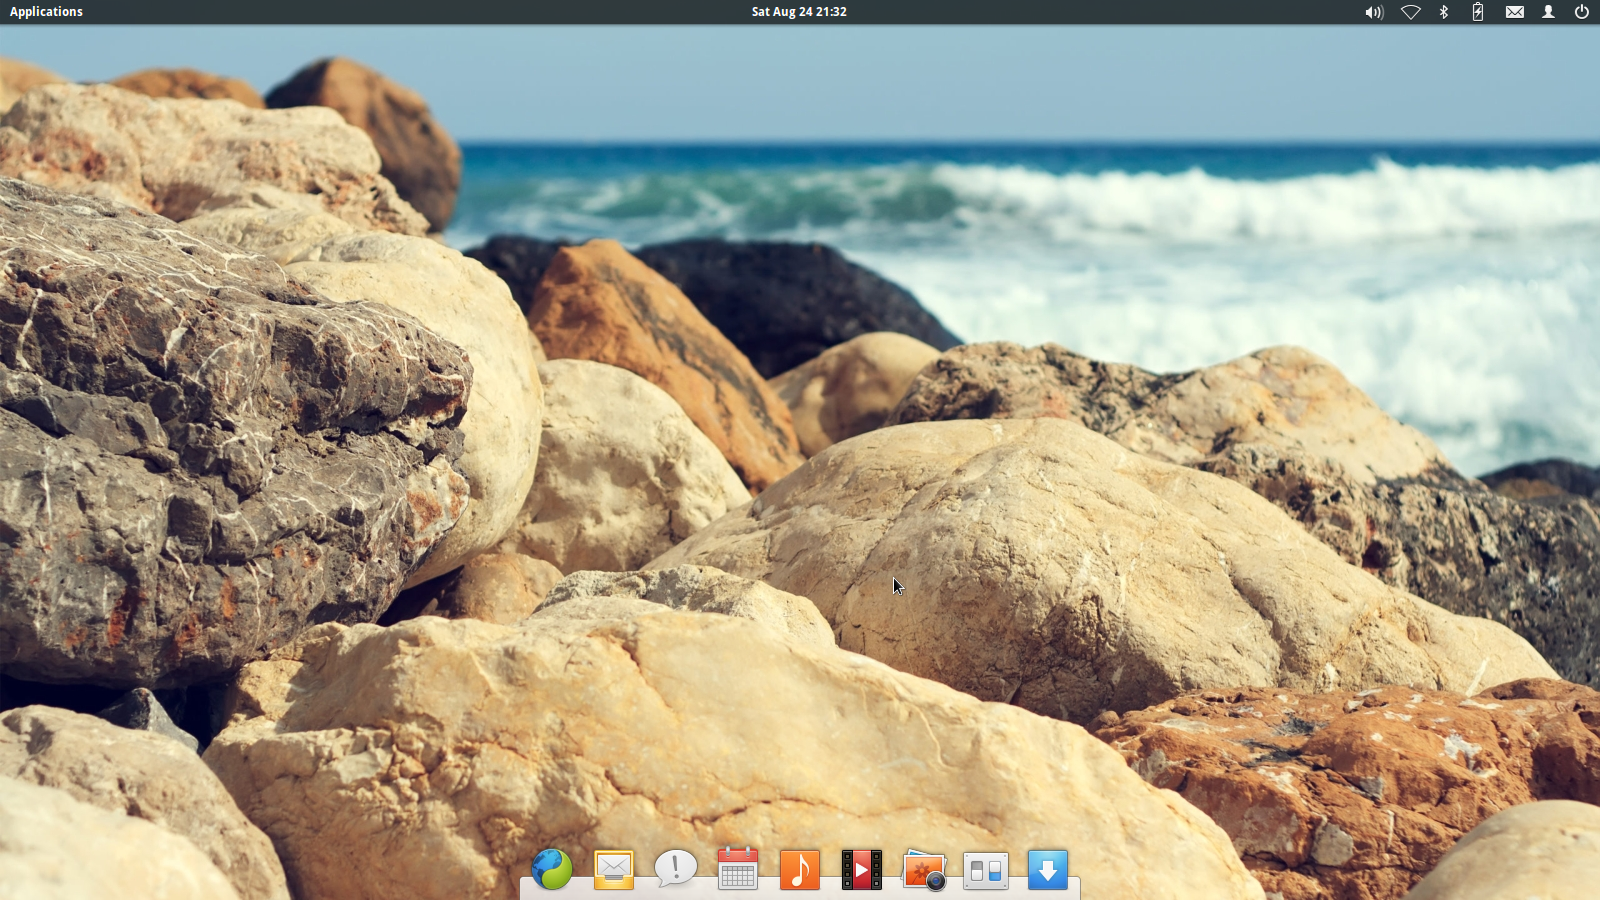
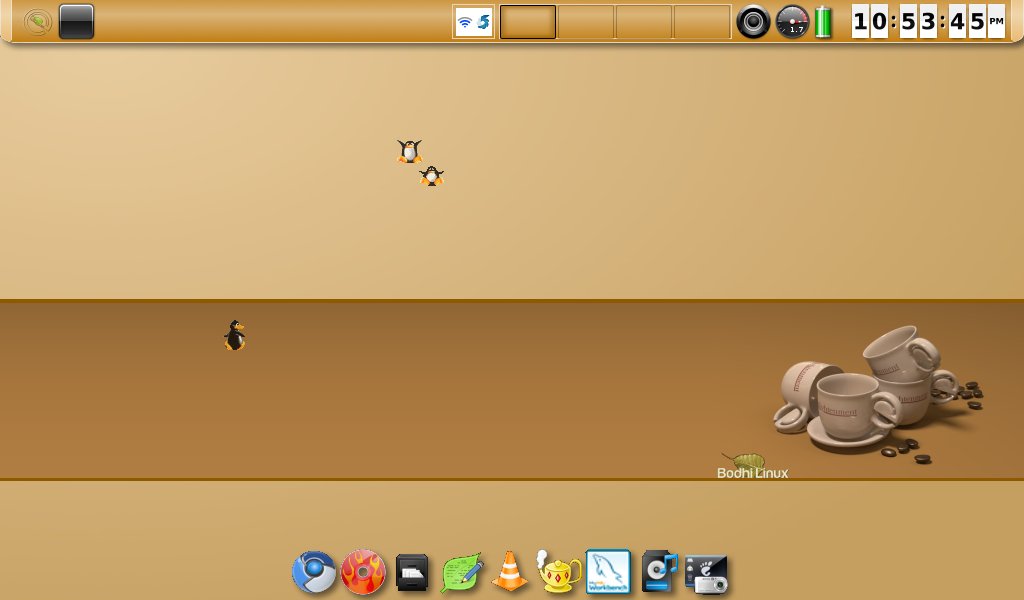
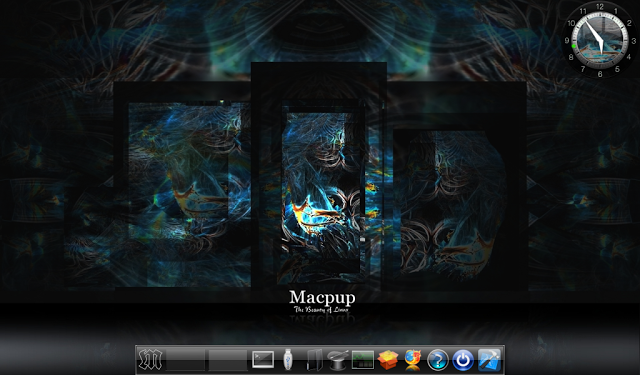
LXDE like Xfce is highly customisable and it takes the minimal of effort to turn it into something like this.
I am not going to go heavily into how you customise the LXDE desktop in this article. (I will save that for a later one).
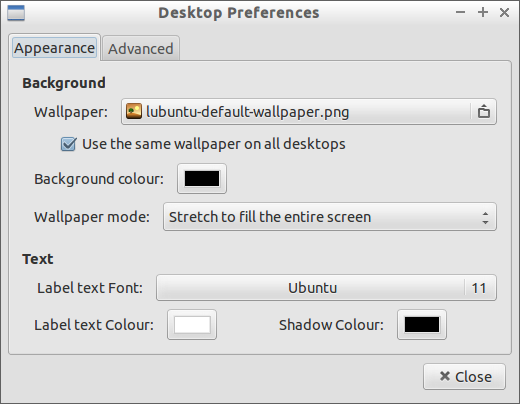
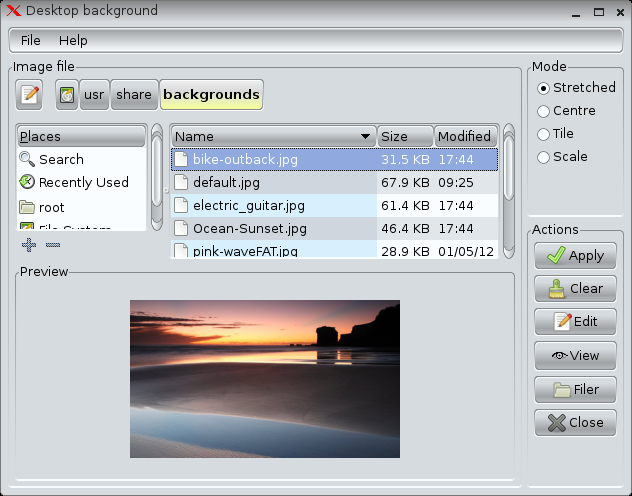
Changing the background is simple a case of right clicking on the desktop and choosing "desktop preferences".
There are a number of decent images included by default with Lubuntu including the one shown above.
You can of course download your own images from the internet and use them instead.
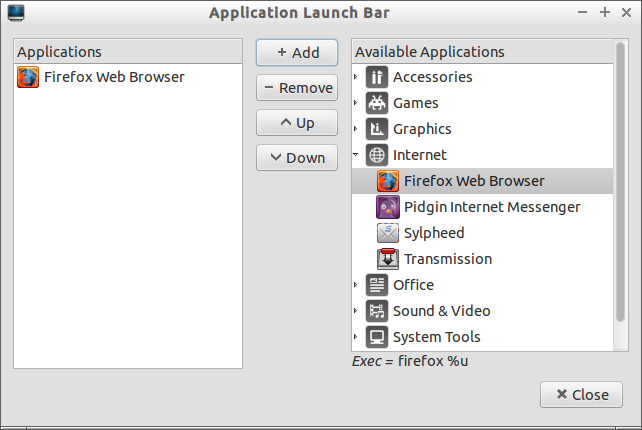
It is possible to create multiple panels and you can place them on all 4 sides of the screen.
Panels can be used in the traditional sense with the menu, launch icons and system tray or you can add an application launcher and add icons for all your favourite applications (similar to the bottom panel in the desktop image above).
Other login options
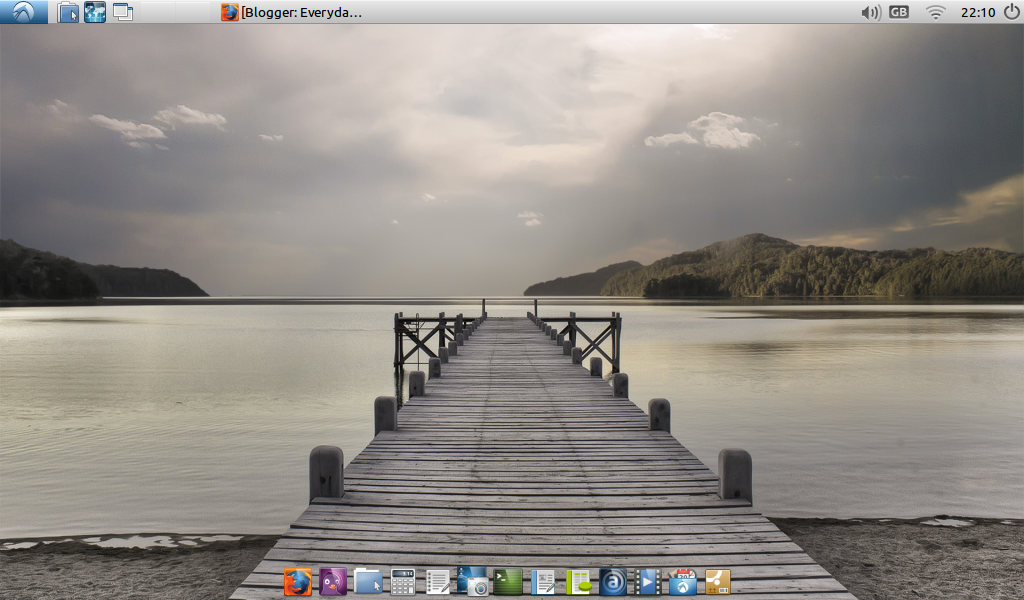
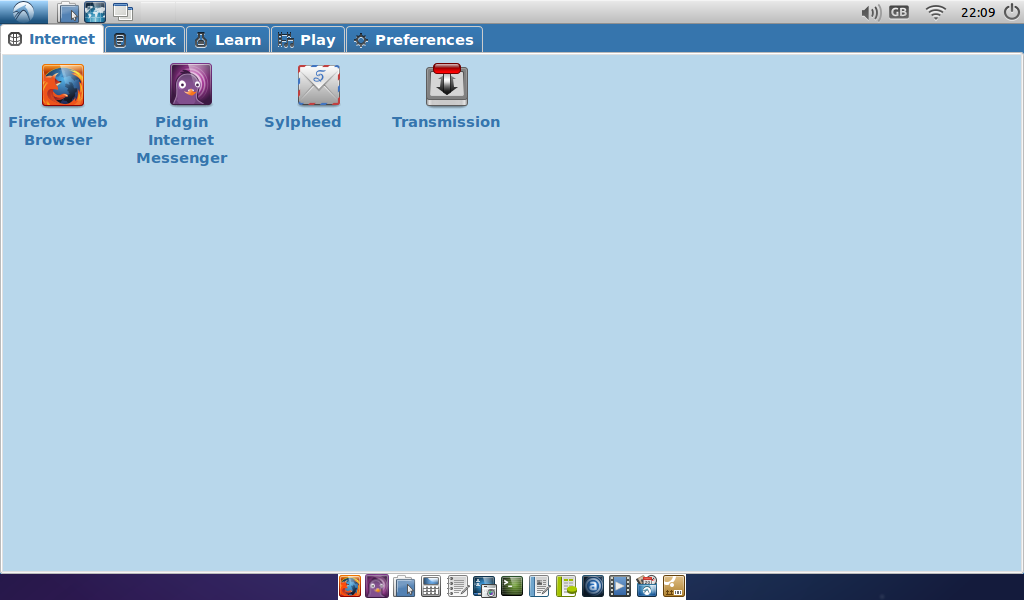
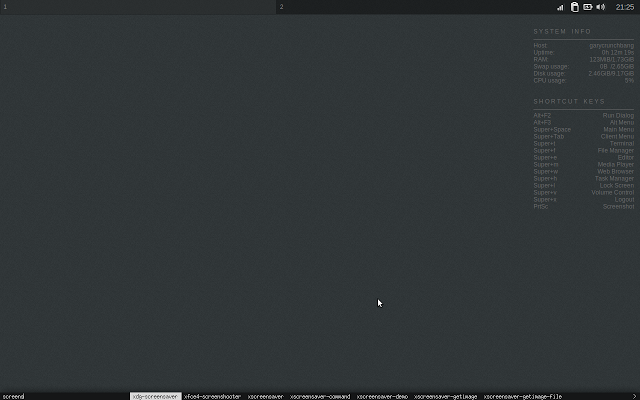
As well as the standard Lubuntu desktop there are a few other options including Lubuntu Netbook, Lubuntu Games and Openbox.
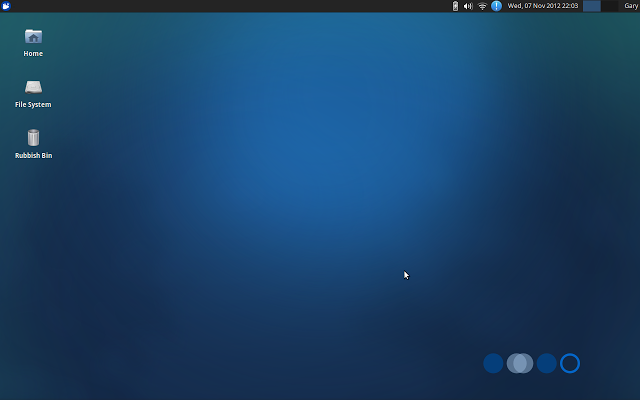
The above desktop shows the netbook option. It looks like an afterthought as far as I am concerned and not really that appealing and that brings us onto the next section.
Issues
Lubuntu 13.10 wasn't completely free of issues I'm afraid to say.
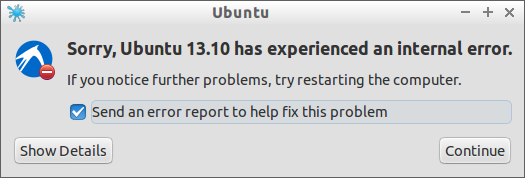
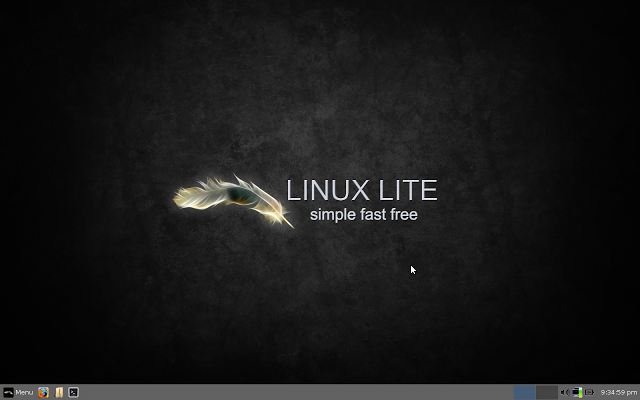
I have already mentioned the issue with the Lubuntu Software Centre but I have also had a couple of crashes when booting up as shown below.
Other problems I found were to do with the other desktop options including games and openbox. Neither would load beyond a blank screen with a mouse cursor.
Summary
Despite the problems that I have come across in Lubuntu 13.10 I would still highly recommend it for a netbook.
The performance is brilliant (except for the software centre) and with the minimal effort it can look good and be functional.
The software centre issue was a bit disappointing because Lubuntu is supposed to work on older machines and to have search ahead turned on seems counter productive.
The choice of software is adequate because on a netbook you aren't going to be doing a huge amount of work on it.
I tend to use my netbook for getting online quickly and maybe playing the odd game or watching a video or two. Lubuntu is perfect for my needs.
So Lubuntu or Xubuntu? Well that question will be answered in a forthcoming article.
Customising Lubuntu
Click here to read about customising Lubuntu
Other articles that you might like:
Have you tried Lubuntu 13.10? Did you encounter the same problems as I did? How did you find the experience? Let me know using the comments box below.
Thankyou for reading.
To make it easier for everyone who wants to read my Ubuntu based articles and tutorials I have formatted them, rewritten them and added extra content which has resulted in the eBook "From Windows To Ubuntu".
The book isn't massive like a SAMS guide so it isn't going to take you forever to read it but there is certainly a lot of content.

Introduction
Over the past week there has been somewhat of a frenzy in the Linux blogosphere.
I wrote an article highlighting the many articles that appeared due to the release of
Ubuntu 13.10.
In that article I mentioned that I would be looking at Lubuntu 13.10 as it is a distribution that I haven't yet reviewed.
Lubuntu is supposed to be a lightweight Linux distribution and therefore it should be more than suitable for my Acer Aspire One D255 Netbook boasting an Intel Atom Processor (1.66 ghz) and 1 GB memory.
So how did it fare? read on to find out.
Downloading Lubuntu 13.10
You can download Lubuntu 13.10 from
http://lubuntu.net/blog/lubuntu-1310-saucy-salamander-released.
By clicking the above link you can also read about the purpose of Lubuntu, the features of Lubuntu and changes that have been made specifically for Lubuntu 13.10.
Lubuntu is available as a 32-bit download or a 64-bit download.
How to buy a copy of Lubuntu 13.10
If you have a poor internet connection or a download limit then you may wish to on DVD or a USB drive.
System Requirements
To run Lubuntu 13.10 you will need an Intel Pentium Pro or above. Basically your computer needs to have a CPU with Physical Address Extensions (PAE).
If you are running a computer without PAE incorporated then it is still possible to run Lubuntu but you need to install version 12.04.
In the comments below I have been informed that you can use Lubuntu 13.10 with or without PAE but it has to be the 32-bit version. The information I have given in my review comes from http://www.lubuntu.net/.
I guess the best advice is therefore to give Lubuntu 13.10 a go and if it works then great but if not falling back to a previous version should work.
The minimum requirements state that you need just 128 mb of RAM. To be honest you need more than this. The Lubuntu website is a bit vague in regards to the recommended requirements. I would suggest 1gb of RAM nowadays is a minimum.
Installation
If you are downloading Lubuntu then the first thing you need to do is either burn Lubuntu to a DVD or write it to a USB drive.
If you are using Windows go to
http://unetbootin.sourceforge.net/ and download the Windows version of Unetbootin. If you are using Ubuntu then you can download Unetbootin from the software centre. For all other versions of Linux check the repositories using the appropriate package manager to see if Unetbootin is available.
Insert a blank USB drive and run Unetbootin. Select the Lubuntu 13.10 that you downloaded and then the drive that depicts your USB device.
When Unetbootin has finished writing Lubuntu to the USB drive remove the drive and insert it into the computer that you wish to install Lubuntu on and boot it up.
From the menu select default and this will load up a live version of Lubuntu. Click the install icon on the desktop.
Installing Lubuntu is fairly easy and if you have ever installed any other version of Ubuntu then it should be straight forward.
Basically the steps are:
1. Select where you are on a map
2. Create a user and password
3. Partition your drive
Now the partitioning is the bit that most people find the trickiest especially if you are installing side by side.
There are options for replacing the current operating system, installing side by side or something else. On a netbook I think it is fine to use either replace (if you don't need what is there already) or side by side. There is no need to get too technical with the partitioning on what is usually a fairly small hard drive.
For a
full Lubuntu 13.10 install guide click here.
First Impressions
Lubuntu 13.10 will look and feel quite familiar for those of you who have used any version of Windows in the past 20 years (Windows 8 excluded).
There is a taskbar at the bottom which consists of a menu, quick launch icons and a system tray.
Lubuntu uses the LXDE desktop environment.
The components of LXDE include lightweight panels, menus, the Openbox window manager, file managers, text editors and terminal emulators.
The menu is a throwback to the Windows XP classic menu.
The system tray contains icons for audio settings, language settings, network settings, a clock and an icon for logging off.
Connecting to the internet
As Lubuntu is based on Ubuntu it is very easy to connect to the internet.
Simply click on the network icon and choose the wireless network (or indeed wired network) that you wish to connect to.
You will be prompted for your password and then you will be asked for the security key to the network.
The browser included with Lubuntu is Firefox (version 24).
Applications
Lubuntu doesn't come with a lot of applications but for a netbook there is more than enough to get you started and certainly enough for browsing the web and staying connected.
Accessories
Archive Manager, Disk Management Utility, File Manager (PCManFM), Calculator, Image Viewer (GPicView), Text Editor (Leafpad), Terminal.
Games
Penguin Canfield, Freecell, Golf, Mastermind, Merlin, Minesweeper, Pegged, Solitaire, Spider, Taipei, Thornq.
Graphics
Document Viewer, mtPaint Graphic Editor, Simple Scan.
Internet
Web Browser (Firefox), Messenger (Pidgin), Email Client (Sylpheed), Bittorrent Client (Transmission)
Office
Word Processor (Abiword), Spreadsheet (Gnumeric)
Sound and Video
Audio (Audacious), Media Player (MPlayer), Webcam (GUVCView), Disc Burning (XFBurn).
System Tools
Lubuntu Software Centre, Package Manager (GDebi, Synaptic), Startup disk creator.
Installing Applications
There are various ways to install applications using Lubuntu. I would imagine the intended preferred method would be the Lubuntu Software Centre.
You can find the software you are looking for using the software centre by clicking on the various categories to browse, or by searching using the search box in the top right corner.
I had an issue on the netbook whilst using the search function and I traced it to this bug report (
https://bugs.launchpad.net/lubuntu-software-center/+bug/1043595).
The search function starts searching after just 300 milliseconds of typing. So if you haven't finished typing your search term in that time then you have to wait for the search to complete before you can enter the rest of the search term.
On top of this I regularly received the following error message when using the Lubuntu Software Centre.
The first few times I thought the software centre had stopped responding but by clicking wait eventually it came back with some results. This isn't ideal.
However all is not lost because Synaptic is installed and I think this is a better tool for installing software anyway.
Simply type a keyword or the name of an application into the search box and a list of relevant programs will appear.
To install the applications, mark them for installation and when you have chosen all the items you need press the apply button to install them.
You will need to use the program installer if you harbour any hopes of watching Flash videos, playing Flash games or listening to your music collection (assuming your music is in MP3 format).
Flash and MP3
To be able to play Flash or to listen to MP3s you will need to install the Lubuntu-restricted-extras package.
Either load Synaptic and search for Lubuntu-restricted-extras or open a terminal and use "Apt".
To use "Apt" first of all run "sudo apt-get update" and then run "sudo apt-get install lubuntu-restricted-extras".
As you can see by installing the restricted extras package I was then able to see Jack Wilshere's brilliant goal from last weekend.
I was also able to listen to Chas and Dave in MP3 format.
Everybody now... "I don't care, I don't care, I don't care if he comes round 'ere, I got my beer in the sideboard here, let mother sort it out if he comes round 'ere".
Customising Lubuntu
Lubuntu uses the LXDE desktop.
I found that the default layout looked very uninspiring with just a panel at the bottom and a blue desktop.
LXDE like Xfce is highly customisable and it takes the minimal of effort to turn it into something like this.
I am not going to go heavily into how you customise the LXDE desktop in this article. (I will save that for a later one).
Changing the background is simple a case of right clicking on the desktop and choosing "desktop preferences".
There are a number of decent images included by default with Lubuntu including the one shown above.
You can of course download your own images from the internet and use them instead.
It is possible to create multiple panels and you can place them on all 4 sides of the screen.
Panels can be used in the traditional sense with the menu, launch icons and system tray or you can add an application launcher and add icons for all your favourite applications (similar to the bottom panel in the desktop image above).
Other login options
As well as the standard Lubuntu desktop there are a few other options including Lubuntu Netbook, Lubuntu Games and Openbox.
The above desktop shows the netbook option. It looks like an afterthought as far as I am concerned and not really that appealing and that brings us onto the next section.
Issues
Lubuntu 13.10 wasn't completely free of issues I'm afraid to say.
I have already mentioned the issue with the Lubuntu Software Centre but I have also had a couple of crashes when booting up as shown below.
Other problems I found were to do with the other desktop options including games and openbox. Neither would load beyond a blank screen with a mouse cursor.
Summary
Despite the problems that I have come across in Lubuntu 13.10 I would still highly recommend it for a netbook.
The performance is brilliant (except for the software centre) and with the minimal effort it can look good and be functional.
The software centre issue was a bit disappointing because Lubuntu is supposed to work on older machines and to have search ahead turned on seems counter productive.
The choice of software is adequate because on a netbook you aren't going to be doing a huge amount of work on it.
I tend to use my netbook for getting online quickly and maybe playing the odd game or watching a video or two. Lubuntu is perfect for my needs.
So Lubuntu or Xubuntu? Well that question will be answered in a forthcoming article.
Customising Lubuntu
Click here to read about customising Lubuntu
Other articles that you might like:
Have you tried Lubuntu 13.10? Did you encounter the same problems as I did? How did you find the experience? Let me know using the comments box below.
Thankyou for reading.
To make it easier for everyone who wants to read my Ubuntu based articles and tutorials I have formatted them, rewritten them and added extra content which has resulted in the eBook "From Windows To Ubuntu".
The book isn't massive like a SAMS guide so it isn't going to take you forever to read it but there is certainly a lot of content.
Posted at 20:30 | by
Gary Newell