
Introduction
Thus far I have written 2 guides showing how to setup the Raspberry PI and how to connect to the internet with the Raspberry PI.
This guide shows you how to install applications from the available software repositories.
Step 1 - Use Apt
The method I like to use to install applications is via a tool called Synaptic which is a graphical tool that enables you to search for applications by name or by type.
Unfortunately Synaptic isn't installed by default within Raspbian and so if you wish to use this application you need to install it first.
The first method I am therefore going to show you for installing applications is APT. (Advanced Package Tool).
This is not an in-depth guide for APT because for the everyday linux user the Synaptic GUI will work just fine.
This will however give you a little bit of a grounding of how to install applications if Synaptic is unavailable.
Open up a terminal window by clicking the LXTerminal icon on the desktop.

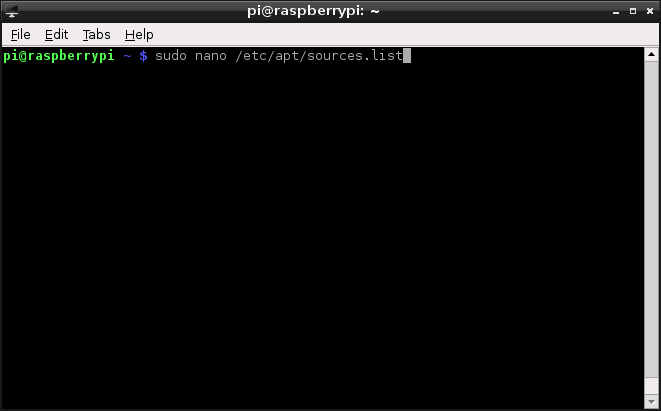
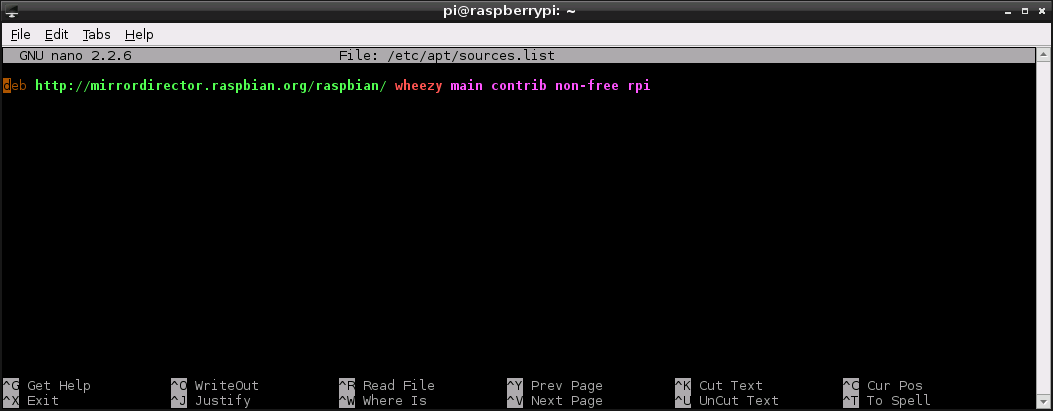
Type sudo /etc/apt/sources.list and press return.
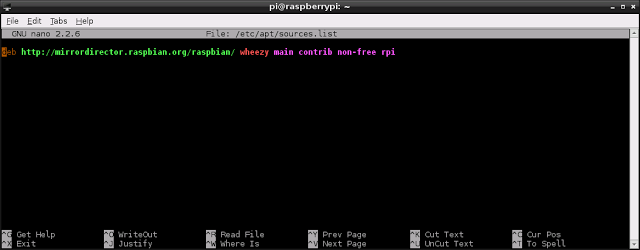
The sources.list contains the list of repositories that will be used by the APT application to build up the database of applications that can be downloaded and installed onto the Raspberry PI.
Each line contains a different repository location. Therefore looking at the default sources.list you will see there is just one line as follows:
deb http://mirrordirector.raspbian.org/raspbian wheezy main contrib non-free api
So what does it all mean? Well "deb" is the type of repository which in this case means it is a debian repository. Other types include RPM and Repomd but for the Raspberry Pi running Raspbian we only care about debian packages.
The next part is the location (URL) of the repository.
Following that is the distribution which in our case is Wheezy.
The rest of the items are categories under which applications are based.
You don't need to do anything with this file. This is just a little bit of information which lets you know where APT is getting its data from.
Press CTRL and X to exit.
So the real point of this section is to learn how to download packages using APT so that you can download Synaptic.
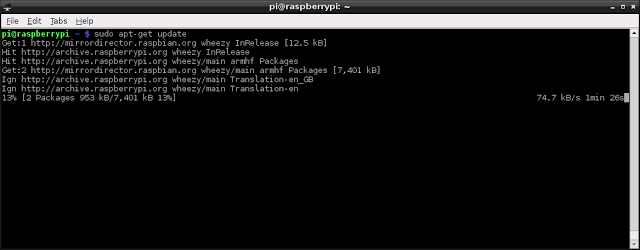
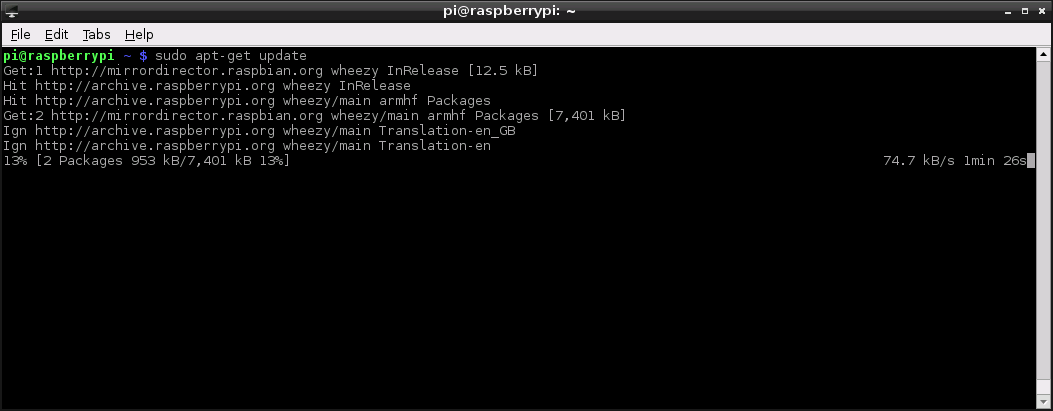
The first thing to do is to make sure the APT database is up to date. You can do this by typing sudo apt-get update into the terminal window.
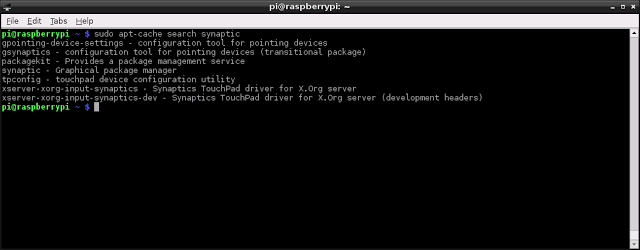
To search within APT you can use the command sudo apt-cache search x where X is the search term.
Therefore to search for Synaptic you would type sudo apt-cache search synaptic. This will return a list of packages with Synaptic in the name or description.
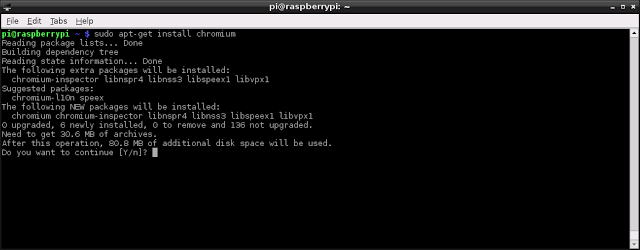
To install Synaptic all you need to do is type sudo apt-get install synaptic.
In the image above you can see that I have decided to install the Chromium web browser instead. This is because I already have Synaptic installed.
When you use the apt-get install command you will get a message telling you exactly which packages will downloaded and installed and how big they are.
If you are happy to continue installing Synaptic press Y to continue.
Text will scroll up the screen showing you what is going on. Basically this will include several packages being downloaded and then installed.
When the process is finished type exit to close the terminal window.
On the menu under System there should be an option for Synaptic.

Run Synaptic by selecting it from the menu.
You will be greeted by a login window. You will need to enter the password you set up for the pi user and press ok.
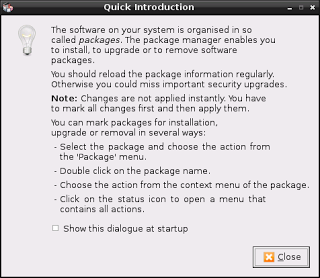
Synaptic will load in the background but the message above will be displayed telling you the purpose of Synaptic and package management in general. Notice that there is a "show this dialogue at startup" checkbox. If you do not want to see this message every time you run Synaptic uncheck the box and then click the close button.

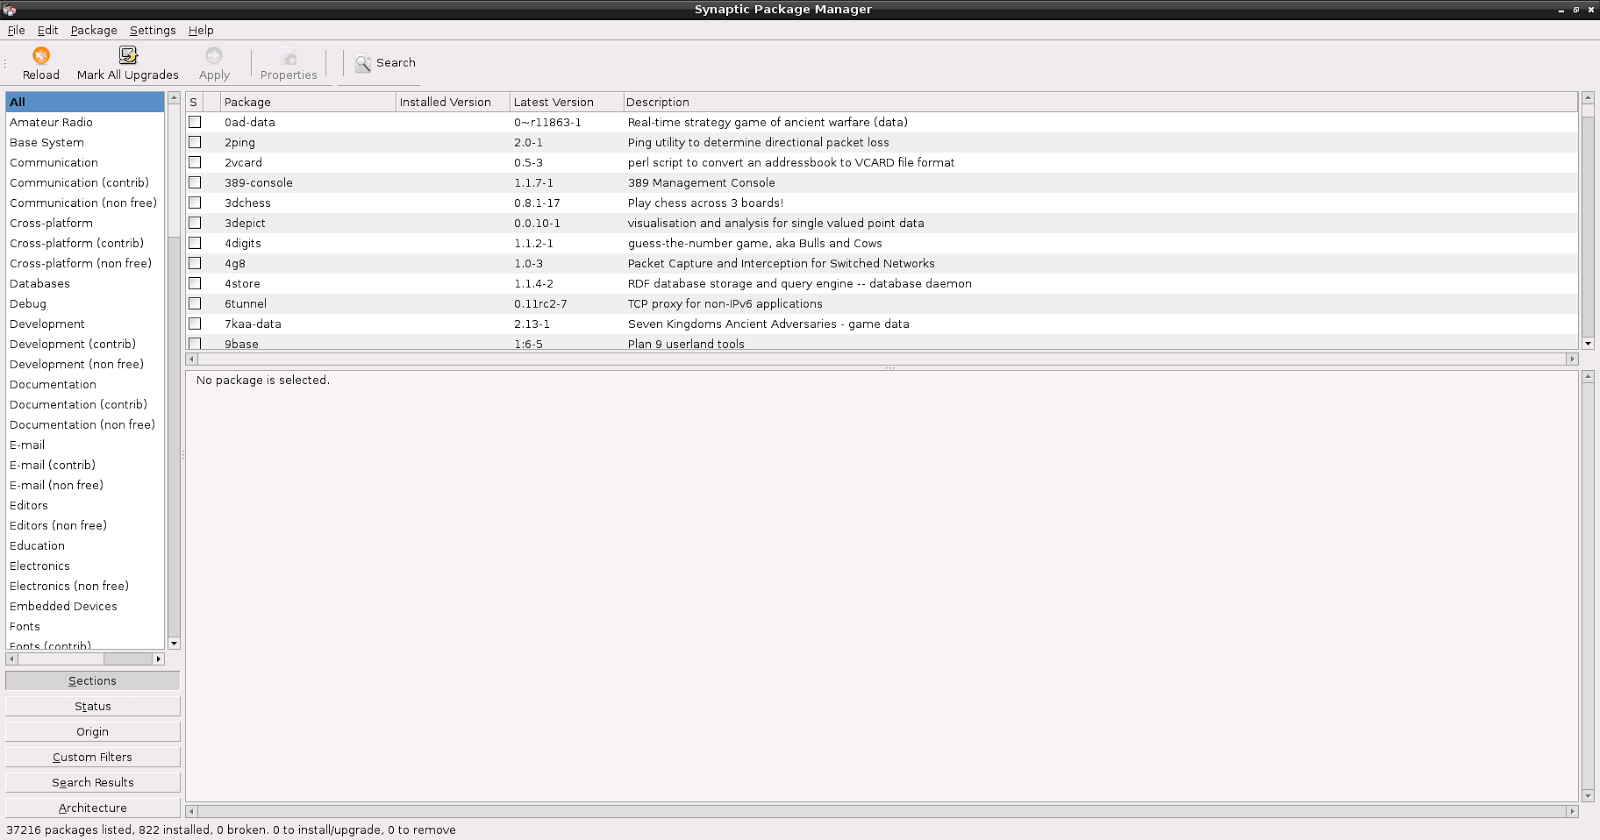
Synaptic provides a much more visual way of viewing the packages that are available in the Raspbian repositories.
On the left hand side is a list of categories and on the right the packages that are available in the selected category.
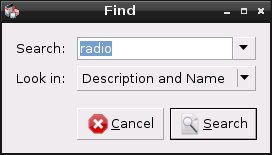
If you want to find a particular application by name or by description click the search button.
A little dialog box will appear. Enter the name of the application or a description of the application and click search.
On the Raspberry PI it takes a little while to search the repositories and progress can be monitored in the bottom right hand corner of the screen in the style of a blue progress bar.
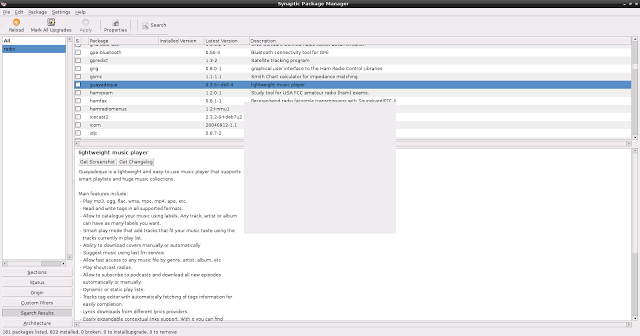
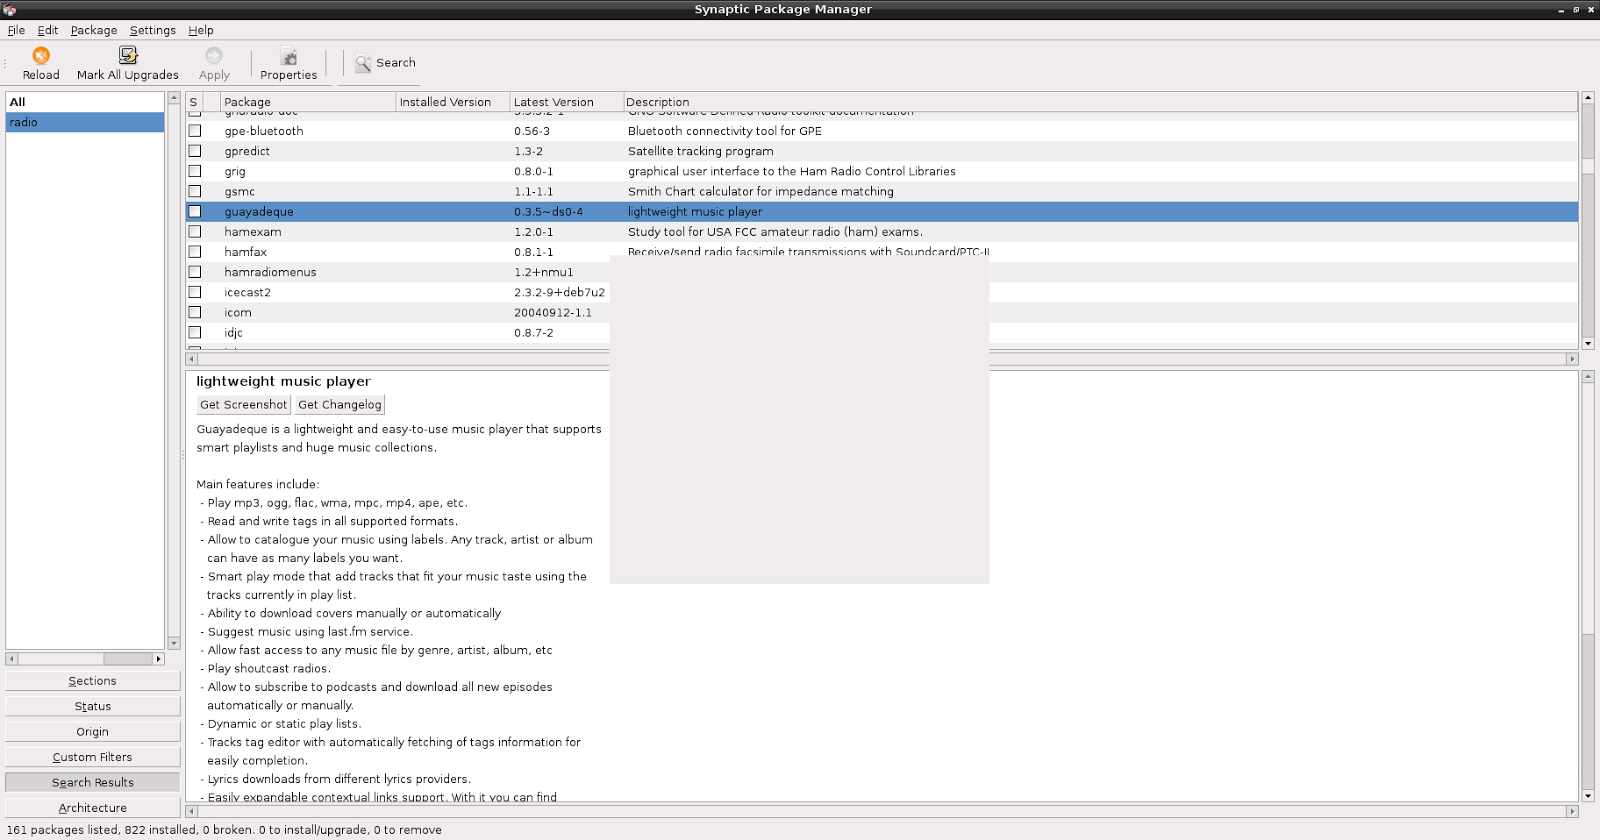
A list of available packages will appear in the right pane which matches the search term.
To get more information about a package click it once with the left mouse button.
A description of the application will appear in the bottom pane.
To mark an application for installation click the checkbox next to the application. You can queue multiple installs by checking boxes next to all the applications you wish to install.
When you are ready to install the application or applications click Apply.
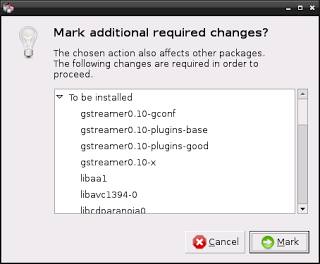
A window will appear showing you which applications will be installed and any required dependencies that will need to be installed as well as the applications you have chosen.
To continue the install click the Mark button.
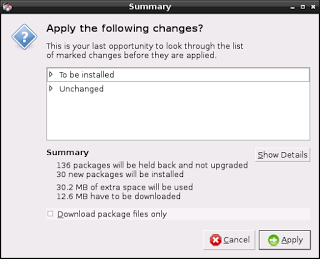
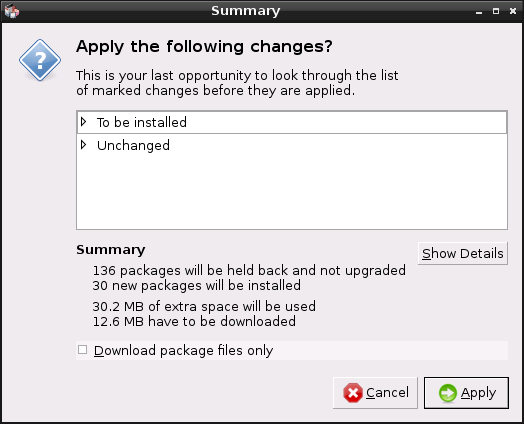
You get one last chance to cancel the install at this point. The above window will appear showing how big the download is and the list of packages that will be installed. If you are happy to continue click Apply.
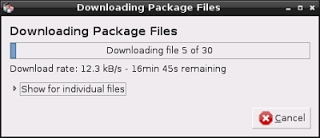
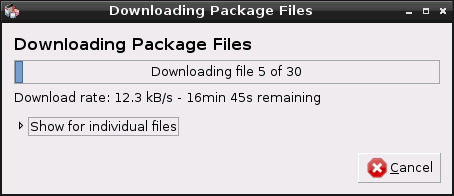
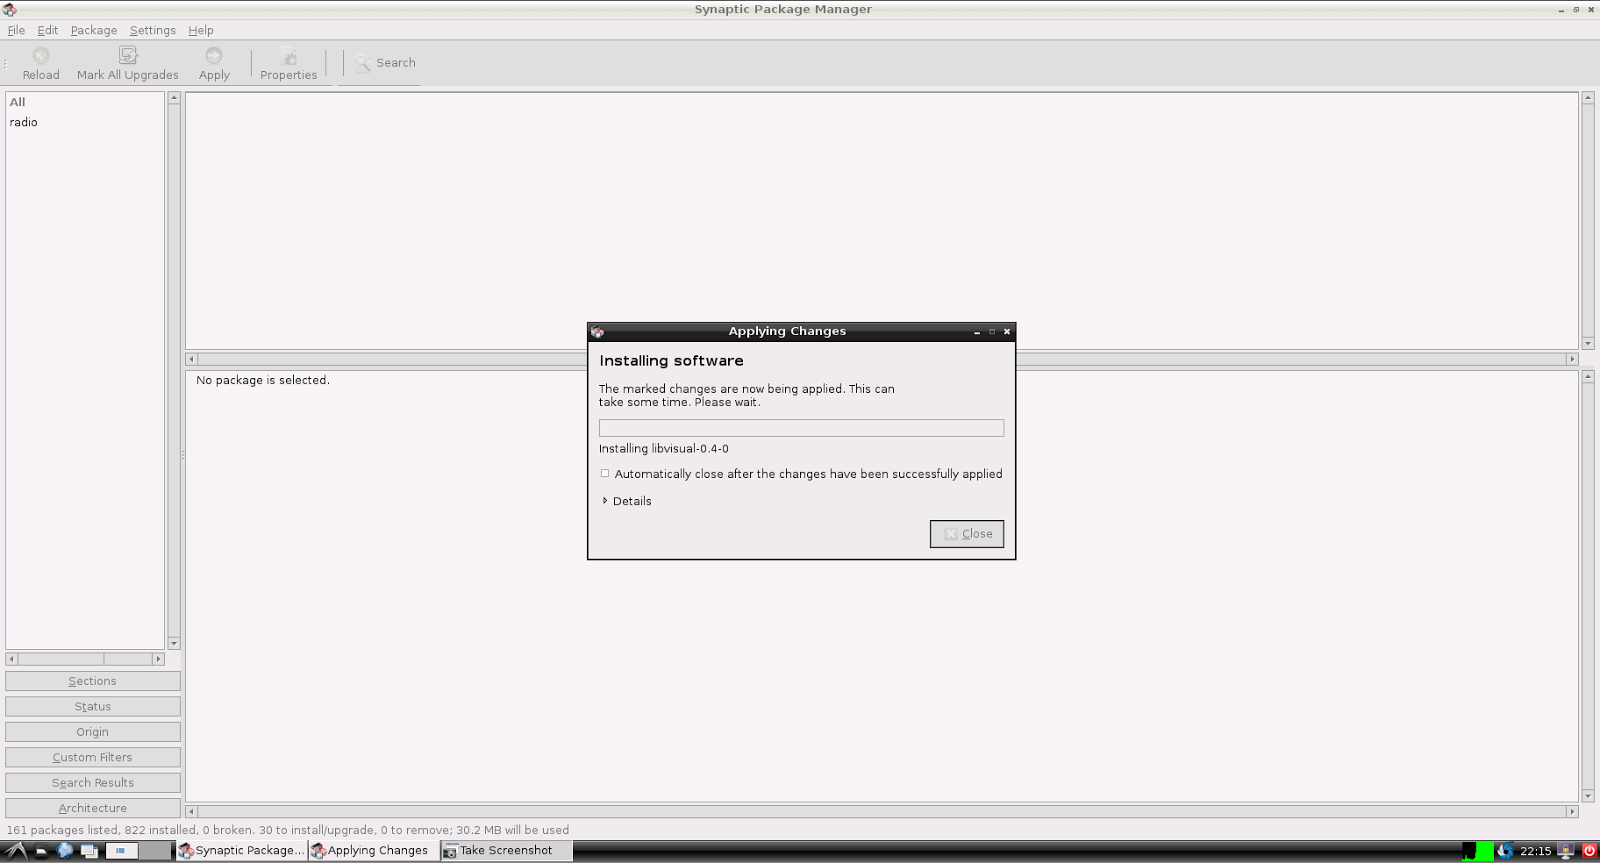
A window will appear showing you the progress of the downloads and how long it is expected to take.

When the downloads are complete another window will load showing you the progress of the actual installation.
Finally once all this is done your chosen applications will be installed.
The sources.list contains the list of repositories that will be used by the APT application to build up the database of applications that can be downloaded and installed onto the Raspberry PI.
Each line contains a different repository location. Therefore looking at the default sources.list you will see there is just one line as follows:
deb http://mirrordirector.raspbian.org/raspbian wheezy main contrib non-free api
So what does it all mean? Well "deb" is the type of repository which in this case means it is a debian repository. Other types include RPM and Repomd but for the Raspberry Pi running Raspbian we only care about debian packages.
The next part is the location (URL) of the repository.
Following that is the distribution which in our case is Wheezy.
The rest of the items are categories under which applications are based.
You don't need to do anything with this file. This is just a little bit of information which lets you know where APT is getting its data from.
Press CTRL and X to exit.
So the real point of this section is to learn how to download packages using APT so that you can download Synaptic.
The first thing to do is to make sure the APT database is up to date. You can do this by typing sudo apt-get update into the terminal window.
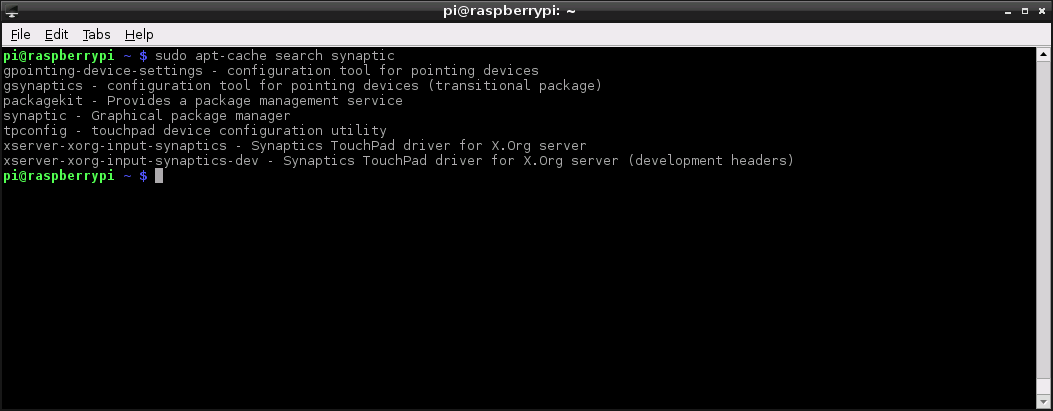
Therefore to search for Synaptic you would type sudo apt-cache search synaptic. This will return a list of packages with Synaptic in the name or description.
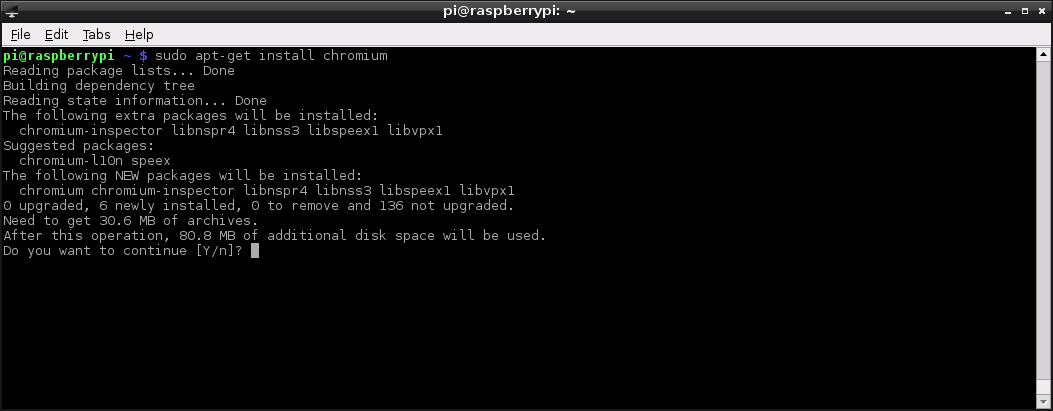
In the image above you can see that I have decided to install the Chromium web browser instead. This is because I already have Synaptic installed.
When you use the apt-get install command you will get a message telling you exactly which packages will downloaded and installed and how big they are.
If you are happy to continue installing Synaptic press Y to continue.
When the process is finished type exit to close the terminal window.
On the menu under System there should be an option for Synaptic.
Step 2 - Using Synaptic

You will be greeted by a login window. You will need to enter the password you set up for the pi user and press ok.
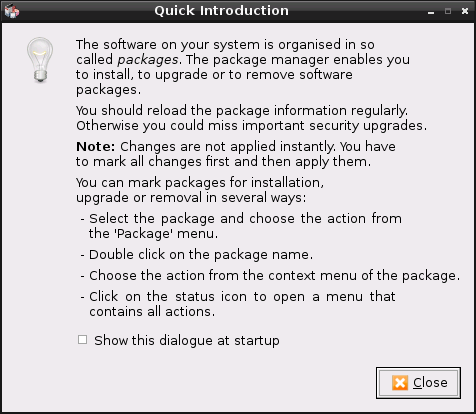
Synaptic will load in the background but the message above will be displayed telling you the purpose of Synaptic and package management in general. Notice that there is a "show this dialogue at startup" checkbox. If you do not want to see this message every time you run Synaptic uncheck the box and then click the close button.
Synaptic provides a much more visual way of viewing the packages that are available in the Raspbian repositories.
On the left hand side is a list of categories and on the right the packages that are available in the selected category.
If you want to find a particular application by name or by description click the search button.
A little dialog box will appear. Enter the name of the application or a description of the application and click search.
On the Raspberry PI it takes a little while to search the repositories and progress can be monitored in the bottom right hand corner of the screen in the style of a blue progress bar.
A list of available packages will appear in the right pane which matches the search term.
To get more information about a package click it once with the left mouse button.
A description of the application will appear in the bottom pane.
To mark an application for installation click the checkbox next to the application. You can queue multiple installs by checking boxes next to all the applications you wish to install.
When you are ready to install the application or applications click Apply.

A window will appear showing you which applications will be installed and any required dependencies that will need to be installed as well as the applications you have chosen.
To continue the install click the Mark button.
You get one last chance to cancel the install at this point. The above window will appear showing how big the download is and the list of packages that will be installed. If you are happy to continue click Apply.
A window will appear showing you the progress of the downloads and how long it is expected to take.
When the downloads are complete another window will load showing you the progress of the actual installation.
Finally once all this is done your chosen applications will be installed.
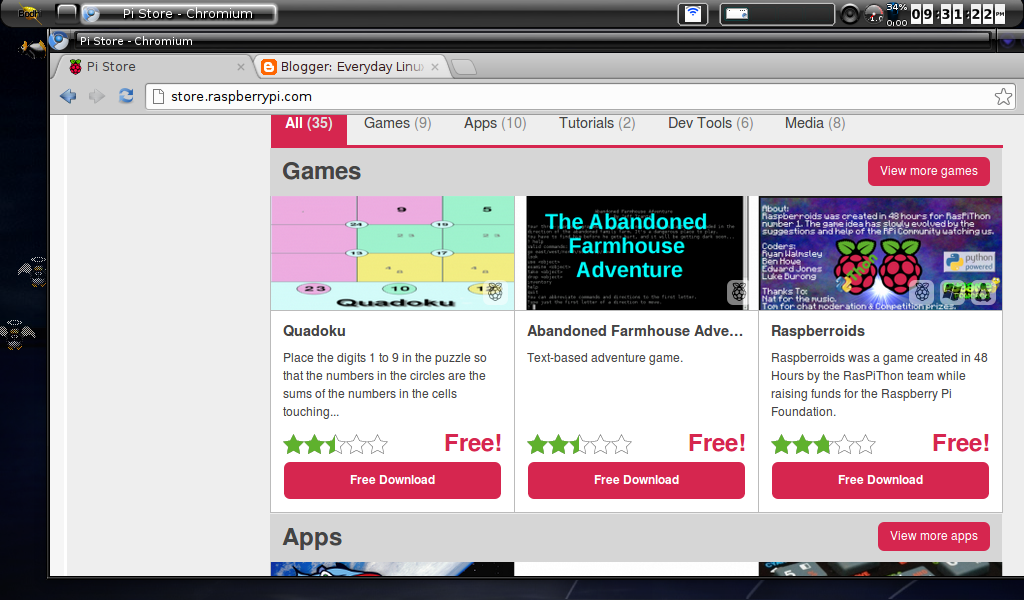
The PI Store
If you want to try some homebrew applications then check out the Raspberry PI store.
Summary
For seasoned Linux users downloading applications is second nature but for people coming to Linux for the first time and especially users whose first experience of Linux is the Raspberry PI it isn't necessarily obvious how to install new applications.
I hope this guide goes someway to helping you with your Raspberry PI experience.
Thanks for reading.

Hi. Just thought you'd like to know, I reblogged this on my blog at www.recantha.co.uk/blog. I've also subscribed to your blog as it's an excellent beginner's resource!
ReplyDeleteThankyou Michael.
ReplyDeleteYour blog looks impressive as well.
Why you are using capital leters for command line commands?
ReplyDeleteIt may confuse some beginers.
Good point well made. I will change it
DeleteThis tutorial should be titled Ubuntu or Debian based distro user guide as not all GNU/Linux distros use the apt package system.
ReplyDeleteI think in the first step you mean "Type sudo nano /etc/apt/sources.list and press return." If there is no reason to edit the file, nano can be run without sudo. I've also found that many small linux distributions do not even include nano. The for the scope of your tutorial command "more" would suffice and be more universal for showing the content of /etc/apt/sources.list
Also, apt-cache does not ( or at least should not ) require sudo.
You may want to install aptitude instead of synaptic if you want a text based software installation that has a GUI feel.
I agree with your point regarding using more to show the sources.list file.
DeleteI'm pretty sure using apt-cache without the sudo causes an error but I will have to try that next time I use the PI.
You also raise a good point about the title as well. The guide really assumes the user is using Raspbian because I think the majority of new users will at least start with Raspbian before moving on to another distribution.
I just thought I'd say to those new to raspberry pi and linux that this is a great tutorial. However the raspberry pi running linux is very slow. Expect a barely usable experience, but fun nonetheless. Don't let the experience of a raspberry pi sour you on linux. Think of the old days of running a pentium 2 300mhz, that's what you're seeing here. Again, great tutorial.
ReplyDeleteThe Raspberry PI is perfectly useable. I would recommend a powered hub to make sure that the USB devices aren't draining the PI's resources.
DeleteIt really is a great learning aid and toy.
nice
ReplyDelete