Introduction
It has been a while since my last Raspberry PI article. I have recently been given the new Raspberry PI 2 so I thought I would produce a new tutorial showing how to set it up.My previous guide for setting up the original Raspberry PI is somewhat out of date. You should follow this guide regardless as to whether you have bought (or are going to buy) the Raspberry PI B+ or the Raspberry PI 2.
There are now a couple of alternative guides:
Who Is The Raspberry PI For?
There are so many uses for the Raspberry PI that it is hard to define one single user but here are a few reasons to get one:
- Great for children and teenagers to learn how to use computers and create their own programs
- Great for children and teenagers who have an interest in electronics
- Can be used for a web kiosk in a cafe, small bed and breakfast, guest house or hotel
- Can be used for digital signage in small outlets such as local shops
- Can be used to run XBMC to turn your television into a media centre
- Can be used to run games emulators for retro gaming
- Can be used as a small file server, web server or print server
- Can be used to download large files from the internet
In the coming weeks I will explore some of these concepts.
What Equipment Do You Need?
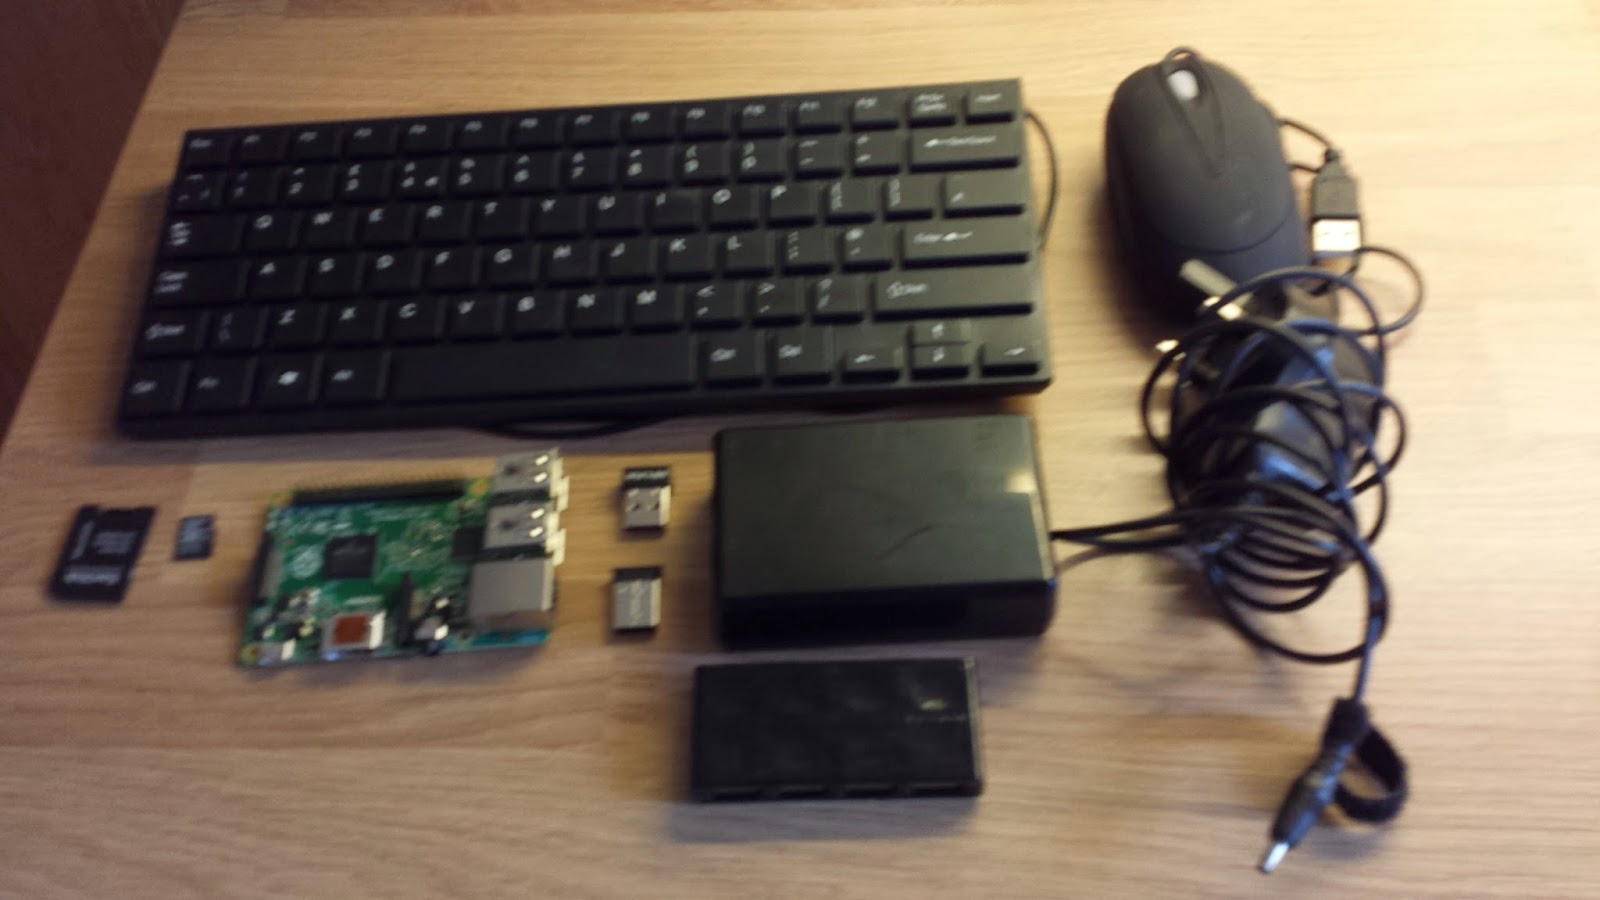
The image above shows the equipment I have for the Raspberry PI 2.
The items and reasons why they are required are as follows:
The Keyboard
| You will need a keyboard to set up the Raspberry PI the first time. If you are going to use the PI as an actual computer then you would probably be better off buying a standard USB keyboard but if you are more likely to use the PI as a server or fpr digital signage you can buy a mini keyboard. Remember this is a one time only purchase as you will be able to use the same keyboard whether you use the original Raspberry PI, Raspberry PI B+, Raspberry PI 2 or in the future the 3, 4, 5, 6 or 7. |
The Mouse
| The mouse is also required during the initial setup of your Raspberry PI. Again if you use the Raspberry PI as an actual desktop computer you will need the mouse all the time but if you use the Raspberry PI as a server you will probably only need to use the mouse once. |
SD Card
You will need a micro SD card for running the operating system on the Raspberry PI and for storage space.
You can buy a 16 Gigabyte SD card for as little as £5.53 and install the Raspberry PI operating system yourself (as this guide shows) or you can pay a little bit extra and buy a 16 Gigabyte SD card for £12.99 with NOOBS pre-installed.
To be honest it will take you no time at all to install NOOBS onto an SD card but you do need an SD card reader. (either built into your computer or available for purchase).
If you need to buy an SD card reader you might be better off buying an SD card with NOOBS pre-installed.
The Raspberry PI
| You will of course need a Raspberry PI 2. This little computer is fantastic. There are other single board computers out there and they all claim to be better than the Raspberry PI because they either provide more memory, a better chip or some other unique selling point. The beauty of the Raspberry PI is how much you get for so little money. Just £29.99. |
WIFI Dongle
| If you plan to keep your Raspberry PI next to your router then you can get away with using the ethernet port with an ethernet cable and connect via a wired link but most people like to connect wirelessly to the internet from their Raspberry PI. If you plan to use the Raspberry PI for digital signage you will almost certainly need a WIFI dongle. Be careful when choosing the WIFI dongle because not all of them are as simple as plug and play. The LP Link dongles are particularly hard to use. |
Bluetooth Dongle
| A bluetooth dongle isn't particularly necessary but if you plan to use your Raspberry PI as a retro gaming console you will need one in order to pair up games controllers. You can use a WII controller or an OUYA controller with the Raspberry PI using a cheap bluetooth dongle. |
Raspberry PI Case
| A case isn't 100% necessary but if you are using the Raspberry PI as a media centre or for retro gaming it will certainly look better than a small circuit board with lots of protruding cables. If you use your Raspberry PI for electronics then the case might get in the way when trying to connect breadboards. A case will help however to keep dust off the Raspberry PI. |
Powered Hub
| The Raspberry PI 2 consumes less power than the original Raspberry PI but you will almost certainly need a powered USB hub. Everything you plug in to the Raspberry PI's USB ports draws power and it doesn't take much to stop your little computer in its tracks. By using a powered USB hub you can add bluetooth dongles and even an external USB hard drive without crashing the Raspberry PI. This is pretty much an essential requirement. |
Power Supply
| You will need a power supply in order to make the Raspberry PI 2 work. Be very careful when buying a power supply and make sure that it is designed to work with the Raspberry PI 2 otherwise you might fry the board. |
Formatting The SD Card
Note: Skip this section if you bought an SD card with NOOBS pre-installed
That last section was longer than I intended it to be. Hopefully you have what you need in order to set up and use your Raspberry PI.
To actually get started however you will need to put NOOBs onto the SD Card.
Before you can put NOOBS onto the SD card you will need to format it.
Insert the SD card into your SD card reader. (If you are using an external card reader connect the reader to your computer).
This guide assumes you are using Windows to format the drive.
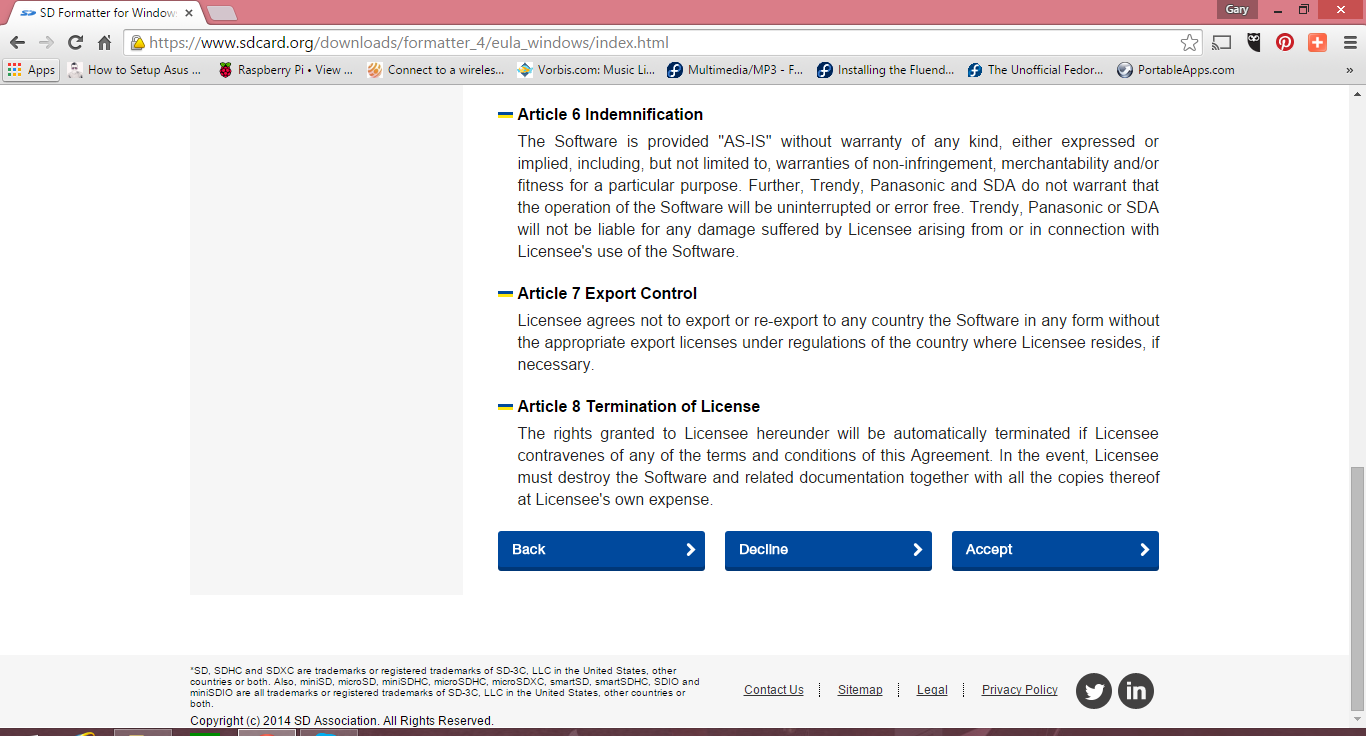
Visit https://www.sdcard.org/downloads/formatter_4/eula_windows/, read the agreement and click "Accept".
The SD Formatting software will be downloaded to your downloads folder. Open the downloads folder and double click on the SDFormatter zip file.
When the zip file opens double click on the Setup file.
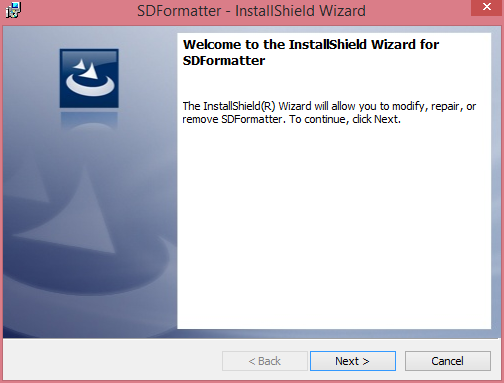
A welcome screen will appear. Click "Next" to continue.
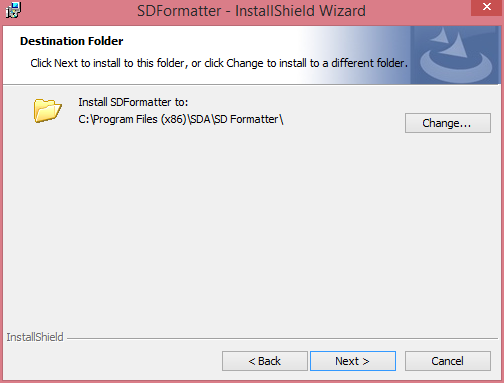
The second screen asks you to choose where to install the SDFormatter.
Unless you wish to change the default folder click "Next".
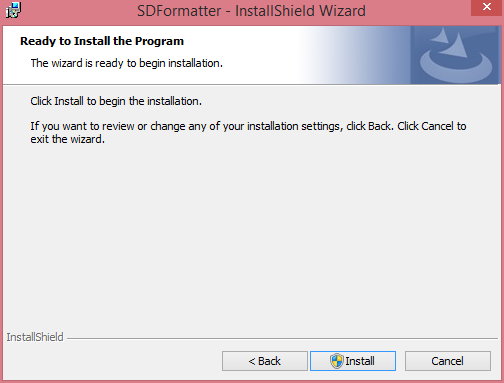
Finally you are ready to install the software.
Click "Install" and answer yes to any question that asks whether you are sure or you need to give permission to install the software.
An icon should appear on your desktop for the SD Formatter.
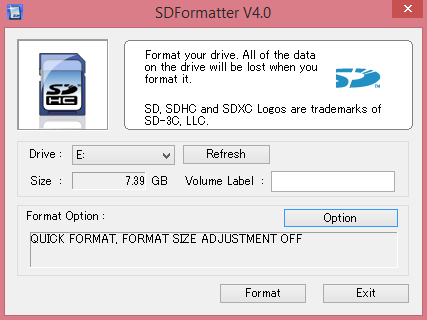
Double click on the icon and this screen will appear.
Add a volume label and click the "Option" button.
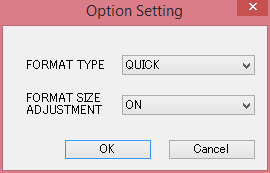
Make sure the format type is "quick" and that the format size adjustment is set to "On".
Click "OK" to continue.
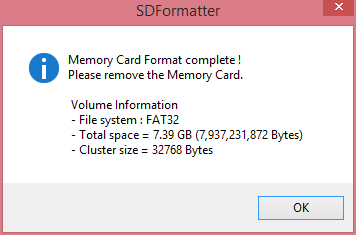
When you return to the main screen click the "Format" button.
The SD Card will be formatted and a screen will appear telling you that the process is complete.
Install NOOBS To The SD Card
Note: Skip this section if you bought an SD card with NOOBS pre-installed
NOOBS stands for New Out Of Box System.
When the original Raspberry PI was created you had to perform a number of steps to install Raspbian which is the most popular operating system available for the Raspberry PI.
The NOOBS system makes setting up the PI easier and allows you to choose how you will use the PI and includes options for setting the PI up as an XBMC device.
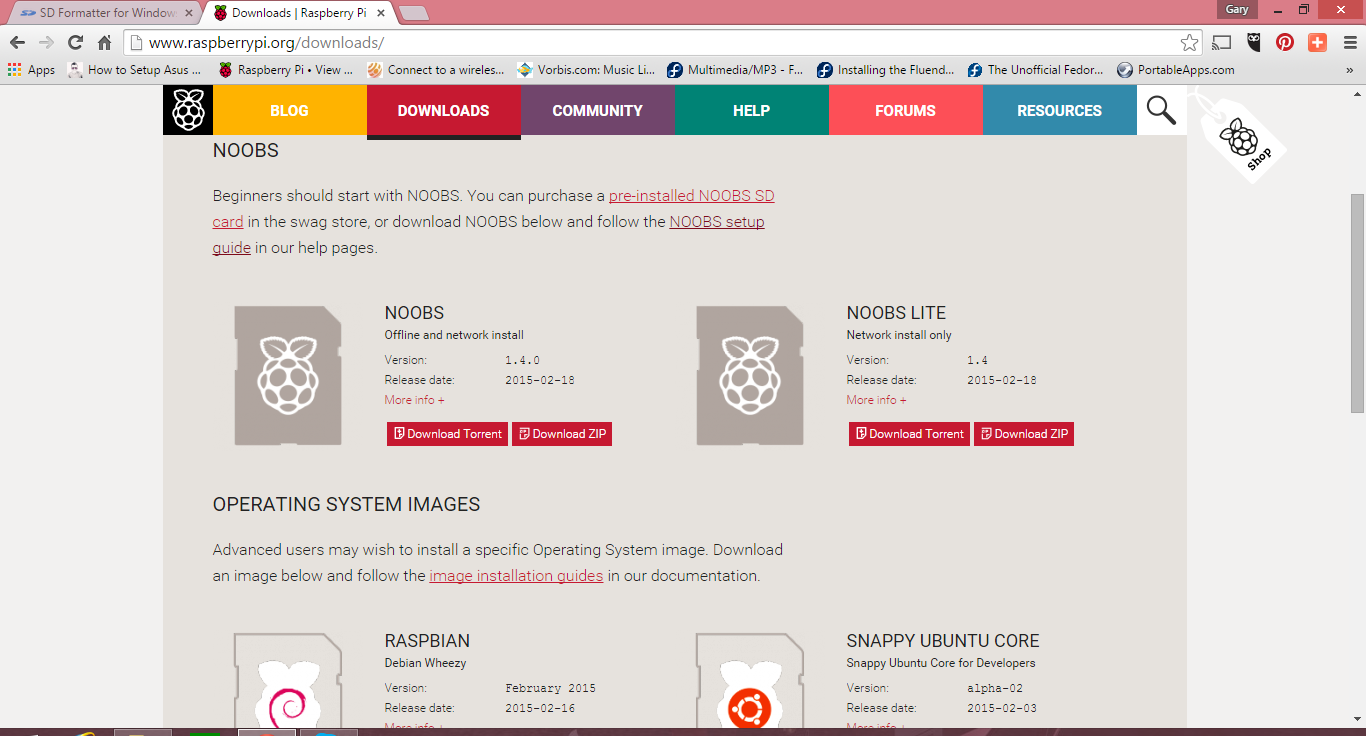
To get NOOBS visit www.raspberrypi.org/downloads
Click the "Download Zip" link next to NOOBS.
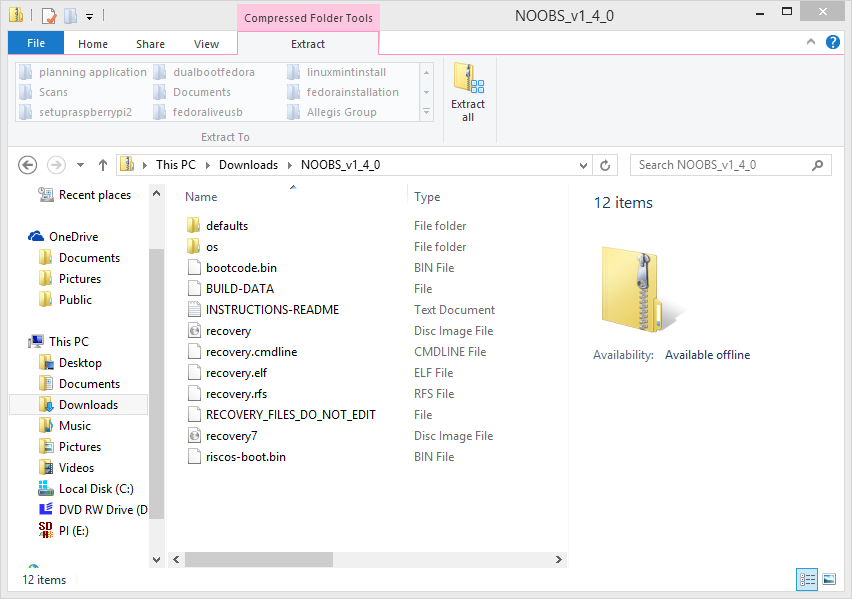
Navigate to the downloads folder and open the NOOBS zip file by double clicking on it.
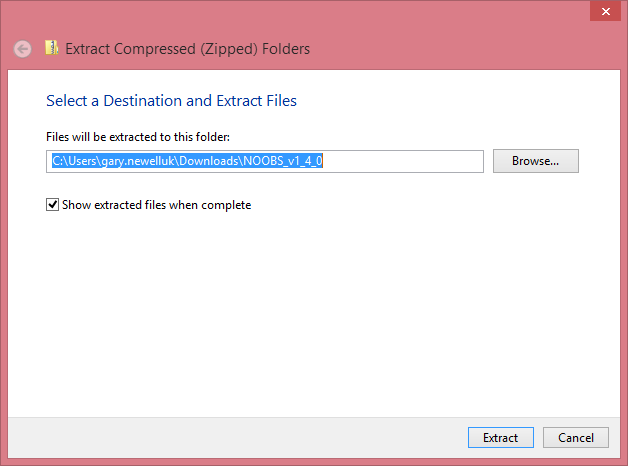
Click the "Extract All" button to extract all of the files.
You can choose the location where the files are extracted to.
At this stage it is worth sticking with the defaults.
Click "Extract"
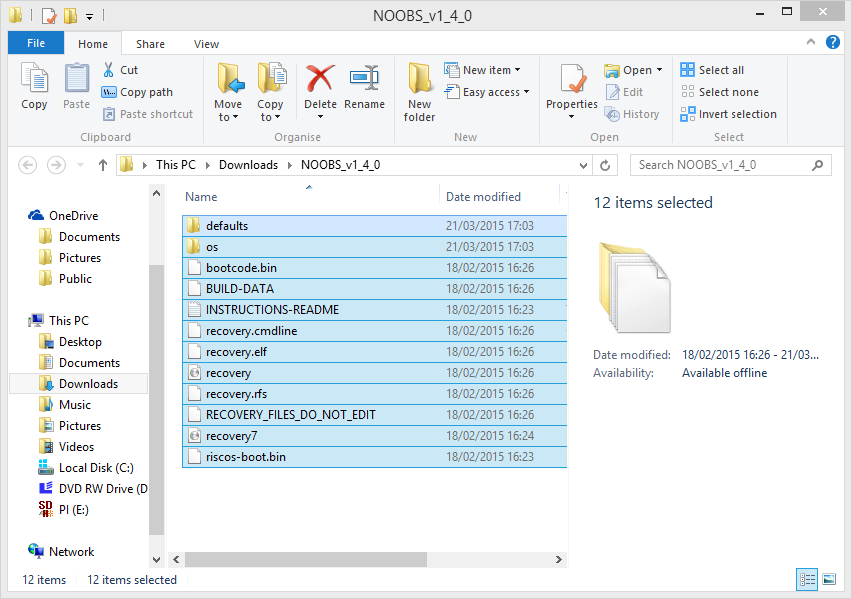
Go to the extracted folder containing the NOOBS files and press CTRL and A to select all of the files.
Now drag the selected files to the drive letter assigned to the SD card.
Open the SD card and make sure the files have copied correctly.
Set Up The Raspberry PI Using NOOBS
I apologise for the quality of the images for this bit but they are direct camera shots of the Raspberry PI connected to a monitor as there is no internet connectivity at this stage.
Insert the SD card into your Raspberry PI. (Don't bother enclosing the Raspberry PI in a case at this stage in case the image has been copied incorrectly).
Make sure that you have a USB keyboard and mouse connected via the USB ports on the Raspberry PI and add a WIFI dongle or an ethernet cable from the PI to your router.
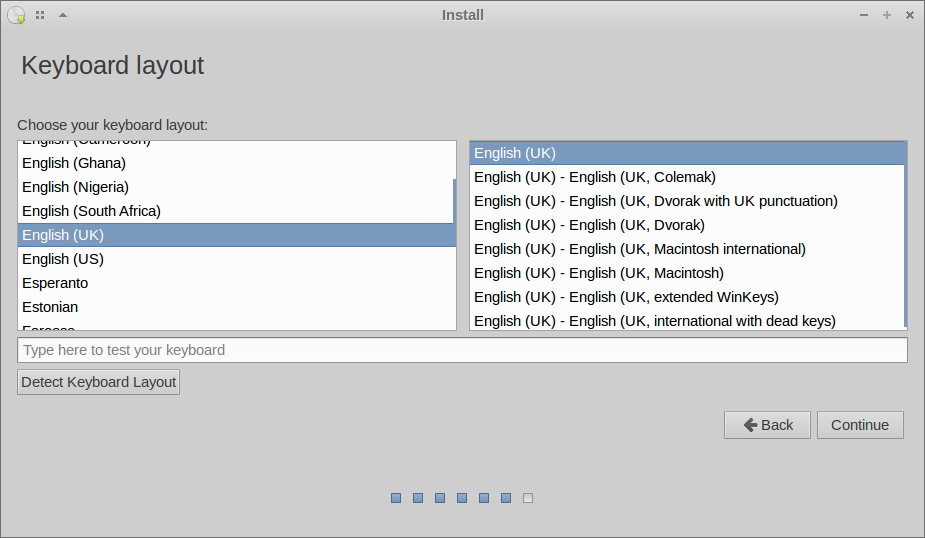
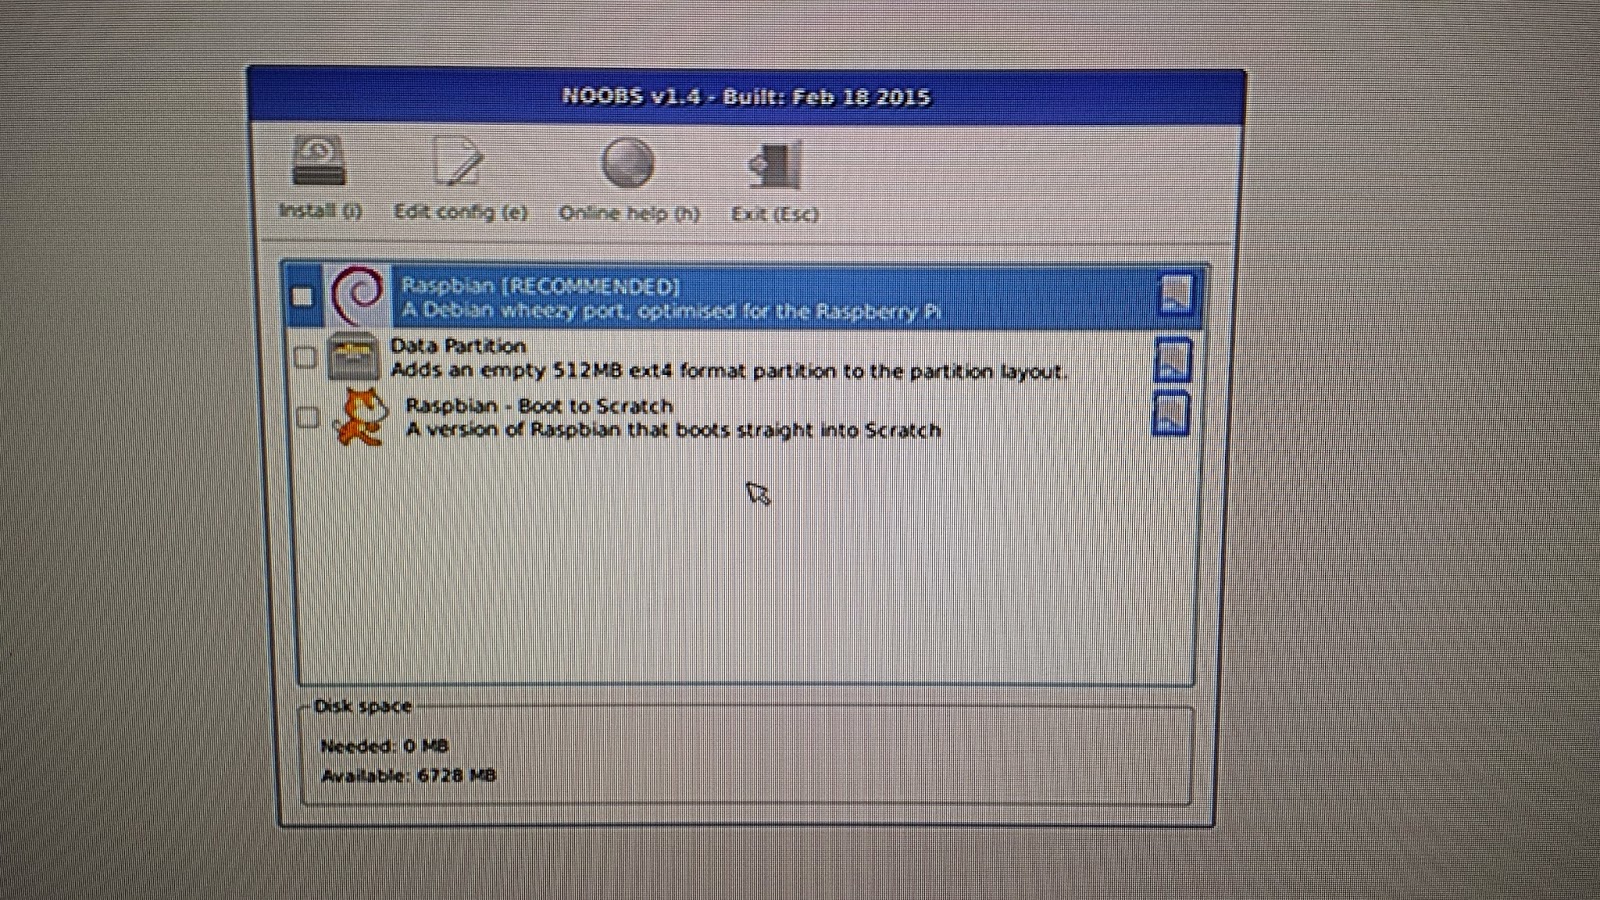
Power up the Raspberry PI. A screen should appear as shown above with an option to install Raspbian.
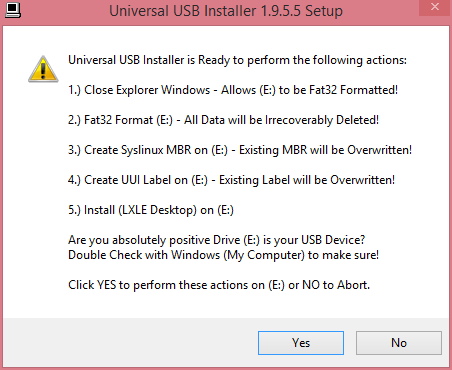
Check the box and click the "Install" button.
A message will appear telling you that your SD card will be overwritten with the Raspbian software. Click "Yes" to continue.
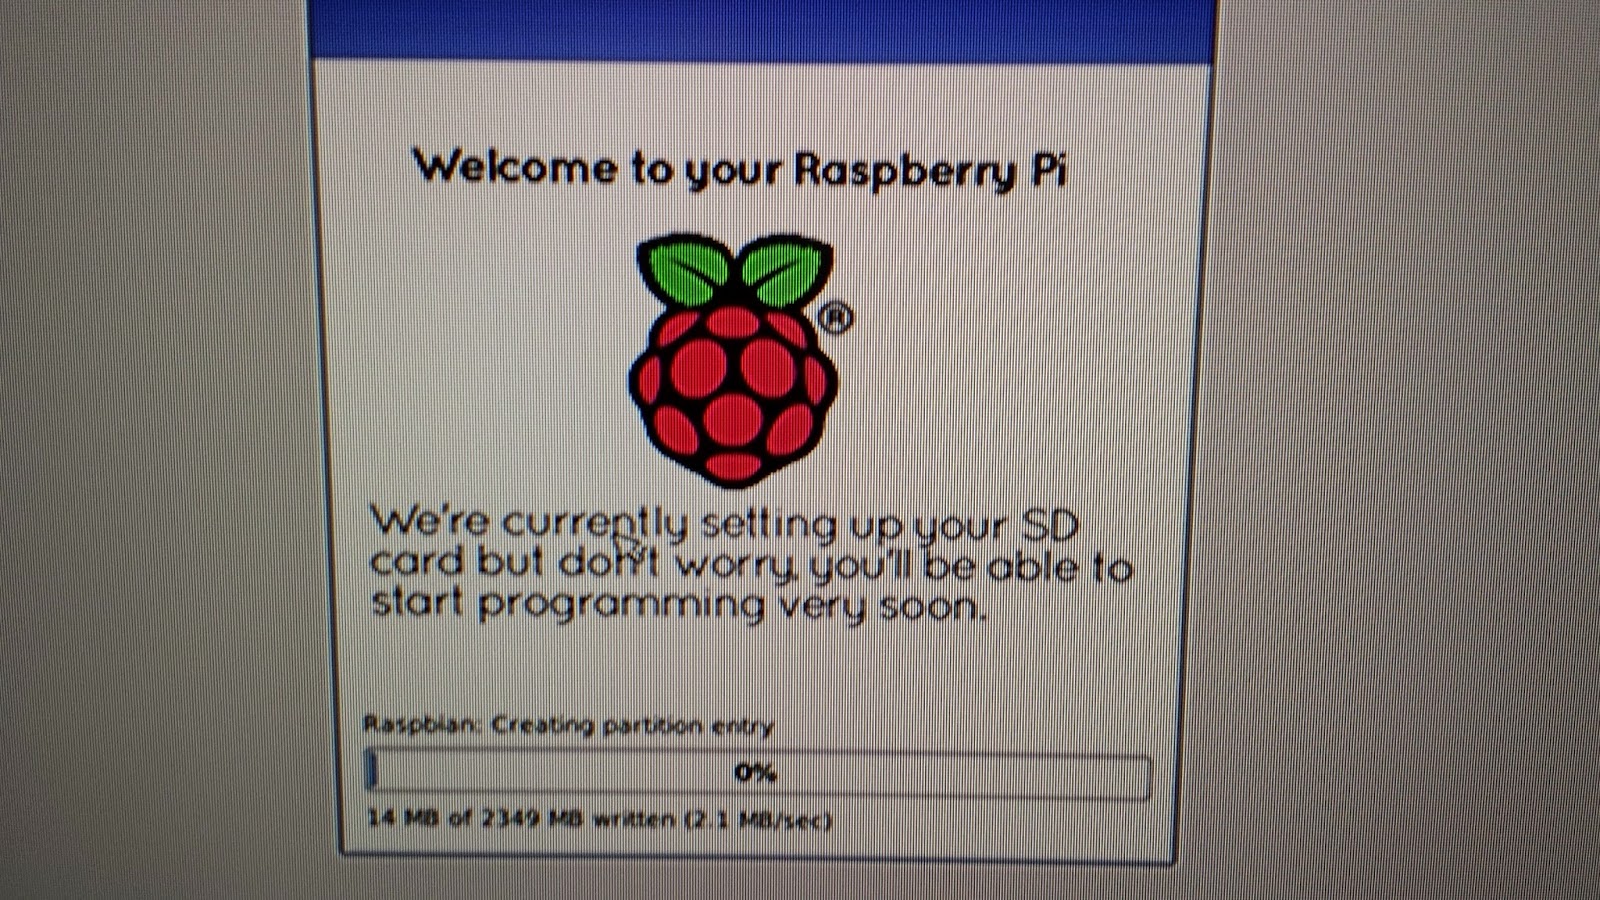
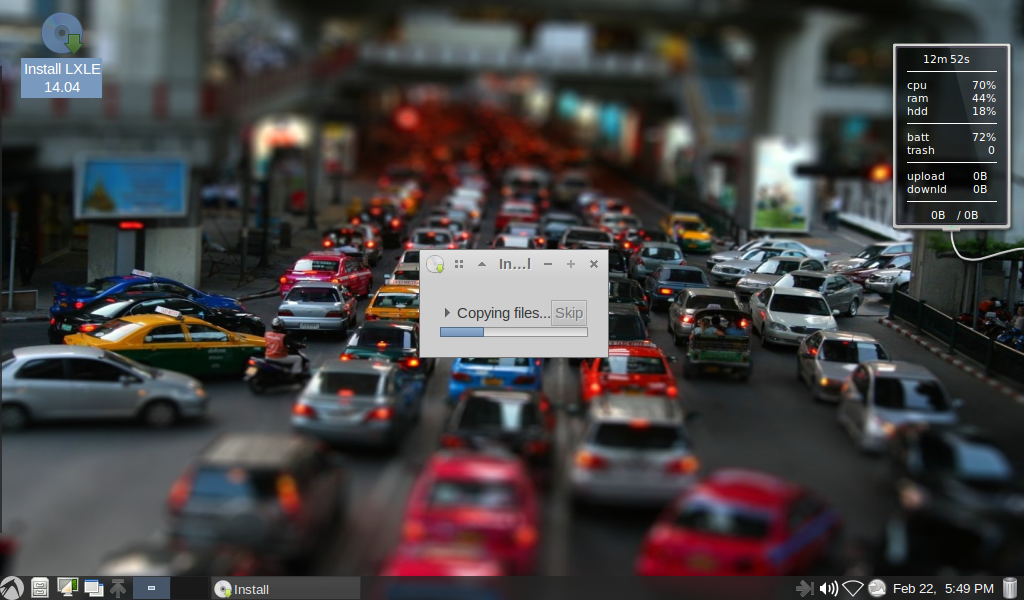
The files required to run Raspbian will be extracted to the SD card.
The process takes between 15 and 20 minutes.
A message will appear stating the OSes have installed successfully.
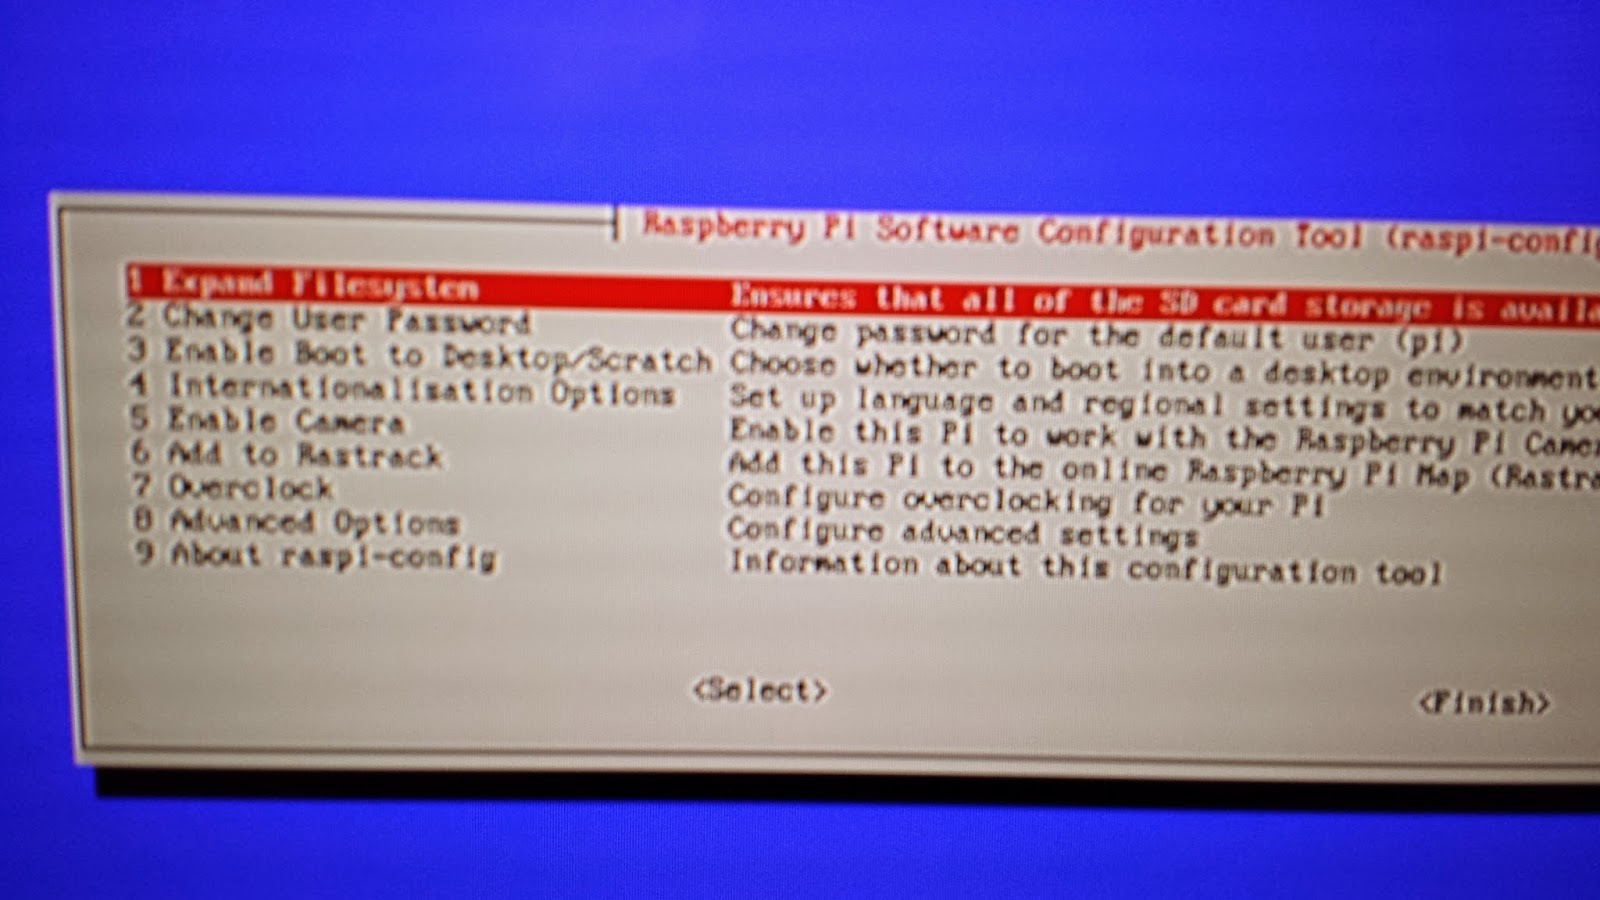
After pressing OK the Raspberry PI will reboot into a config screen.
As you are using NOOBS you will not need to choose option 1 as the file system will automatically be expanded.
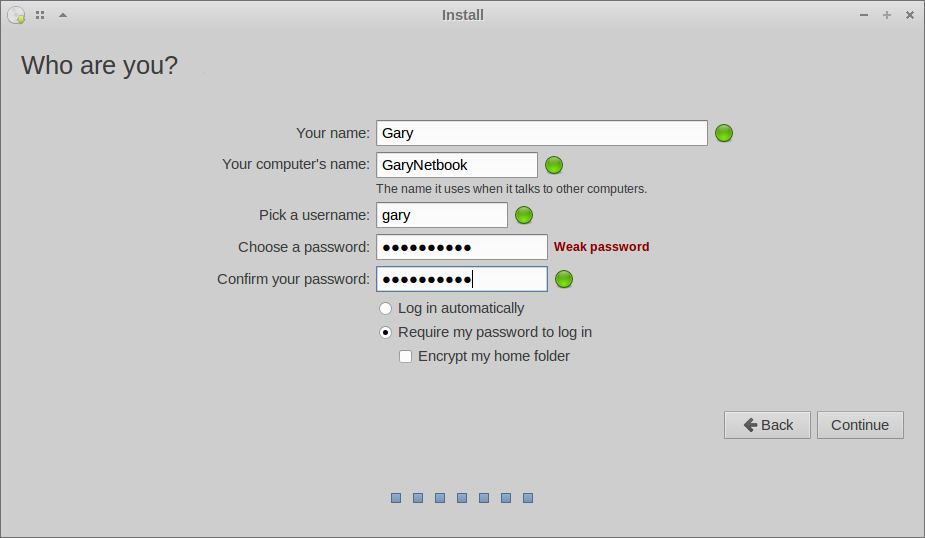
You should however change the password for the PI. Select option 2 and press return on the keyboard.
A message will be displayed saying that you will be asked for a new password. Press OK to continue. The request for the new password will appear in the bottom left corner of the screen. Enter the password, press return and repeat the password when asked to do so. Press return again.
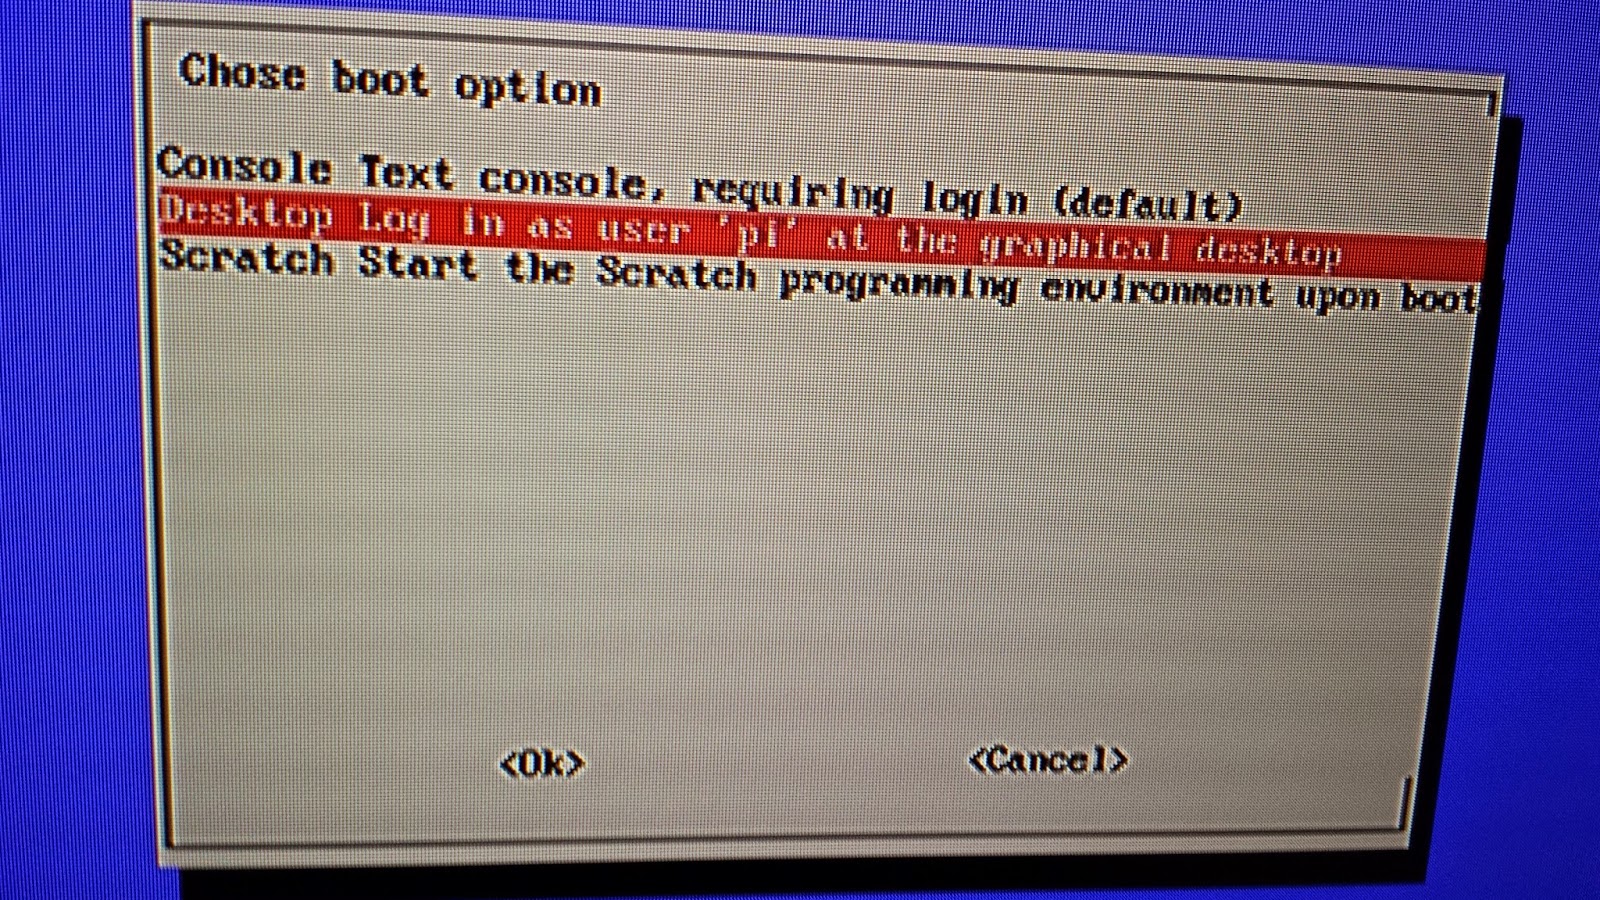
You can choose whether the Raspberry PI boots to the command line or a desktop operating system. You can also request for the PI to boot straight to SCRATCH which is a game programming environment aimed at kids.
By default the system boots to the command line. If you require a graphical user interface choose option 3 and press return.
If you need to change the language or keyboard layout choose option 4.
If you have a Raspberry PI camera choose option 5 to enable the camera module.
Option 6 lets you add your Raspberry PI to a global map showing all of the places where the Raspberry PI is being used.
When the original Raspberry PI was released you almost had to overclock it in order to be able to use it properly. The Raspberry PI 2 has 1 gigabyte of RAM which isn't massive but the requirement to overclock has diminished slightly.
Overclocking provides a small amount of risk and it can reduce the lifespan of your Raspberry PI. If you find that you can't use the PI for what you want to use it for then consider overclocking the device.
To finish the setup press the tab key until the "Finish" option is selected and press return.
Raspbian
After clicking "Finish" you will be asked to reboot the PI.
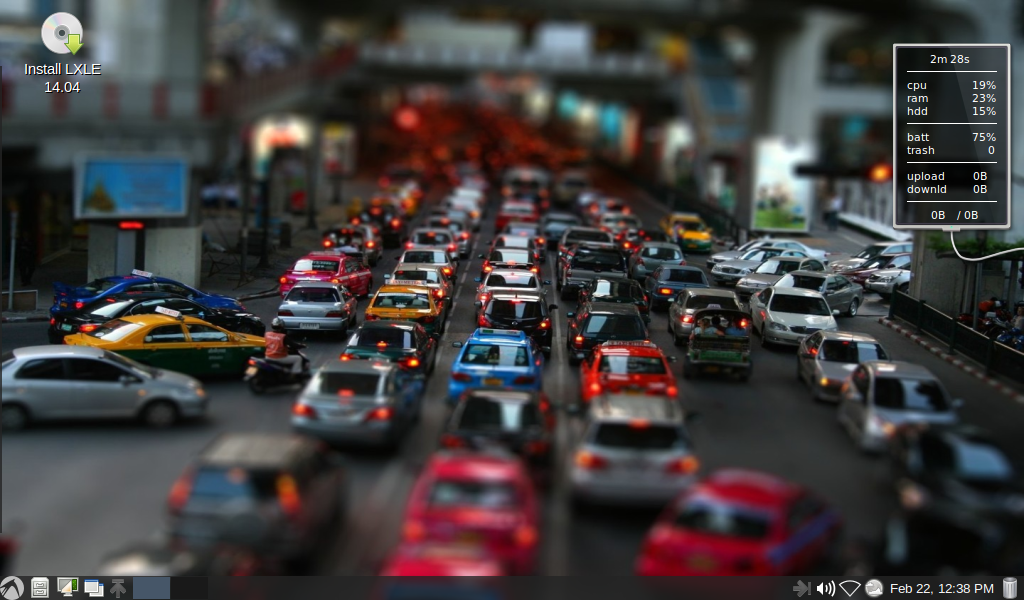
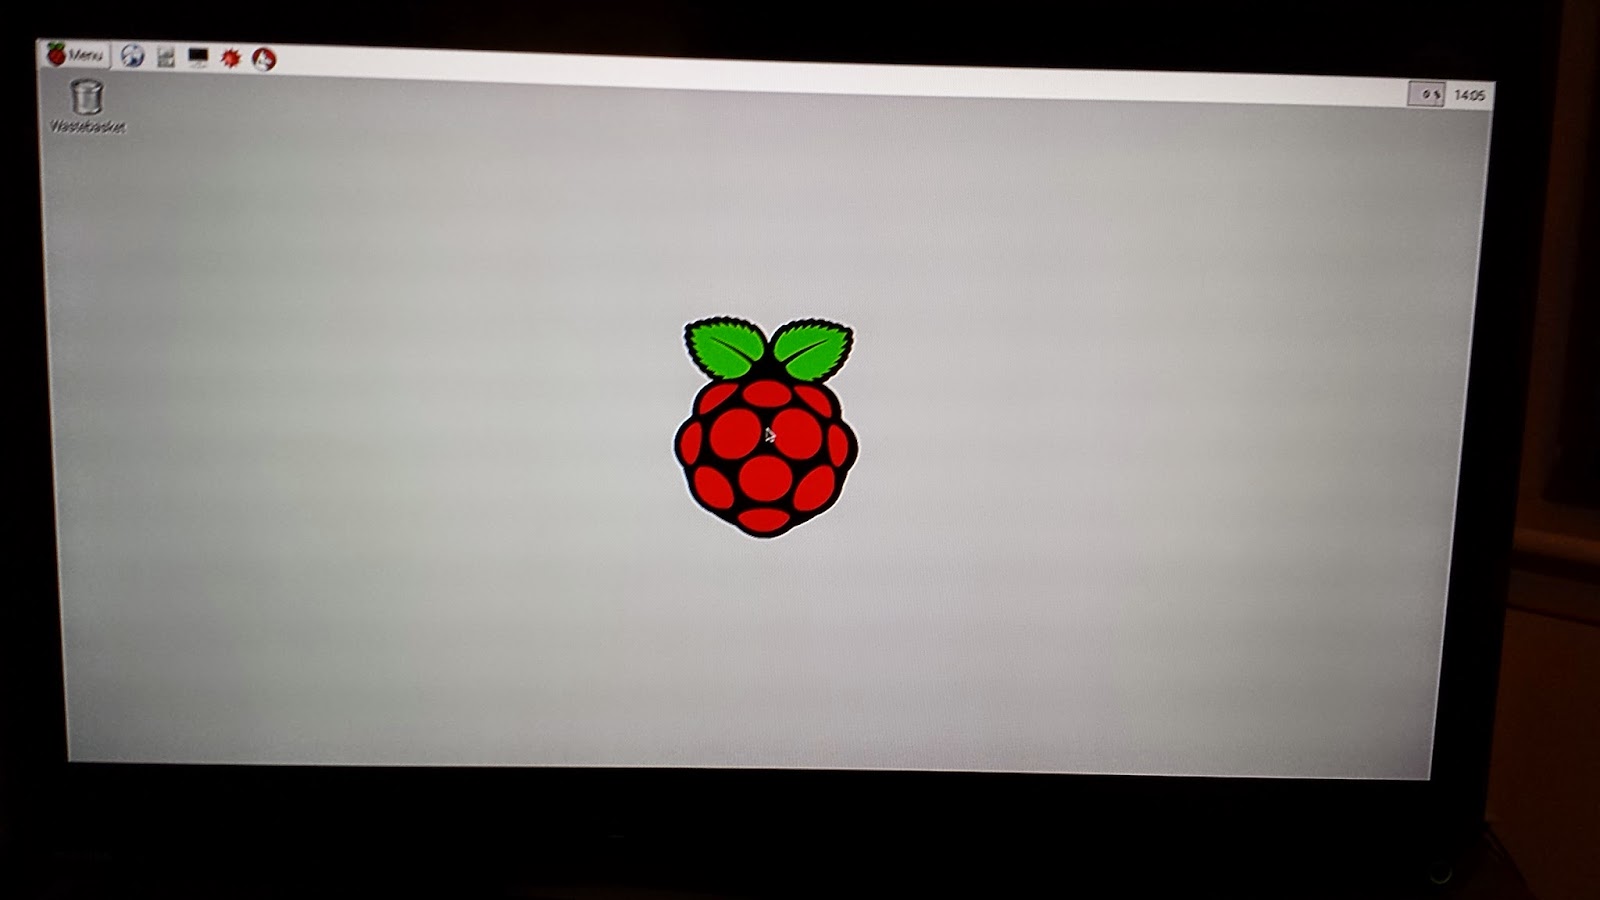
A loading screen will appear and eventually you will get to the main desktop.
There is a single panel at the top with icons for the menu, web browser, file manager and terminal.
A full review of Raspbian and the Raspberry PI 2 will be coming shortly so I won't go much further than that at this stage.
The last thing I am going to focus on in this article is connecting to the internet.
Connecting To The Internet
If you have a wired internet connection via the ethernet port then you can browse the web from the PI by clicking on the icon next to the menu icon.
This section deals with setting up a wireless connection.
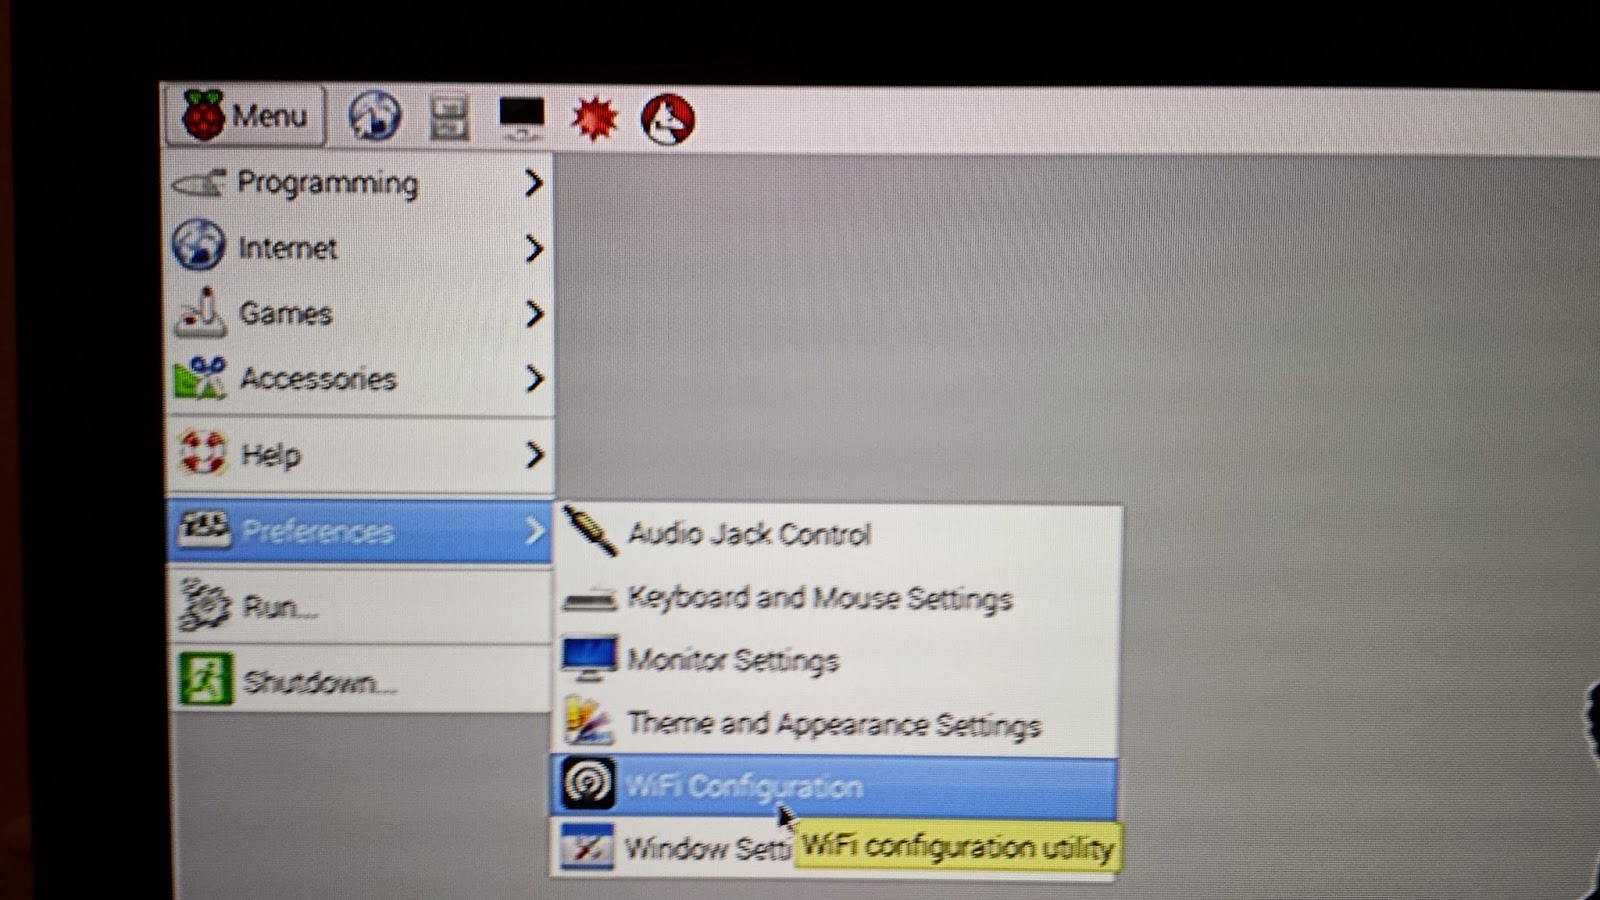
Click on the menu and choose "Preferences" and then "WIFI Configuration".
The GUI for setting up WIFI isn't particularly user friendly.
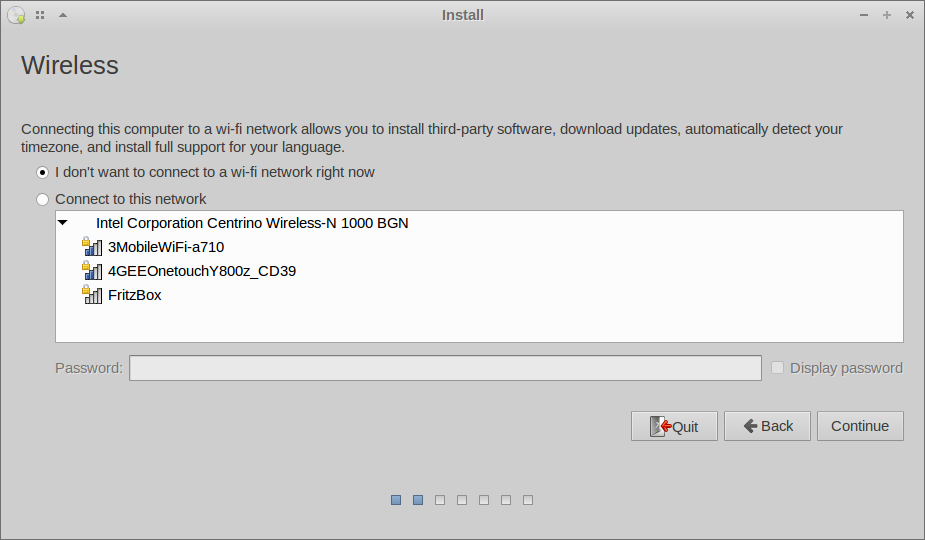
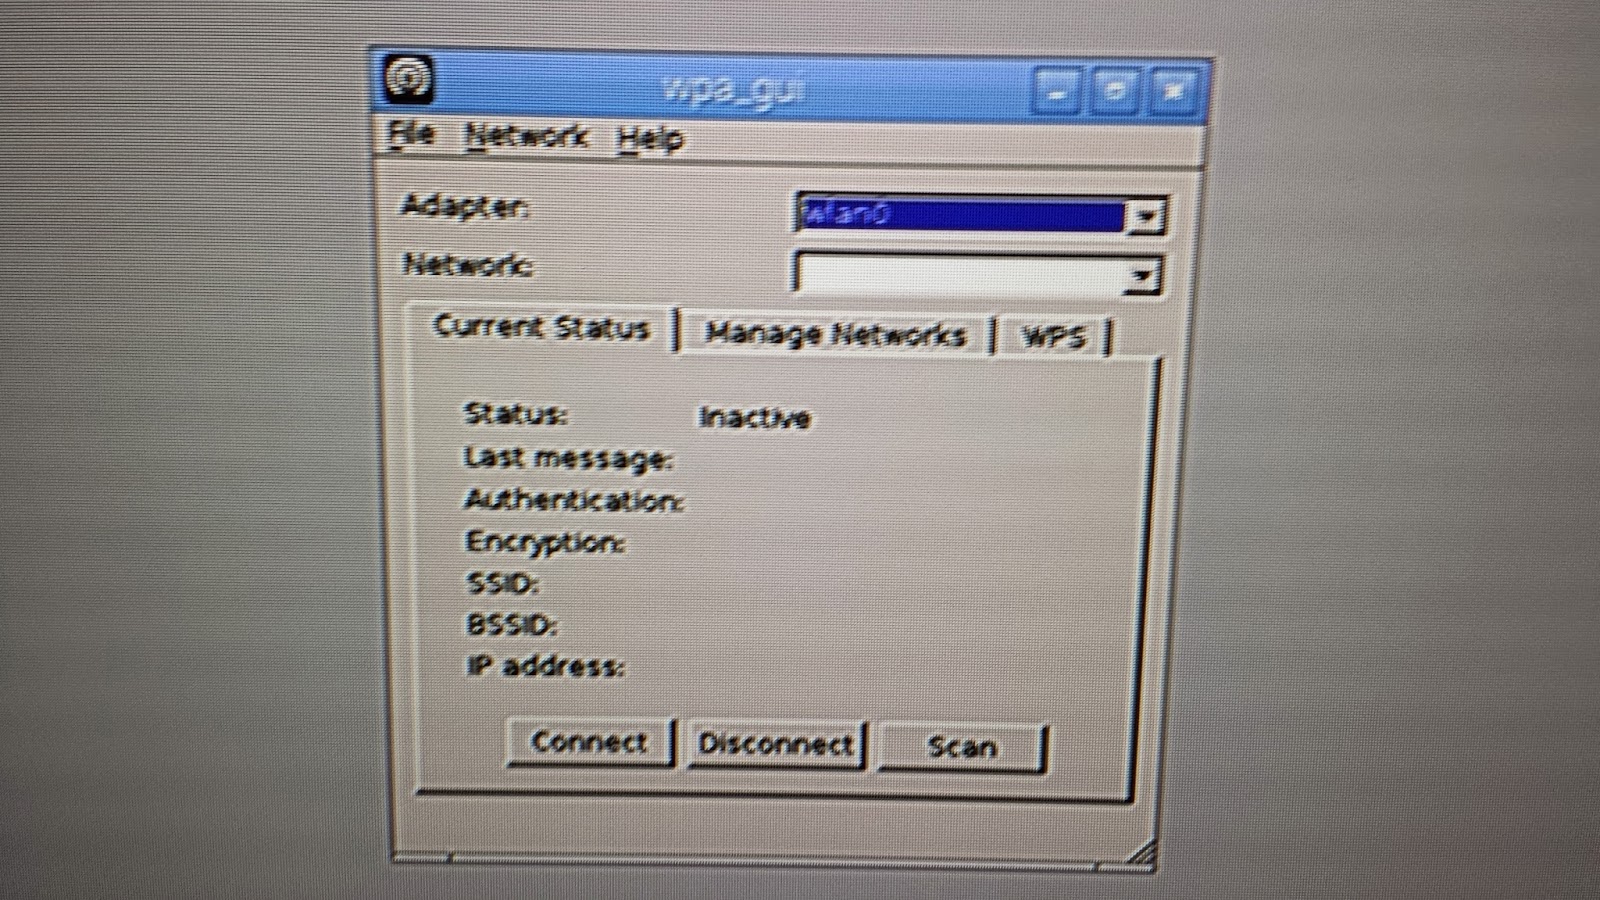
Press the "Scan" button.

A list of wireless networks will appear.
Double click on the one you wish to connect to.
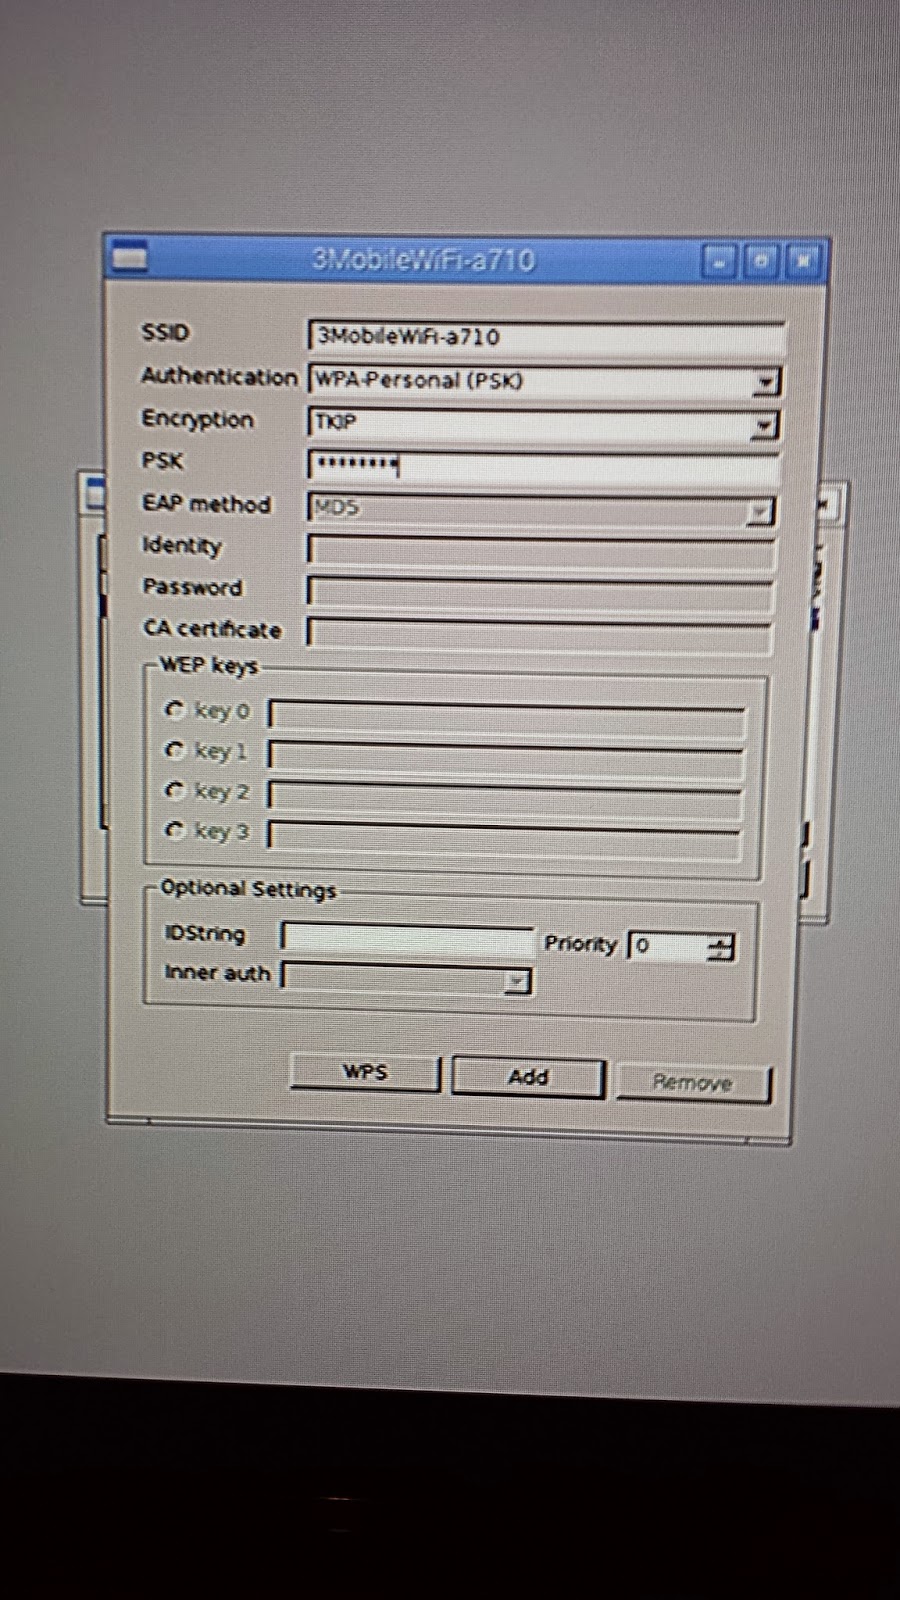
You will now need to enter your security key.
The screen used for this is fairly large and encompasses all encryption methods and authentication types.
As you can see from the screenshot, to connect to a WPA Personal network all you have to do is enter your security key into the PSK box and click "Add".
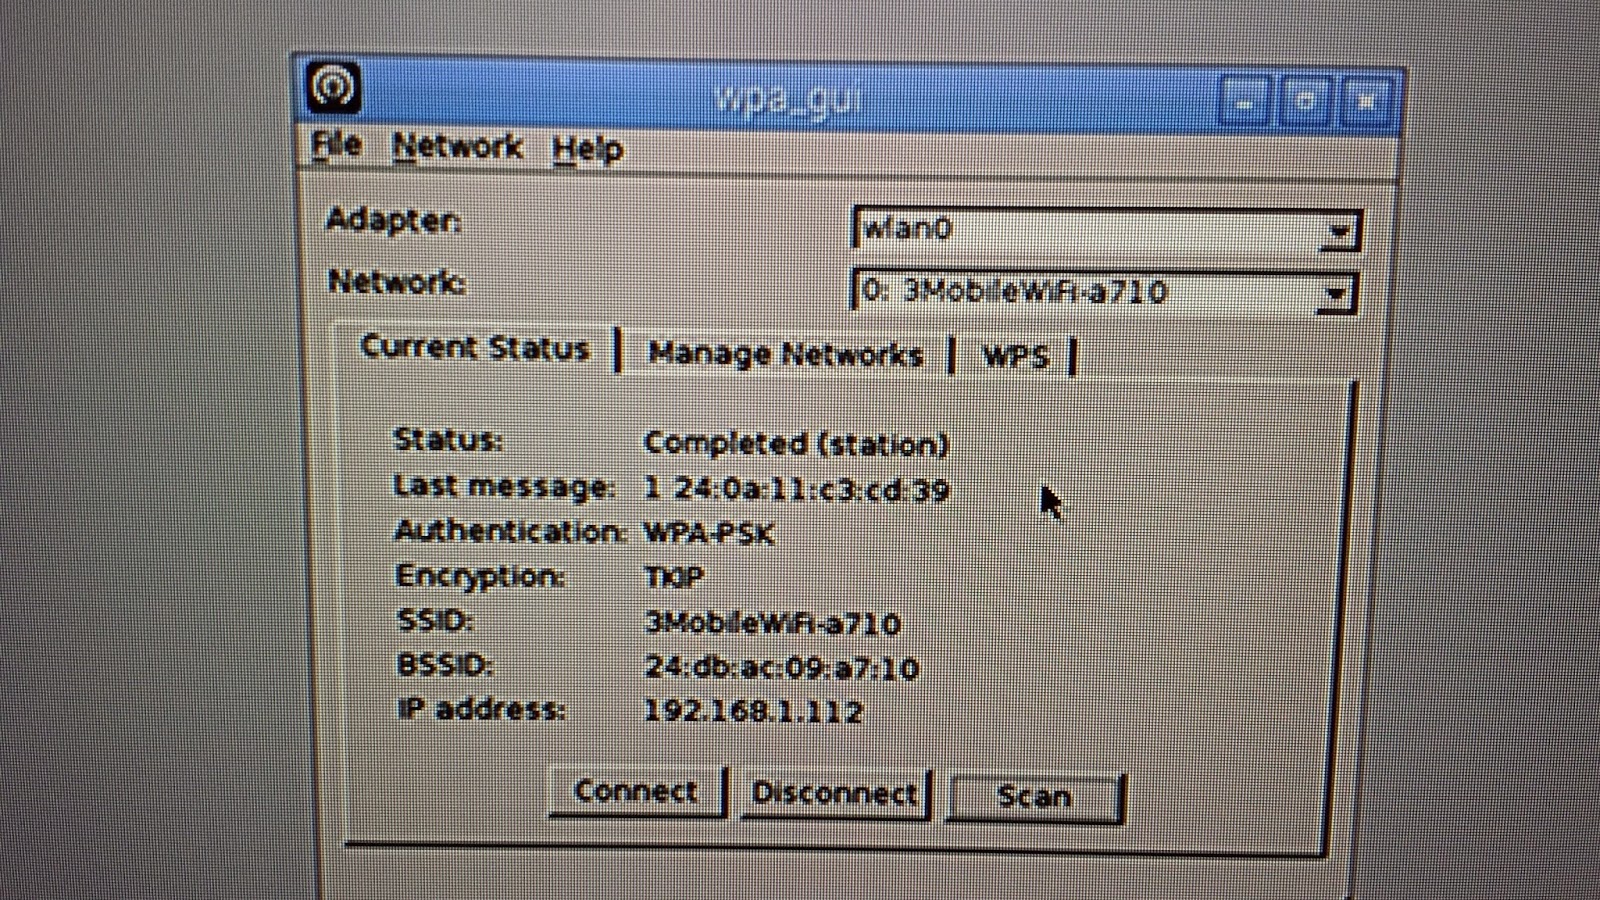
Your internet connection should now be set up and you should see a status of completed.
After you have set up a network once you can connect to it on subsequent occasions by selecting it from the network dropdown list.
Clicking "Connect" connects you to the internet.
Further Reading
- Connect To The Raspberry PI From The HP Chromebook
- Bored Of Your Raspberry PI
- The Big Book Of Raspberry PI
- Set Up A Wordpress Site On the Raspberry PI
- Hey Raspberry PI Where's My Cat
- Connect To The Raspberry PI From The Outside World
- Set Up A Personal Web Server On The Raspberry PI
- Connect To The Raspberry PI Using VNC From An Android Tablet
- How To Install Applications Using The Raspberry PI
- A Guide To Setting Up The Internet Using The Raspberry PI
Summary
I hope you found this guide useful. I will be writing further guides in the coming weeks including taking a look at Scratch and the GPIO functions of the Raspberry PI.
Thankyou for reading.
7 comments
Posted at 23:34 | by
Gary Newell