
Introduction
I received a request a while back asking me to review Makulu 6. I have decided to write 2 articles about Makulu 6 as it is quite involved.
This article shows how to set up Makulu 6 in Virtualbox as this is a good way to try it out before committing to it.
Before I begin there is a quick spoiler alert for my next Makulu 6 article which will be a full review. Makulu 6 is very good. The artwork is truly brilliant. Anybody who tried out Fuduntu after I reviewed it will appreciate how good the wallpapers were within Fuduntu.
It is fair to say that Makulu just makes you want to use it because it looks really good. I don't believe in style over functionality as a general rule but first impressions do count and Makulu leaves a great first impression.
If you don't believe me, follow these steps to try Makulu 6 in Virtualbox. There are a lot of steps but there is nothing too challenging and it is very much worth it.
How to get Oracle Virtualbox
You can download Oracle Virtualbox from https://www.virtualbox.org/
If you are using Windows then you can follow steps 1 and 3 from this guide to download and install Virtualbox.
If you are using Linux then you should be able to use the package manager of your current distribution to install Virtualbox.
Download Makulu Linux
You can download Makulu Linux 6 from http://www.makululinux.com/mate.htm.
The actual links are at the bottom of the page.
Create a Virtual Drive for Makulu
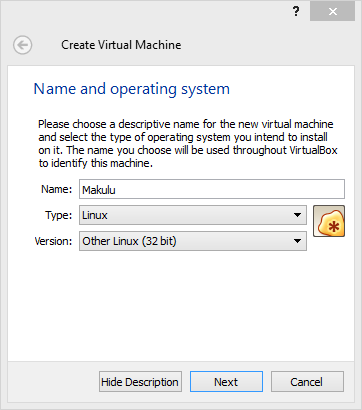
Within Oracle Virtualbox click the "New" icon.
In the name box give the new machine a name and set the type to Linux.
Set the version to 32-bit if you have a 32-bit computer and 64-bit if you have a 64-bit computer.
Click "Next" to continue.
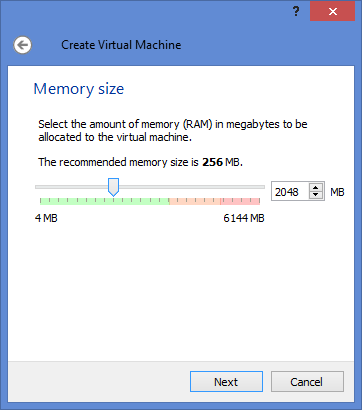
You will now be required to allocate memory to the virtual machine. In general you should give as much as you can afford to give without killing the host machine.
The minimum specifications for Makulu Linux are as follows:
512 megabytes of RAM, 32-bit PAE enabled processor and 8.5 gigabytes of hard drive space.
512 is the bare minimum. I would recommend at least 1 gigabyte RAM.
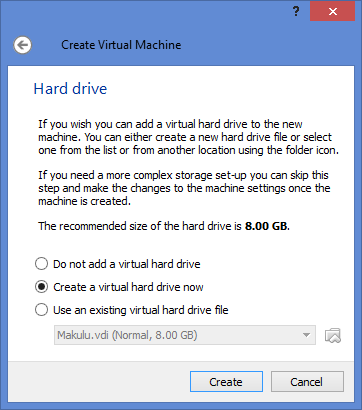
After allocating memory to the virtual machine you will asked to set up a virtual hard drive.
Click the "Create a virtual hard now" button to create a new hard drive.
Click "Create" to continue.
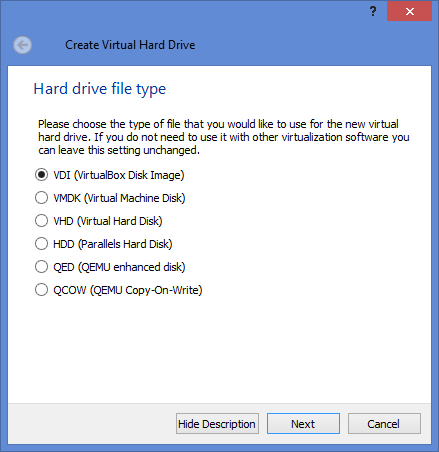
You will be required to choose the type of hard drive you want to create.
Unless you have a reason not to I would leave the default "VDI" checked and click "Next".
Visit http://www.virtualbox.org/manual/ch05.html if you want to know when and why you would use the other options.
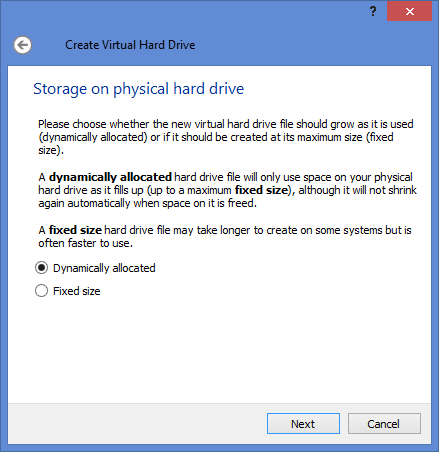
The next thing to choose is whether you want to create a dynamically allocated drive or a fixed drive.
A dynamic drive will start small and will grow as required until you hit the limit set in the next step.
A fixed drive will allocate all the space straight away.
A fixed drive performs better because it doesn't have to spend time allocating space.
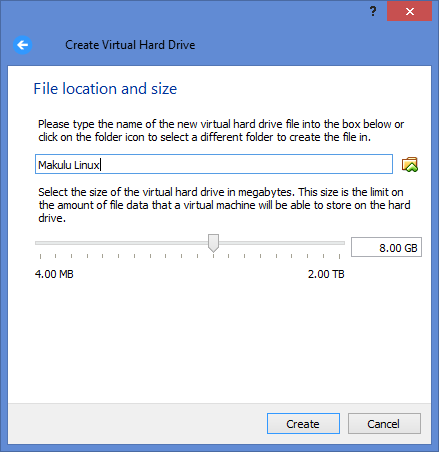
Allocate as much disk space as you think you will require when using Makulu.
The minimum is 8.5 gigabytes according to the Makulu website. I would recommend a minimum of 20 gigabytes if you can get away with it.
Click "Create" to continue.
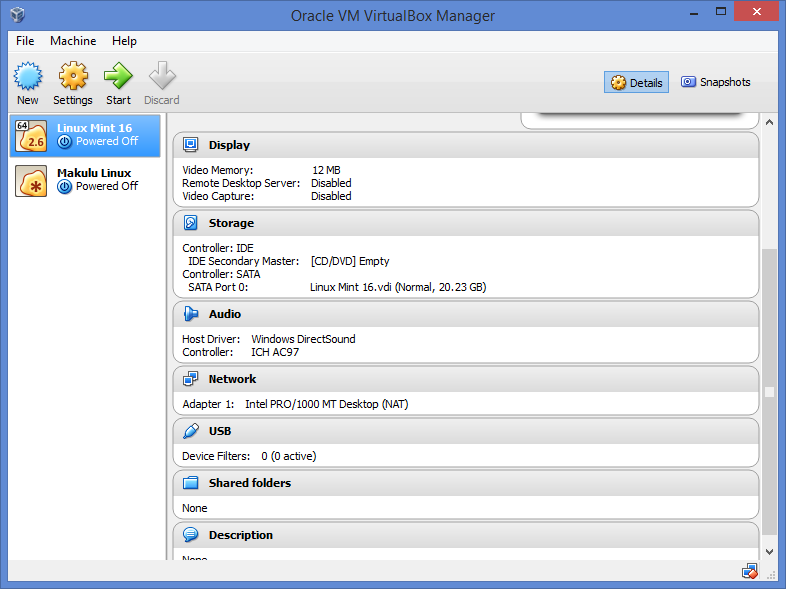
Your virtual machine will now be created. You will need to set up further settings for Makulu to work properly.
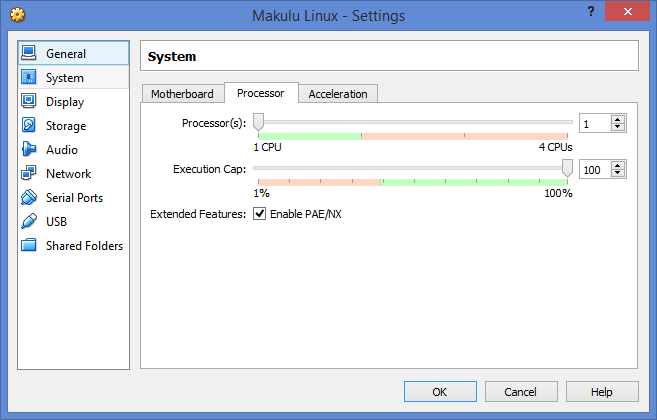
Click on the "Makulu" virtual machine that you created and click "Settings".
There are a number of sections on the left hand side. Choose the "System" tab and then select the "Processor" tab.
Check the "Extended features: Enable PAE/NX" checkbox.
Now click on the "Display" option in the left pane.
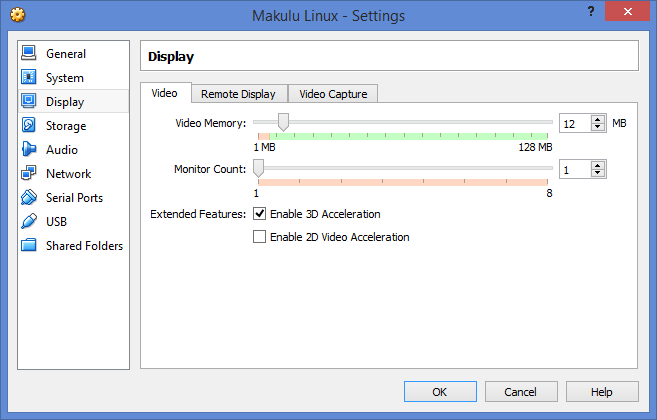
On the "Video" tab check the "Enable 3D acceleration".
Click "OK" to save the settings.
Starting Makulu 6 in Live Mode
To start your virtual machine click "Start".
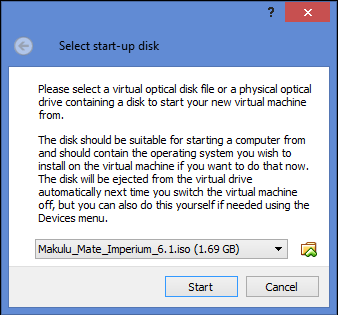
You will be asked to choose where to boot from.
Click on the dropdown arrow and navigate to the downloaded Makulu 6 ISO image you downloaded earlier.
Click "Start" to continue.
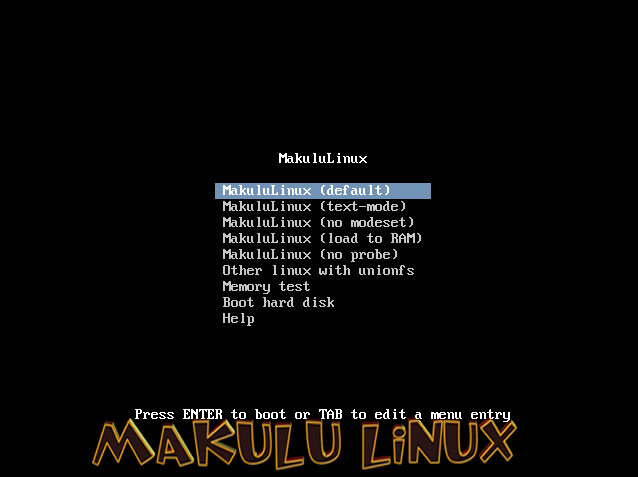
A menu will appear with a number of different options for starting Makulu in live mode.
Leave the default option selected and press return on your keyboard.
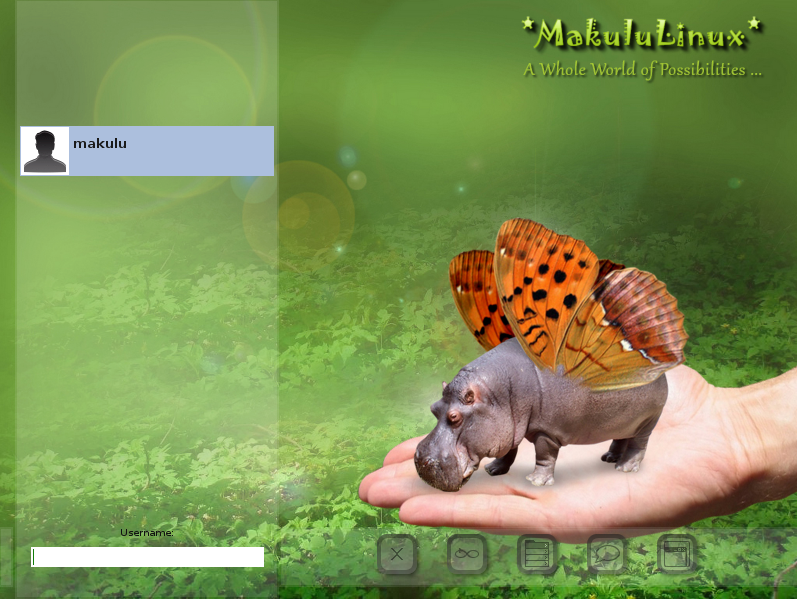
You can see already how good the artwork is.
logging in to the live version of Makulu requires you to select the Makulu user and then enter a password which is also set to "makulu".
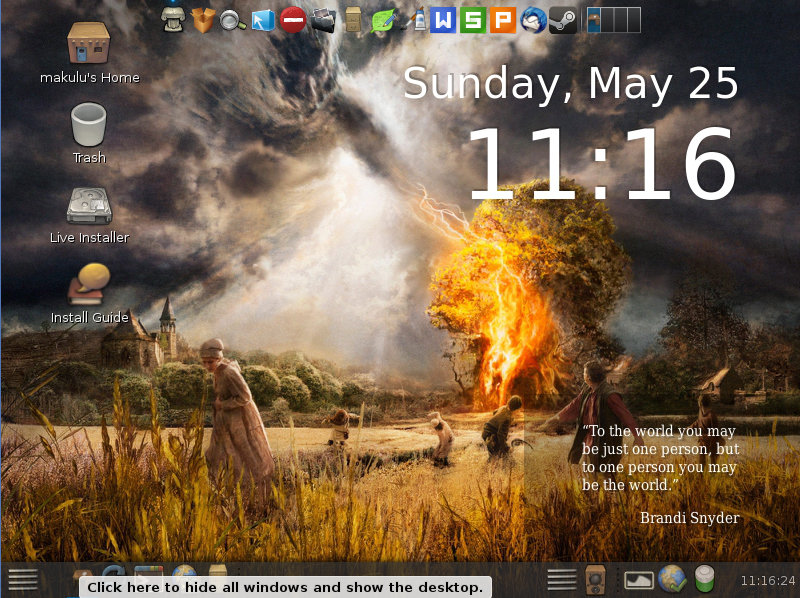
The live desktop also has great artwork and the whole look and feel is really very good.
The wallpaper changes on each and every boot and there is a new quote every day in the bottom right.
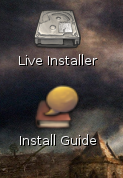
In the top left corner there are 4 icons. The two that you will be most interested in are the "Live Installer" and "Install Guide" icons.
The "Install Guide" links to a Youtube video which can be seen here: https://www.youtube.com/watch?v=HkNPrPSfeFA&feature=youtu.be
To start the install double click on the "Live Installer".
Installing Makulu 6
The first screen tells you to check out the installation guide if you are unsure what to do.
There are two ways to install Makulu. The first is to use the "Easy Installation" and the second the "Expert Installation". The "Expert Installation" is to be used when you want to do things like dual boot, add different partitions or use extra drives.
For the basis of this tutorial I am going to cover the "Easy Installation" first.
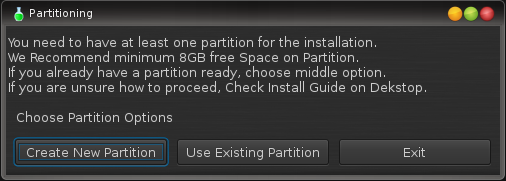
Most distros let you get comfortable before tackling the subject of partitioning but Makulu gets straight into it. As we are using a virtual machine with an empty disk you need to click the "Create new partition" option.
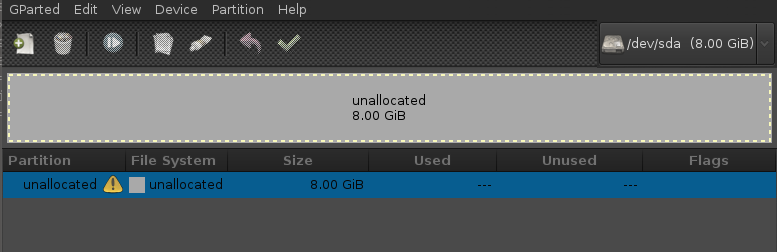
You will be shown your current disk layout. As this is a blank drive you need to create a partition table. Click "Device - Create partition". Then right click on the unallocated space and create a new partition.
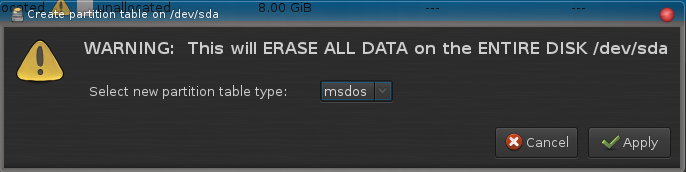
A warning will appear stating that the whole drive will be wiped. Don't worry, this will not touch your host system, only the virtual drive which is empty anyway. Click "Apply" to continue.
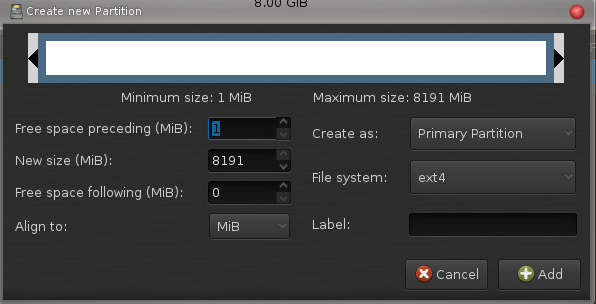
A box will appear showing the disk. You can either drag the right bar in at the top or enter numbers into the boxes.
For the benefits of this tutorial you can just use the whole virtual drive. Click "Add" to continue.
When you have finished adding partitions click the red button to close the partitioner.
Now you will be asked which partition to use for installing "Makulu". Choose the one you just created (/dev/sda1) by clicking it with the mouse.
Then press "OK".
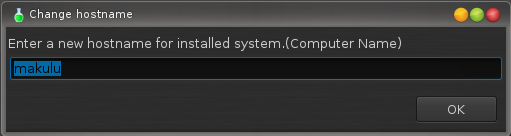
With the partitioning out of the way you can now concentrate on installing Makulu. The first step is to give the computer a name. Enter a name and click "OK".
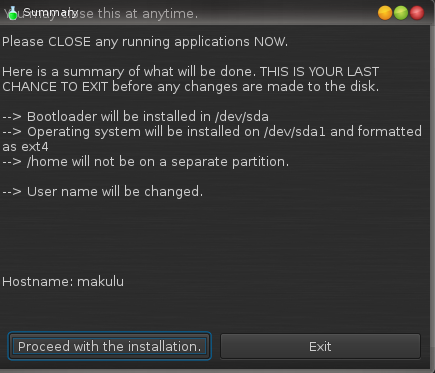
A warning is now displayed stating that this is the point of no return and that Makulu will now be installed.
Click "Proceed with the installation".
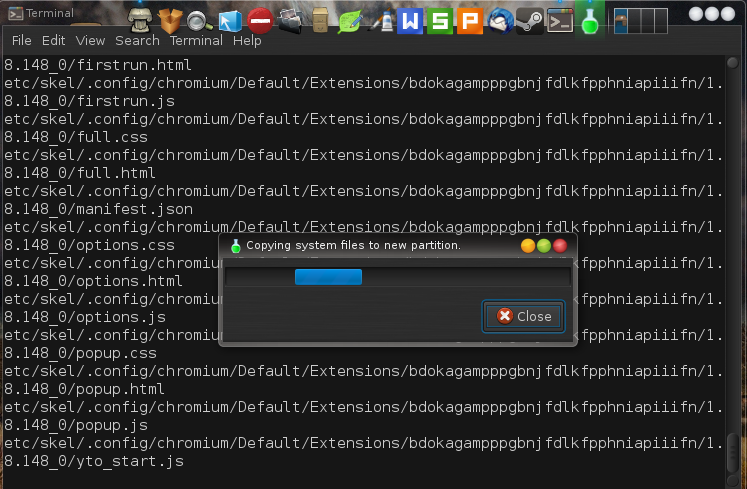
The files will now be copied to the virtual drive.
This can take a while. I recommend finding something else to do for about 20 minutes.
Makulu installs a lot of files.
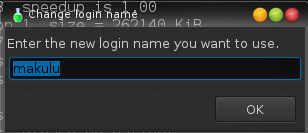
You will be asked for the login name that you want to use for Makulu.
Enter your name and click "OK".
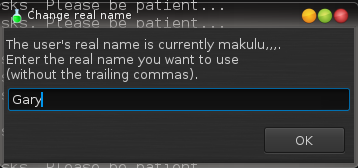
As well as entering a login name you will also need to enter a real name to be associated with the login.
Enter your name and click "OK".
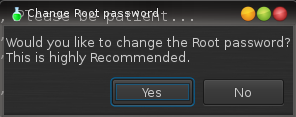
You will asked whether you want to change the "Root" password. For those of you who are Windows users this is the administrator password.
Click "Yes" to this one.
Enter a password for the root user and retype it to confirm it.
Click "OK" to continue.
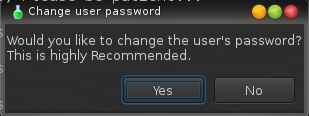
You will also be asked whether you want to set the password for your default login name. Again it is recommended that you select "Yes". Enter and confirm the password as before and click "OK".
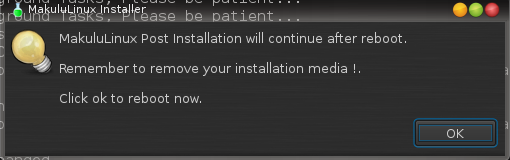
That is it for the first stage of the install. You now need to reboot to log in to the installed version of Makulu 6.
Setting up Makulu
When you reboot you will see the live menu again. Select the boot from hard disk option.
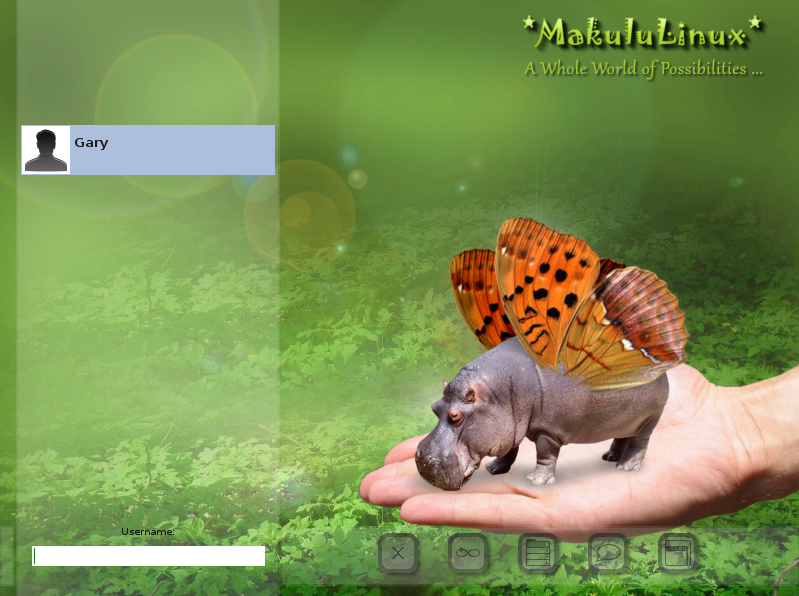
The display manager will appear as before but this time you will be required to select the login name you set up during the installation and you will need to enter the password.
The first boot provides you with a setup utility.
If you accidentally close this window then you can access it from the menu by clicking the icon in the bottom left corner. Search for "Makulu Setup".
Click "OK" to continue.
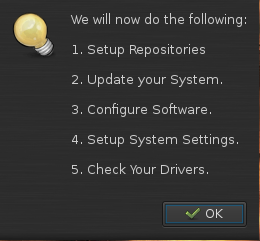
A list of tasks will appear that shows you what will be set up using this utility.
Click "OK" to continue.
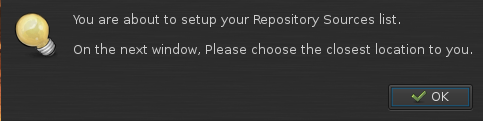
The first stage is to set up the repositories. Click "OK" to continue.
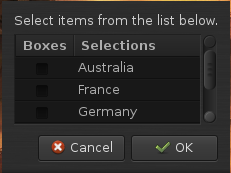
A list of countries will appear.
Select one or two of the countries that are geographically close to your location.
Press "OK" to continue. A terminal window will appear and the repositories will be updated.
The repositories store the software packages which can be installed using a package manager. For those of you who are from a Windows background a package manager is like an "app store".
After the repositories have been updated you will be asked whether you want to update the system.
You might wonder why your system is out of date when you have just downloaded it. The thing is that when Makulu 6 was first made it was probably up to date but as software is released and updated so regularly it isn't long before that snapshot in time falls behind.
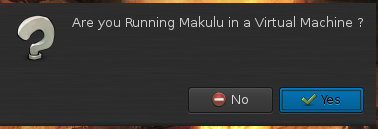
You will be asked whether you are running Makulu in a virtual machine. Yes you are. Click "Yes" to continue.
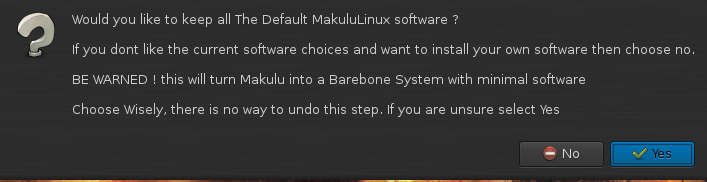
Makulu comes with a lot of software installed by default.
If you don't want all the pre-installed choices and you want to start from a blank canvass then click "No" otherwise click "Yes".
I find this approach interesting and kind of bizarre. Makulu installs all the software as part of the installation. If you don't want it then the setup script will uninstall the software. Wouldn't it be better to ask the question prior to installation?
For the best starting experience I would recommend clicking "Yes".
The next question asks whether you want to keep Compiz and Emerald Animation turned on.
Compiz and Emerald Animation is responsible for all the nice effects that occur within Makulu. For the best experience click "Yes" but if you find your machine struggling or you just don't like lots of whizzy effects, click "No".
By default the wallpaper in Makulu changes every time you reboot the computer. If you don't want this to happen click "No" otherwise click "Yes".
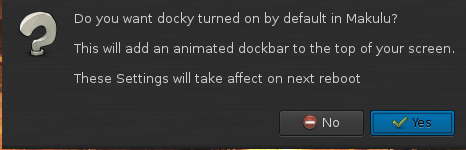
Again, by default a docking bar is added to the top of the screen in Makulu. This includes icons to commonly used applications. If you don't want this bar click "No" otherwise click "Yes".
The update manager controls updates within Makulu. If you prefer to handle updates yourself click "No" otherwise click "Yes".
Almost there. Only a few more steps to go. The next few steps deal with your timezones, language and keyboard settings. To setup your timezone click "Yes".
Choose your geographic area by clicking on the dropdown list.
Click "Forward" to continue.
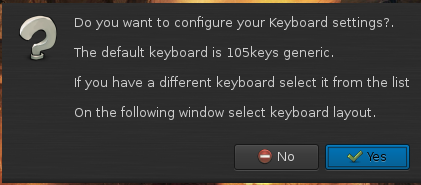
The next screen asks whether you want to set up your keyboard. Click "Yes" to continue.

A list will appear with all the different keyboard makes and manufacturers.
If your manufacturer doesn't appear select generic and choose the number of keys you have on your keyboard.
Click "Forward" to continue.
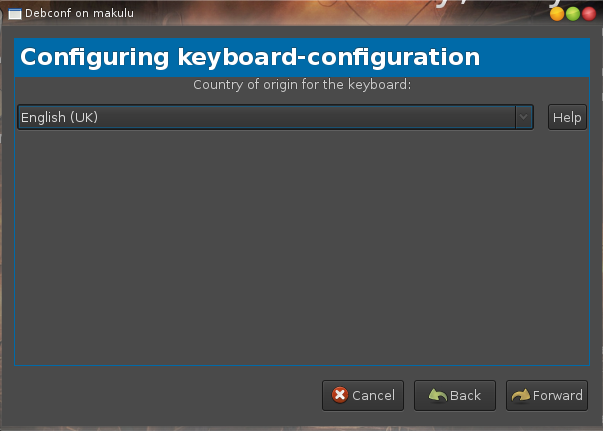
You will now need to choose the keyboard layout based on your country of origin.
For instance if you are using a UK keyboard select UK.
Click "Forward" to continue.
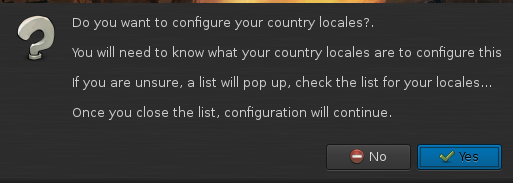
The final stage is to set up your country locales which deals with the languages used for the applications within Makulu.
To set up locales click "Yes".
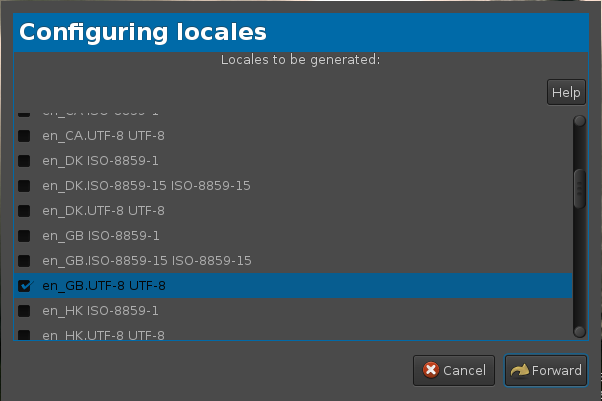
There are a lot of locales to choose from and it isn't always easy to work out which locale to choose.
In my case I was looking for English so I found "en" and I am in Great Britain so I chose "GB" and then I always choose the UTF-8 option. Therefore my locale is en_GB_UTF8_UTF8.
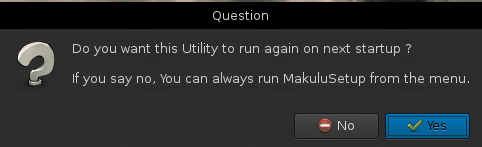
You will be now asked whether you want this utility to run when you start Makulu again. I would recommend selecting "No" to this.
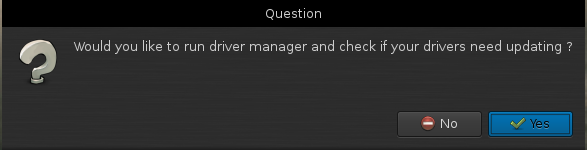
The very last stage is to set up drivers for hardware. If you have printers or other hardware devices click "Yes" to continue.
That is it. All that is left to do is reboot your computer. Click "OK" to do this.
Extra Information
When you reboot the virtual machine you should now be able to use Makulu in its entirety.
There are a few useful tips though for running Virtualbox in full screen mode and these are shown below.
- To view the virtual machine in full screen mode click the right CTRL key and F.
- To expand the virtual machine across your screen click the right CTRL key and G.
- To get back to a windowed view click the right CTRL key and F again.
The Expert Installation
There might be some of you out there wondering what happens with the "Expert Installation".
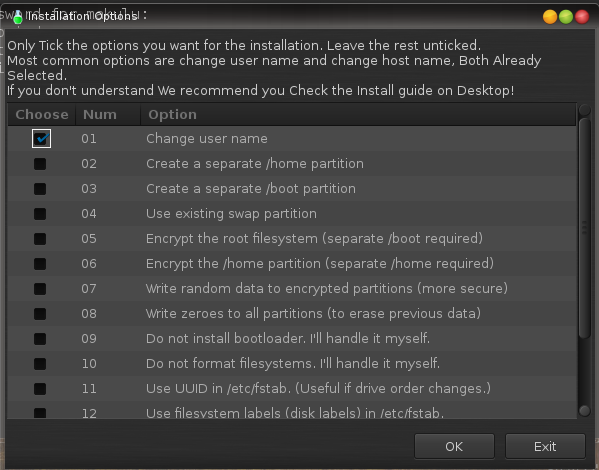
When you click on "Expert Install" you will receive a list of options for setting up Makulu. These are generally not really required for a Virtual Box install. They are useful options when installing on an actual hard drive though.
It is generally a good idea to have a separate home partition as this is where configuration and user data files are stored. If the operating system fails then you can just install over the top without touching your home partition and everything will work fine again.
The expert installation also lets you set up encryption.
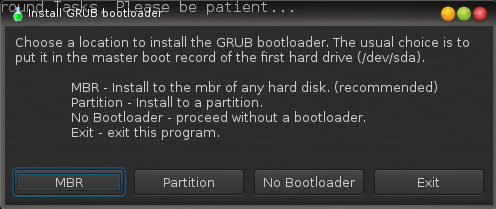
The expert installation also lets you choose where to install the GRUB bootloader which provides the menu prior to booting Makulu.
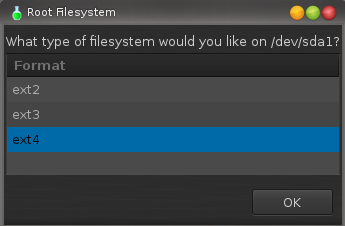
Another extra option in the expert installation is the choice of file system. You can choose between ext2, ext3 and ext4. ext2 is the one that is most compatible with every computer but ext4 provides the most functionality.
Summary
The purpose of this guide is to get you up and running with Makulu in a virtual machine. It is definitely worth giving a go. It is definitely worth checking out the install guide as well.
A review of Makulu 6 will be made available on this site in the next few days. Why not bookmark this site or even better subscribe to it.
Thankyou for reading.

0 comments:
Feel free to comment on any of the blog posts. Please try to be constructive.
Offensive messages will be removed as will blatant adverts for misleading products and sites.
Thanks for visiting my blog