Introduction
Last month saw the release of everybody's favourite Linux distribution, Ubuntu. I have spent the past couple of weeks reading other people's opinions, watching videos and listening to podcasts.
I have also spent some time trying out the latest offering and within this review I will highlight the new features, the bits I like, the bits I think are a little bit strange and the things I really don't like at all.
New Features For Ubuntu 16.04
Some people aren't interesting in reading a full review so I will list the new features here so that you can go about your day should you feel the need.
I am approaching the new features from the point of view of a standard desktop user as that is what Everyday Linux User is about.
Snap Packages
Ubuntu has introduced a new kind of package called snap. You might be thinking "wow that is just what we need, another package format". Actually in this case it is a really good idea.
Snap packages are installed as sandboxed software (much like Android apps) which means that they won't interfere with other parts of your system. This is more secure than standard package formats and the software won't be bothered by missing libraries and conflicts.
To find the new snap packages you need to open a terminal window.
You can search for snap packages using the following command:
snap findThis provides a list of packages. You can install a package using the following command:
snap install packagenameUnfortunately when I run these commands however I get the following error:
download snap "ubuntu-core" from channel "stable" (snap not found)The number of snap packages available is currently very small but as a feature I suspect this is one for the future and one to look out for. Meanwhile if anyone wants to tell me why I am getting this error I would be truly grateful.
Linux Kernel 4.4
If you own a modern computer the 4.4 kernel released with Ubuntu 16.04 is a godsend. This prevents me having to perform so many tricks such as backporting in order to get wireless working on my Lenovo Ideapad Y700.That isn't to say that the wireless problems go away completely. On the Ideapad there is still an issue which I will come to later on.
Python 3
This probably won't matter to the average user but if you dabble in Python development you should know that only Python 3 is installed by default and therefore your programs written for Python 2 will not work unless you install Python 2.
Gnome Software Replaces The Ubuntu Software Centre
Yes, yes, yes, yes, yes.
In my review of Ubuntu 15.10 my comments with regards to the Ubuntu Software Centre were as follows:
"the main application for installing software in Ubuntu is the Software Centre and I think it has to be the biggest drawback for new users.
Let's take the three applications listed in the previous section, Skype, DropBox and Steam.
Each one of these applications is less straight forward to install than it should be using the Software Centre.The answer by the Ubuntu developers is to remove it completely and use the Gnome Software manager instead.
This isn't to say that all the problems have been solved but it shows that the developers do listen.
Online Searches Disabled By Default
One of the least popular features added to Ubuntu in recent years was the inclusion of online searches within the Dash.
This has now been switched off by default although you can turn it back on if you so wish.
Other
Here are the rest of the announced amendments:
- Gnome calendar included by default
- Brasero and Empathy removed from the default installation (DVD burner and chat client)
- Chromium is now version 48 and Firefox is at version 45
- More supported languages
- Bug fixes
- Various Compiz and Unity amendments
- LibreOffice is now at 5.1
How To Get Ubuntu 16.04
You can download Ubuntu 16.04 from http://www.ubuntu.com/download/desktop
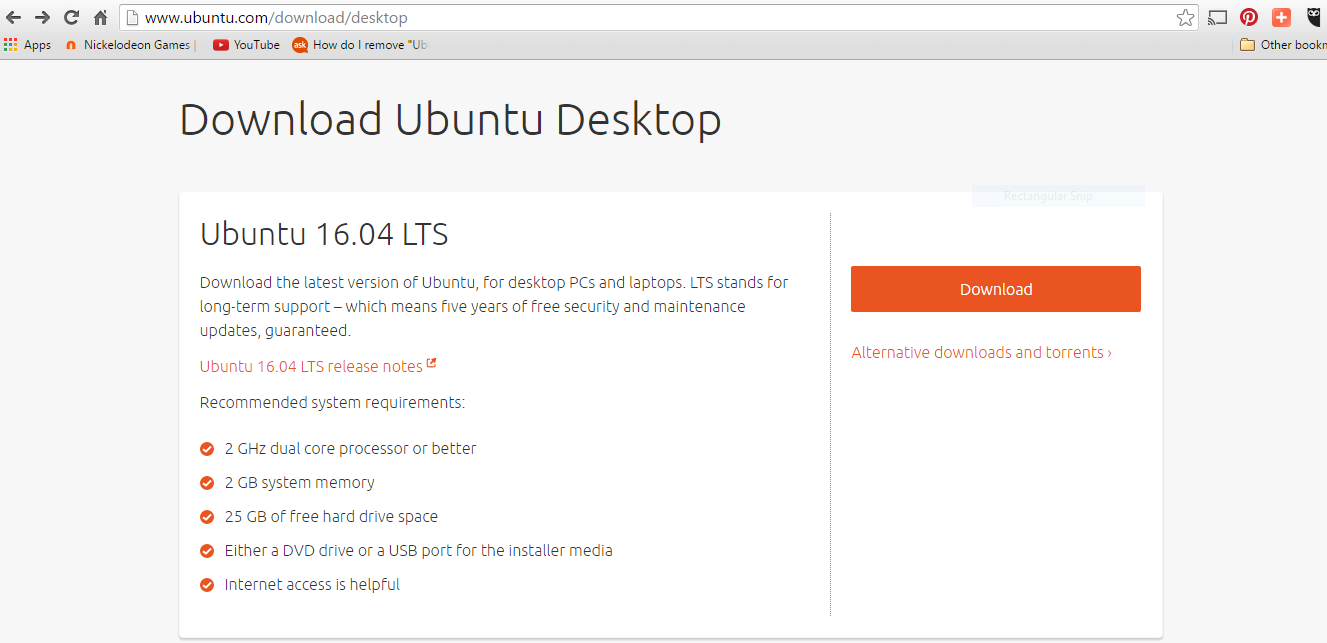
Simply click the download button.
Note that by default you will get the 64-bit version. If you want a 32-bit version you will need to click the "alternative downloads and torrents link".
I am guessing that if you are using a 32-bit computer it is quite old and therefore might not be up to running Ubuntu 16.04.
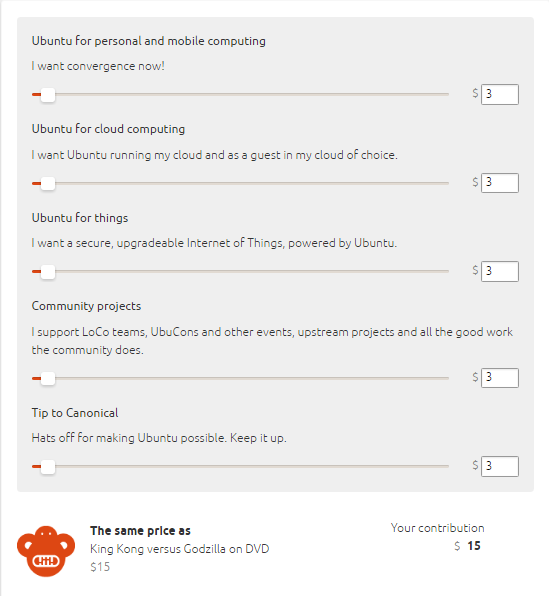
You will be taken to a donation page where you can choose how much to pay for Ubuntu. There is a link in the bottom left corner which allows you to download it for free.
How To Create A Ubuntu USB Drive
If you want to create your own Ubuntu USB drive download Ubuntu and follow this guide.
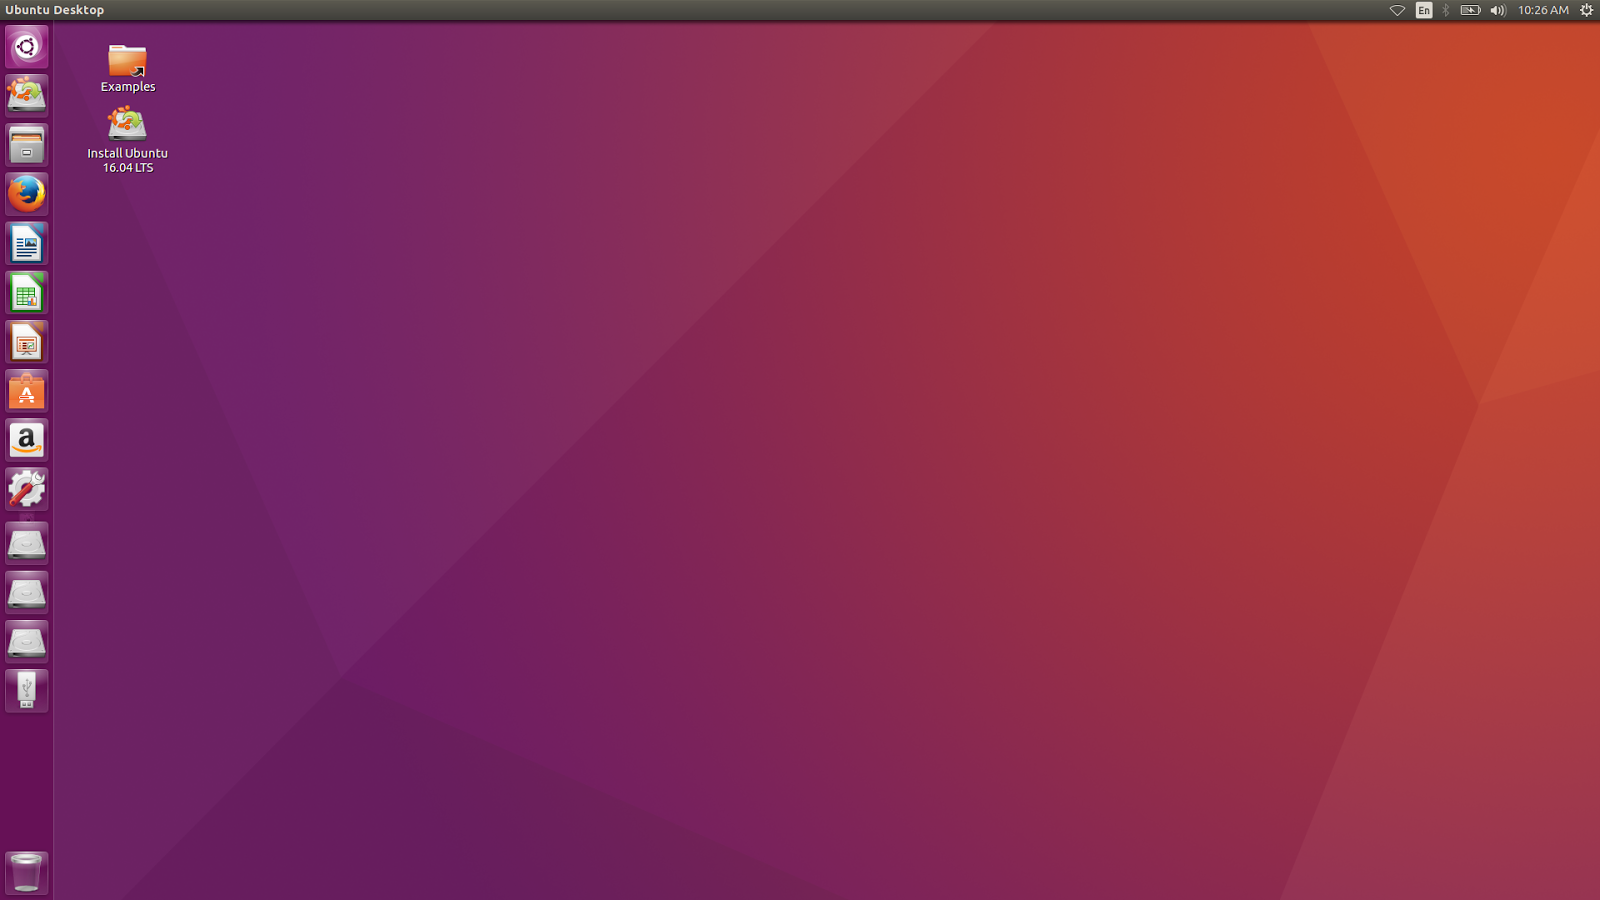
How To Install Ubuntu
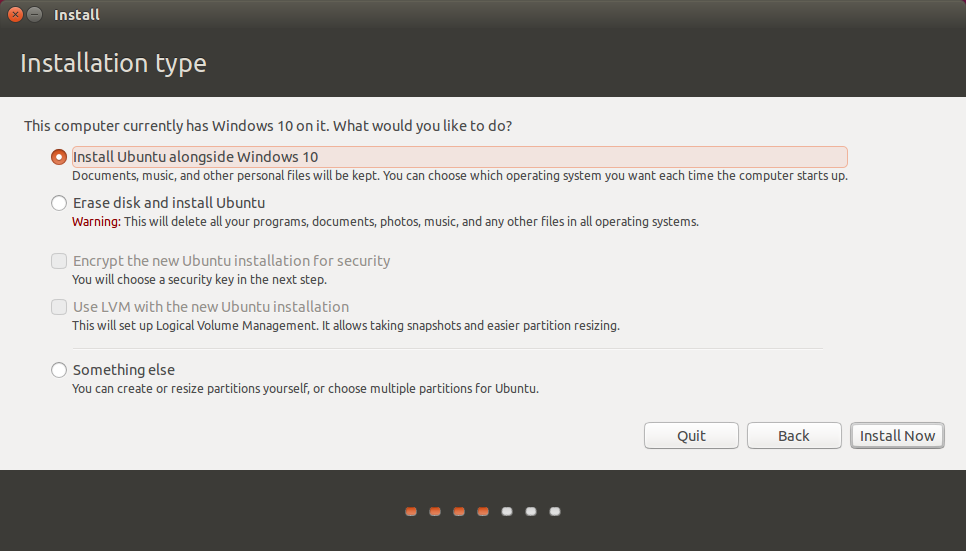
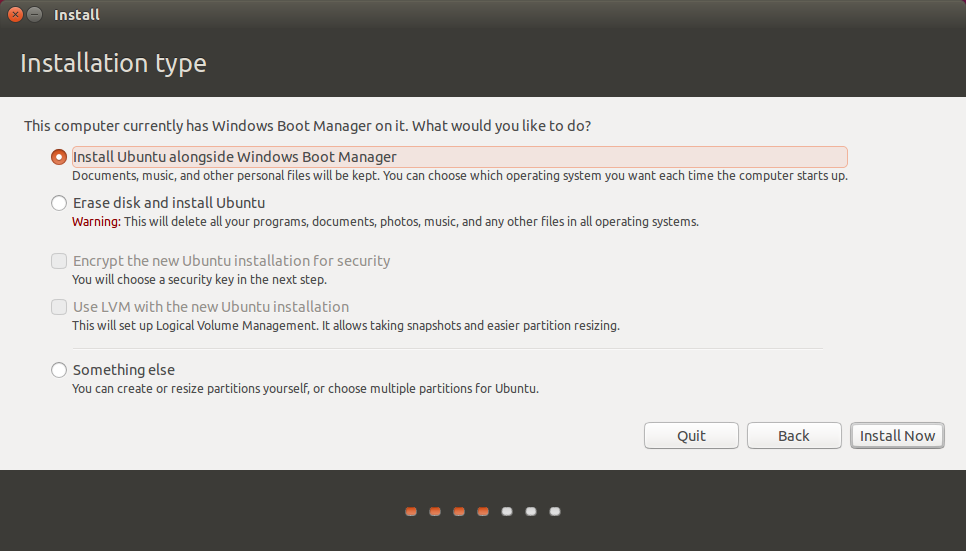
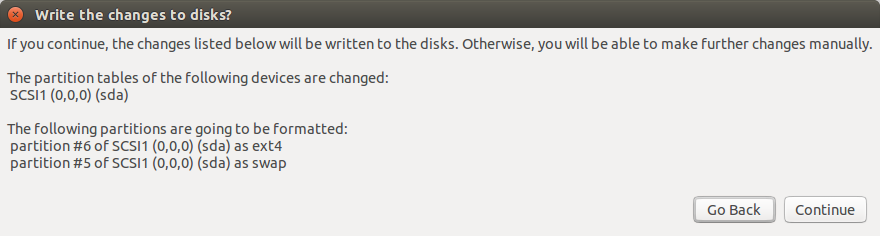
To dual boot Ubuntu and Windows 10 follow one of these guides:Changes To The Installer
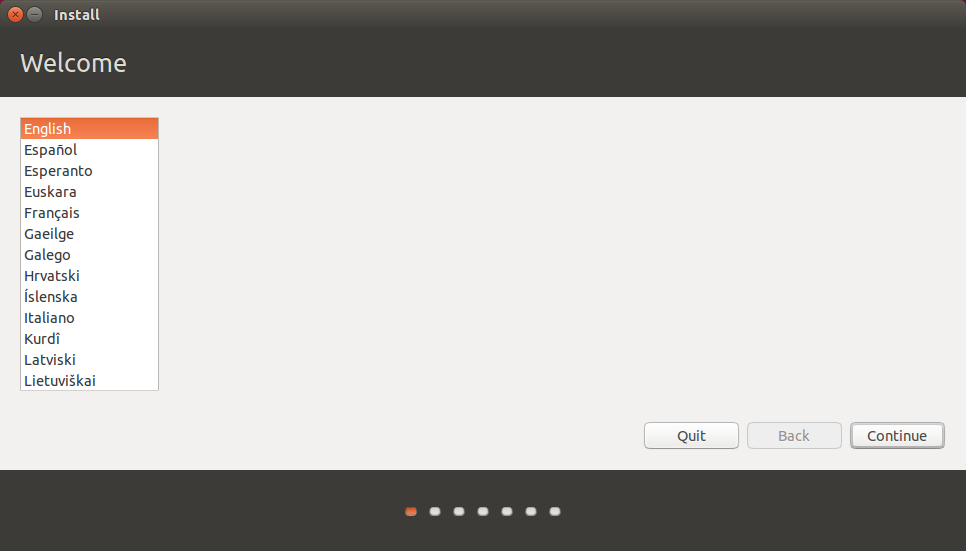
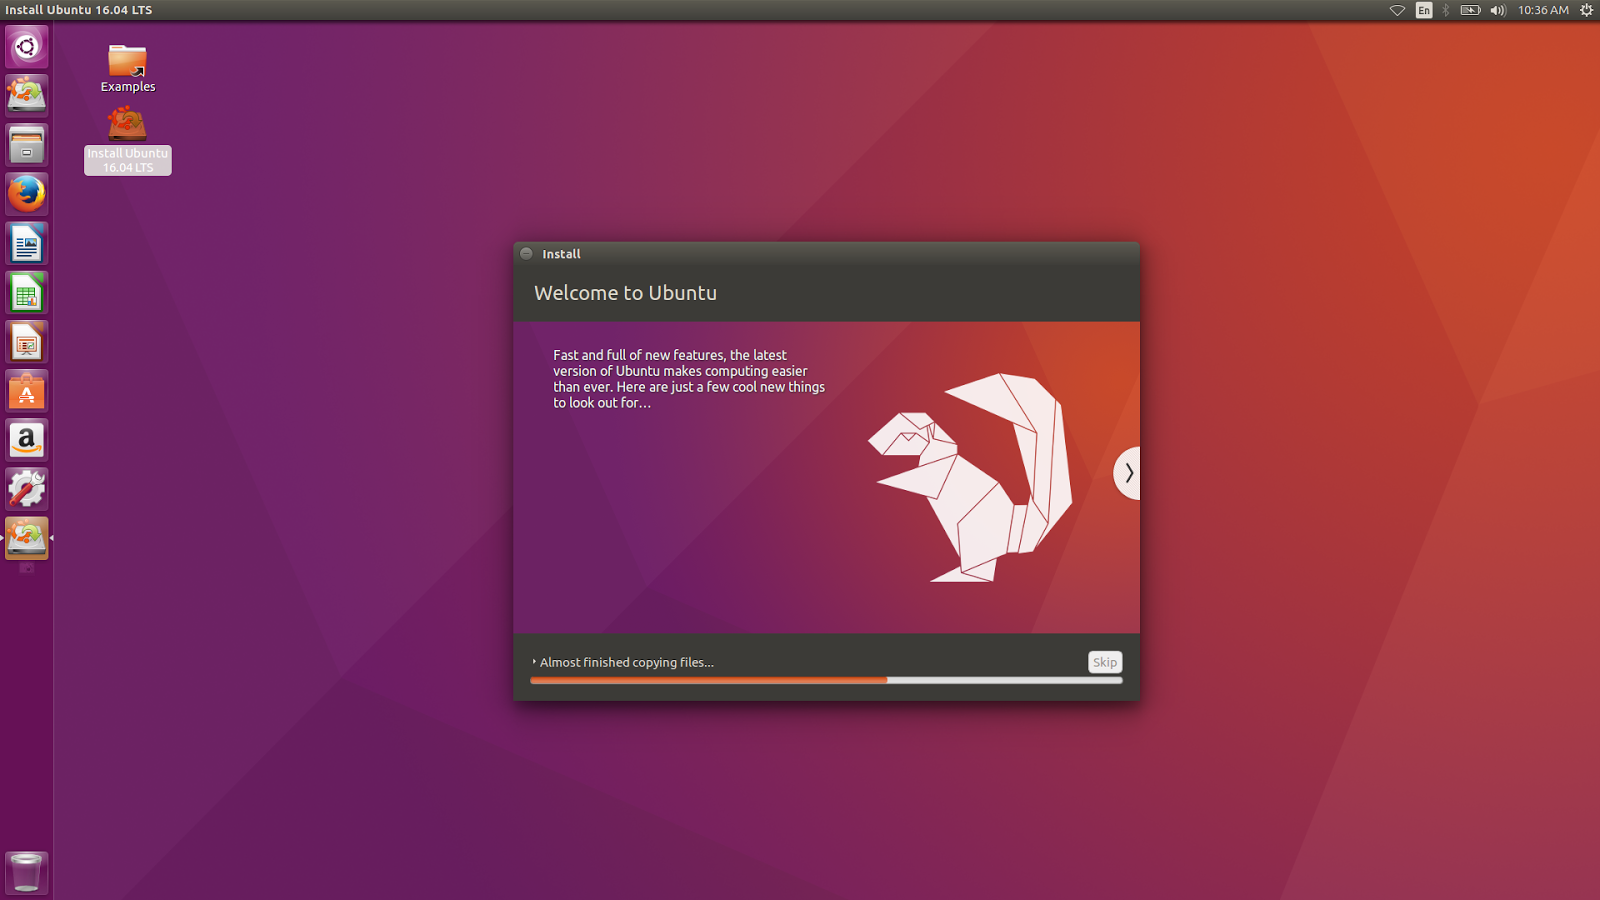
The Ubuntu installer has changed subtly since Ubuntu 15.10.

The pre-requisites screen has gone and there is also no longer a screen which asks you to connect to a wireless network.
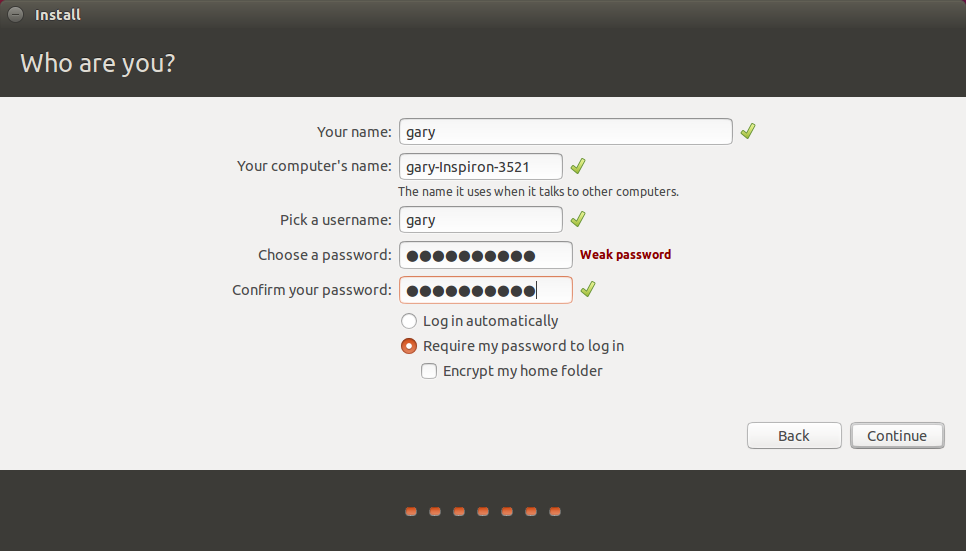
After choosing your language you will see the above screen which gives you the option to download updates and to install third party software.
Note that the download updates is greyed out. This is only available if you connect to the internet.
For those of you wanting to take advantage of this feature connect to the internet before running the installer.
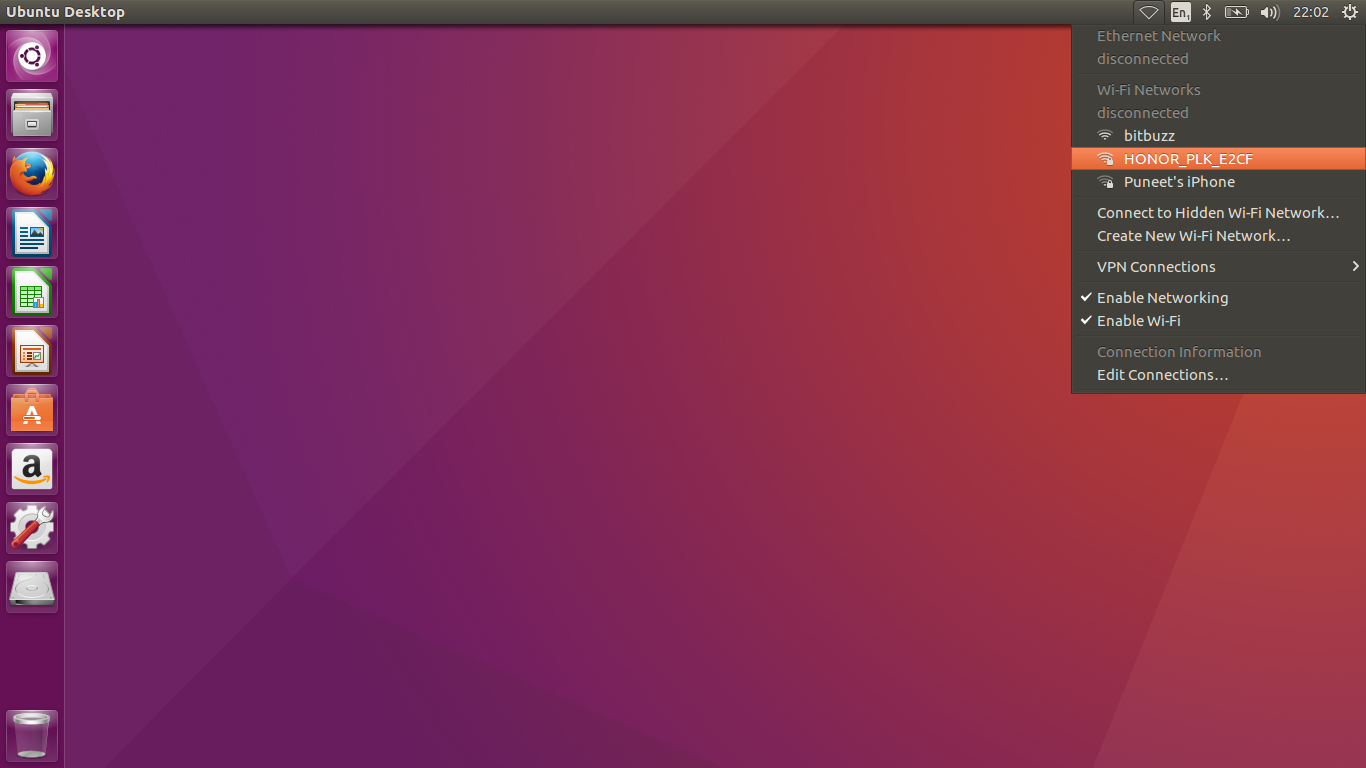
You can connect to the internet by clicking on the network icon in the top right corner and by choosing your wireless network of choice. If you connect using a wired connection you won't have to do this.
The pre-requisites screen was largely pointless and so I am not surprised that it is gone. It used to have three options:
- are you connected to the internet
- are you connected to a power source
- have you got 6 gigabytes of hard disk space
You didn't need to be connected to the internet to install Ubuntu and you didn't really need to be connected to a power source if you have enough battery left on a laptop and if you are using a desktop computer why wouldn't you be connected to a power source.
The minimum disk space requirement was also incredibly small and gave the false impression that you could get away with such a low amount.
The decision to remove the network connection screen in the installer is probably a bit more strange. I would at least expect a link giving the option to connect to the internet so you could download updates if you want to.
Not really a deal breaker though.
First Impressions

For the average user not much appears to have changed from previous versions of Ubuntu and I want to talk about this because I have watched this video which has a mini rant about Ubuntu and this one from what used to be the Linux Help Guy but who is now the Windows Help Guy.
The general upshot is that Ubuntu has become boring. The complaint is that nothing has changed in a few years.
I watch most of the videos by VWestlife because he does produce interest and detailed reviews about old hardware and technology. He has never really been a Linux fan though.
I liken the "Ubuntu has become boring" thing with an old episode of the BBC sitcom "Fawlty Towers" whereby a lady complains about the view from a hotel window.
The transcript from Fawlty Towers goes something like this:
- Customer: "when i pay for a view I expect something more interesting than that"
- Basil Fawlty (Owner): "but that is Torquay madam"
- Customer: "well it is not good enough"
- Basil: "well may I ask what you expected to see out a Torquay hotel window? Sydney Opera House perhaps? The Hanging Gardens Of Babylon? Herds of wilderbeest sweeping across the plain
The point is this. Ubuntu is now far more stable than it has ever been. There is no need to make massive changes to the user interface. They did that already 5 years ago and got seriously panned for doing so.
The changes over the past few years have been measured and one thing I really have to compliment the developers on is their ability to listen.
For instance when Unity was first released the menu bars were stuck at the top and there was no way of moving them. People complained and an option was put in to choose where to place the menus.
People complained about the shopping results and online results in the Dash. Options were put in to remove them or show them based on a setting.
Users complained about the Ubuntu Software Centre and the developers have done something about it.
Users wanted to be able to place the launcher at the bottom of the screen and the developers have implemented the ability to do so, although it is a terminal command:
Ubuntu is rock steady. Yes there are bugs and yes there are inconsistencies but there are bugs and inconsistencies with all operating systems including Windows 10.
A lot of the work with Ubuntu is going on behind the scenes, getting ready for a move to MIR and the introduction of snap packages. These just don't happen overnight.
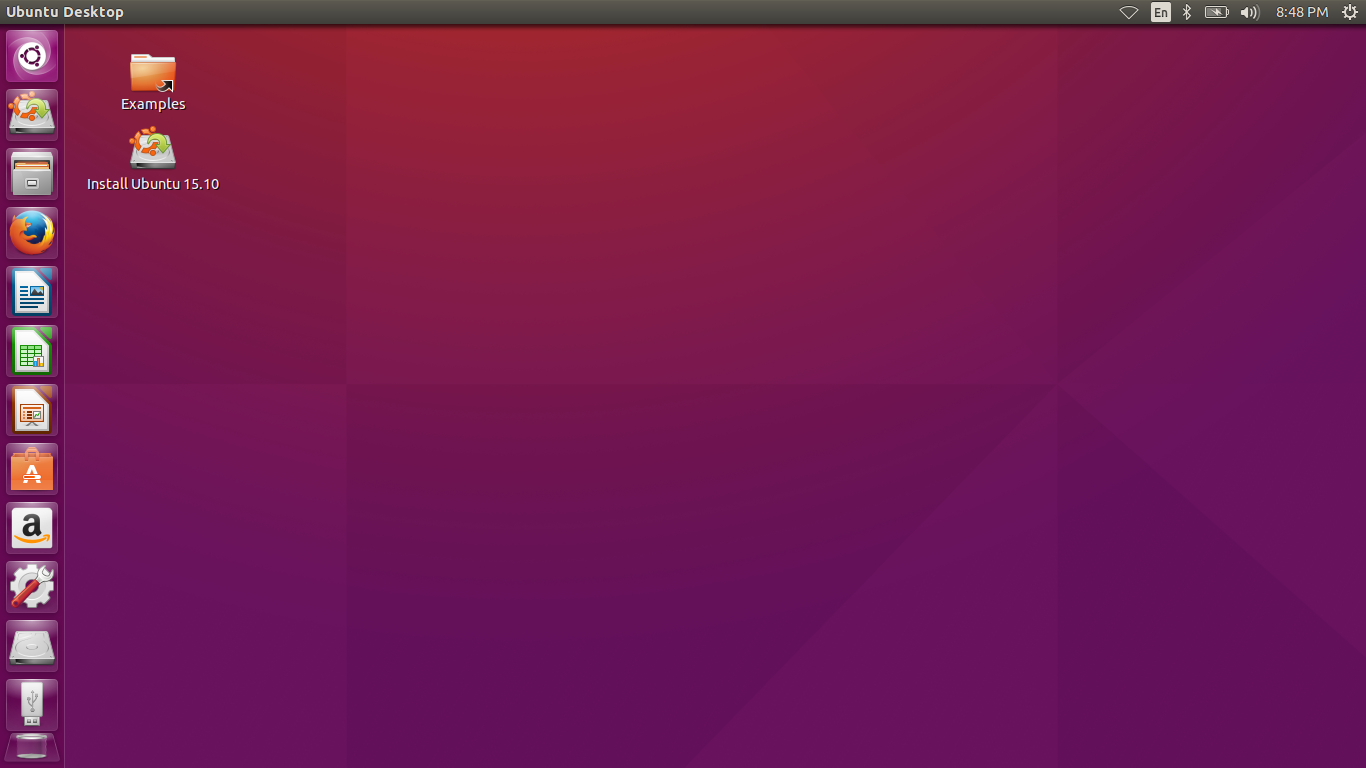
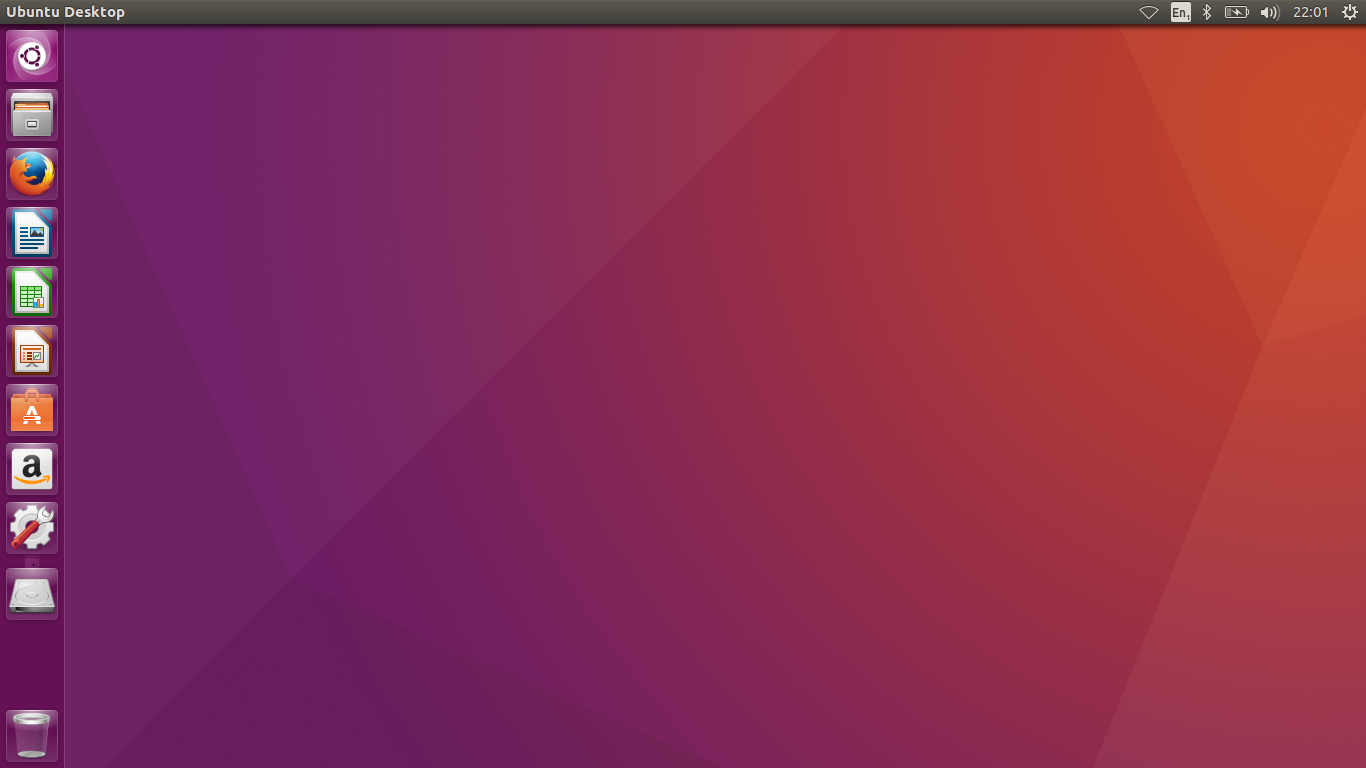
All in all Ubuntu is much like it has been for the past few years. There is a panel at the top and a launcher down the left.
There are a whole host of keyboard shortcuts which can be used to manage the system.
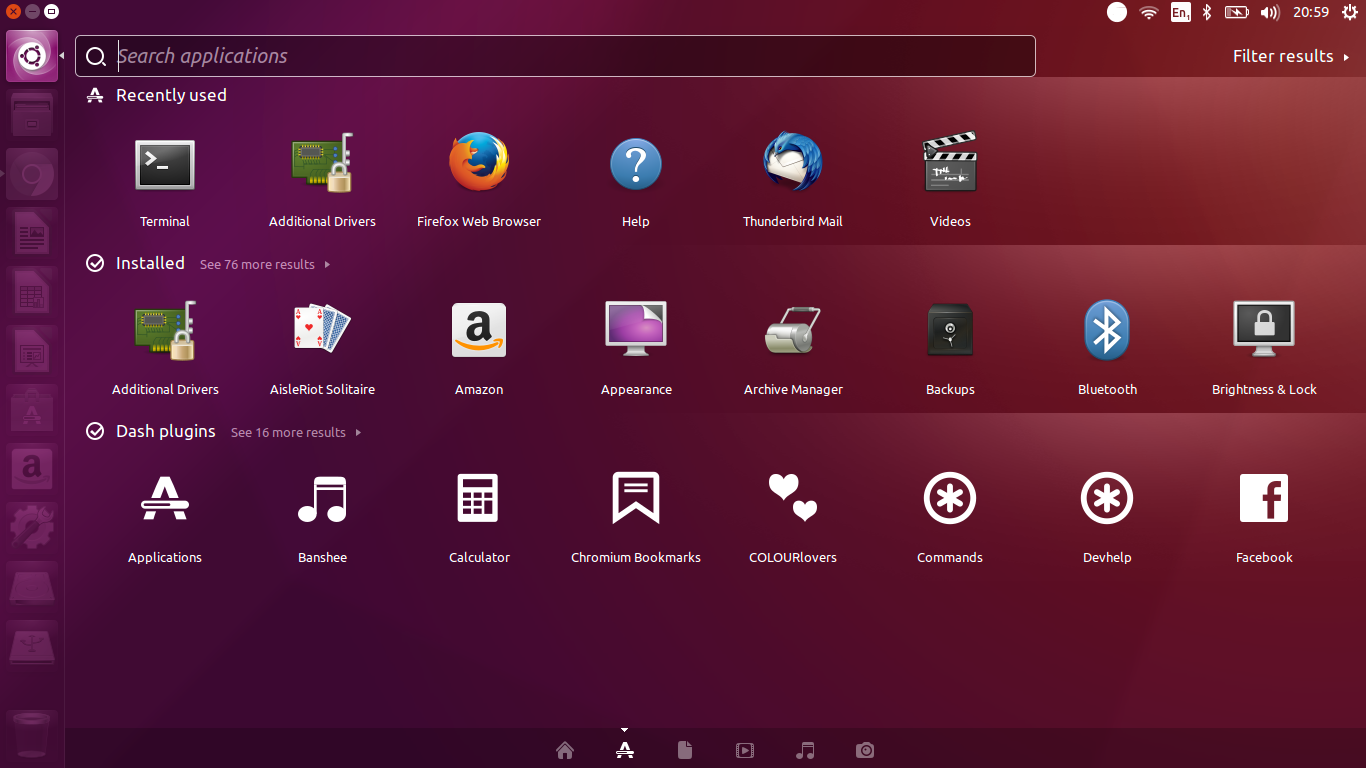
Finally there is a dash interface for finding and launching applications.
Connecting To The Internet

As mentioned previously you can connect to the internet by clicking on the network icon in the top right corner.
Simply choose the network you wish to connect to and enter the security key.
Installing Software
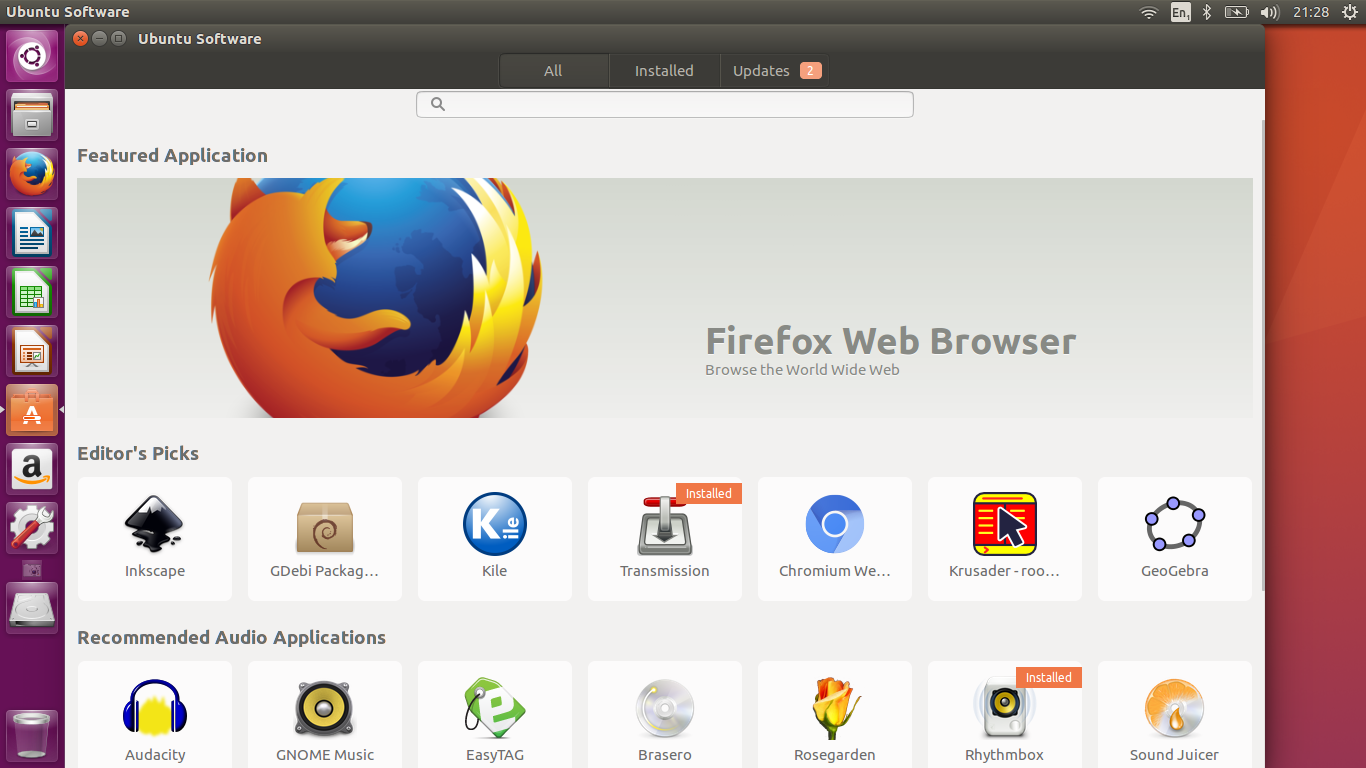
The Ubuntu Software Centre has been replaced by the GNOME Software manager.
The main screen highlights featured applications, editor's picks, recommended applications from a particular category (i.e. sometimes it will be graphics, other times audio etc) and finally a list of categories.
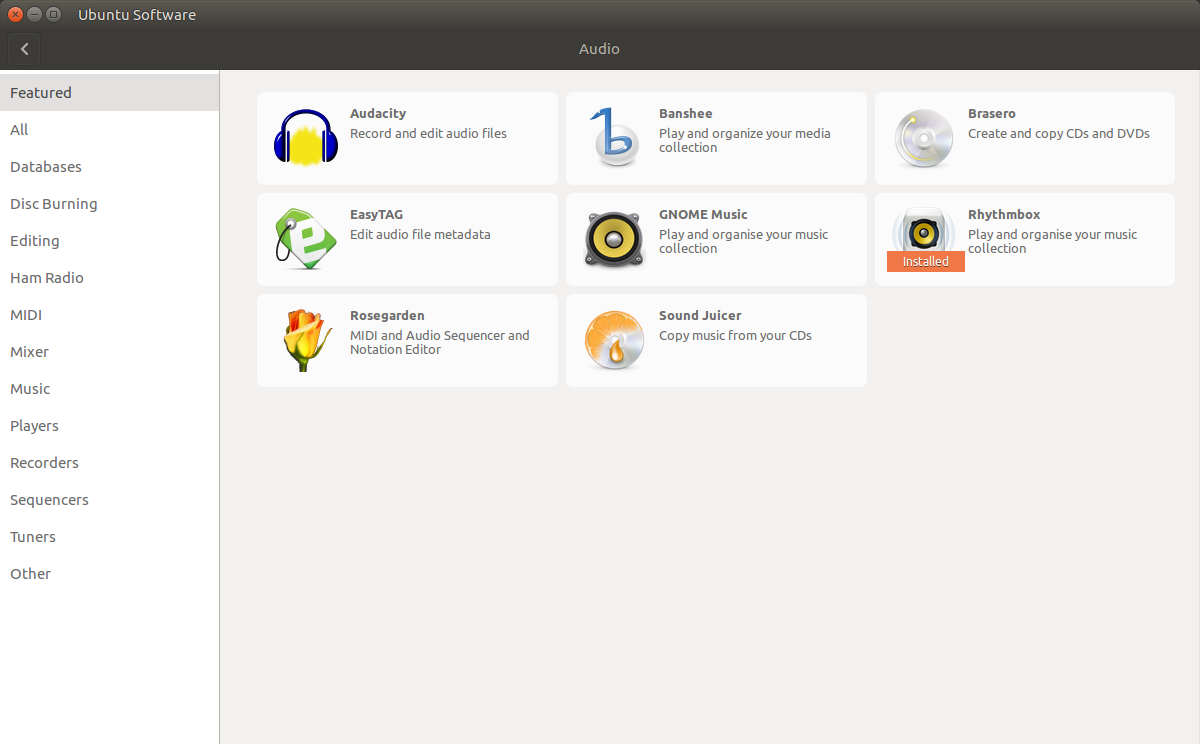
Clicking on a category pulls up a list of sub categories. The right panel will show the items within the sub category. By default you see the featured items within the category.
From the main screen you can also search for a package by name or description.
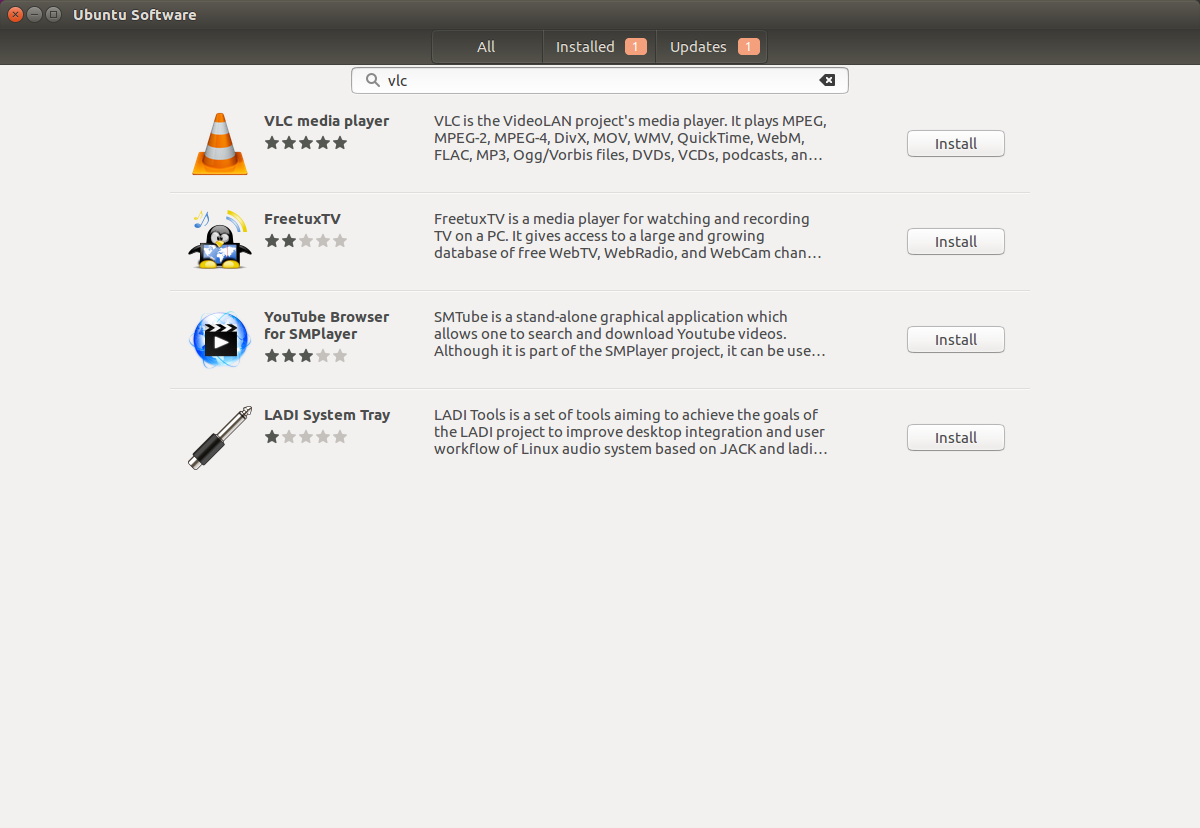
All good thus far. I did however find some issues with the new package manager.
The package manager doesn't list anything that requires a command line. That means tools such as the youtube downloader don't appear.
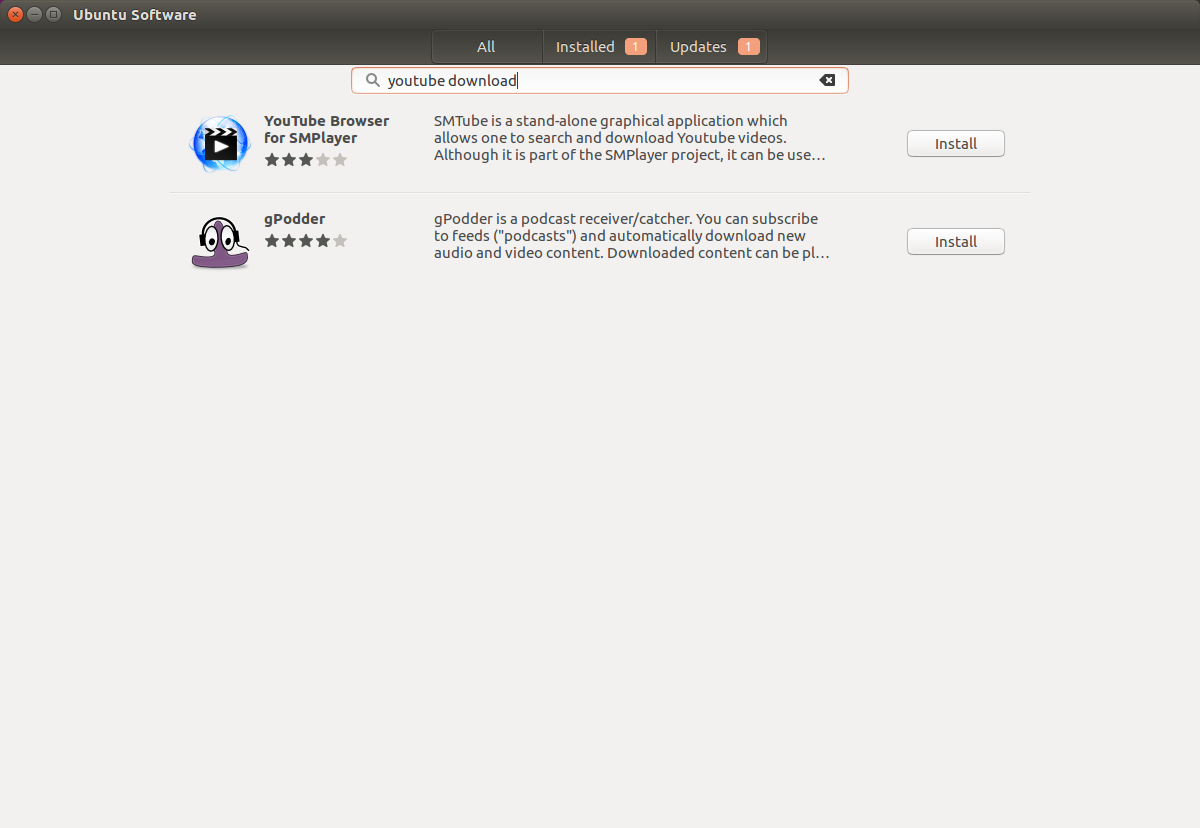
You can however install the Youtube Browser for SMPlayer which does allow you to download Youtube videos.
Slightly more worrying is the fact you can't install Steam.

Another thing that doesn't appear are the restricted extras packages.
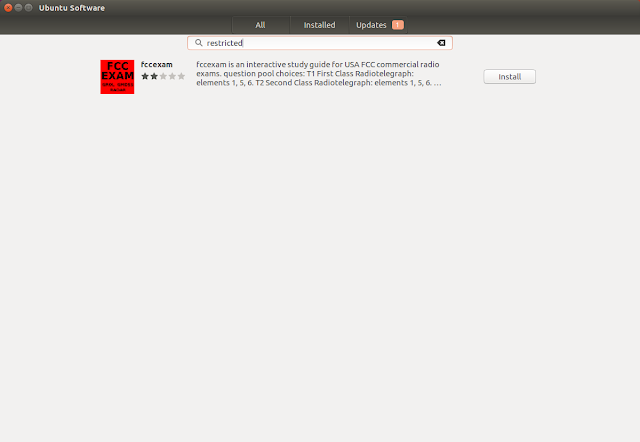
Whilst you can install the third party codecs using the installer many people don't and many people use the restricted extras packages. (myself included).
The first program I recommend installing via the software manager is Synaptic.
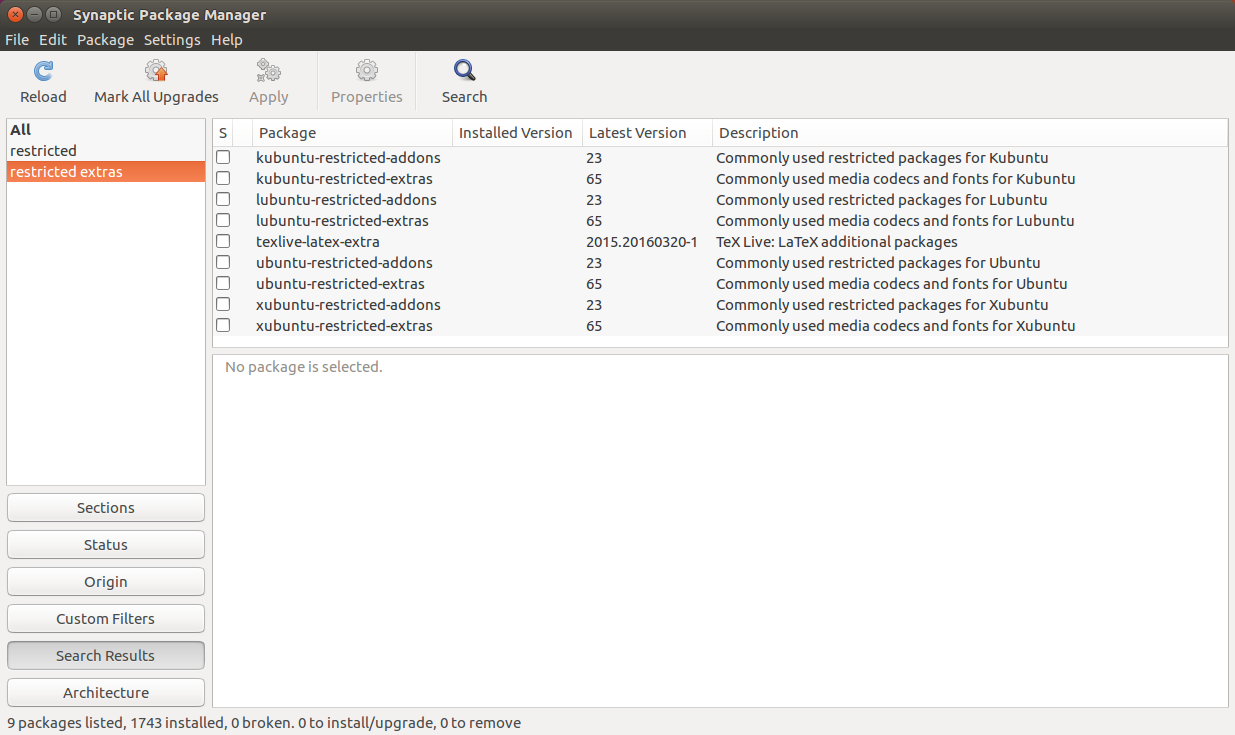
A quick search in Synaptic for restricted extras brings up a complete list of packages.
A bug that appeared in the previous couple Ubuntu releases was that installing the restricted extras package via Synaptic or any other graphical tool failed because of a license agreement that didn't appear.
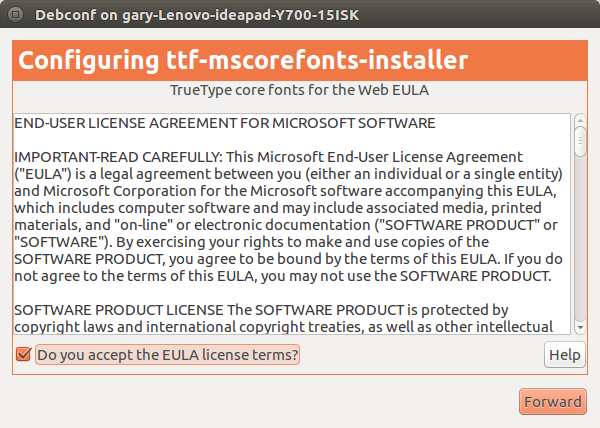
This bug has been fixed which means you can install the entire package using Synaptic.
I find it a little bit ironic that this bug has been there for at least 2 releases and now the bug has been fixed you can't find the software in the default graphical package manager.
Another package that can't be found in the Software Manager is Chrome. You can find Chromium but not Chrome. Like many other people I think Chrome is the only worthy web browser as it includes all the features that are required from a browser including the ability to play Flash videos and games.
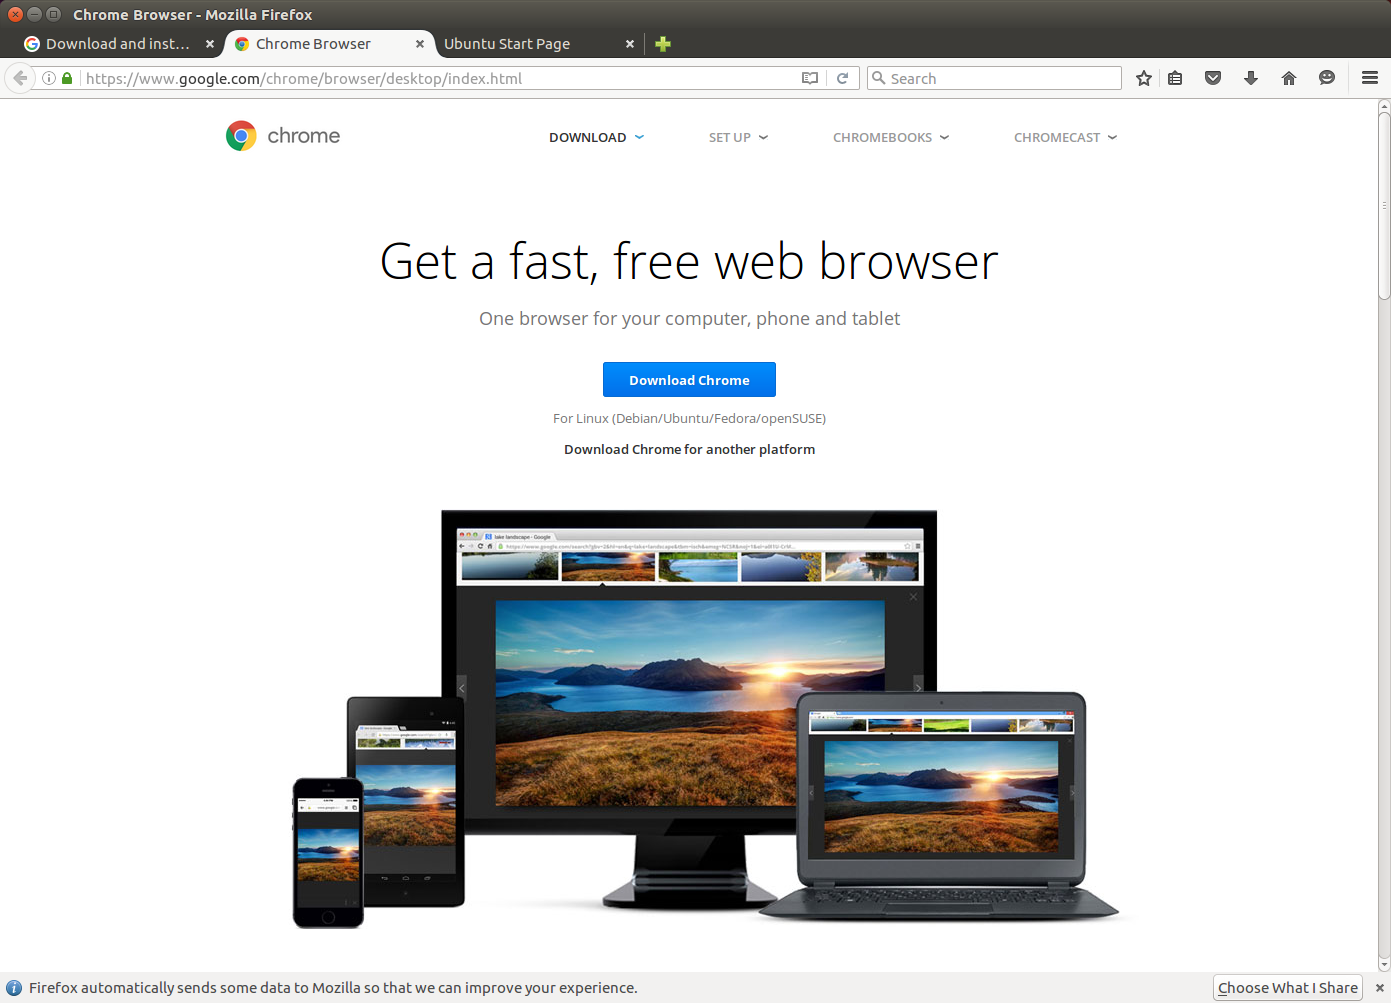
In order to install Chrome I went to the Google website and clicked on the "Download" link. An option appears for 64-bit Ubuntu/Debian. When you choose this option you can choose to save the file or open it.
Choosing the save option saves the file to your downloads folder. Clicking on the downloaded file opens up the installer in the Gnome Software Manager.

You would think it was plain sailing from this point on. Click "Install" and away you go. Unfortunately it doesn't work.
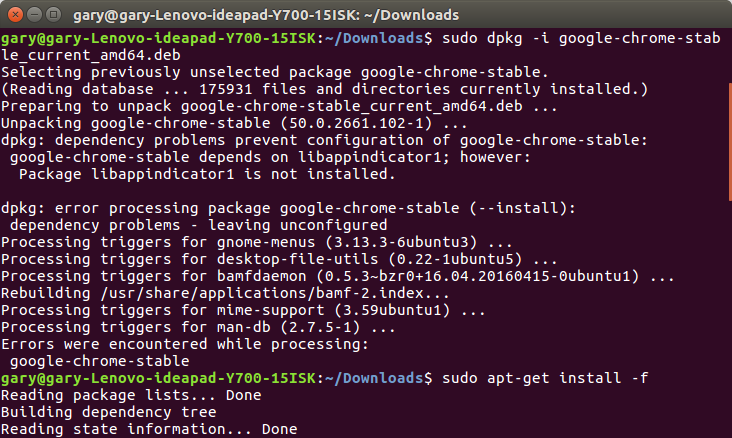
Back to the command line I am afraid. Open a terminal using CTRL, ALT and T and then type the following:
cd ~/Downloadssudo dpkg -i google-chrome-stable_current_amd64.deb
It will fail to install.
Now run this command:
sudo apt-get install -f
Finally run this command again:
sudo dpkg -i google-chrome-stable_current_amd64.debIt finally installs.
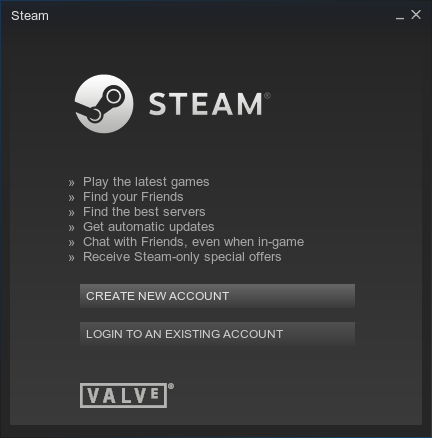
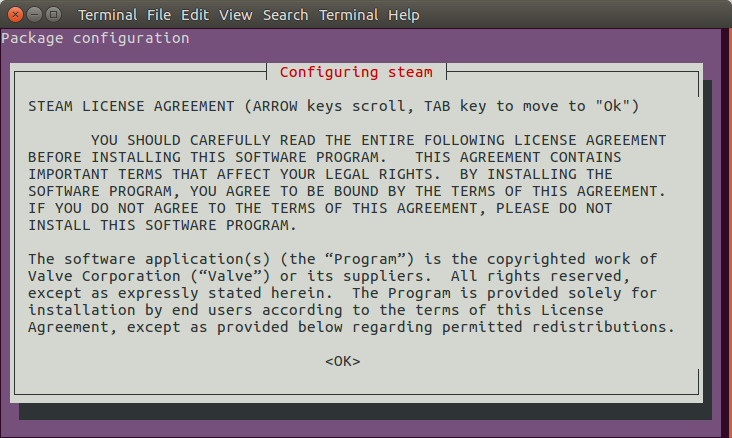
When it comes to installing Steam even Synaptic didn't help.
It was purely command line:
A license agreement will appear. Click tab to select the ok button and return to accept it.
sudo apt-get install steam
Another screen will be displayed with the option to accept or decline the agreement. Use the tab key to select "I Agree". Then tab to "OK" and press return.
All in all the Software Centre may have gone but the pain lives on and in many ways the situation feels much worse than it was in Ubuntu 15.10. I think these issues need to be dealt ASAP.
Audio
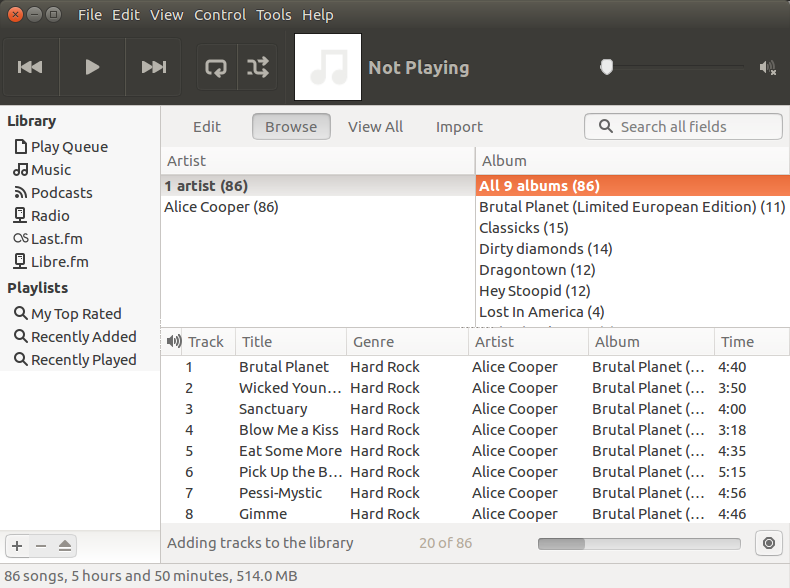
The default audio player in Ubuntu 16.04 is Rhythmbox (and it has been for some time). It is probably one of the best Linux applications available and far surpasses anything provided by other proprietary operating systems.
Click here for a complete guide to Rhythmbox
LibreOffice
LibreOffice is the premier free office suite for Linux and for the average home user it has everything you need.
With a word processing packages, spreadsheet package, presentation package and drawing package you can easily write letters, books, produce budgets and create presentations.
It may not be Microsoft Office but for most people it actually has more than enough features. It is perfect for students.
Thunderbird
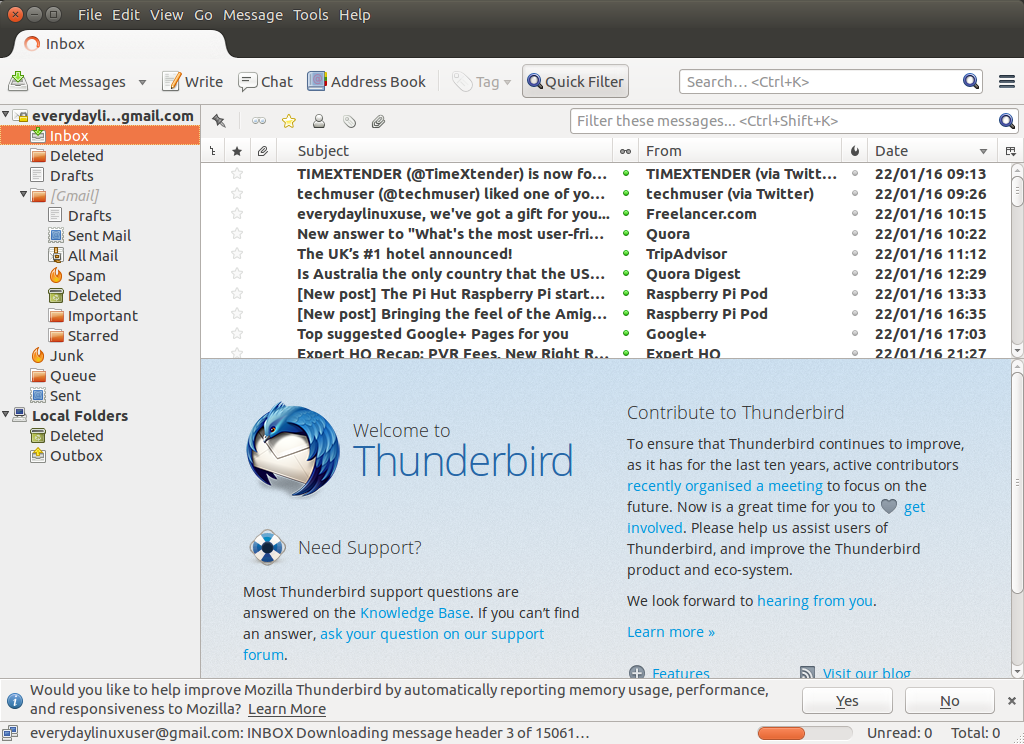
The email client in Ubuntu 16.04 is Thunderbird. Personally I prefer Evolution but Thunderbird can easily be set up to work with common mail providers such as Google's GMail.
Video
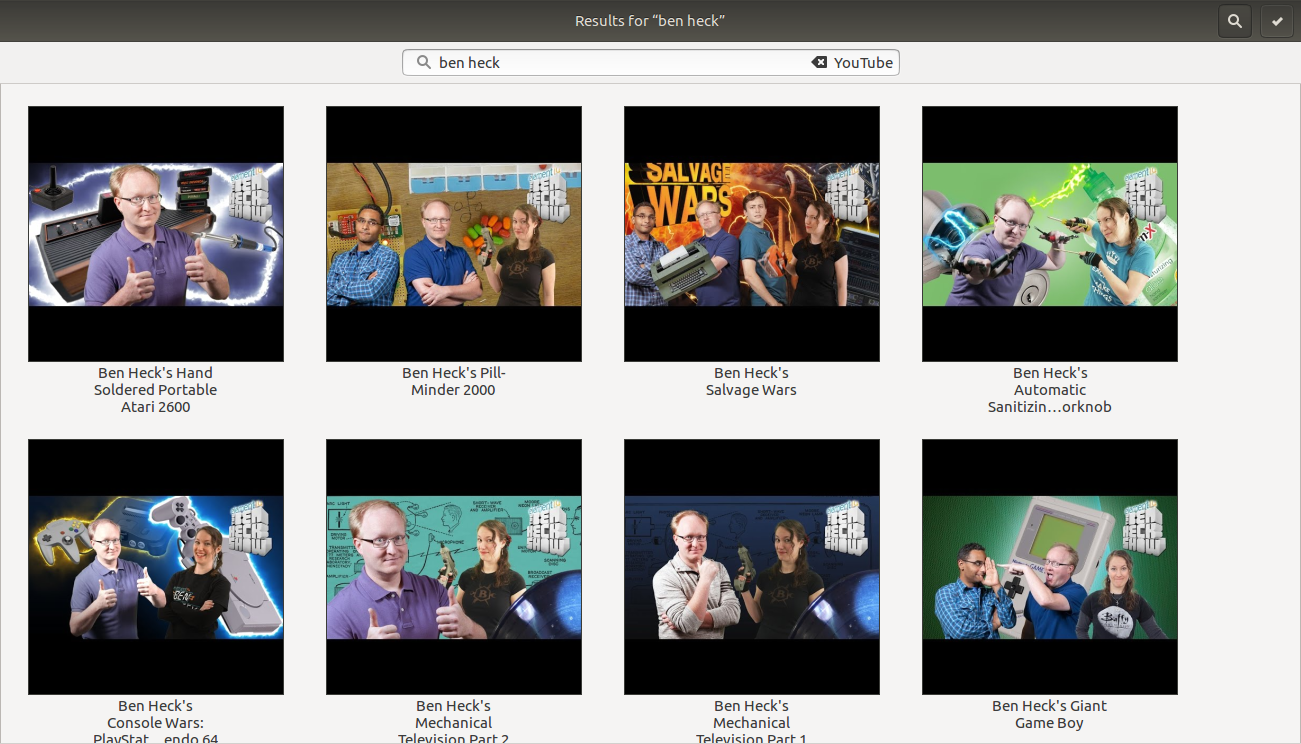
The default video player is Totem.
You can choose to watch local video files or you can choose the search feature. There are a couple of default channels or you can choose to search various other channels such as Youtube.
Other Software
There are lots of packages installed by default so I won't list them all but here are the highlights:
- Rhythmbox - Audio
- Totem - Video
- Thunderbird - Email
- Firefox - Web Browser
- Shotwell - Photo Manager
- Cheese - Webcam Viewer
- LibreOffice - Office Suite
- Transmission - Bittorrent Client
- Gnome Calendar - Calendar
Hardware Support
This is a bit of a mixed report. Everything works fine on my existing Dell and Toshiba laptops.
I can connect to the Epson WF2630 printer. The scanner and printer work well.
I can also connect to a Western Digital MyCloud device.
My new Lenovo Y700 Ideapad had a few extra issues however. The Intel Wireless Network card needed some extra steps to get it working.
The NVidia graphics card was picked up but then I was locked out at the login screen. I fixed the issue (which I will write about in another post) but it wasn't plain sailing.
Performance
On my Dell Inspiron 3521 is a little bit sluggish when using the Gnome package manager. The Lenovo Ideapad however runs like a dream and Ubuntu is the perfect operating system for it.
It doesn't take a rocket scientist to suggest that better hardware provides better performance.
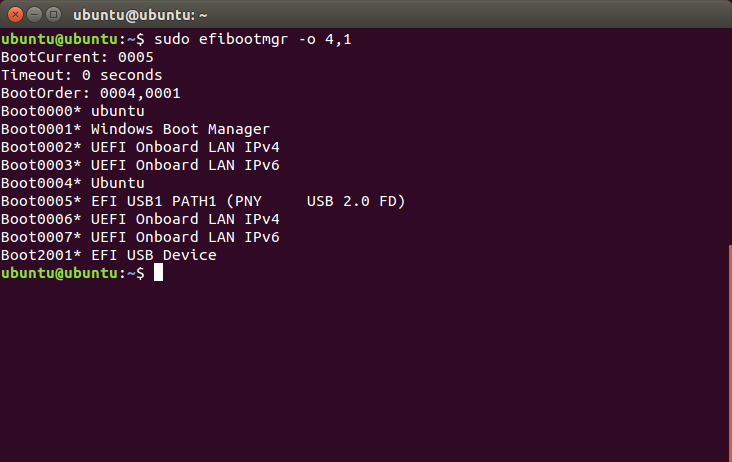
Moving The Launcher
You can now move the launcher to the bottom of the screen.
To do so open a terminal window and enter the following command:
gsettings set com.canonical.Unity.Launcher launcher-position Bottom
To set it back to the left side use the following command:
gsettings set com.canonical.Unity.Launcher launcher-position Left
If you were hoping to put it on the right side then you will have to wait a bit longer for that.
Issues
For a long term support release I have come across lots of issues, most of which have been already covered.
The latest NVidia cards will probably get you into a loop at the login screen unless you use the Nouveau driver.
The latest Intel wireless cards don't work straight away.
The new software manager tool doesn't install Chrome, Steam or anything that requires the command line.
Summary
To summarise I want to go back to the title:
The Good
The developers do appear to listen to their users. Everything that people have asked for in the past few years has been implemented in one way or another.
The Bad
This is a long term support release and it feels like it isn't quite ready. I find it hard to believe that nobody working on Ubuntu tried a clean install, followed by installing some of the more popular applications like Chrome, Dropbox and Steam.
The Not Quite So Ugly
The Software Centre has gone.
This would have been great as a point release, say a 16.10 or a 17.04 because you expect some experimentation and you expect the odd cock-up.
The LTS release should be ready to go from day one with only minor issues. Sadly that isn't the case.
16 comments
Posted at 22:26 | by
Gary Newell