
Introduction
As you may or may not know, I have recently acquired a HP Chromebook and my first article about the Chromebook looked at whether it was possible to run another operating system alongside ChromeOS.
Today I am taking a look at Peppermint 4. Peppermint 4 is designed as a hybrid operating system aimed at cloud computing and also average ordinary everyday home use.
I last reviewed Peppermint Linux in August 2012 (Peppermint 3) and my overall impression then was positive. In this review I will review Peppermint Linux from scratch and I will also look at what has changed since version 3 to show how Peppermint has moved on.
If you like the articles on this blog consider subscribing by entering your email address into the box on the right hand side. Never miss another article. In addition consider sharing this article with your friends by re-tweeting it using the buttons below.
How to get Peppermint 4
A mistake that was pointed out to me in my last review of Peppermint was that I forgot to link to the download page or even to the Peppermint website. Today I am going to put that right.
Click here for the Peppermint website (peppermintos.com)
Half way down the Peppermint home page there are download links for the 32 bit and 64 bit versions. There are also links to purchase a USB drive or a CD.
Installation
I normally include details of the installation within the review but this time I decided to separate the installation into a separate article.
Installation is an easy 10 step process.
Installation is an easy 10 step process.
First Impressions
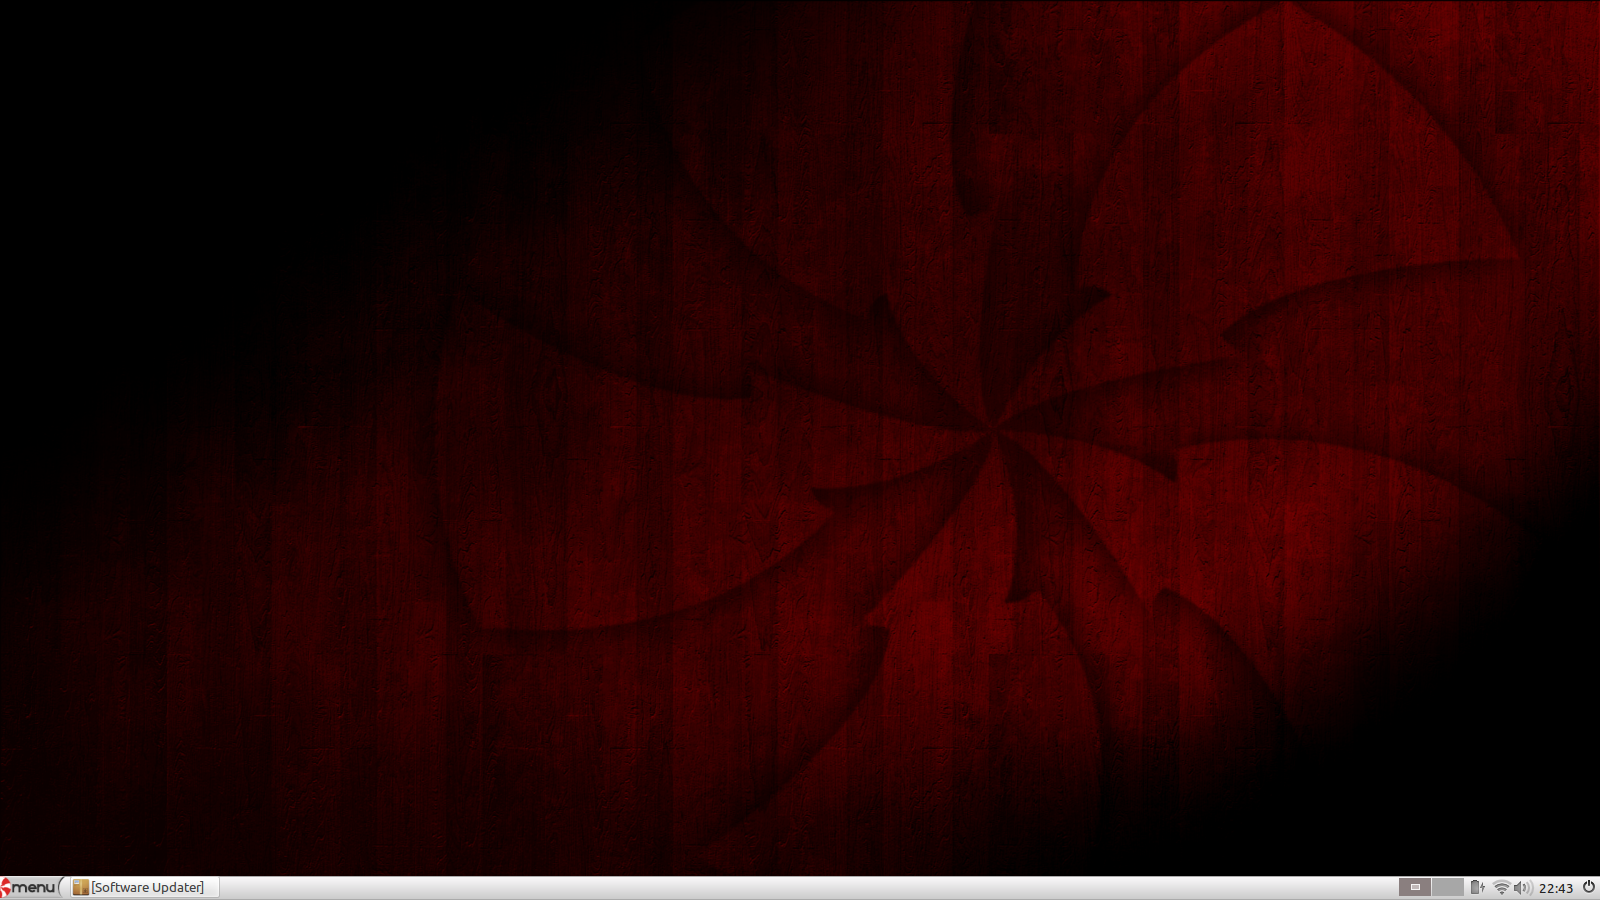
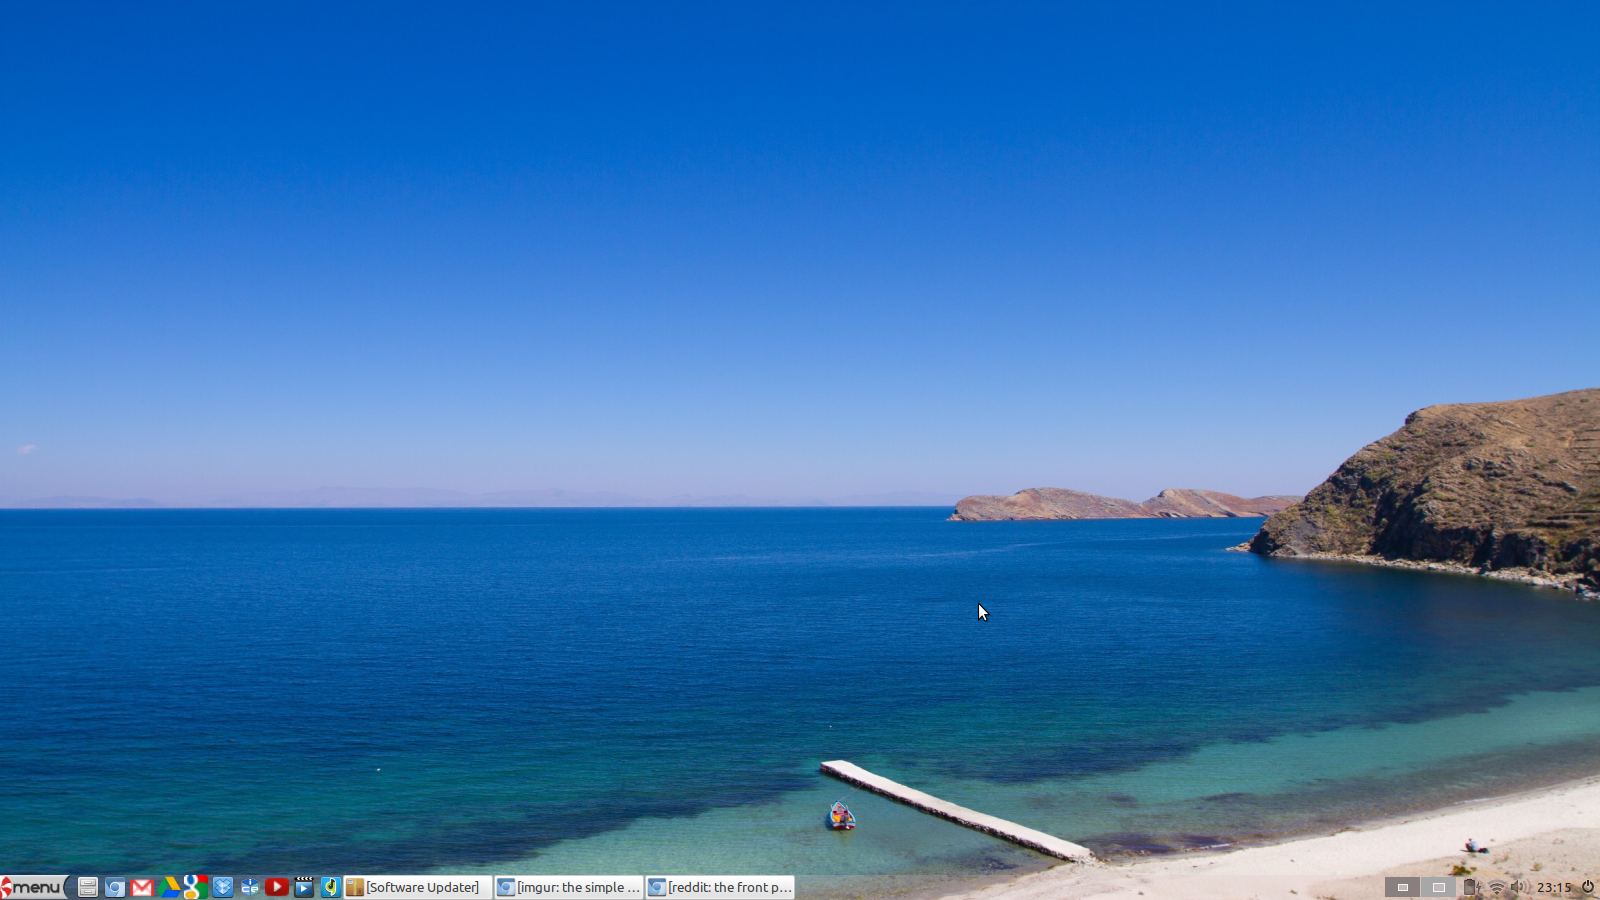
My first impression of Peppermint 4 is "ouch!!! what on earth is that wallpaper".
By default Peppermint has a simple panel at the bottom with icons in the bottom right corner and a menu on the left.
The icons in the bottom right corner include workspace switchers, power settings, network settings, a volume control, a clock and an icon to turn off the computer.
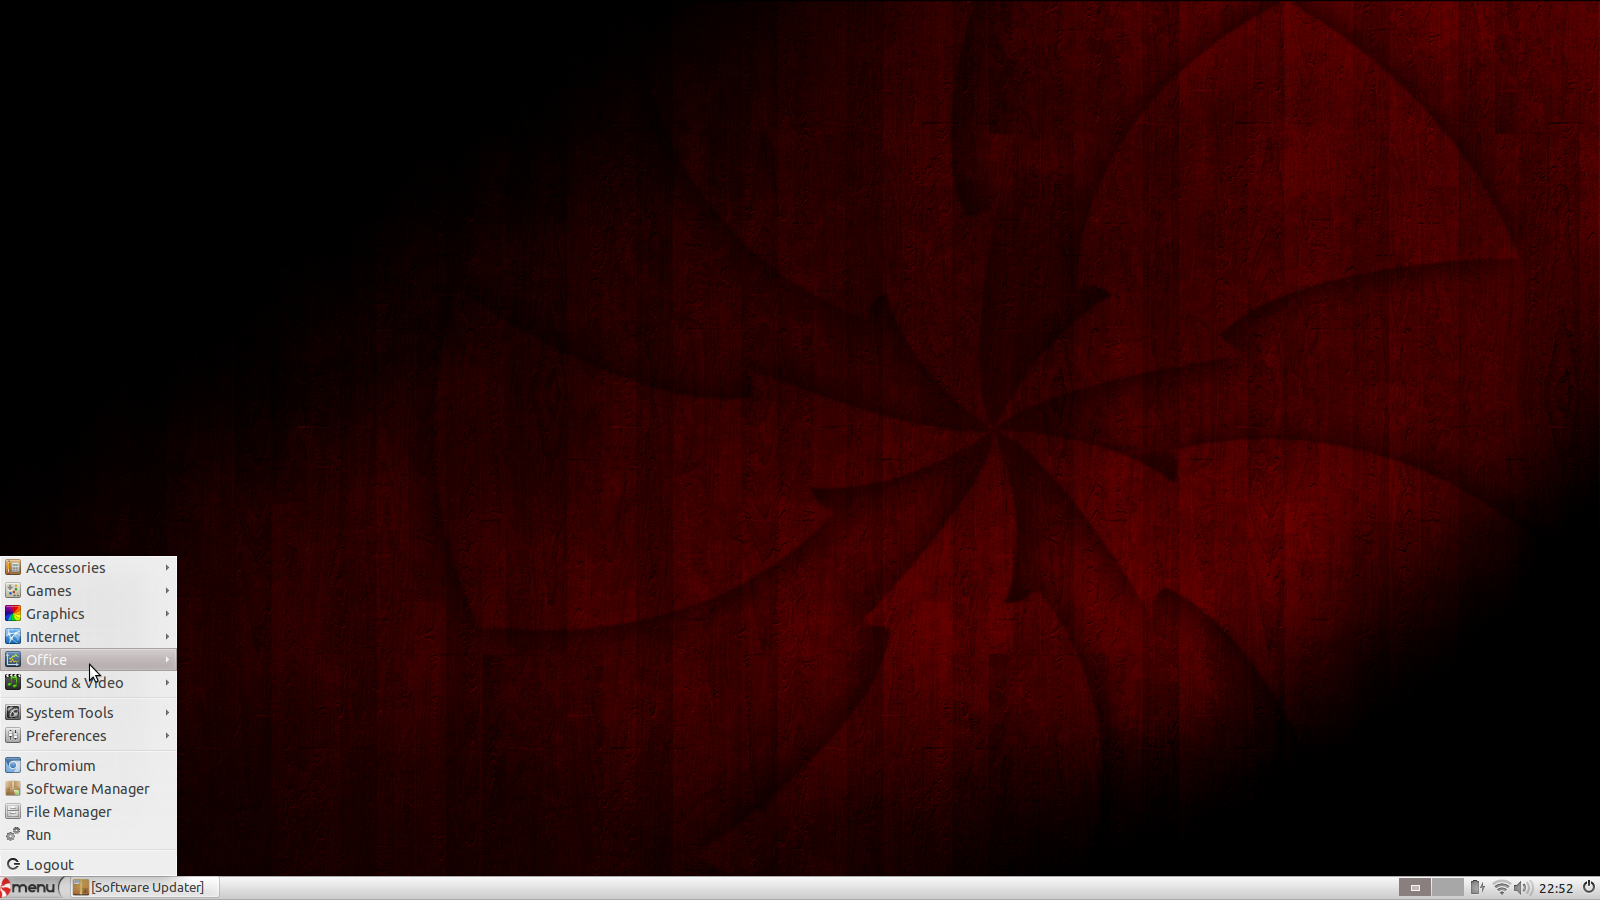
Peppermint comes with a basic menu on the left with categories for accessories, games, graphics, internet, sound and video, system tools and preferences.
Peppermint 4 is based on Ubuntu 13.04 (a little behind now). It uses the LXDE desktop making it more in line with Lubuntu and to be honest the whole experience is like Lubuntu with an added twist, which I will come on to later.
Customising the desktop
First things first lets change the wallpaper.
To change the wallpaper right click on the desktop and choose "desktop preferences".
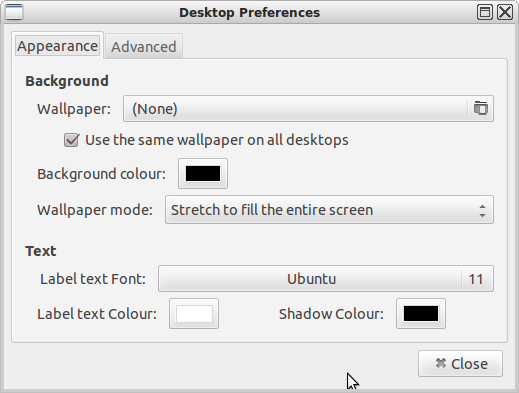
Click on the wallpaper option and pick the image of your choice. The image below was taken from Google images.
You can go a lot further with customising the LXDE desktop. By adding a transparent effect, adding quick launch icons and making the icons a bit bigger the Peppermint desktop can be made to look a bit more like the ChromeOS desktop.
To add a quick launch bar to the panel, right click on the panel and select "Panel Applets". Click the "Add" button and choose "Application Launch Bar". Move it into position by pressing the up and down arrows.
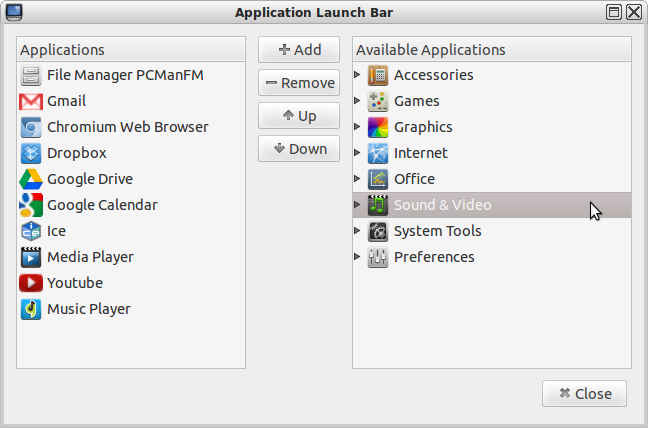
To add applications to the launch bar right click on it and choose "Application Launch Bar Settings". Navigate to the application you wish to add on the right hand side and then click the "Add" button. Press "Up" and "Down" to move the icons around.
As mentioned before there is much more that can be done to make LXDE work the way you want it to. Click here to read my guide to customising the LXDE desktop.
Connecting to the internet
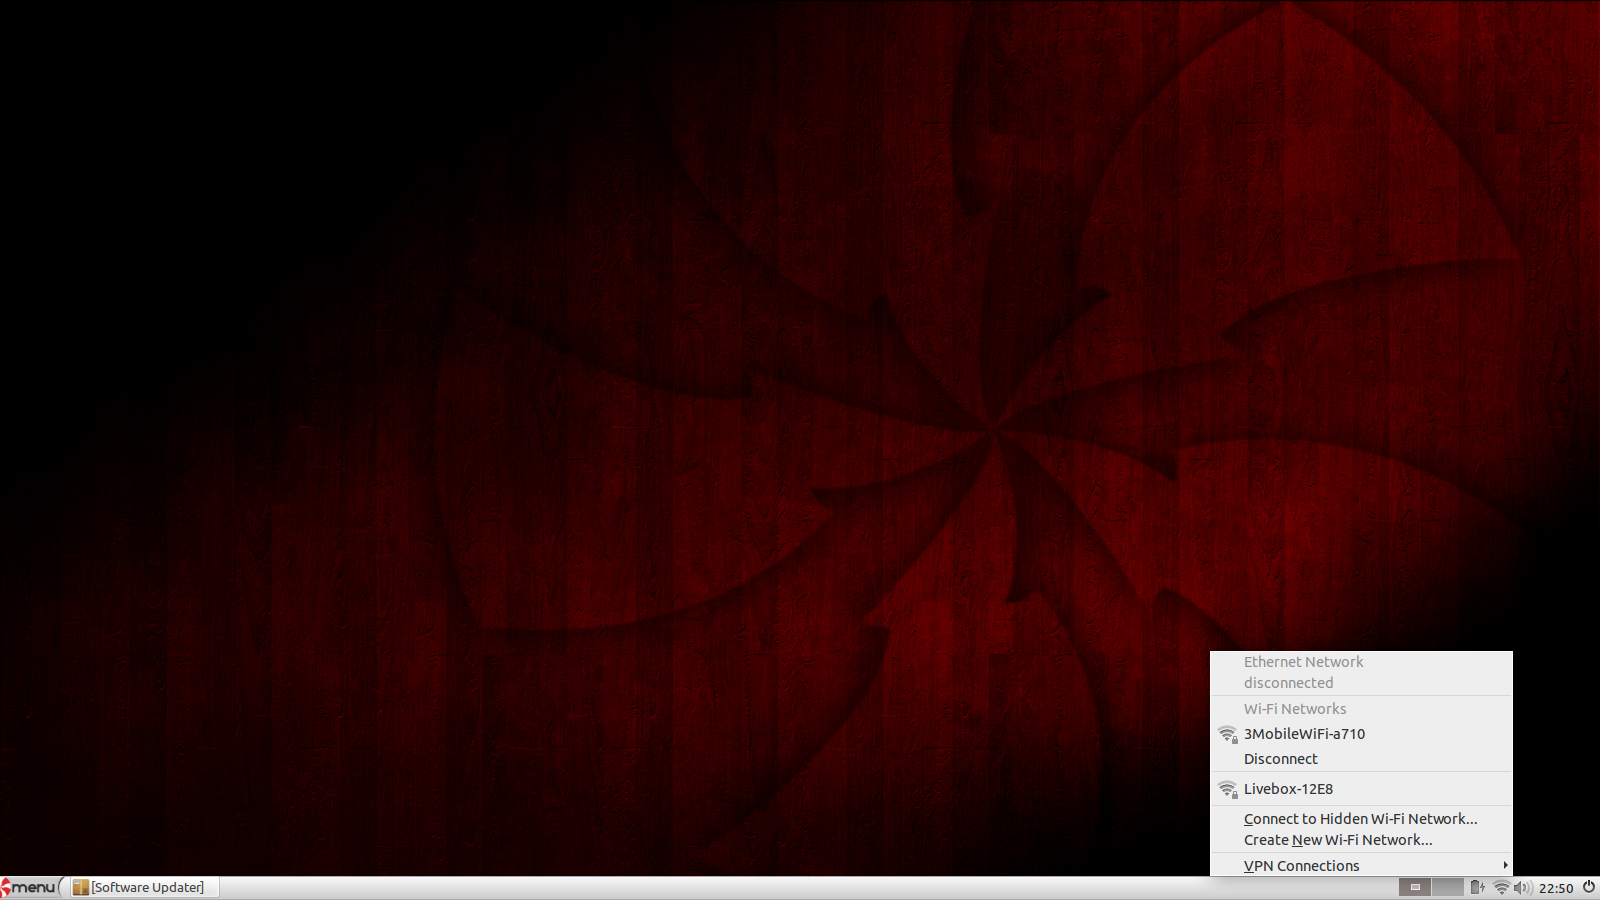
Connecting to the internet is as simple as clicking on the network icon in the system tray and choosing the appropriate network, whether that is a wired connection or a wireless network. You will have to enter a security key if one is required.
Flash
Despite not checking the install 3rd party tools during the installation, Flash seems to work straight away.
Playing Audio
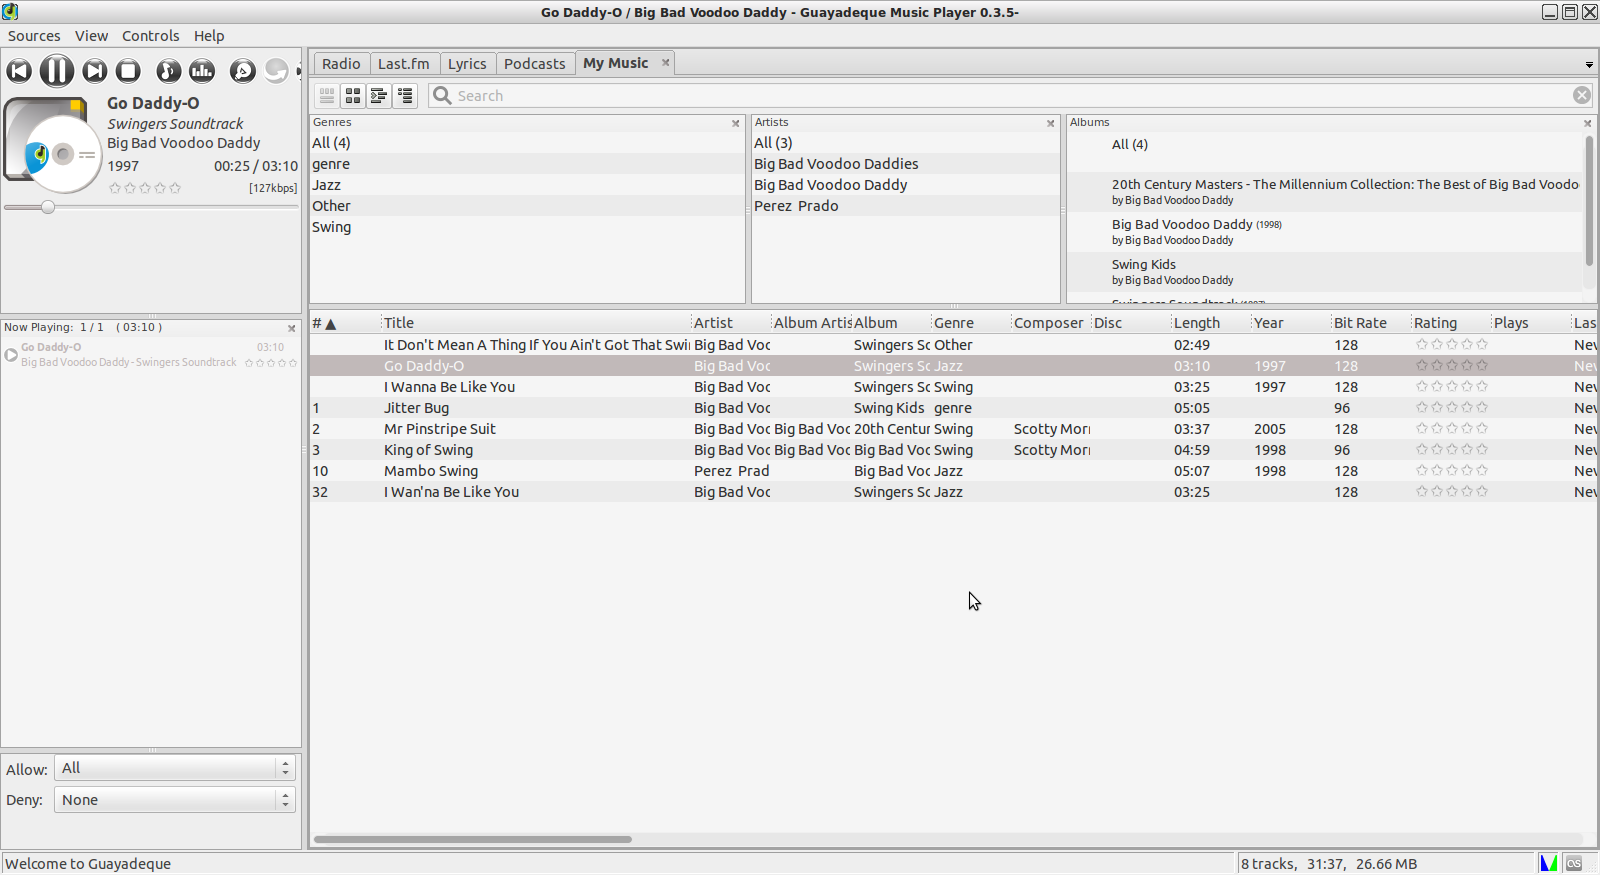
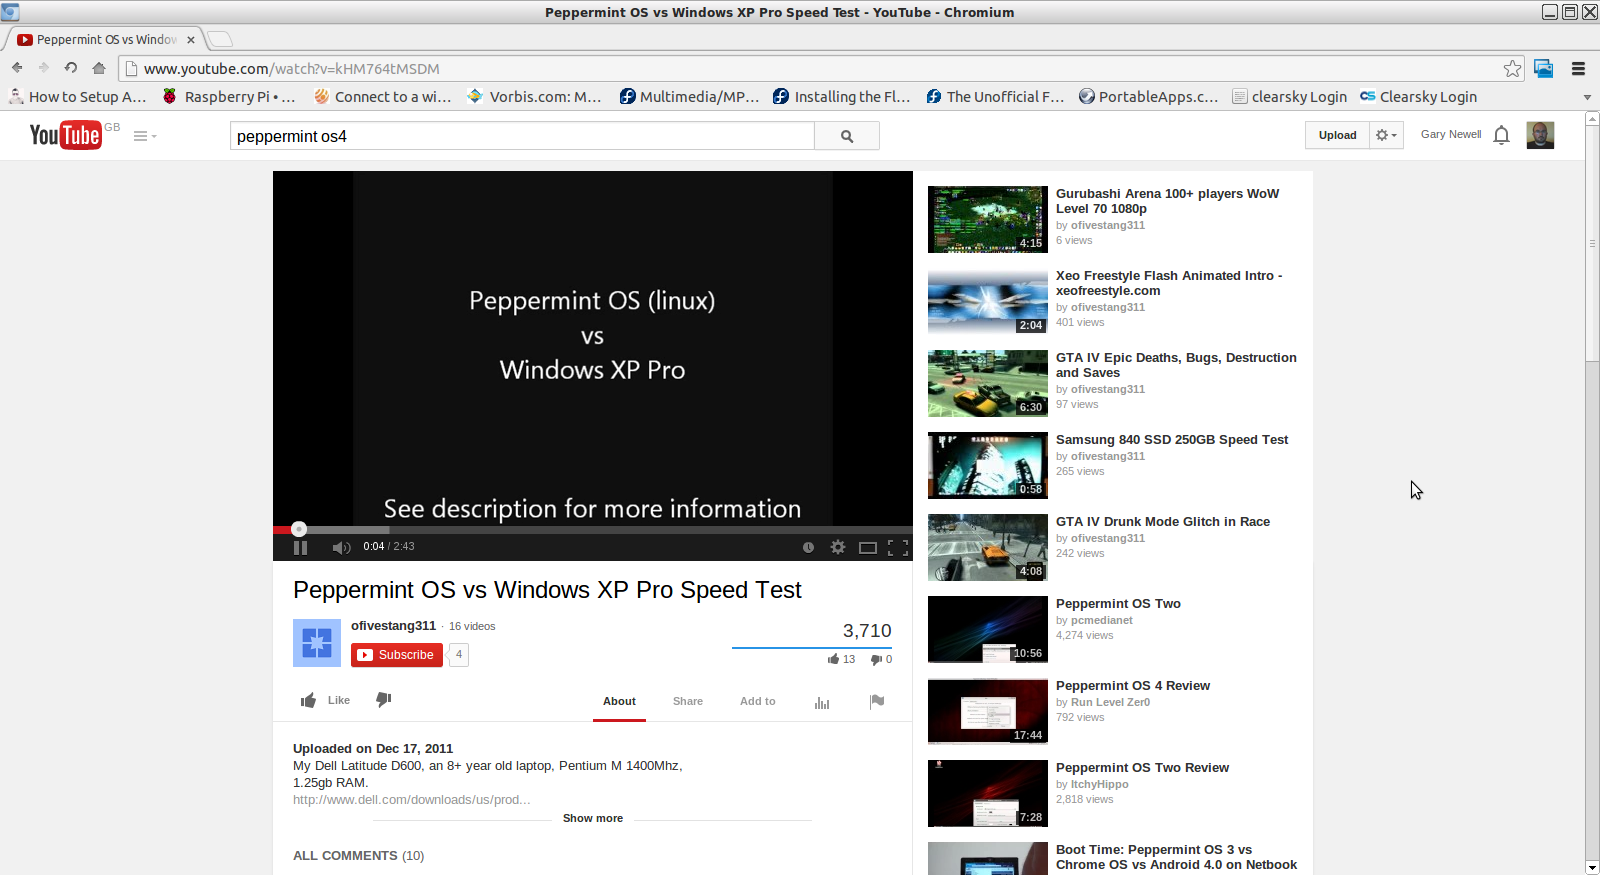
One of the issues that I found with Peppermint 3 was that it wouldn't play MP3 files until I installed the GStreamer plugins. In Peppermint 4 this problem has been resolved and I am able to use the Guayadeque music player straight away.
Guayadeque hasn't got the most intuitive interface ever but it does give you access to lots of online radio stations and once you get used to the way music is imported into the library it is suitable enough for the job in hand.
Applications
Peppermint comes with a minimal set of applications.
As mentioned previously there is Guayadeque for playing audio files and the default browser is Chromium.
Other tools include a text editor, terminal application, file manager and screenshot tool. For watching videos there is Gnome MPlayer.
Installing Applications
If you want to use Peppermint like any other operating system and you need more applications then there is a link to the Software Manager from the main menu.
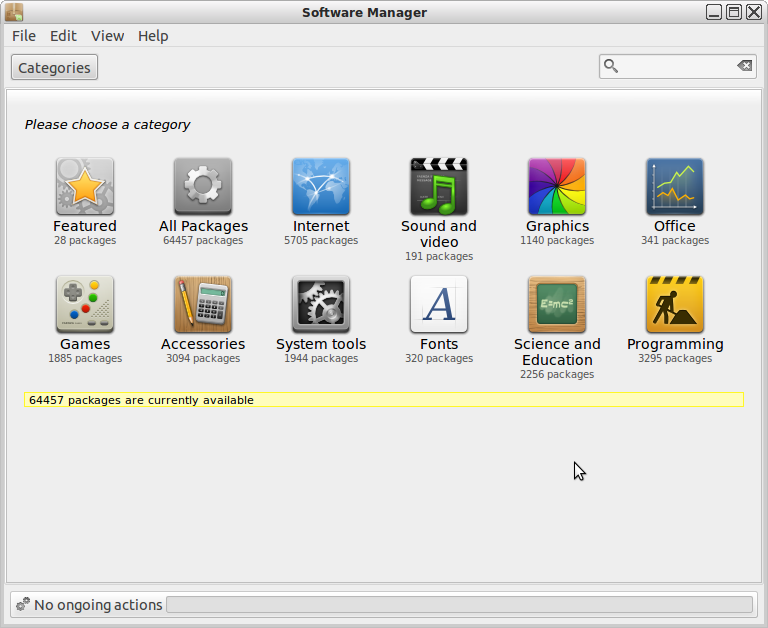
You now have access to all the applications you could possibly need from the Ubuntu repositories. Either search for the application you need by entering keywords into the search box or browse each category.
ICE
Up until now there isn't much in Peppermint that separates it from bog standard Lubuntu. The main feature of Peppermint is the ICE site specific browser.
The concept behind the ICE tool is to take a web application (for example Reddit) and to turn it into a desktop style application.
Taking Reddit as an example all you have to do is navigate to the Reddit website and copy the URL.
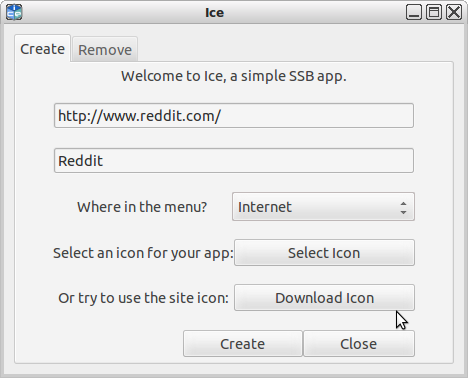
Open up the ICE tool and paste the URL for Reddit into the first box and a name for the application in the second box. Choose which menu the item should fall under and then click "Download Icon" to assign an icon. Press "Create" to create the menu icon.
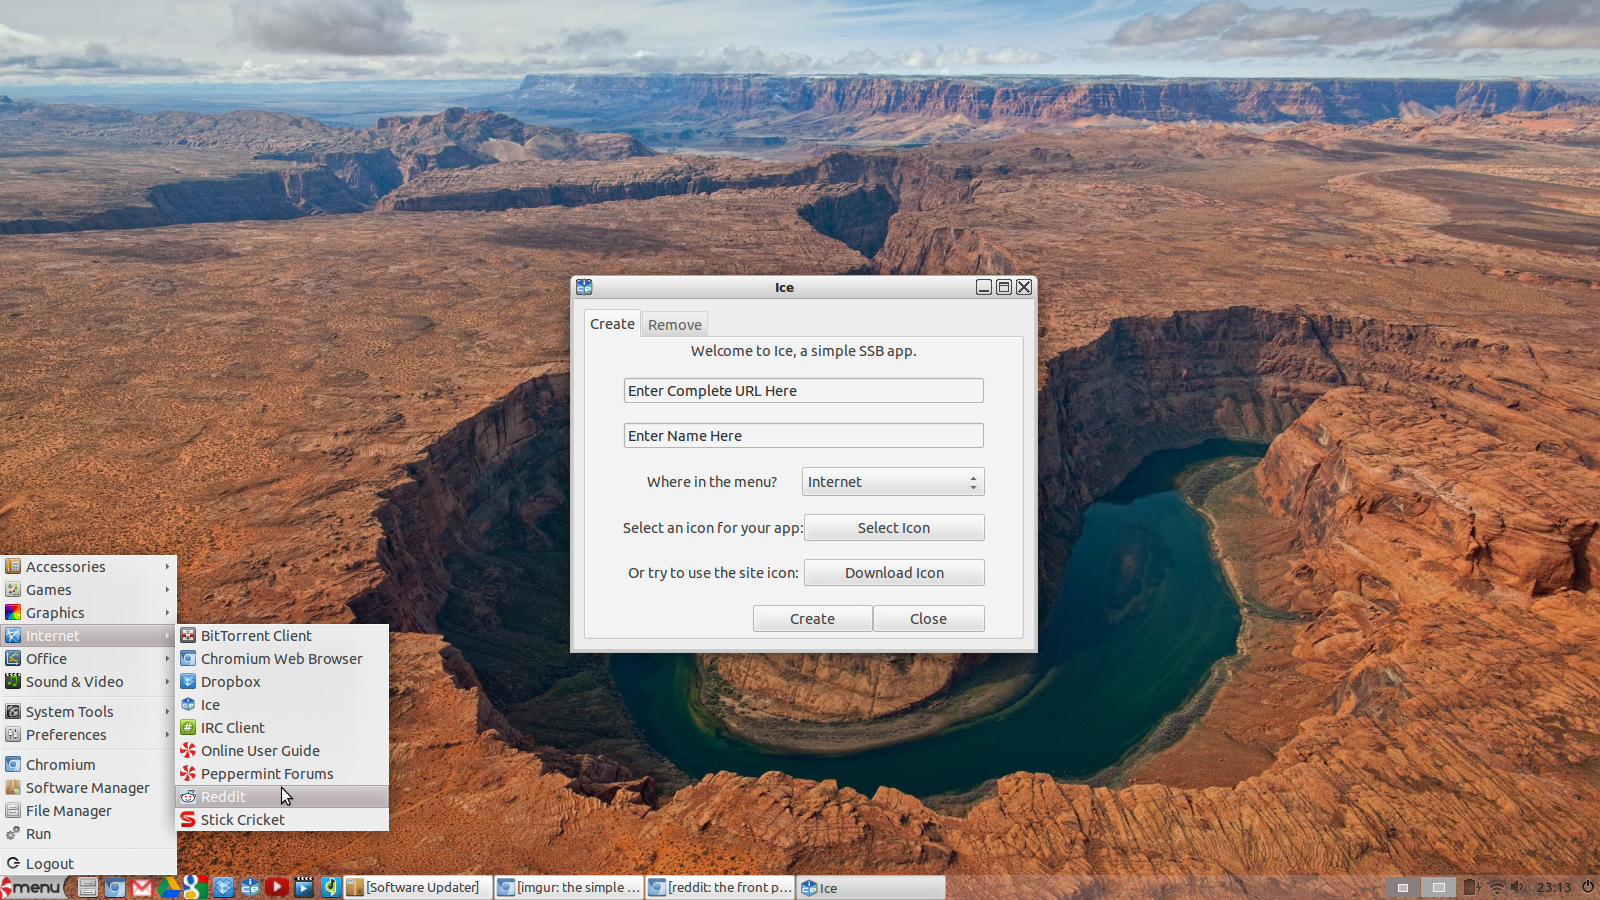
As you can see from the image above "Reddit" now appears under the "Internet" category.
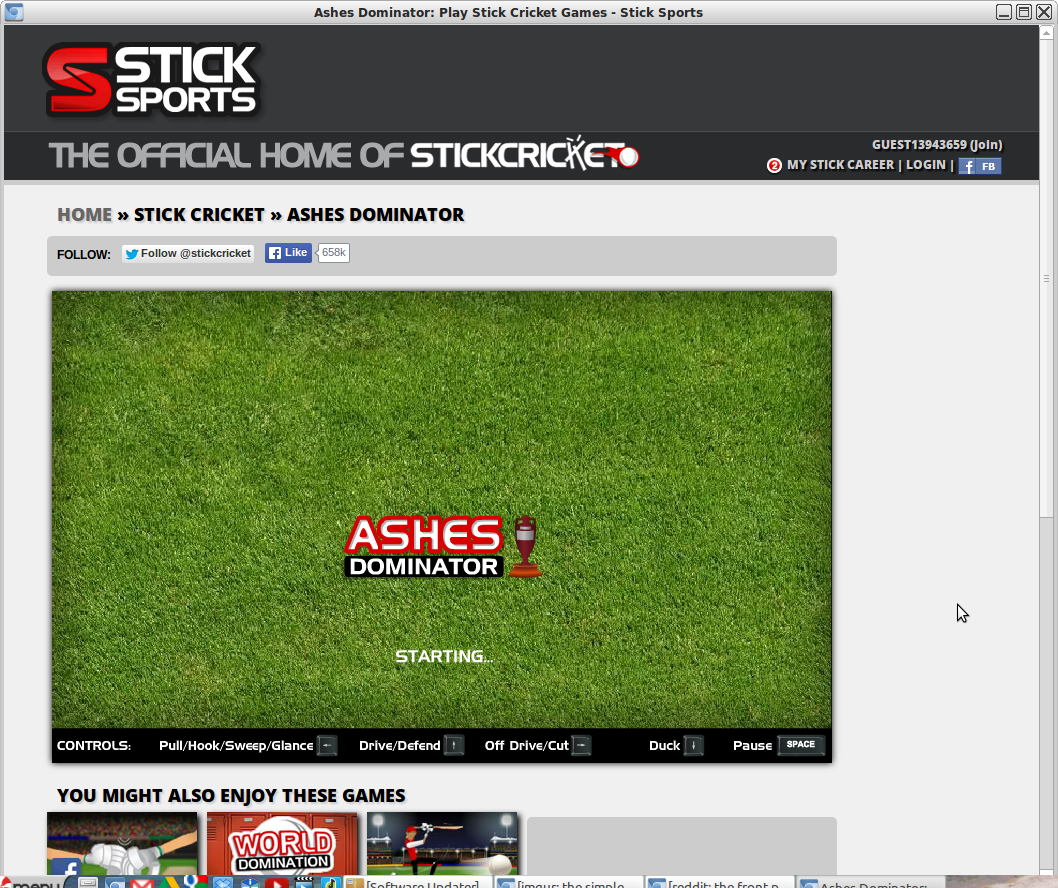
You will also notice that I have created one for "Stick Cricket" as well. The following screenshot shows how a site specific browser appears.

The concept of a site specific browser to make applications look like desktop applications works quite well. I found that an advert blocking widget for Chromium improved the experience further.
Each item that is added to a menu by ICE can also be added to the quick launch bar. This means you can add GMAIL, Google Docs, Spotify and even Everyday Linux User as if they were standard applications.
Differences between Peppermint 3 and 4
Peppermint 4 is based on Ubuntu 13.04 and whilst it uses the LXDE desktop it also uses the XFWM4 window manager instead of the more traditional Openbox window manager.
Peppermint 3 is based fully on Lubuntu 12.04.
Peppermint 3 shipped with GWOffice but this seems to be missing from Peppermint 4. There are icons for accessing Google Calendar and Google Drive though.
There isn't much else that is noticeably different.
Summary
The title of this article says "Turns a netbook into a Chromebook". This may be stretching the capabilities of Peppermint a little bit.
The Chromebook that I have is an excellent device. It is slick in all areas mixing excellent performance and a straight forward and easy to use experience.
Peppermint 4 performs well on my netbook as it utilises the lightweight LXDE desktop and the user experience is decent but not as quite as good as the Chromebook
It is possible to emulate the look and feel of a Chromebook with a few tweaks of the LXPanel including adding transparent effects on icons. Use the ICE tool to add web based applications to the quick launch bar.
Peppermint Linux has some benefits over ChromeOS in that you can install applications local to the machine and so you have the best of cloud computing and standard home use without having to turn on developer mode and run scripts.
Version 4 of Peppermint has one major issue though. It is based on Ubuntu 13.04. Ubuntu 13.04 is now out of support. This is a problem. Peppermint 3 is based on 12.04 which is the LTS release of Ubuntu and therefore will remain under support for a number of years.
Hopefully version 5 is just around the corner and will be based on Ubuntu 14.04 which is the next LTS release.
Thankyou for reading.
If you like the articles on this blog consider subscribing by entering your email address into the box on the right hand side. Never miss another article. In addition consider sharing this article with your friends by re-tweeting it using the buttons below.

Concerning Flash, I believe it is included within the Chrome/ium install itself by default (even if not installed system wide).
ReplyDeleteI think you are probably right about this.
DeleteIt's probably Gnash. Flash is proprietary. You *must* sign the contract before you can use it. Chromium does not include it by default, as that's illegal under Chromium's license.
ReplyDeleteIn Windows you have to agree to terms but I've never had to do that in Linux. Anyway it may be not be gnash because I do use Chromium in several of my installs and I do not have gnash on my system. I will check to see if it is embedded in Chromium. I hope not. Gnash is not an option for me because there are many times that Gnash will just not work.
DeleteI downloaded it installed dumped it in 5 minutes to many adverts I don't need brain washing with adverts thank you.......
ReplyDeleteI didn't experience being bombarded with adverts.
Delete