
Introduction
This is going to sound strange on a website dedicated to Linux but this article has absolutely nothing whatsoever to do with Linux.
This article shows Windows Vista users how and where to copy off essential files and folders and also how to create a system image of their Windows drive.
The reason I am writing a guide for Windows Vista is part of the wider series of articles showing how easy it is for Windows Vista users to download Linux, create a Linux DVD and then install Linux.
Backing up important files
Windows comes with it's own backup tools but I am not going to discuss using them because this article is all about copying off important files so that when you get around to installing Linux you can then copy them back again into your Linux partition.
Whether you intend to install Linux or not it is a good idea to follow this guide because you will find solutions to keeping your important data safe including documents, photos, videos and music.
What you will need
- A computer running Windows Vista
- Blank DVDs
- A USB drive
- An external hard drive
The amount of data you own will determine your backup strategy. For instance if you have a few hundred photos that take up 300 MB of space then you can save them on a single blank CD.
If you have high resolution photos that take up 3.5 GB then you will need a blank DVD.
Music can easily take up many gigabytes of data and so for that you might consider a USB drive or multiple DVDs.
Finally videos take up the most room and for storing full length movies an external hard drive might be the order of the day.
Now it may be the case that you will use a mixture of backup devices and so you might store photos on DVDs and Videos on an external drive.
Where can you get the media required to backup your files:
Blank DVDs are sold pretty much everywhere. As you can see by the Amazon link above you can get 50 for £8.96. A blank DVD can hold 4.8 Gigabytes of data and can obviously store a full length film. 50 blank DVDs can therefore store 50 full length movies.
A word of warning when it comes to buying blank DVDs. Cheap isn't necessarily good. You will find that despite what they told us in the 1980s about CDs, they do degrade in performance and they do scratch and the cheaper ones seem to degrade more quickly.
USB drives come in various different sizes and are again sold pretty much everywhere, from your local supermarket to electronic stores.
I have USB drives that hold just 1 Gigabyte of data and there are USB drives for sale that contain 256 Gigabytes of data. Out of interest an 8 Gigabyte USB drive in the UK is sold in supermarkets for about £8.
A USB drive is great for copying folders of data from one place to another. If you intend to copy data off so that you can install Linux and then copy it back again then a USB drive might be just the thing you need.
If you have a large amount of data then trying to store this information on DVDs or USB drives is going to be time consuming, frustrating and a bit hit and miss because sooner or later you are going to end up with a duff DVD.
An external hard drive stores much more data and can hold many terabytes of data.
Finally if you are lucky enough to live in an area with high speed broadband you might consider using a backup service such as Dropbox. For £9.99 a month you can get 100 gigabytes of data.
In this article I am going to show how to use each of these devices and then I will show how to create a system image.
Copying files to a DVD
I previously released an article showing how to install Linux on a DVD using Windows Vista. Within that article I highlighted a piece of software called CDBurnerXP and it is this piece of software that I will use to show how to create a DVD containing photos and music.
If you haven't already done so get a copy of CDBurnerXP and install it onto your computer. If you are unsure how to do this read the "how to install Linux on a DVD" article.
If you chose the default options when you installed CDBurnerXP then you will have an icon on your desktop. If this is the case double click the icon to open CDBurnerXP. If you haven't got an icon on the desktop, press the start button and start typing "CDBurnerXP" into the search box. The "CDBurnerXP" icon should appear. Double click this icon to start the application.

There are a number of options available.
For instance if you want to create a DVD full of songs to play in your car you would choose the Audio disc option and copy music files to the disk. (Although depending on your car stereo they might need to be converted into the correct format first).
Similarly a Video DVD can be created to play full length movies.
The "Data Disc" option lets you copy a mixture of files to a DVD.
Insert a blank DVD into your DVD drive and make sure that "Data Disc" is highlighted. Press "OK".
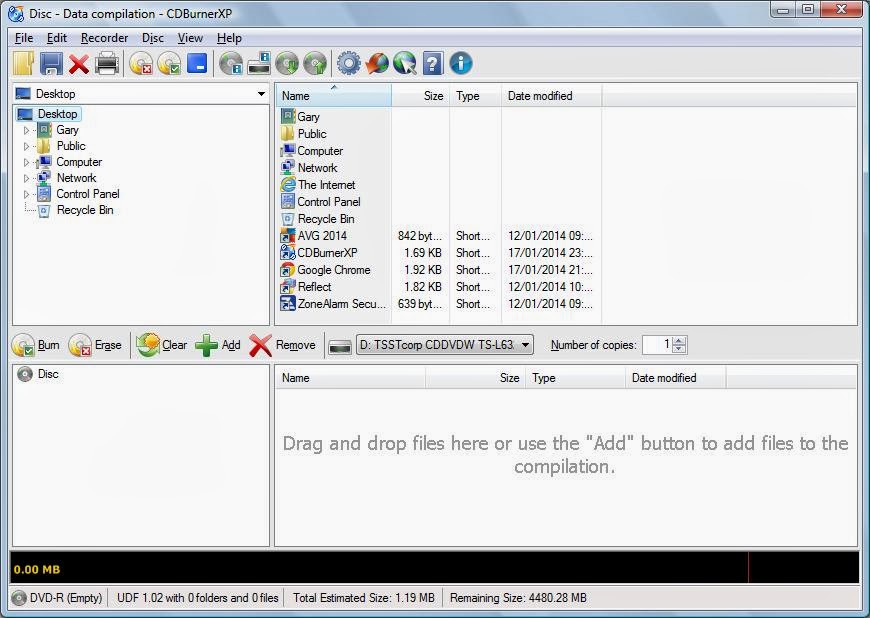
The screen that appears is basically split in two. The top two half of the screen shows the files on your computer (and other devices). The bottom half shows the files that will be copied to the disc.
To copy files to the disc simply navigate through the folders on your computer and drag them to where it says "Drag and drop files here". You can also click the "Add" button to add files and folders.

As you add files you will see the "Remaining Size" figure come down. When you have added all your files or the remaining space is too small you are ready to burn the disc.
Now all you have to do is press the "Burn" button on the toolbar. Note that if you would like duplicate copies you can change the number of copies option.
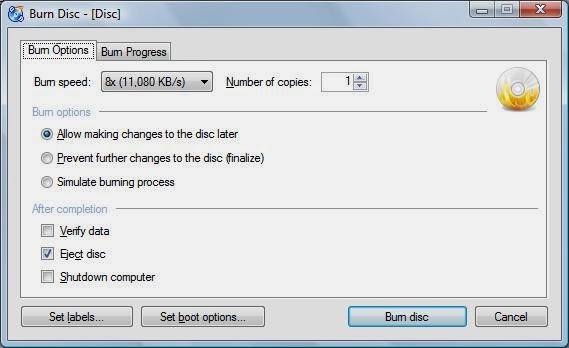
The next screen shows a few more settings that are available.
You shouldn't really mess around with the burn speed but you will want to amend the burn options.
The "Allow making changes to the disc later" will allow you to add more files later on if you find more files but beware that discs left open will not work on all DVD players.
The "Prevent further changes to the disc" is the preferred option and makes the disc readable on all DVD players.
The "Simulate burning process option" will emulate what would have happened if you had copied the files to a DVD.
I recommend always choosing the "Prevent further changes to the disc" option.
The "After Completion" settings let you verify that the files have been copied to the disc correctly, eject the disk and shutdown the computer.
I think you should forget about the shutdown computer option but the other 2 are worth checking.
Press "Burn disc" to begin the file copy.
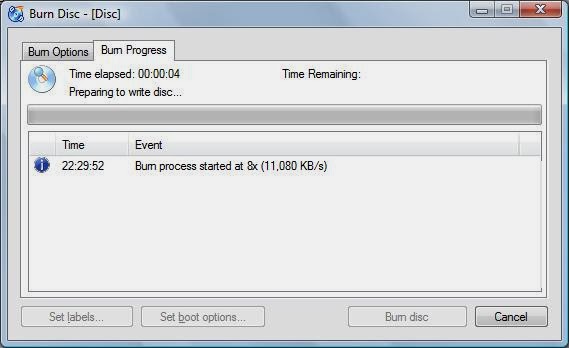
The files will now be copied to the disk and you will have a safe copy of the files and folders you copied to the disk.
To make sure it worked it is worth placing the DVD into either another computer or back in the same computer to see if you can find the files.
Copying files to a USB or External Hard Drive
The process for copying files to a USB drive or to an external hard drive are the same.
To start you will need to open two "Windows Explorer" windows. This can be done by pressing the start button and searching for "Explorer". The other way is to press the Windows key and "E" at the same time.
Repeat the process so that you have 2 "Windows Explorer" windows open and drag them so they are side by side.
Hopefully if you have been your computer for a while you will be fairly familiar with Windows Explorer but if not here is a quick overview.
In the top left corner there are a series of links pointing at favourite folders including your documents, pictures and music. Most people save their documents, music, images and videos under the default location.
Under the favourites is a list of folders starting at "Desktop" and working down. You will see your username as the second option. Clicking on this will take you to the level one folder up from your documents, music, pictures etc.
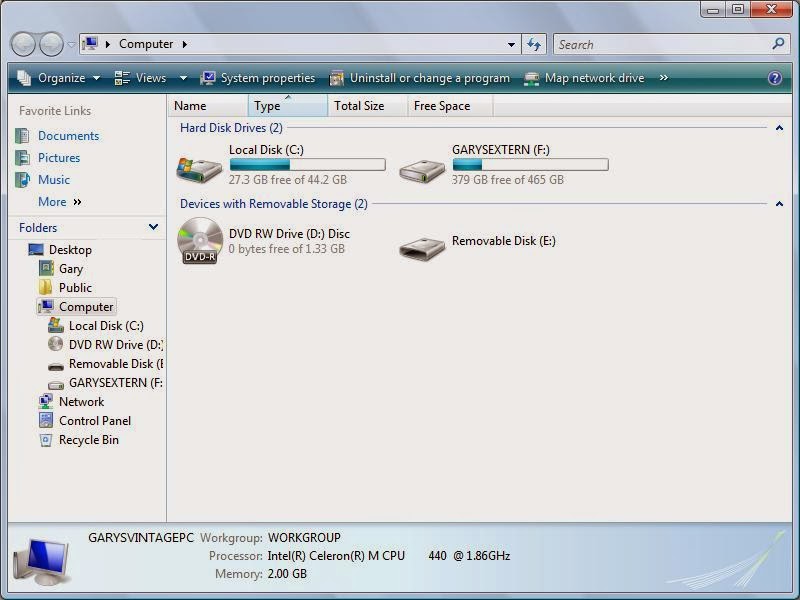
There are also various drive letters. The "C" drive is generally your hard drive, D is a disk drive and every other letter is an external drive such as USB or external hard drive.
To copy files from your hard drive to an external drive click on your username in one of the explorer windows and in the other explorer window click on the drive letter that is for your external hard drive.
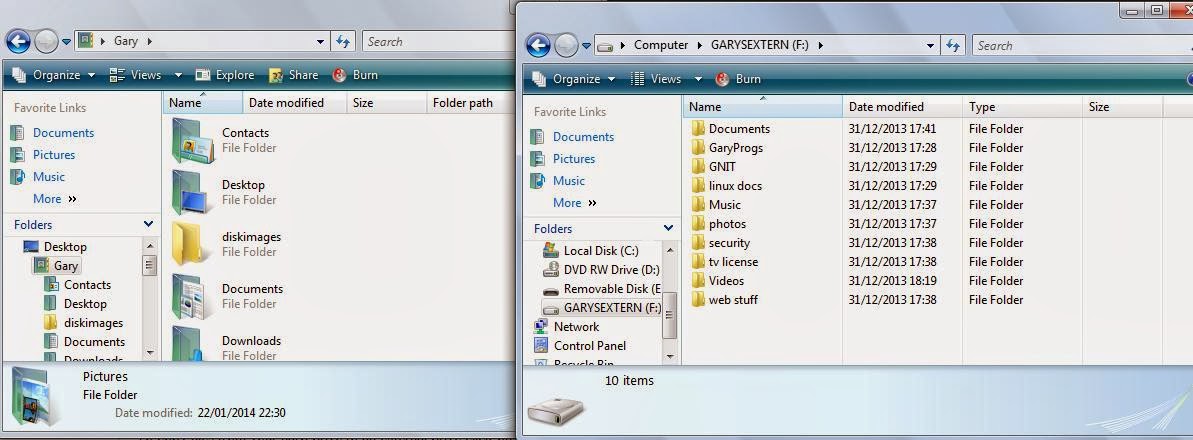
All you have to do to copy the folders from the hard drive to the USB drive or external hard drive is drag them from one window to the other.
Storing files online using Dropbox
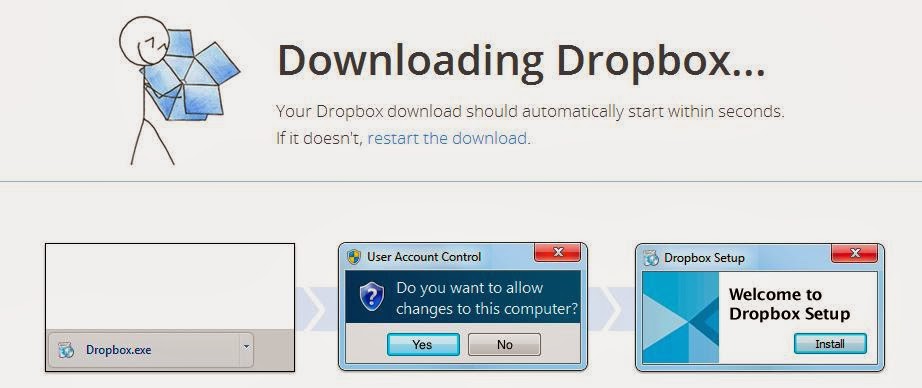
The executable will download automatically. When the download has finished double click on the executable to open it.
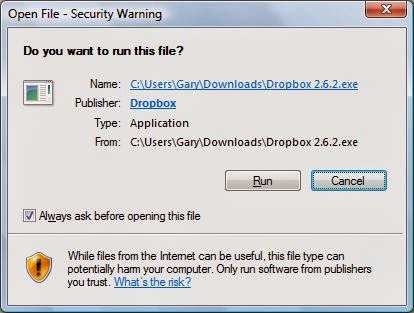
You will probably get a security warning telling you that "Dropbox" may be bad but it really isn't, click "Run".
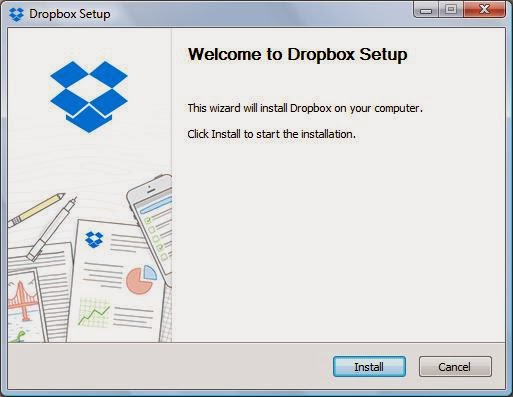
The Dropbox setup screen will be displayed. Click "Install".
The files will be installed as necessary and now whenever your computer starts Dropbox will be available in the system tray.
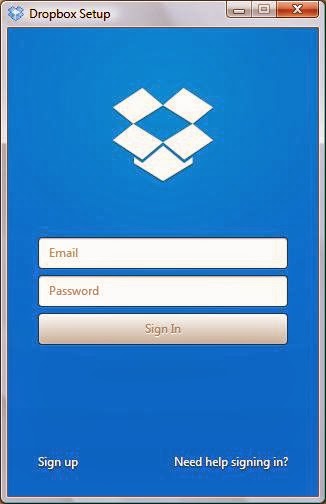
The first screen is the login screen. Now obviously the first time you use Dropbox you won't have an account. To remedy this click the "Sign up" link in the bottom left corner.
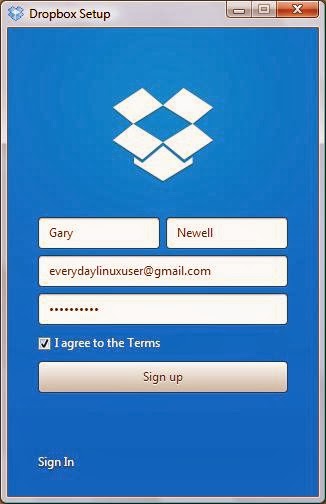
Signing up is just a case of entering your name, email address and a password. When you have done that click "Sign Up".
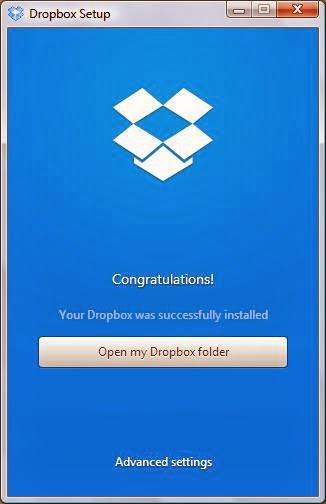
When you have finished a "Congratulation" message will appear. Click the "Open my Dropbox folder".

Copy files to Dropbox is now as simple as copying to an external drive. Find the folder in one Explorer window called Dropbox and in another Explorer window drag the files you want to send up to the web into that folder.
Create a system image and recovery media
A system image takes a snapshot in time of a disk partition (or an entire disk). Recovery media is used to recover Windows.
For this tutorial the tool that will be used to create a system image and recovery media is called "Macrium Reflect".
.

For this tutorial the tool that will be used to create a system image and recovery media is called "Macrium Reflect".
.
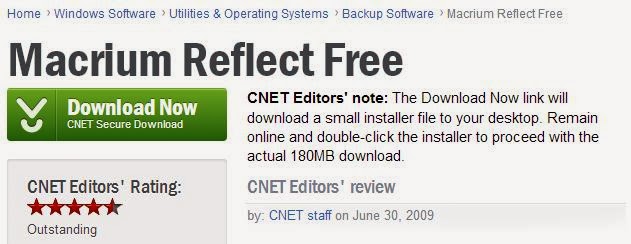
When you visit the CNET download site to download Macrium, click the "Download Now" button under the title of the software.
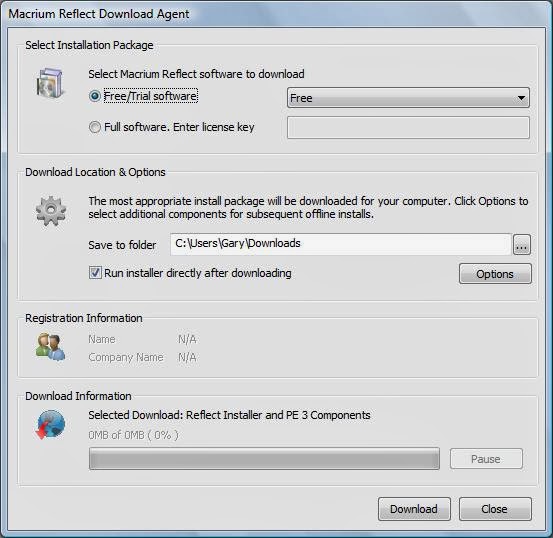
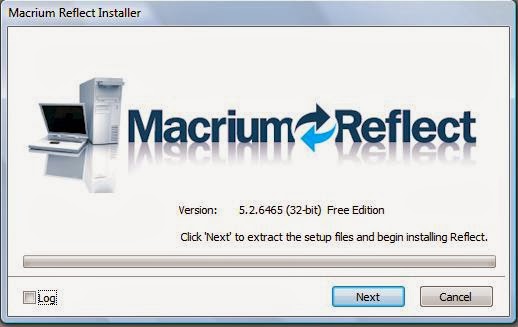
The file you downloaded from CNet is just an installer itself. When you run it you will be presented with the above screen.
Select "Free" for the free/trial software option and click "Download".
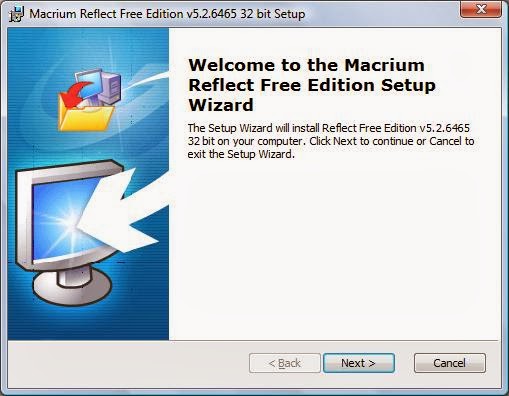
The download is around 180 megabytes. When you have finished downloading the software you will be presented with the screen above. Click "Next".
When you see the welcome message click "Next".
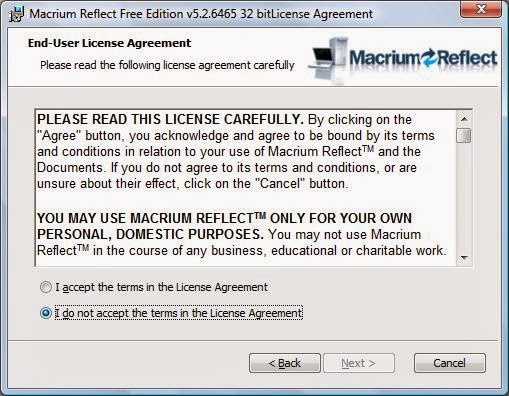
Click the radio button that accepts the license agreement and click "Next".
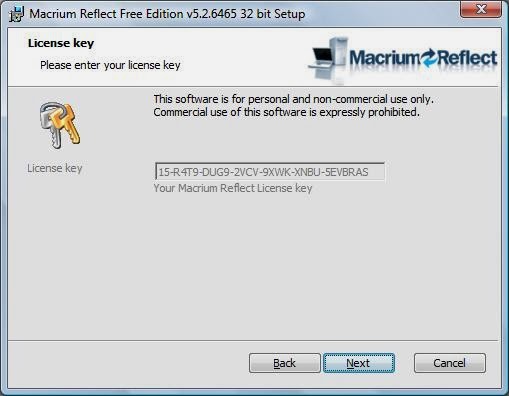
Click "Next" to get past the license key screen.
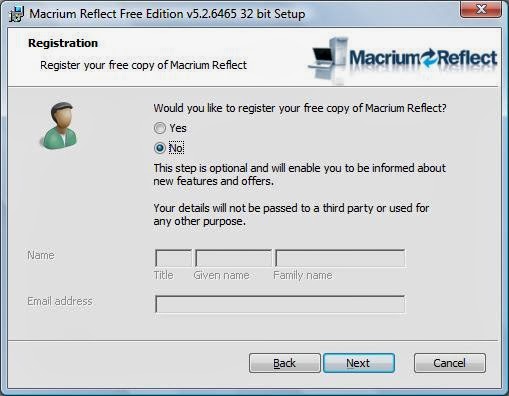
The next screen is the registration screen. If you feel like registering the software enter your name and email address but I personally recommend clicking the "No" radio button and selecting "Next".
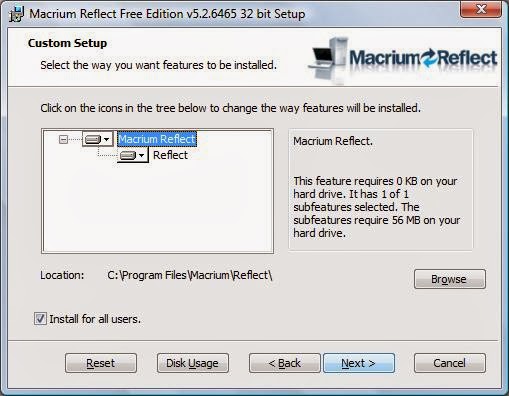
Almost there. If you want to choose different options from the default click on the "Reflect" option and then check the items you wish to install.
Click "Next" to get past the custom setup screen
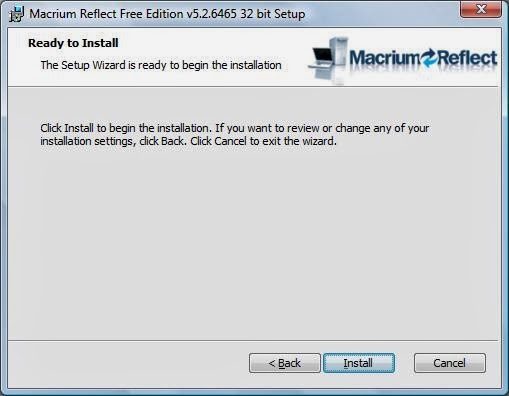
Finally you are ready to install the software. Click "Install".
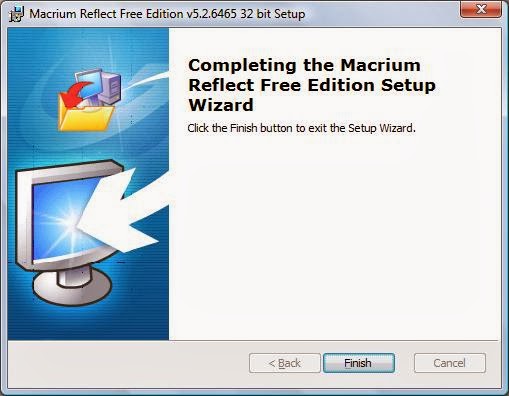
After a minute or so your software will have completely installing and you can simply click "Finish".
To open Macrium Reflect double click on the icon that has been created on the desktop.
There are a number of options available including the options to clone and create disk images.
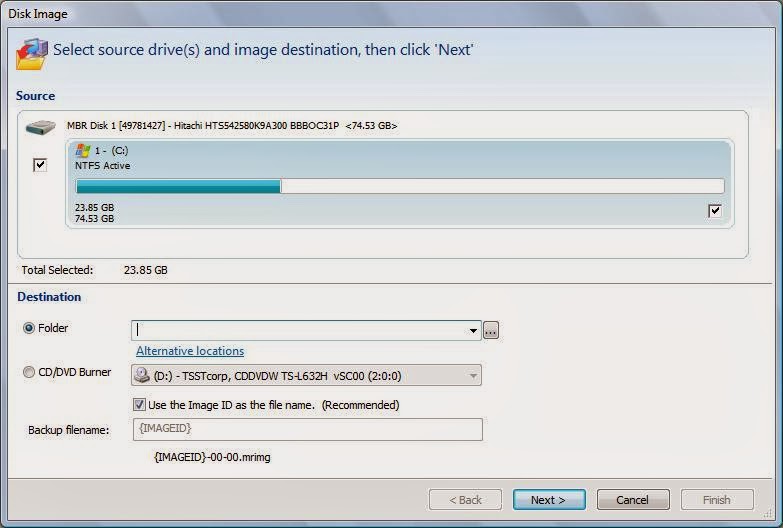
To create a disk image select the drive you wish to take an image of on the "Create a backup" tab and select the "Image this disk" link underneath the disk.
You will now be asked to select a destination where the disk image will be created. You cannot choose a location on the disk that you wish to create an image of because you will be affecting that disk.
Your choice of location will depend on what you have available to you. Ideally you will back up to an external hard drive or a USB drive. If you have either of these available to you click on the three dots next to folder and navigate to the relevant device.
If you only have DVDs available to you click on CD/DVD burner and insert the first blank DVD into the drive.
Click "Next" to continue.
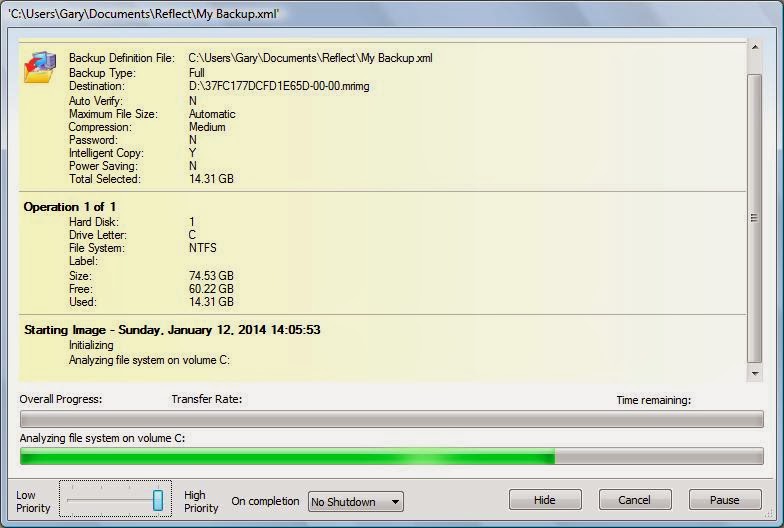
The process will now start to create the disk image. If you are backing up to DVD and the image is larger than 4.8 Gigabytes you will be asked to switch disks when the first disk is full (and for every subsequent disk).
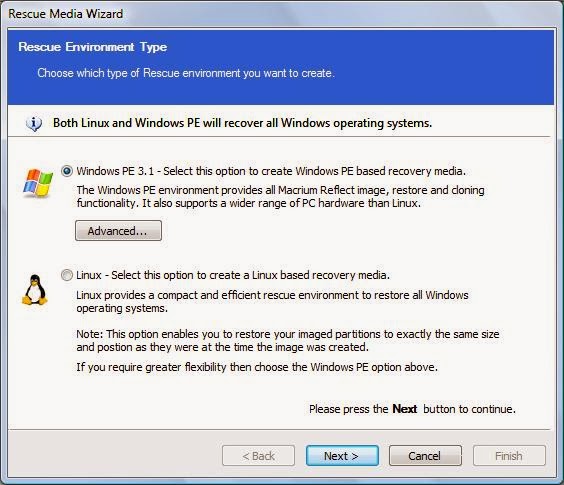
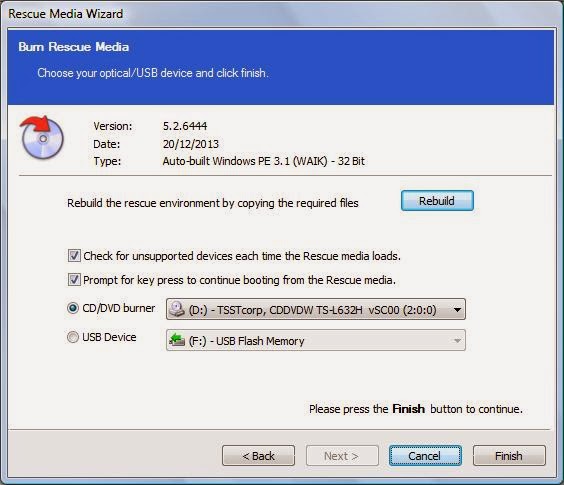
To create recovery media select the "Other Tasks" menu option and then select "Create Rescue Media".
There are two types of recovery media to select from. As you are using Windows I would recommend choosing the "Windows PE 3.1" option. Click "Next" to continue.
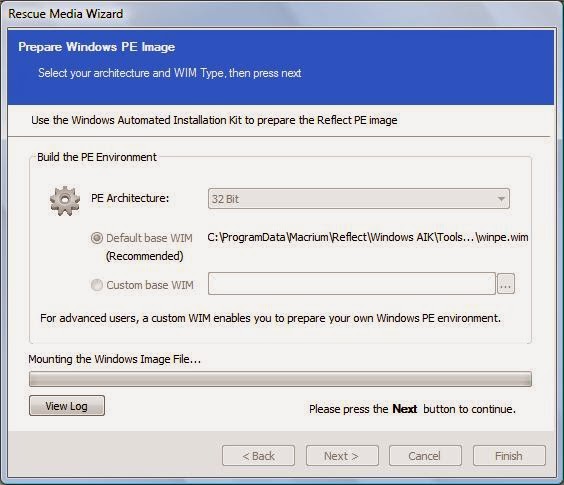
On the next screen you can choose the environment (32 bit or 64 bit) and you can choose which Windows Image File to use. I recommend accepting the defaults and clicking "Next".
Finally you are asked what kind of bootable media you wish to create. You can choose to create a bootable USB drive or a bootable DVD.
Make sure you have inserted either a blank DVD or a blank USB drive.
Click the relevant device option and then click "Finish".
Summary
That is it. You should now be all backed up. Wait though. Did you check that your media was created properly?
If you have created DVDs, USBs or External Hard Drives full of data insert them into their relevant drives and make sure that you can read the files on them. Try playing some of the videos or looking at the images. If you have a corrupt DVD or a dodgy USB drive then all of this will have been in vain.
The same can be said of recovery media and the system image. Insert your recovery media into the relevant drive and then reboot your computer. Make sure you can boot into the recovery mode and make sure your disk image is available.
In the next article I will show how to defragment your hard drive and shrink your Windows partition ready for installing Linux.
.

Thanks for your such an informative and lovely blog.
ReplyDelete