Introduction
This week has been an awful week. I have basically had very limited access to the internet and so this has put me behind on the schedule that I had set for May.
I have therefore decided this week to finally type up the notes I had taken when setting up the Raspberry PI as a personal web server.
Why set up a Web Server on the Raspberry PI?
There are a few reasons why you might set up your Raspberry PI to run as a web server.
If you are a student learning to program then you might find it useful to run the Raspberry PI as a web server so that you can practice your PHP scripting or PERL scripting. PHP is good as it is a modern OO language that incorporates a lot of the principles of other programming languages
You can learn common techniques with PHP such as test driven development. There are also good coding frameworks available such as Codeigniter which will help you learn MVC. Skills learned in PHP can easily be transposed to other languages including C# and Java.
Other more hobbyist programmers might like a web server to run something like Joomla to create a home intranet site.
People who design Wordpress templates might like a personal web server to test out new templates. By using the Raspberry PI as the web server the designer can use other computers to make sure the layout looks good in Internet Explorer, Chrome and Firefox.
Assumptions
This guide assumes you are using the default Raspbian Wheezy operating system.
The web server that is to be used is Lighttpd.
PHP will be installed as the scripting language.
MySQL will be installed as the database server.
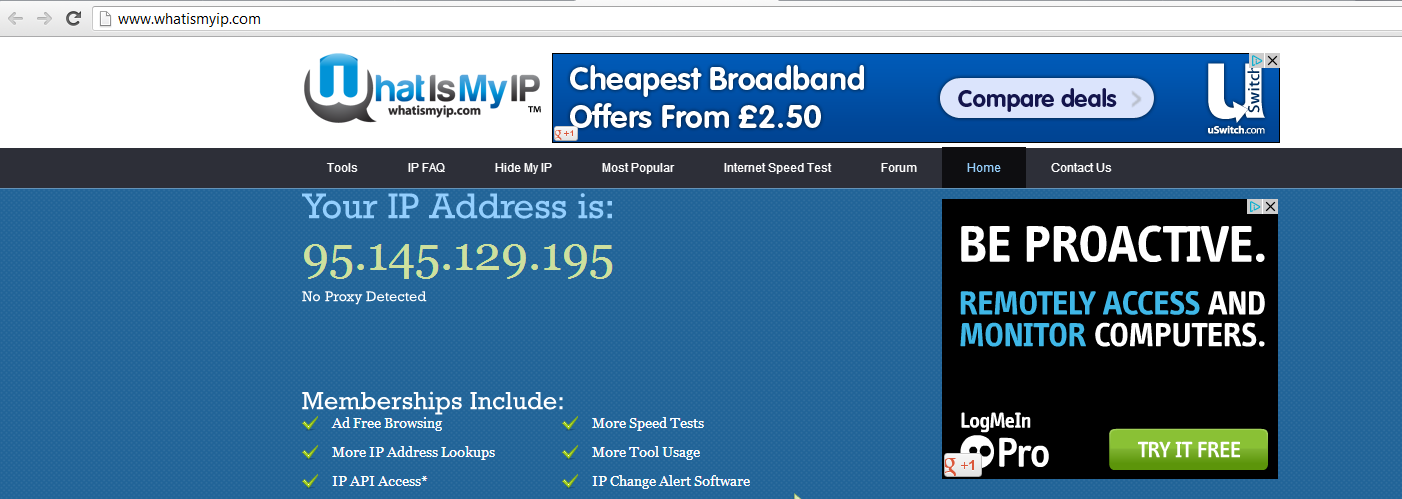
Get your IP Address
If you are working directly on the Raspberry PI then you can skip this part but if you are accessing via SSH obtain the IP Address of the Raspberry PI by typing the following into a terminal window on the Raspberry PI.
ifconfig
This will return an IP address in the form of 192.168.1.x where x is the 4th number. (For example 30).
If you follow this guide direct from the PI then you can get away with using localhost instead of the IP address when specified later on in the guide and you can skip the SSH step below.
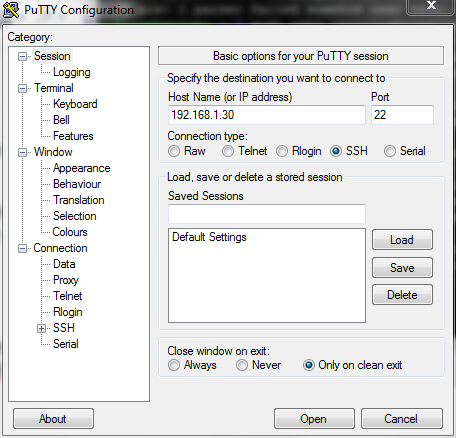
SSH
If you plan to SSH onto the Raspberry PI from within Windows run Putty.exe (
http://www.putty.org/) and type in the IP address into the Host Name box. Now click "Open".
If you plan to SSH onto the Raspberry PI from within Linux open a terminal window and type SSH 192.168.1.x (where x is the last number).
Whether you are running from within Windows or Linux you will be asked for the username and password. You should enter "pi" as the user and the password you set up for the "pi" user when you installed Raspbian.
You should now be logged in via SSH.
Update your repositories
First of all run an apt-get update to make sure everything you need is available to download.
sudo apt-get update
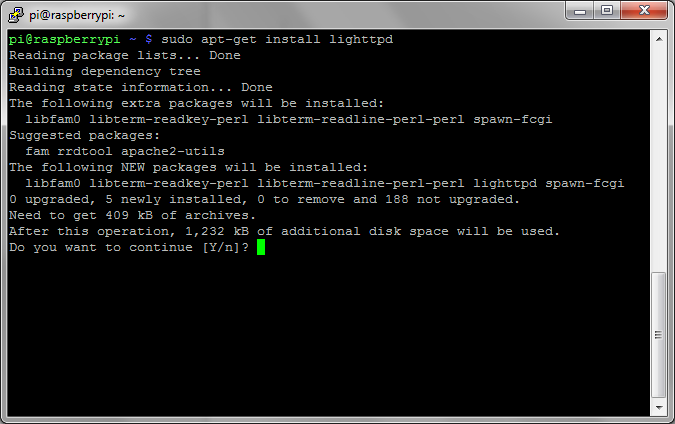
Installing Lighttpd
There are quite a few guides on the internet for showing how to set up a web server. For the Raspberry PI I chose to install Lighttpd as it is light in nature and won't use up too much of the Raspberry PI's resources.
To install Lighttpd run the following command
sudo apt-get install lighttpd
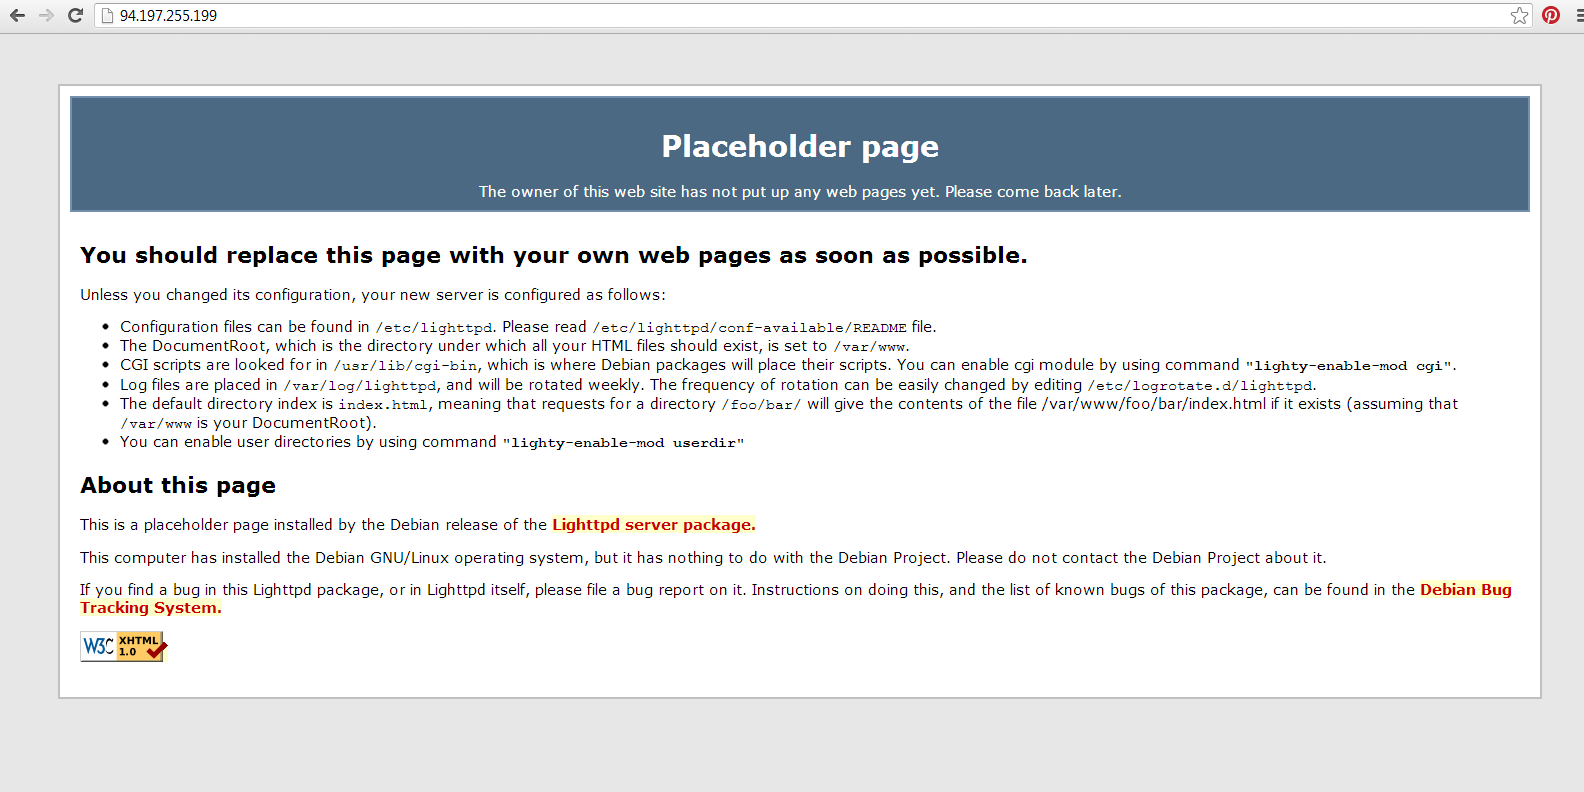
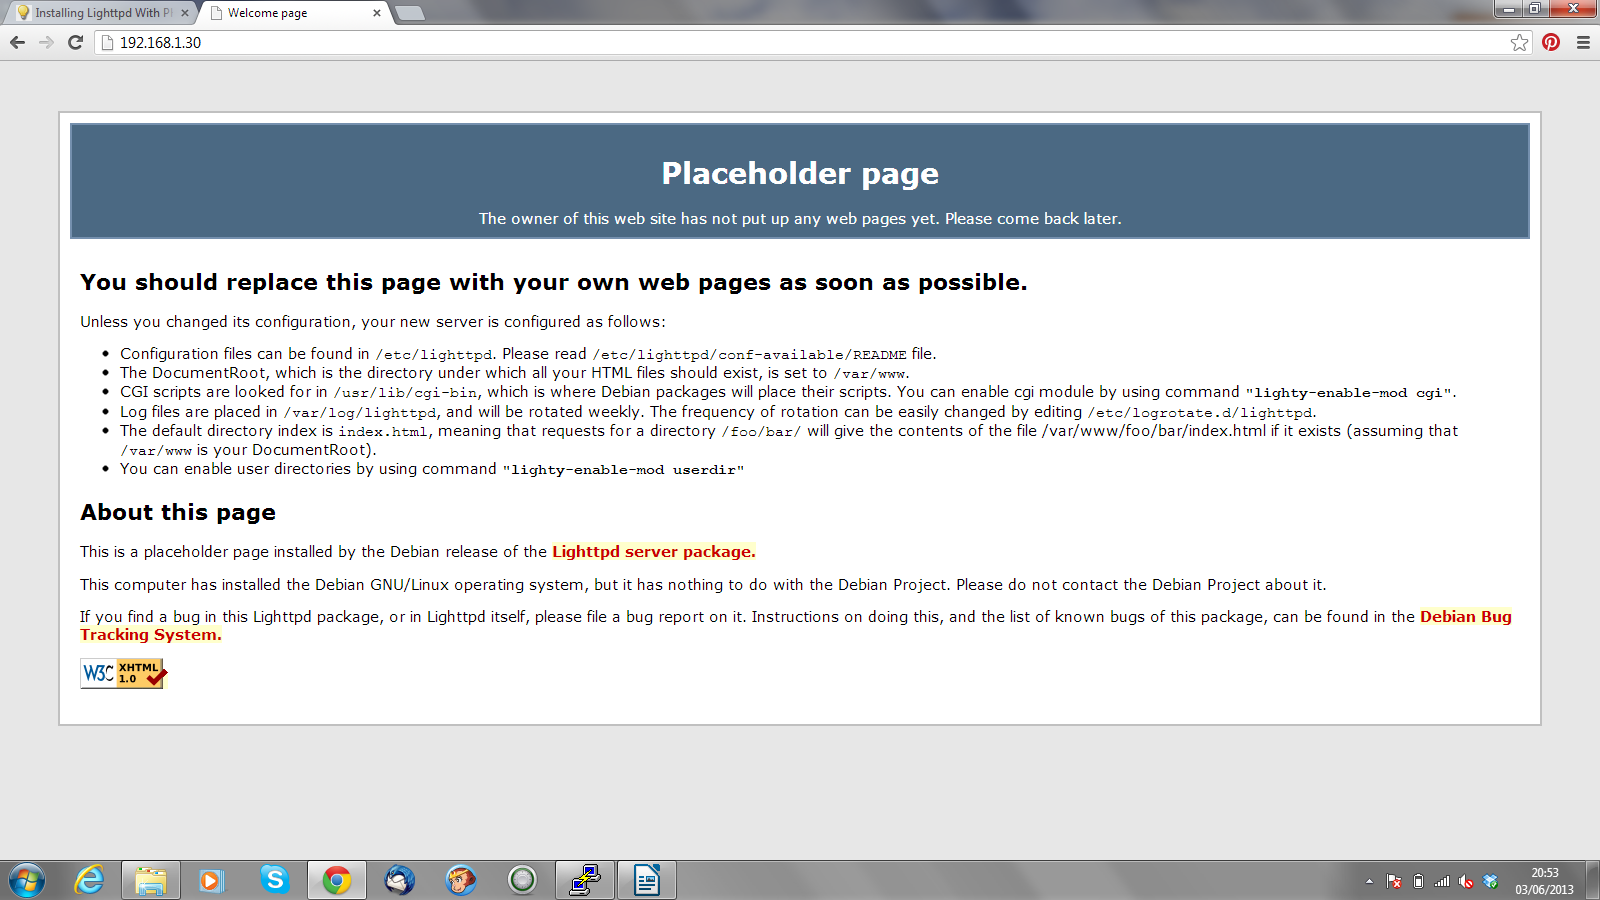
To test whether the web server is installed correctly type the following into the web browser address bar:
http://192.168.1.x
Replace x with the last number of your IP address. If you are running directly on the Raspberry PI then you can just enter the following:
http://localhost
You should see a placeholder page as shown above.
Installing PHP
To install PHP run the following command:
sudo apt-get install php5-cgi
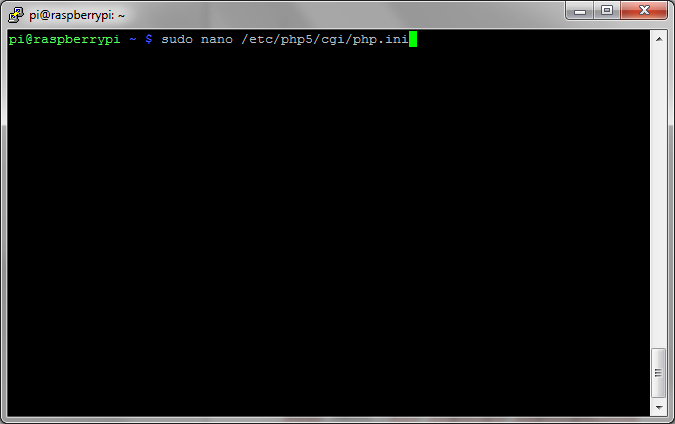
Now you need to add a line to the php.ini file. To do this there is a file called php.ini in /etc/php5/cgi.
Type the following:
sudo nano /etc/php5/cgi/php.ini
Navigate to the bottom of the file and add the following line.
cgi.fix_pathinfo
= 1
To save the file press CTRL and O on the keyboard and to exit nano press CTRL and X.
Finally to get fast CGI working type the following onto the command line:
sudo
lighty-enable-mod fastcgi
(PLEASE NOTE THIS WAS MISSING FROM THE ORIGINAL VERSION)
Now type the following:
sudo lighty-enable-mod fastcgi-php
Now the web server needs to be restarted.
sudo
/etc/init.d/lighttpd restart
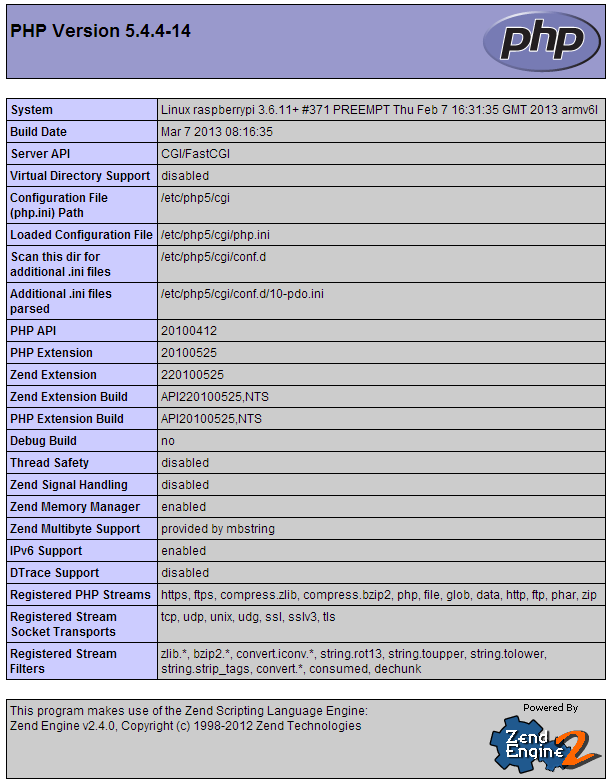
Create a test PHP script
To test that PHP is installed correctly type the following into the terminal window:
sudo nano /var/www/phpinfo.php
Now within nano enter the following script:
<?php phpinfo();?>
Press CTRL and O to save the file and CTRL and X to exit nano.
Within a web browser type the following into the address bar:
http://192.168.1.x/phpinfo.php
Replace x with the last number of your IP address. If you are running directly on the Raspberry PI then you can just enter the following:
http://localhost/phpinfo.php
Install MySQL
There are three applications that will be installed for MySQL:
- MySQL-Server
- MySQL-Client
- PHPMyAdmin
MySQL-Server is the actual database server.
MySQL-Client enables you to interact with the server from the command line.
PHPMyAdmin enables you to interact with the server from within a web browser.
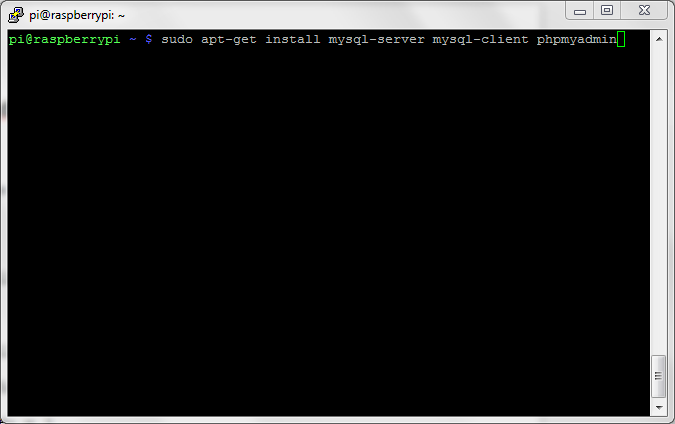
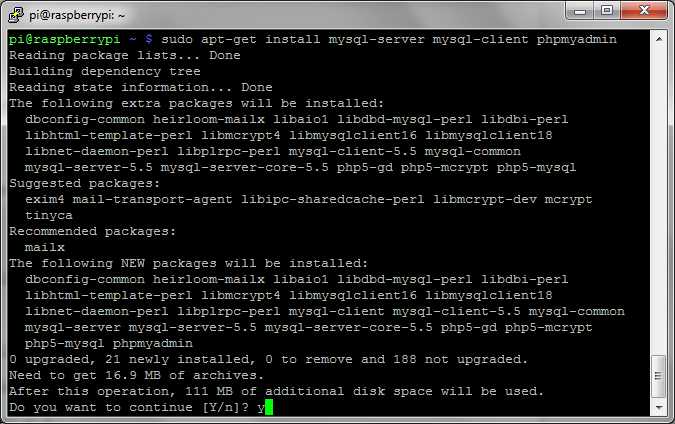
To install all three applications at once type the following into the terminal window:
sudo apt-get install mysql-server mysql-client phpmyadmin
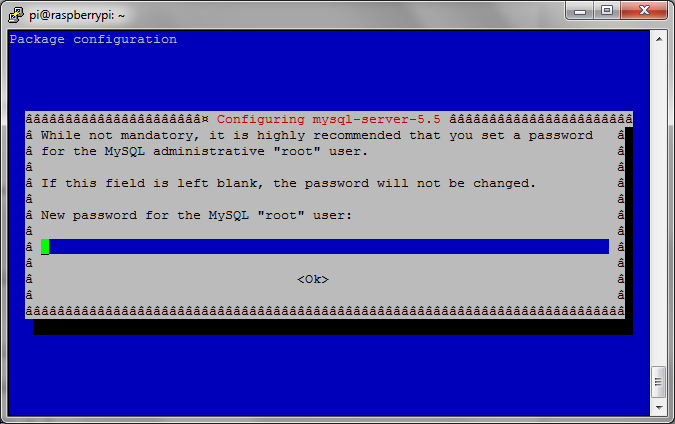
During the install you will be asked to enter a password for the root user. Do not confuse this with the root user within Linux. This is the root password for the database server. Enter a strong password. Repeat the password when asked to do so.
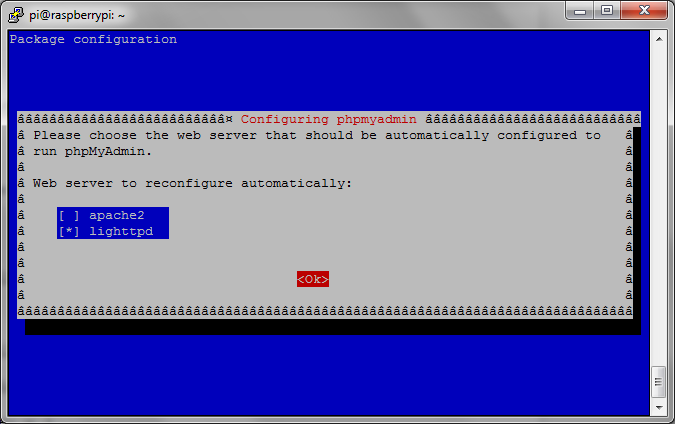
During the installation of PHPMyAdmin you will be asked which web server is installed. Choose lighttpd.
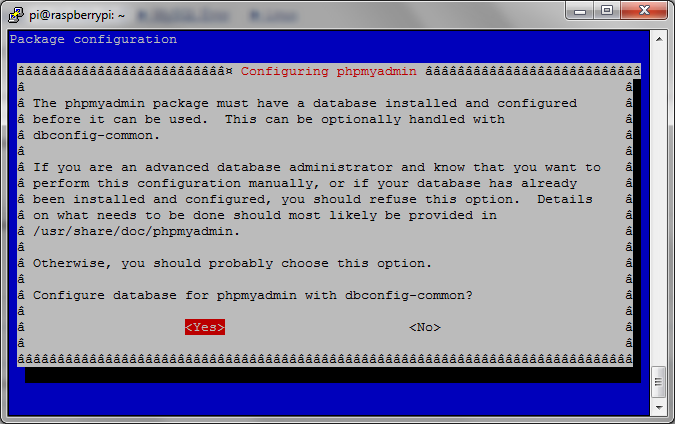
A message will appear asking whether you want to create a dummy database. As the message states, if you know what you are going to be using the database server for or a database is already configured then you can answer no but if you are just experimenting then you can answer yes.
I recommend answering yes to this. It doesn't do any harm.
You will now be asked to enter the root password and repeat it. Enter the root password you created earlier. (remember this is the database root password, not the linux root password).
When the install has finished restart the server by typing the following into the terminal:
sudo /etc/init.d/lighttpd restart
To test that the database server has been installed correctly open a browser window type the following into the address bar:
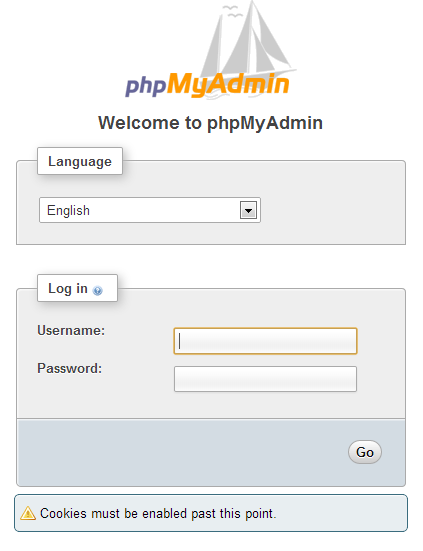
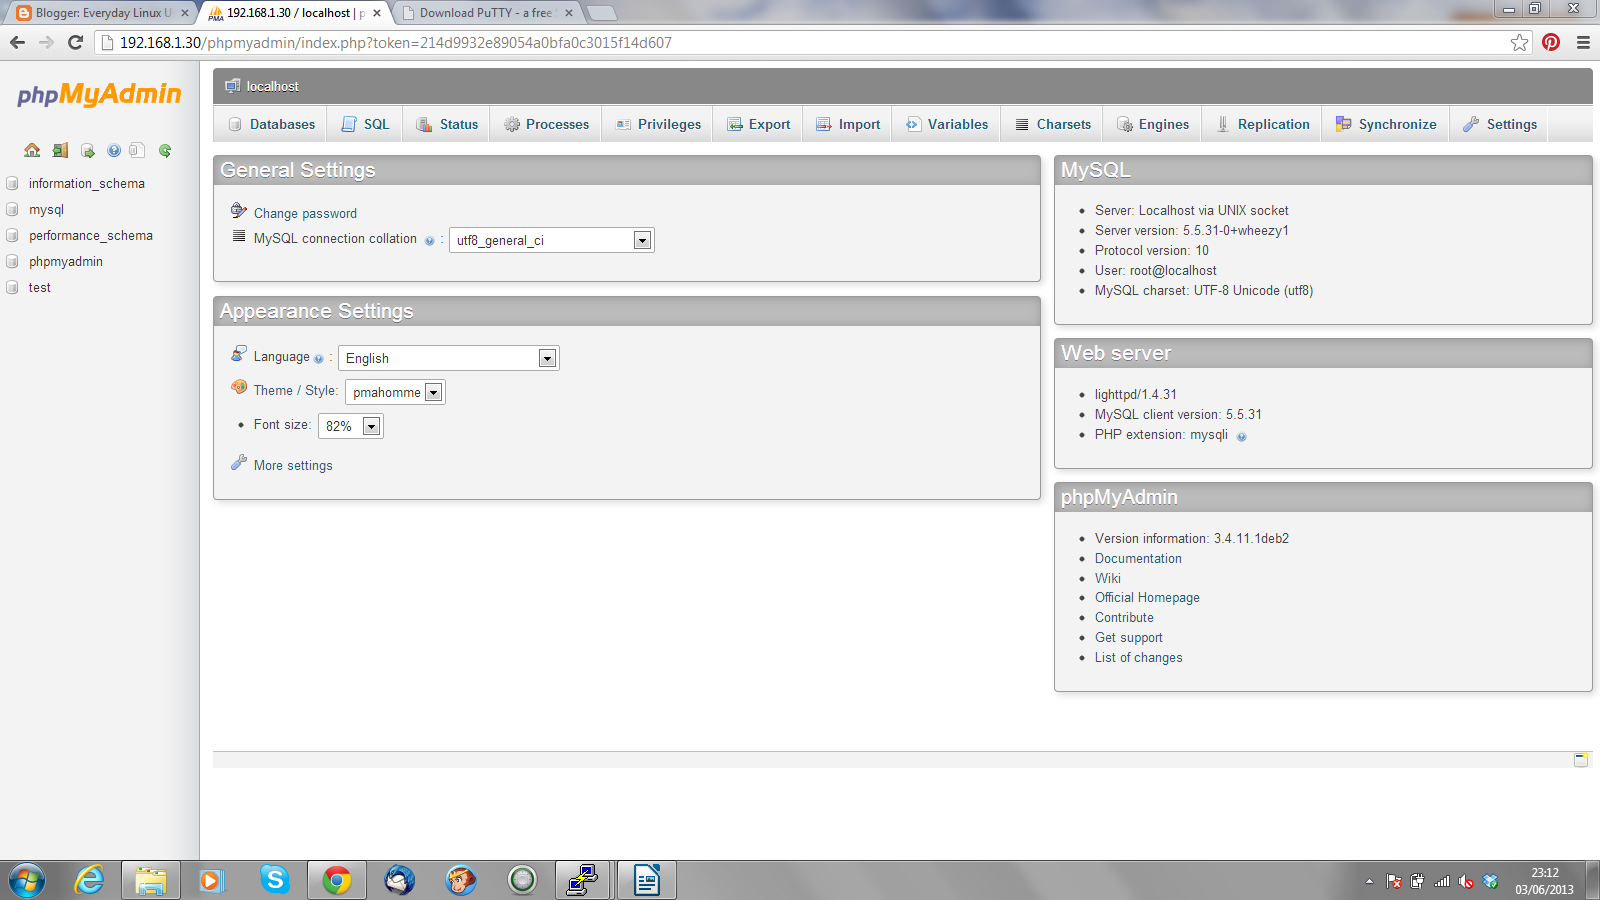
http://192.168.1.x/phpmyadmin
Replace x with the last number of your IP address. If you are running directly on the Raspberry PI then you can just enter the following:
http://localhost/phpmyadmin
Enter the username and password to log in.
Summary
This tutorial has shown how to set up the basic web server with PHP and MySQL
You might now want to try installing Wordpress, Joomla, Codeigniter and Blueprint.
I will be following up this article with details of how to install the aforementioned items later this week. I will also show you how to access the web pages externally and how to set up a host name to replace the IP address.
If you have any problems using this guide or you have tips for other users feel free to add them to the comments section.
Thankyou for reading.
Introduction
This week has been an awful week. I have basically had very limited access to the internet and so this has put me behind on the schedule that I had set for May.
I have therefore decided this week to finally type up the notes I had taken when setting up the Raspberry PI as a personal web server.
Why set up a Web Server on the Raspberry PI?
There are a few reasons why you might set up your Raspberry PI to run as a web server.
If you are a student learning to program then you might find it useful to run the Raspberry PI as a web server so that you can practice your PHP scripting or PERL scripting. PHP is good as it is a modern OO language that incorporates a lot of the principles of other programming languages
You can learn common techniques with PHP such as test driven development. There are also good coding frameworks available such as Codeigniter which will help you learn MVC. Skills learned in PHP can easily be transposed to other languages including C# and Java.
Other more hobbyist programmers might like a web server to run something like Joomla to create a home intranet site.
People who design Wordpress templates might like a personal web server to test out new templates. By using the Raspberry PI as the web server the designer can use other computers to make sure the layout looks good in Internet Explorer, Chrome and Firefox.
Assumptions
This guide assumes you are using the default Raspbian Wheezy operating system.
The web server that is to be used is Lighttpd.
PHP will be installed as the scripting language.
MySQL will be installed as the database server.
Get your IP Address
If you are working directly on the Raspberry PI then you can skip this part but if you are accessing via SSH obtain the IP Address of the Raspberry PI by typing the following into a terminal window on the Raspberry PI.
ifconfig
This will return an IP address in the form of 192.168.1.x where x is the 4th number. (For example 30).
If you follow this guide direct from the PI then you can get away with using localhost instead of the IP address when specified later on in the guide and you can skip the SSH step below.
SSH
If you plan to SSH onto the Raspberry PI from within Windows run Putty.exe (
http://www.putty.org/) and type in the IP address into the Host Name box. Now click "Open".
If you plan to SSH onto the Raspberry PI from within Linux open a terminal window and type SSH 192.168.1.x (where x is the last number).
Whether you are running from within Windows or Linux you will be asked for the username and password. You should enter "pi" as the user and the password you set up for the "pi" user when you installed Raspbian.
You should now be logged in via SSH.
Update your repositories
First of all run an apt-get update to make sure everything you need is available to download.
sudo apt-get update
Installing Lighttpd
There are quite a few guides on the internet for showing how to set up a web server. For the Raspberry PI I chose to install Lighttpd as it is light in nature and won't use up too much of the Raspberry PI's resources.
To install Lighttpd run the following command
sudo apt-get install lighttpd
To test whether the web server is installed correctly type the following into the web browser address bar:
http://192.168.1.x
Replace x with the last number of your IP address. If you are running directly on the Raspberry PI then you can just enter the following:
http://localhost
You should see a placeholder page as shown above.
Installing PHP
To install PHP run the following command:
sudo apt-get install php5-cgi
Now you need to add a line to the php.ini file. To do this there is a file called php.ini in /etc/php5/cgi.
Type the following:
sudo nano /etc/php5/cgi/php.ini
Navigate to the bottom of the file and add the following line.
cgi.fix_pathinfo
= 1
To save the file press CTRL and O on the keyboard and to exit nano press CTRL and X.
Finally to get fast CGI working type the following onto the command line:
sudo
lighty-enable-mod fastcgi
(PLEASE NOTE THIS WAS MISSING FROM THE ORIGINAL VERSION)
Now type the following:
sudo lighty-enable-mod fastcgi-php
Now the web server needs to be restarted.
sudo
/etc/init.d/lighttpd restart
Create a test PHP script
To test that PHP is installed correctly type the following into the terminal window:
sudo nano /var/www/phpinfo.php
Now within nano enter the following script:
<?php phpinfo();?>
Press CTRL and O to save the file and CTRL and X to exit nano.
Within a web browser type the following into the address bar:
http://192.168.1.x/phpinfo.php
Replace x with the last number of your IP address. If you are running directly on the Raspberry PI then you can just enter the following:
http://localhost/phpinfo.php
Install MySQL
There are three applications that will be installed for MySQL:
- MySQL-Server
- MySQL-Client
- PHPMyAdmin
MySQL-Server is the actual database server.
MySQL-Client enables you to interact with the server from the command line.
PHPMyAdmin enables you to interact with the server from within a web browser.
To install all three applications at once type the following into the terminal window:
sudo apt-get install mysql-server mysql-client phpmyadmin
During the install you will be asked to enter a password for the root user. Do not confuse this with the root user within Linux. This is the root password for the database server. Enter a strong password. Repeat the password when asked to do so.
During the installation of PHPMyAdmin you will be asked which web server is installed. Choose lighttpd.
A message will appear asking whether you want to create a dummy database. As the message states, if you know what you are going to be using the database server for or a database is already configured then you can answer no but if you are just experimenting then you can answer yes.
I recommend answering yes to this. It doesn't do any harm.
You will now be asked to enter the root password and repeat it. Enter the root password you created earlier. (remember this is the database root password, not the linux root password).
When the install has finished restart the server by typing the following into the terminal:
sudo /etc/init.d/lighttpd restart
To test that the database server has been installed correctly open a browser window type the following into the address bar:
http://192.168.1.x/phpmyadmin
Replace x with the last number of your IP address. If you are running directly on the Raspberry PI then you can just enter the following:
http://localhost/phpmyadmin
Enter the username and password to log in.
Summary
This tutorial has shown how to set up the basic web server with PHP and MySQL
You might now want to try installing Wordpress, Joomla, Codeigniter and Blueprint.
I will be following up this article with details of how to install the aforementioned items later this week. I will also show you how to access the web pages externally and how to set up a host name to replace the IP address.
If you have any problems using this guide or you have tips for other users feel free to add them to the comments section.
Thankyou for reading.
Posted at 23:26 | by
Gary Newell