Wednesday, 29 August 2012

Linux Mint 13 with a hint of cinnamon

Introduction

Last week I posted an article about Linux Mint 13 using the Mate desktop. The machine I used as the host for the Mint 13 Mate desktop is a fairly basic laptop with not much in the way of graphics rendering capabilities.

This article is a review of the Cinnamon edition of Linux Mint 13. Now obviously it would be unfair to use the same laptop to do the Cinnamon review because clearly the laptop is not up to the task of running Cinnamon.

Instead I am using my rarely used desktop PC which is in fact a very good gaming PC with a high end graphics card, a large hard drive, a solid state drive, loads of horsepower and memory to go with it. In theory this beast of a machine should have no troubles at all running Mint with Cinnamon.

I had already downloaded the Cinnamon version of Mint 13 from the Linux Mint website at http://www.linuxmint.com/download.php at the same time that I downloaded the Mate version. Therefore all I had to do was use Unetbootin to put the iso onto a USB drive and reboot the PC.

Startup

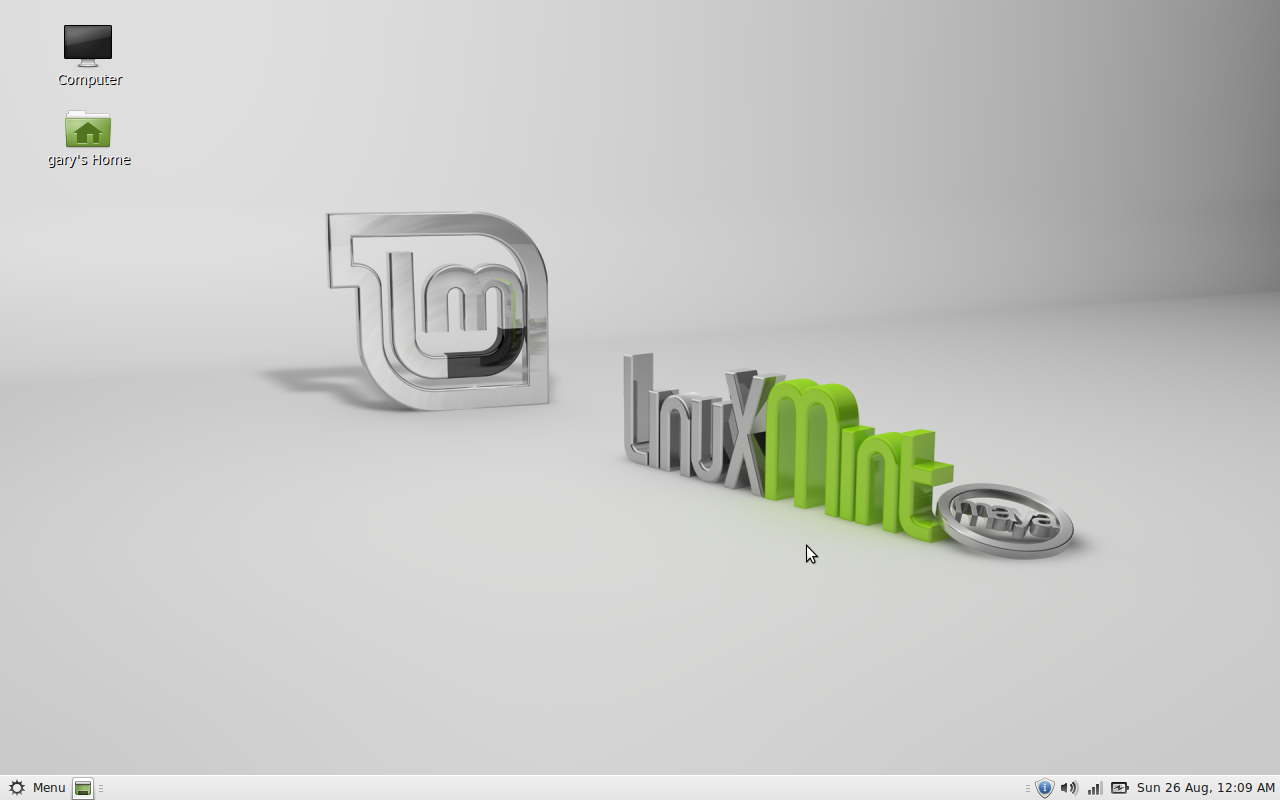
The boot process is very quick but like the Mate version a little disconcerting in that it starts off black, very black, and then suddenly springs to life with the Mint login screen.

After logging in the screen goes blank again except for the cursor and then bam the desktop appears.

Rather strangely though the menu bar at the bottom was invisible and when I moved my mouse over the clickable bits a grey box appeared for each item with a tooltip but that was it. Eventually the word menu appeared in the bottom left hand corner.

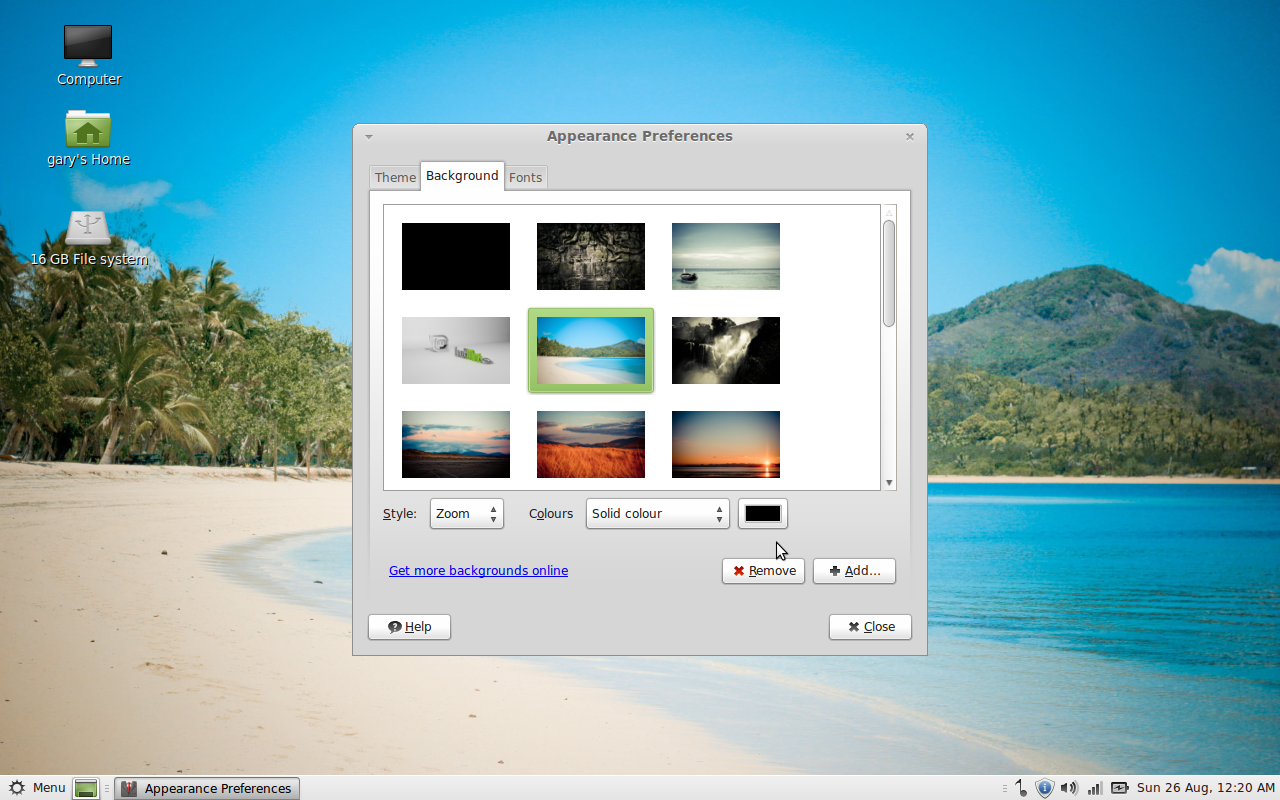
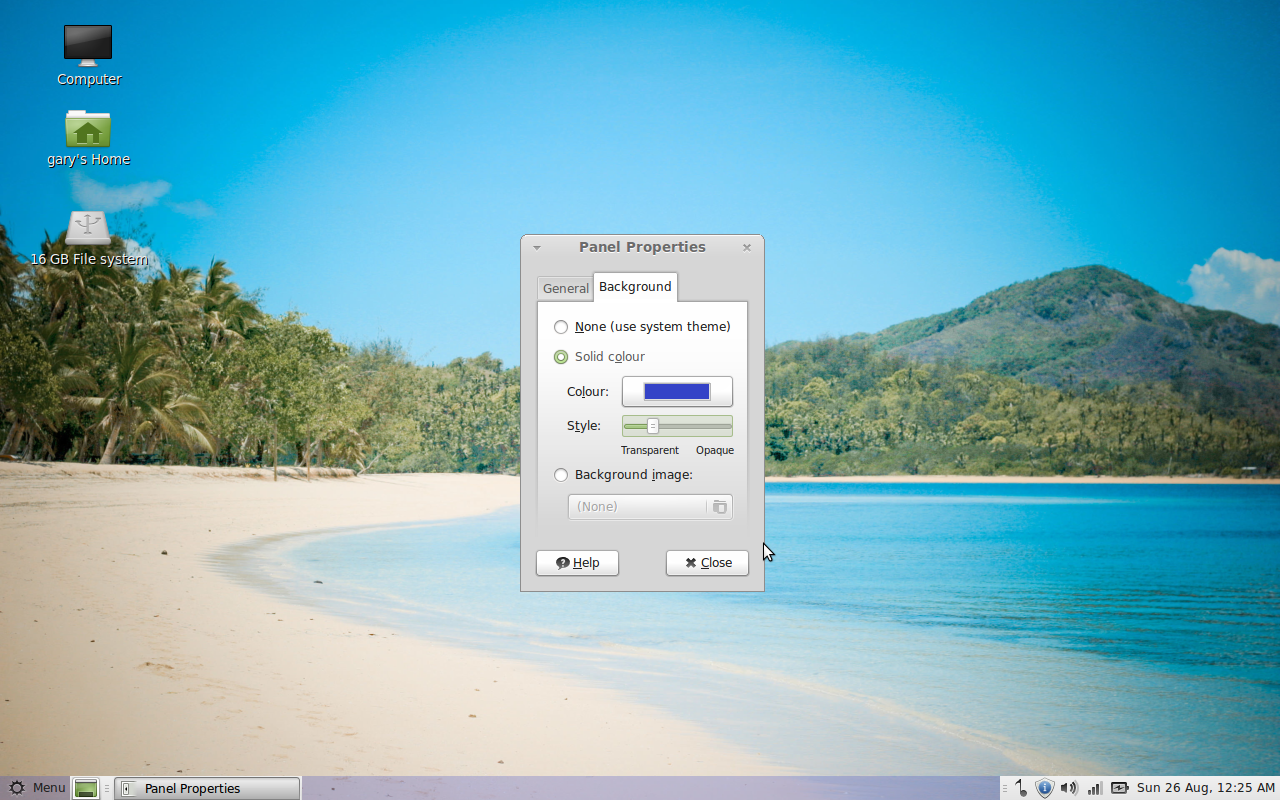
To get around the invisible toolbar and grey boxes problem I had to go into the panel settings and choose a different theme. 


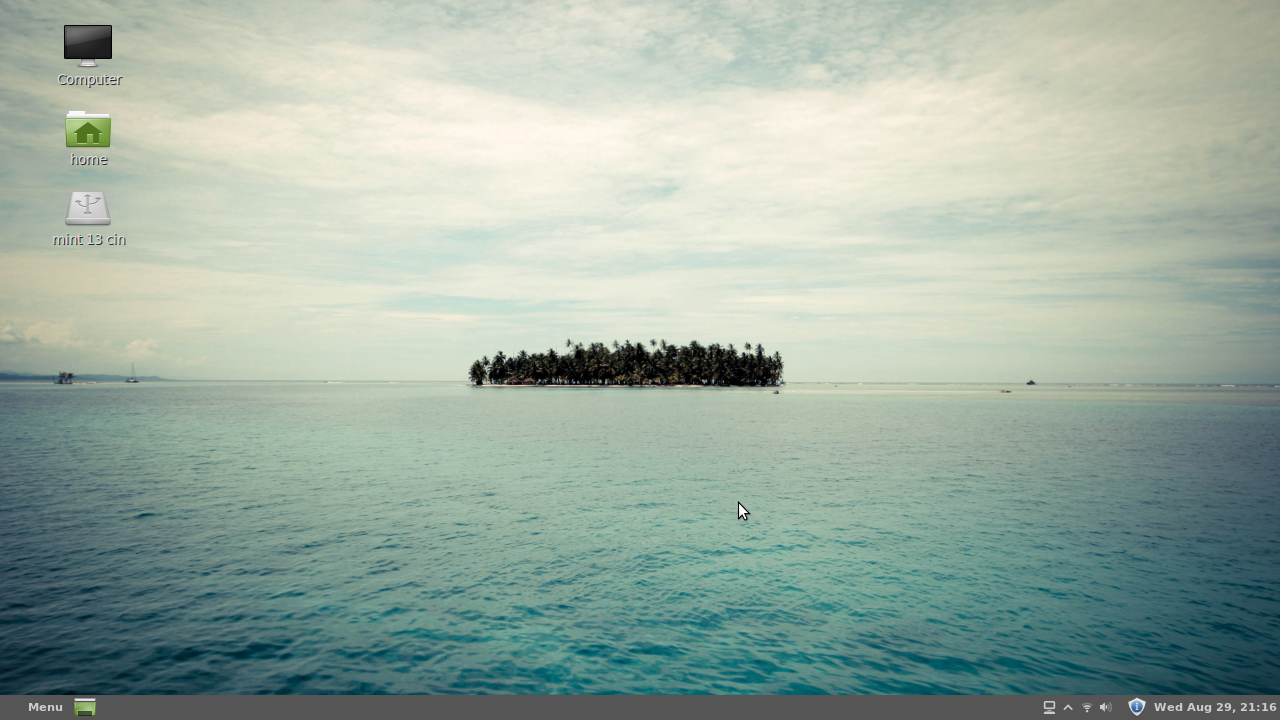
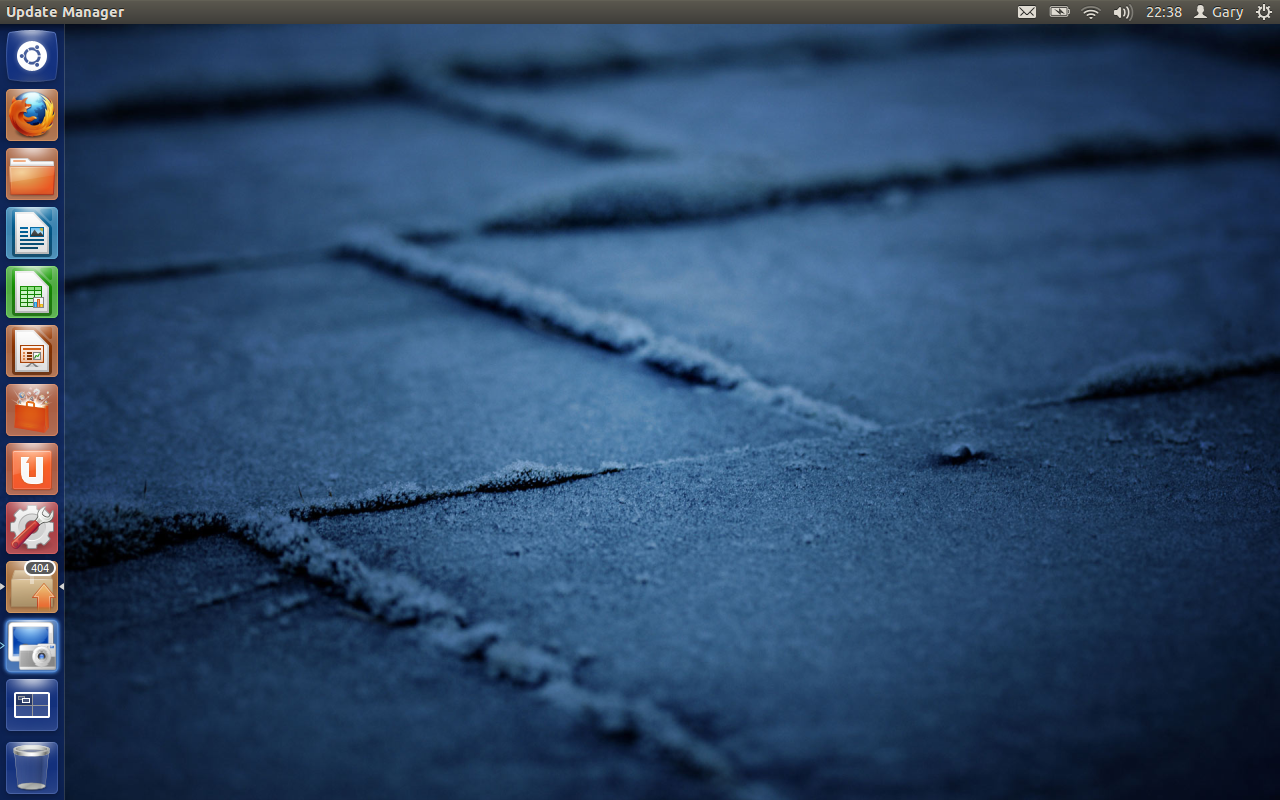
As with the Mate desktop I wasn't that keen on the default Mint wallpaper. It lacks colour. Fortunately there are a host of other wallpaper choices available so I went for the one above. The theme I chose was Cinnamon.

The Desktop

The Cinnamon desktop is basically a panel at the bottom of the screen with the menu in one corner and a collection of icons in the system tray next to the date and time.

By default the system tray has icons for connecting to removable drives, wireless settings, panel settings, updates and the date/time. Next to the menu icon is an icon which hides all windows and shows the desktop. It is all a very familiar looking setup.
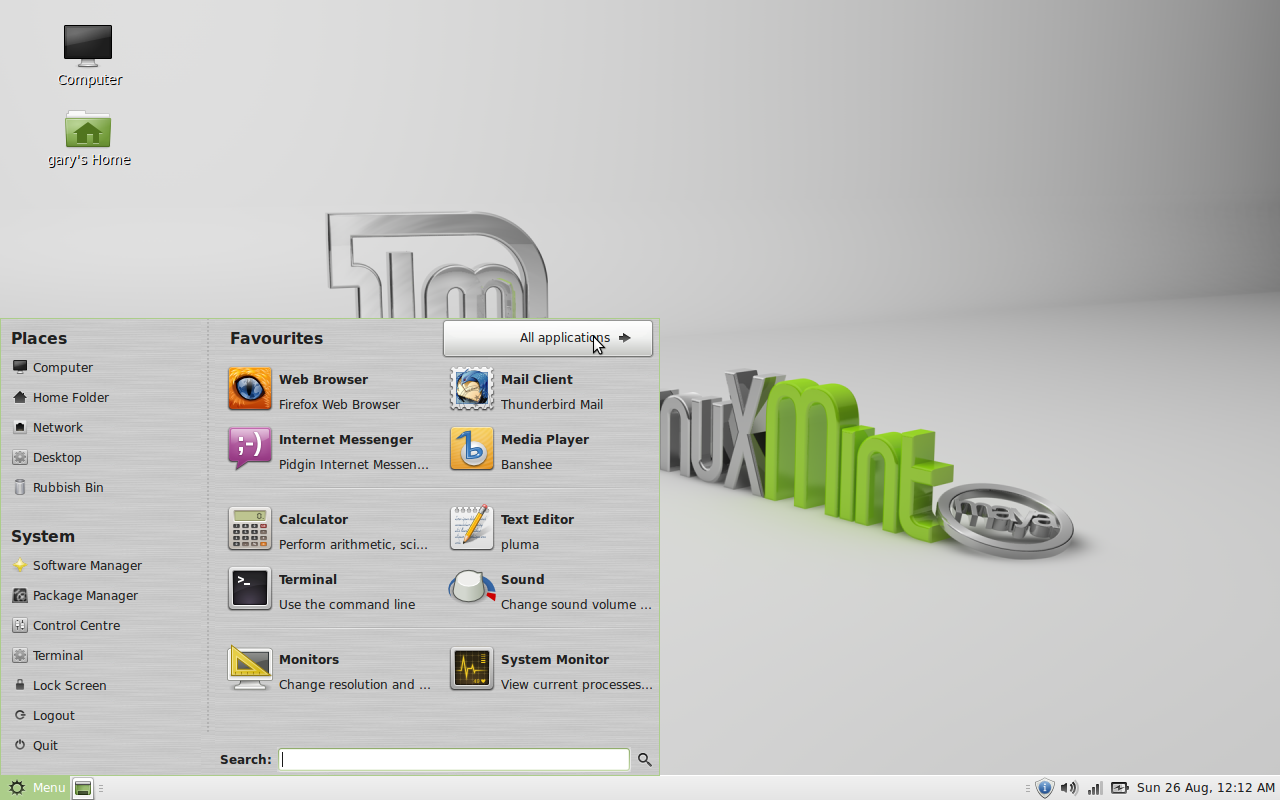
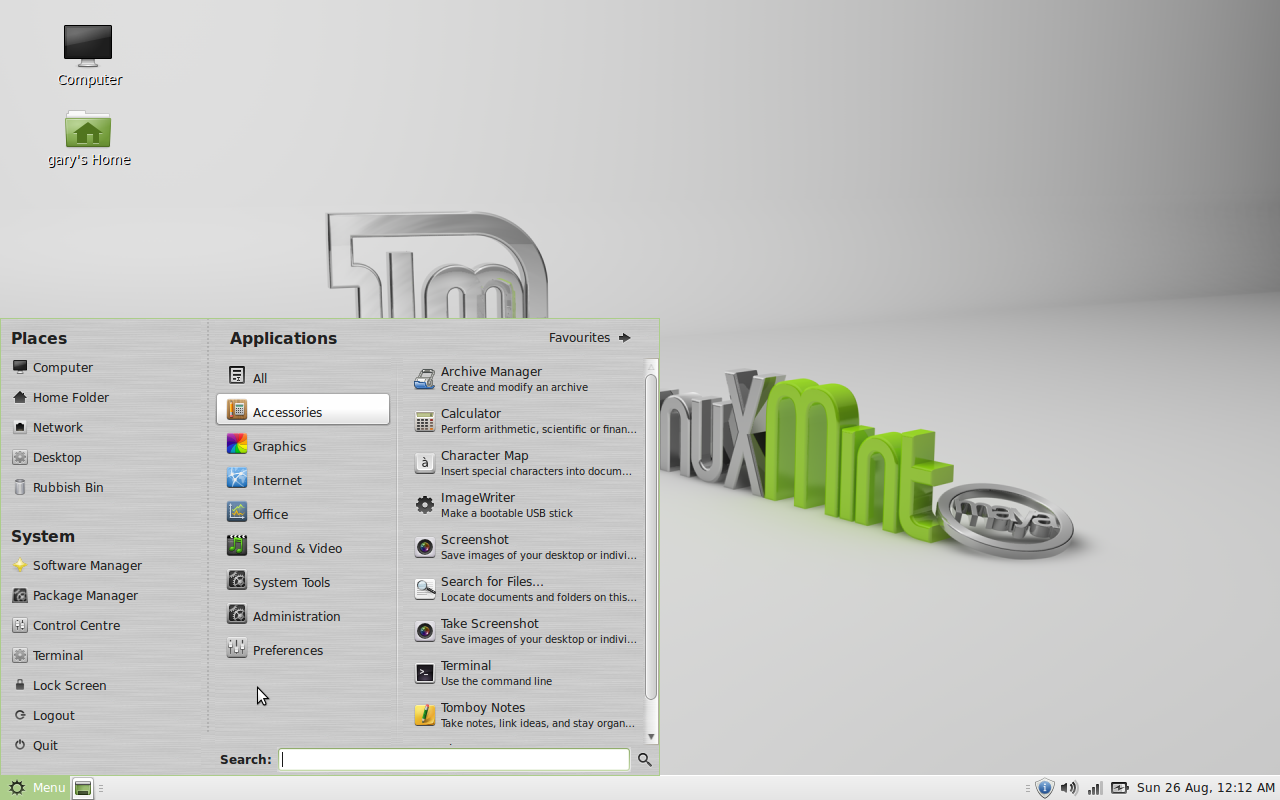
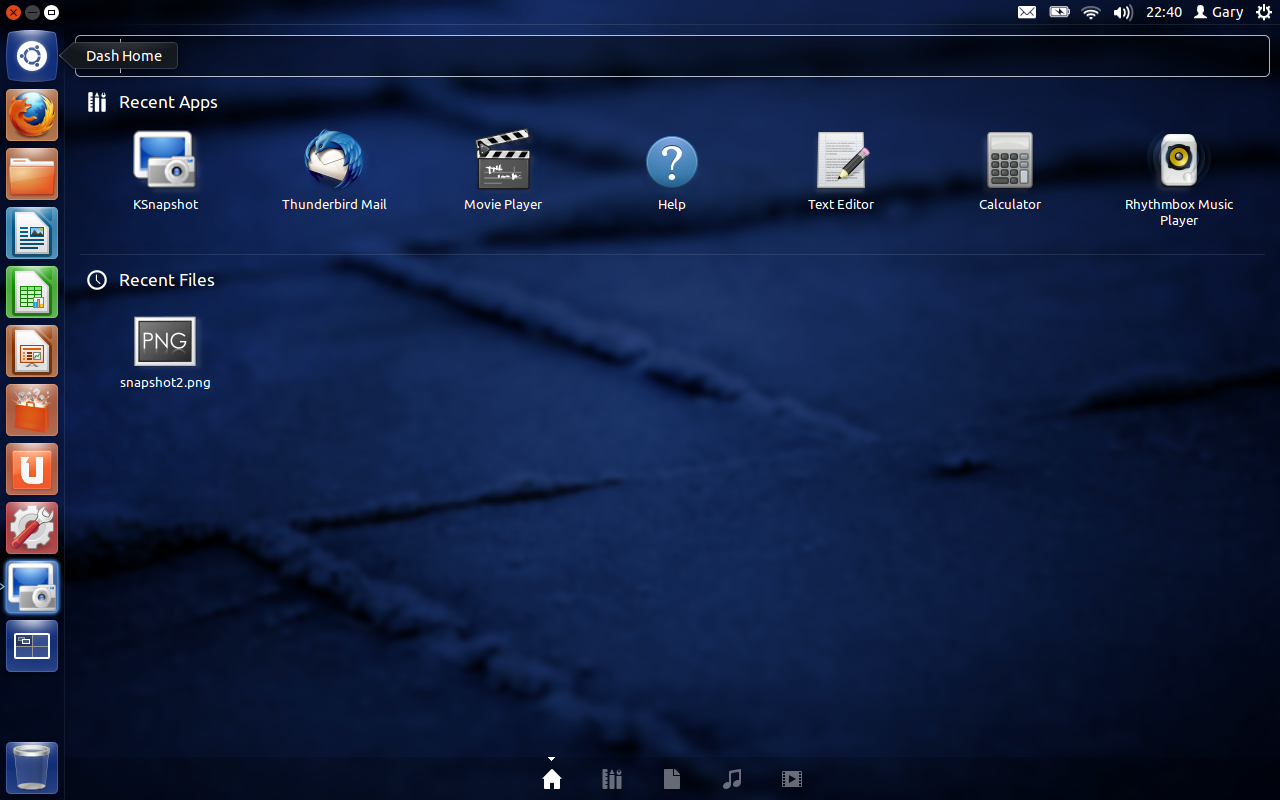
The Menu


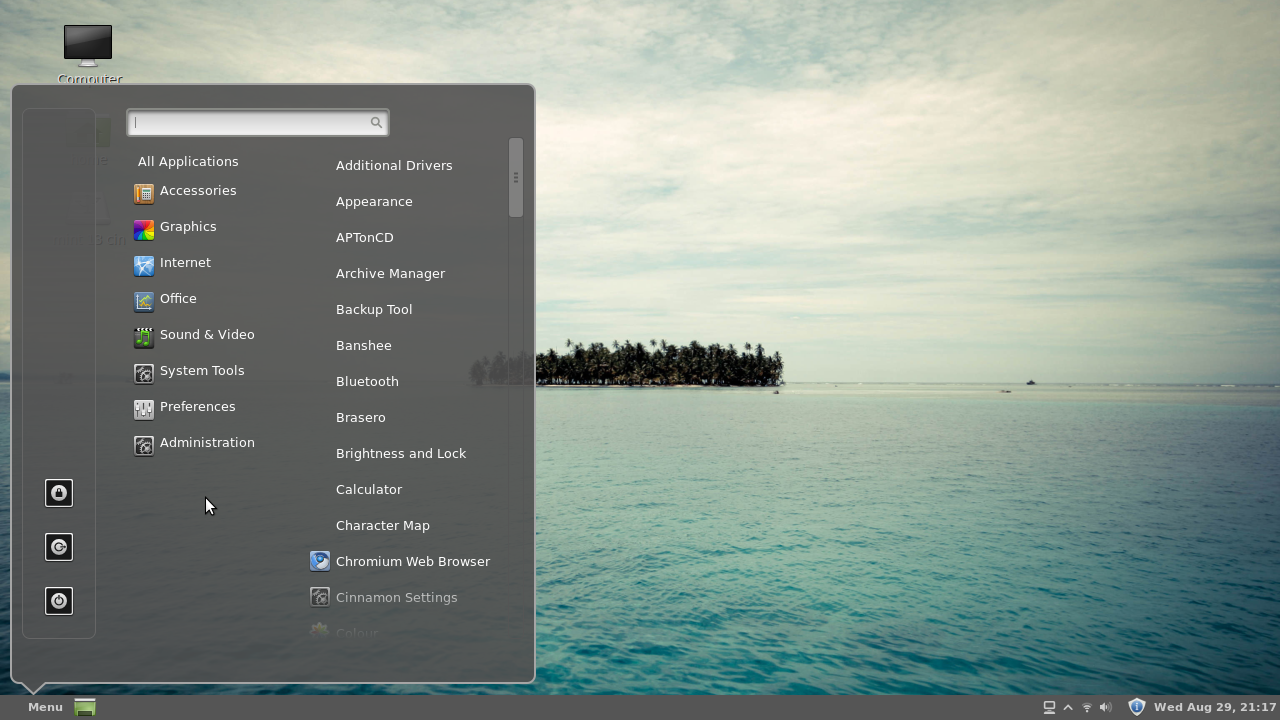
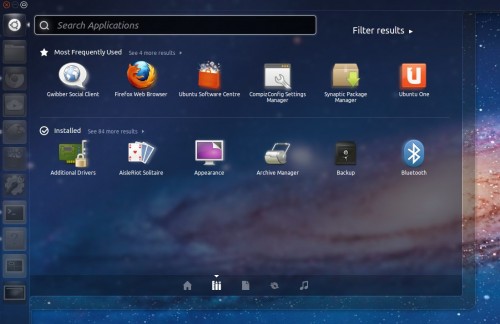
The Cinnamon menu is a lot clearer than the Mate equivalent. There are basically 3 columns. In column 1 there are icons to shut down, log out and lock the screen. In column 2 there is a list of categories and in column 3 depending on the category chosen a list of applications for the category are shown. To be honest you couldn't get a clearer system for choosing applications than that.


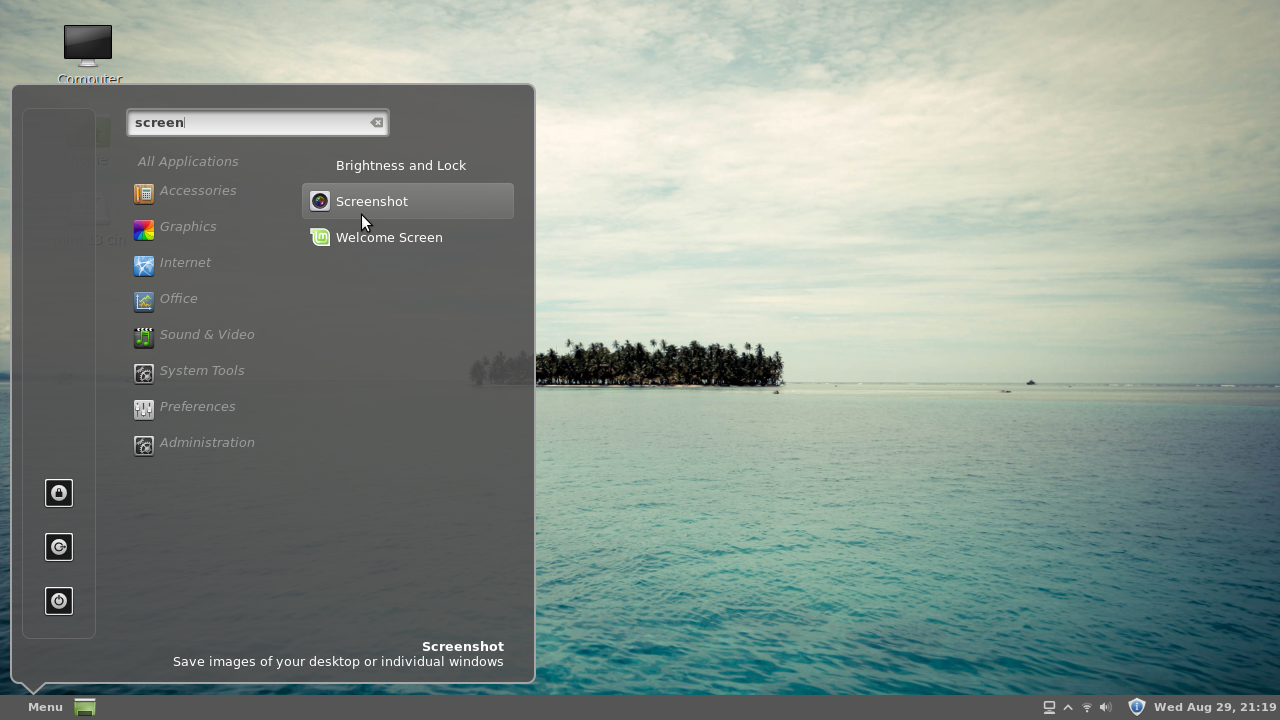
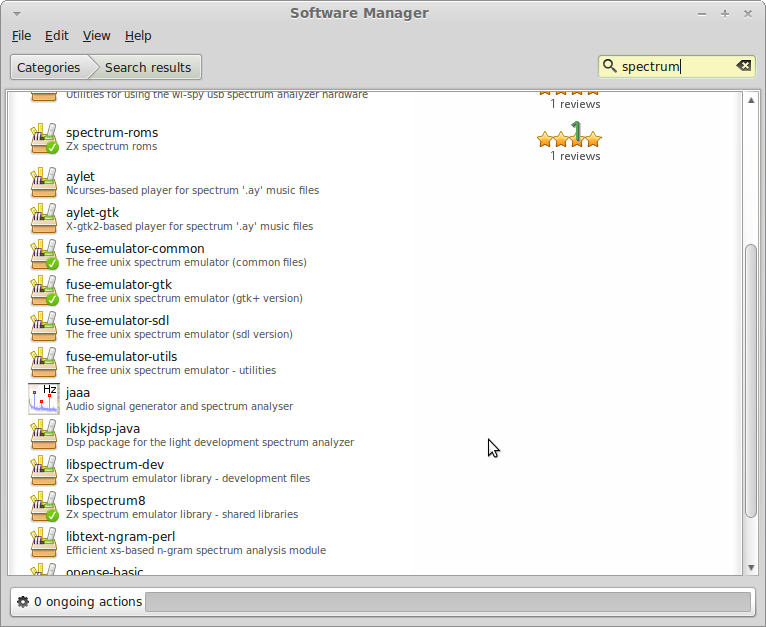
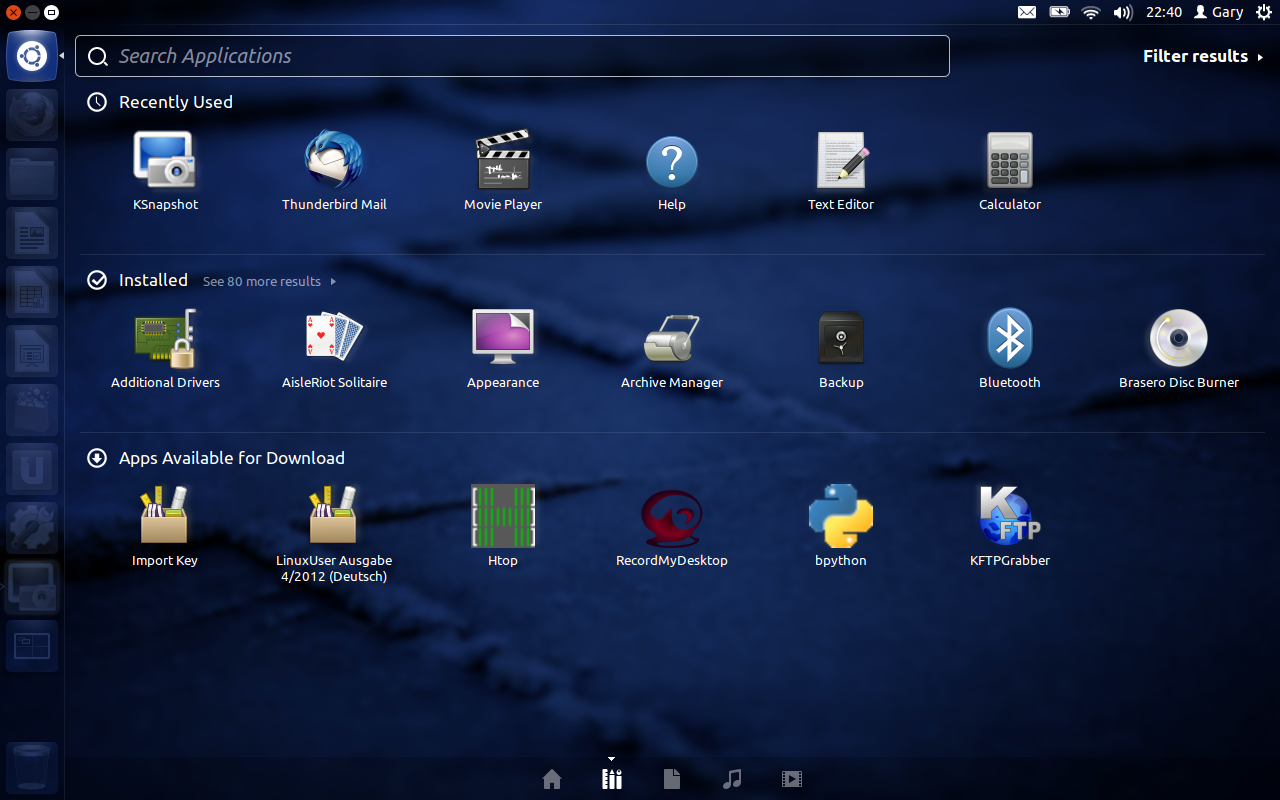
If you are looking for a specific application start typing in the search bar and a list of potential applications will appear. You can type either the name of the application or you can type words to describe the application. 

In the image above I was searching on Screenshot which is the tool used to grab the images for this article. I also tried searching terms for loading Brasero with mixed results. Typing "Brasero" obviously worked as did "CD" and "Copy" but "burn" did not show any results even though Brasero is used for burning CDs. Maybe I'm being a bit picky on that one.

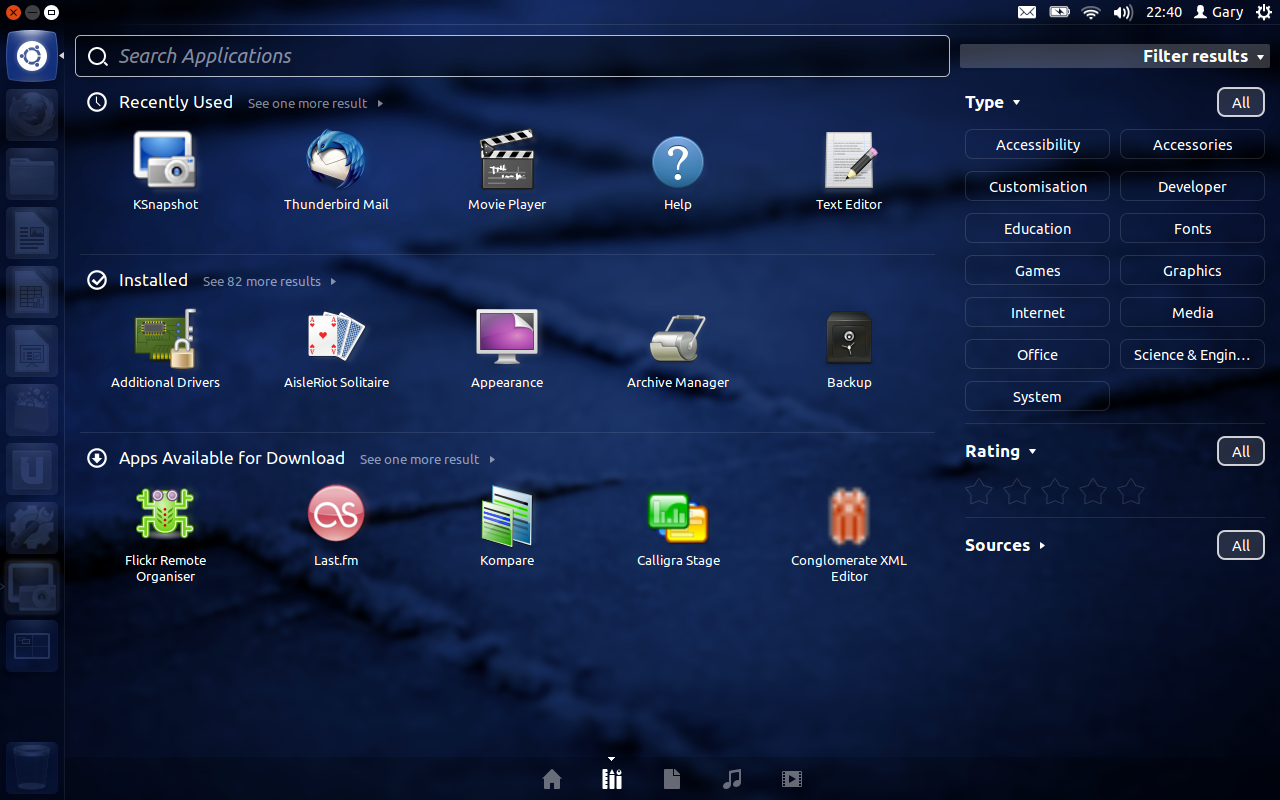
As you can see the Cinnamon theme chosen gives the menu some transparency and in general the menu looks nice. I could have gone for a lighter theme to get a lighter menu and task bar.
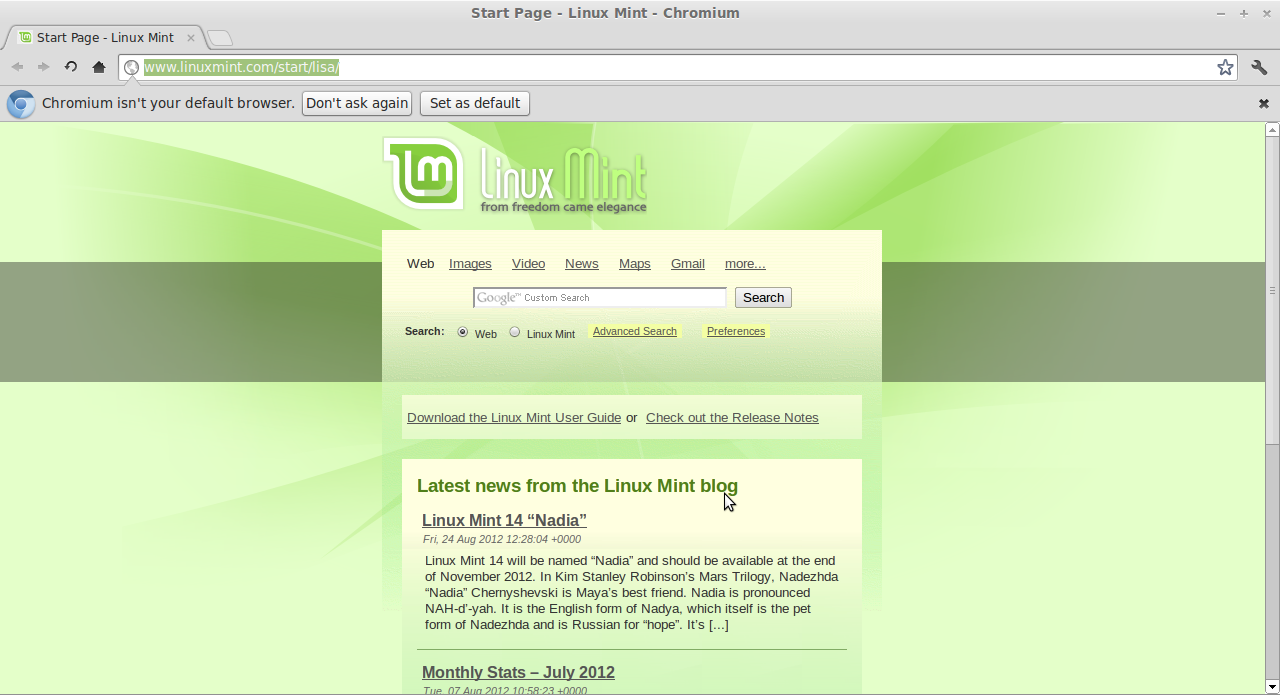
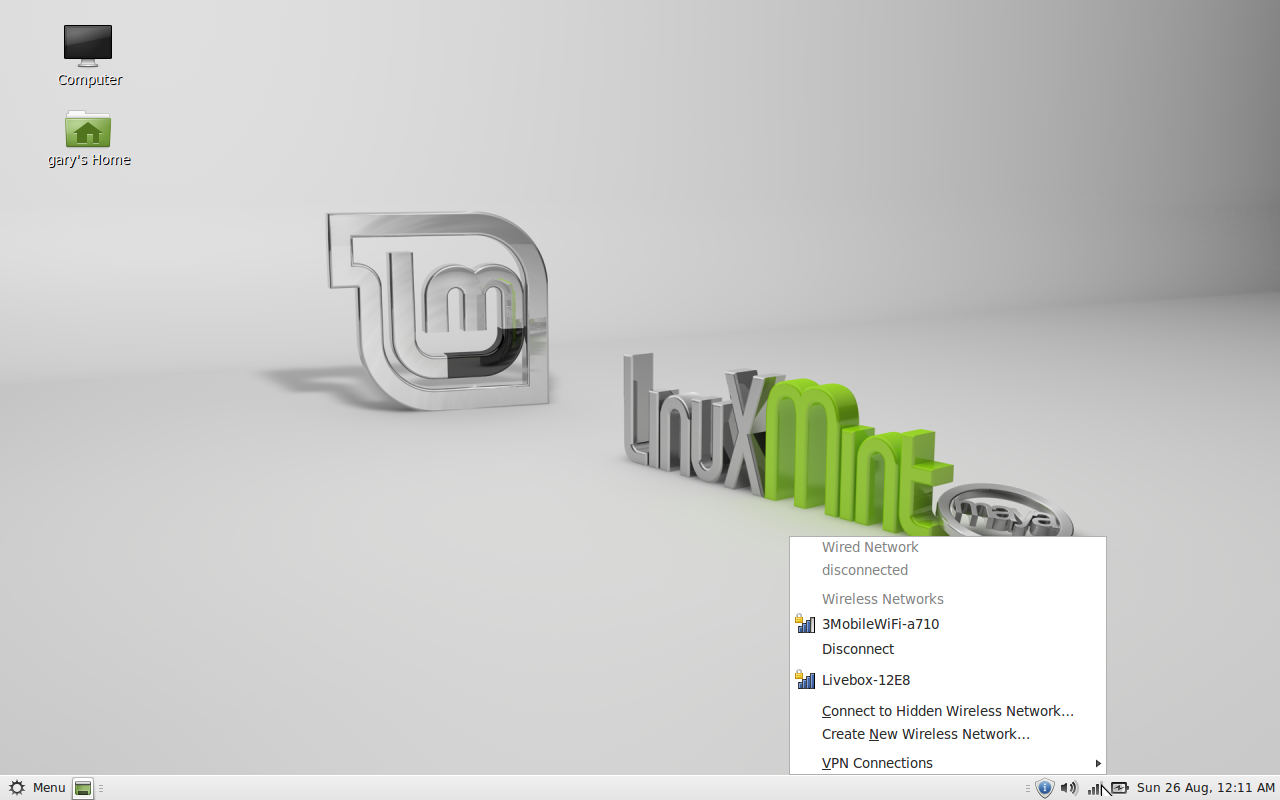
The Internet

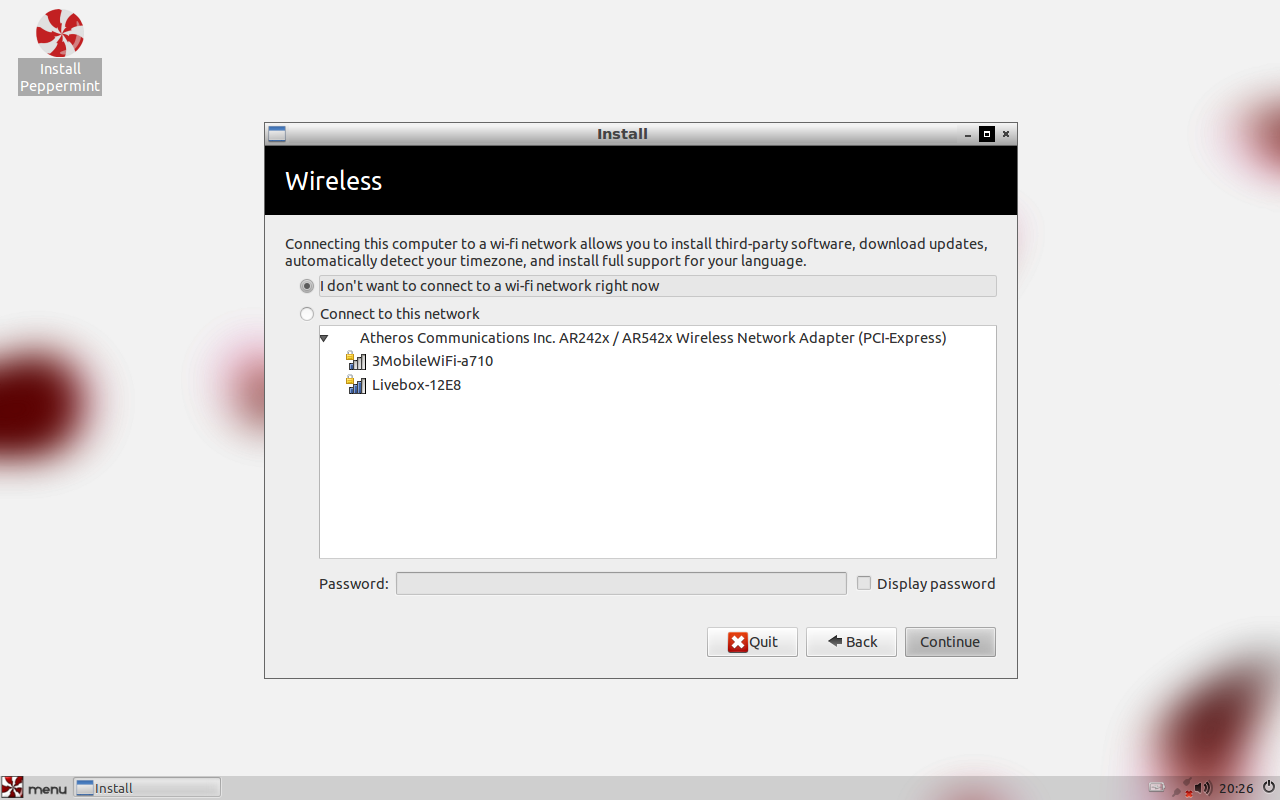
Connecting to the internet was easy. Simply click on the wireless icon in the system tray and a list of possible connections appeared. Both my home broadband and three mobile broadband appeared. To connect to either all I had to do was enter the security key.
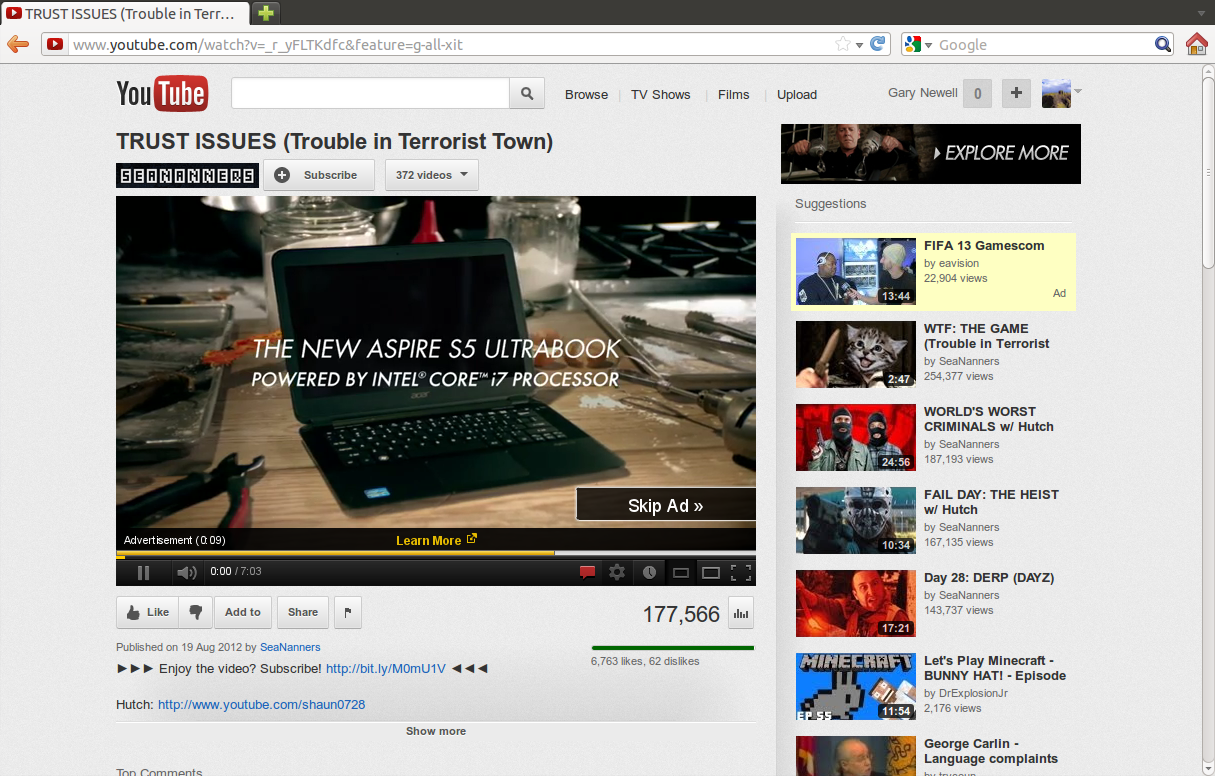


Extras

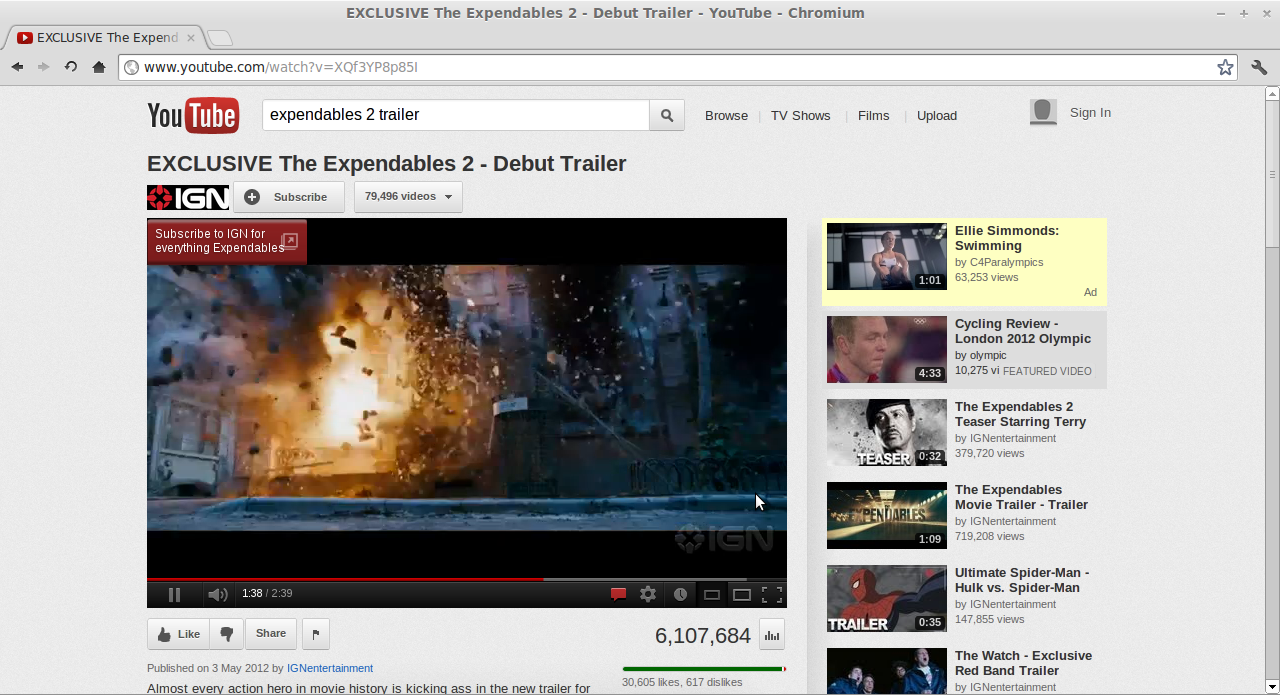
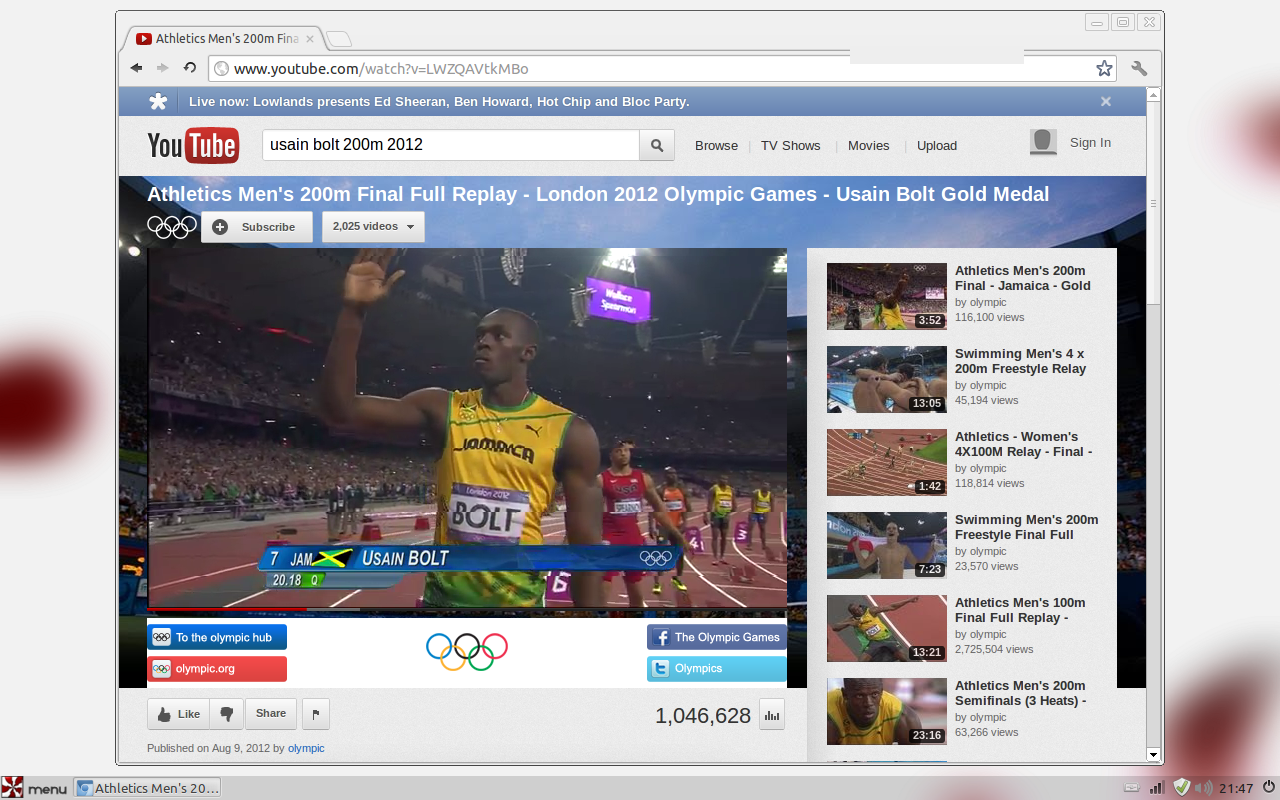
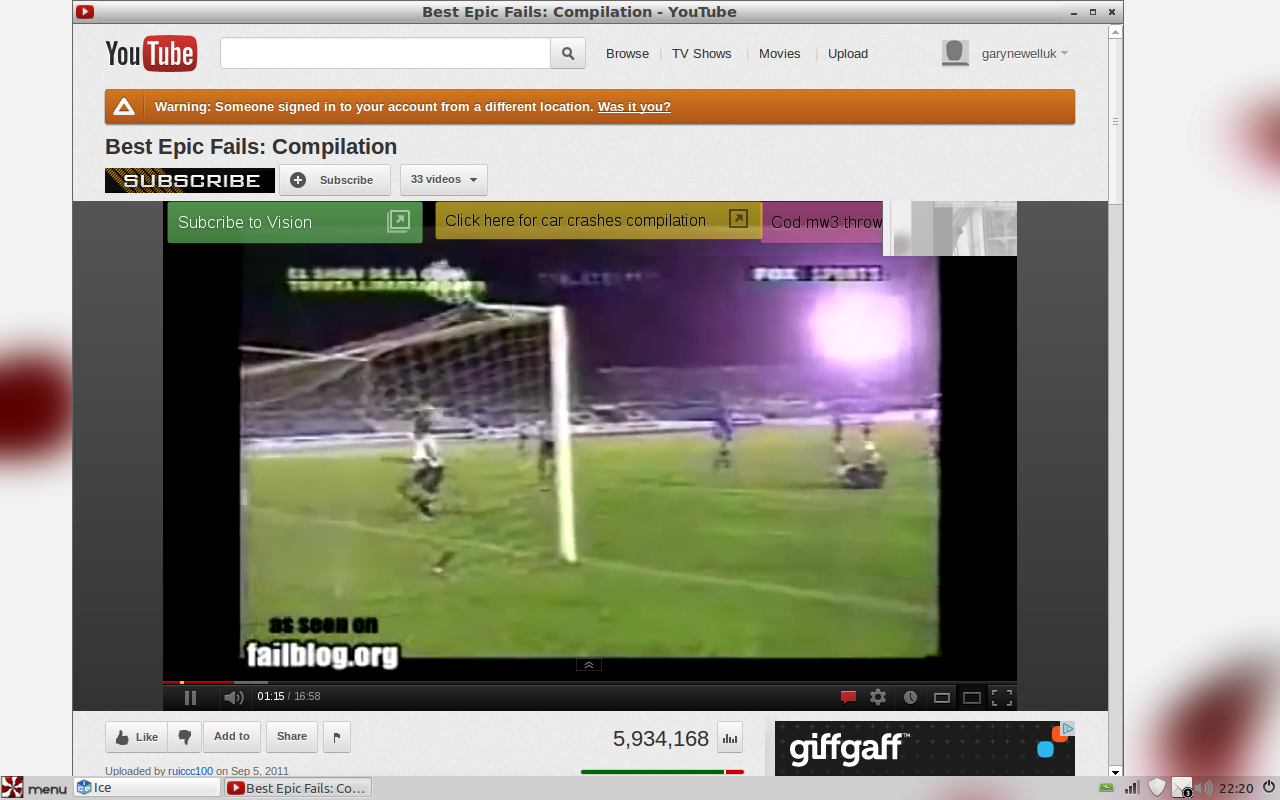
Linux Mint comes with all the extras such as Flash, MP3 codecs and Java installed by default. Watching videos on You tube therefore works straight away.
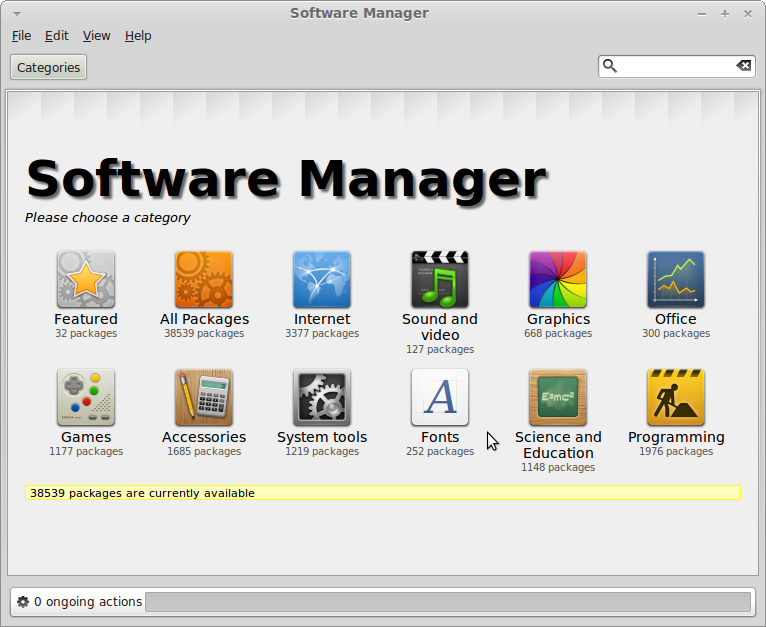
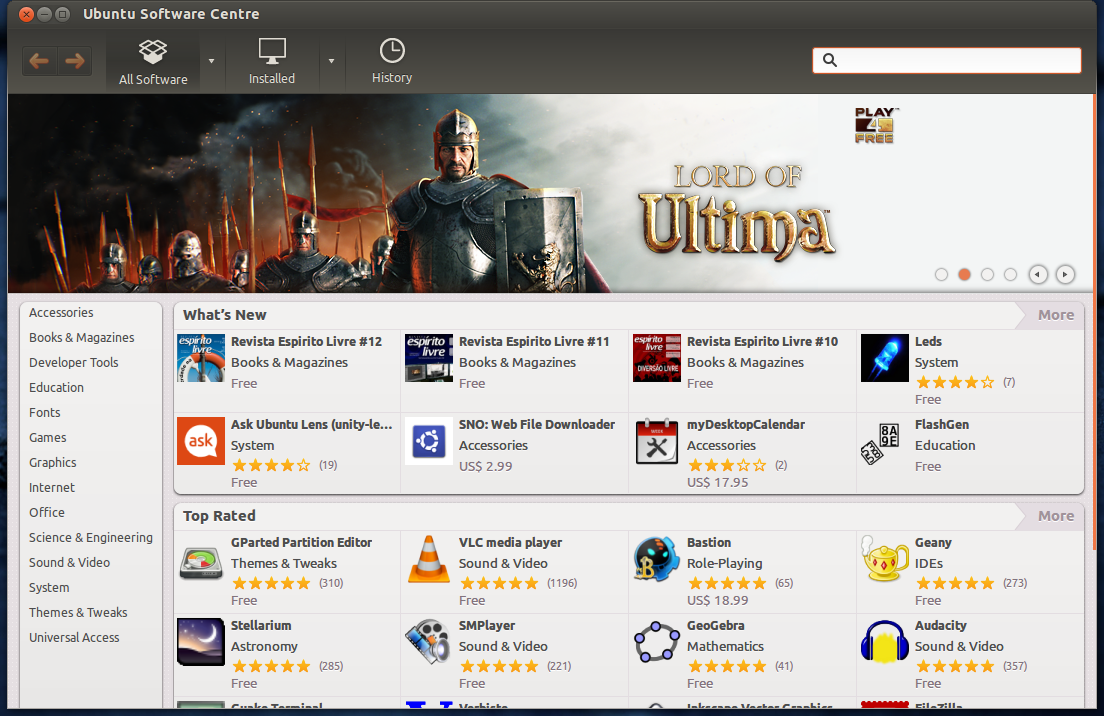

Software


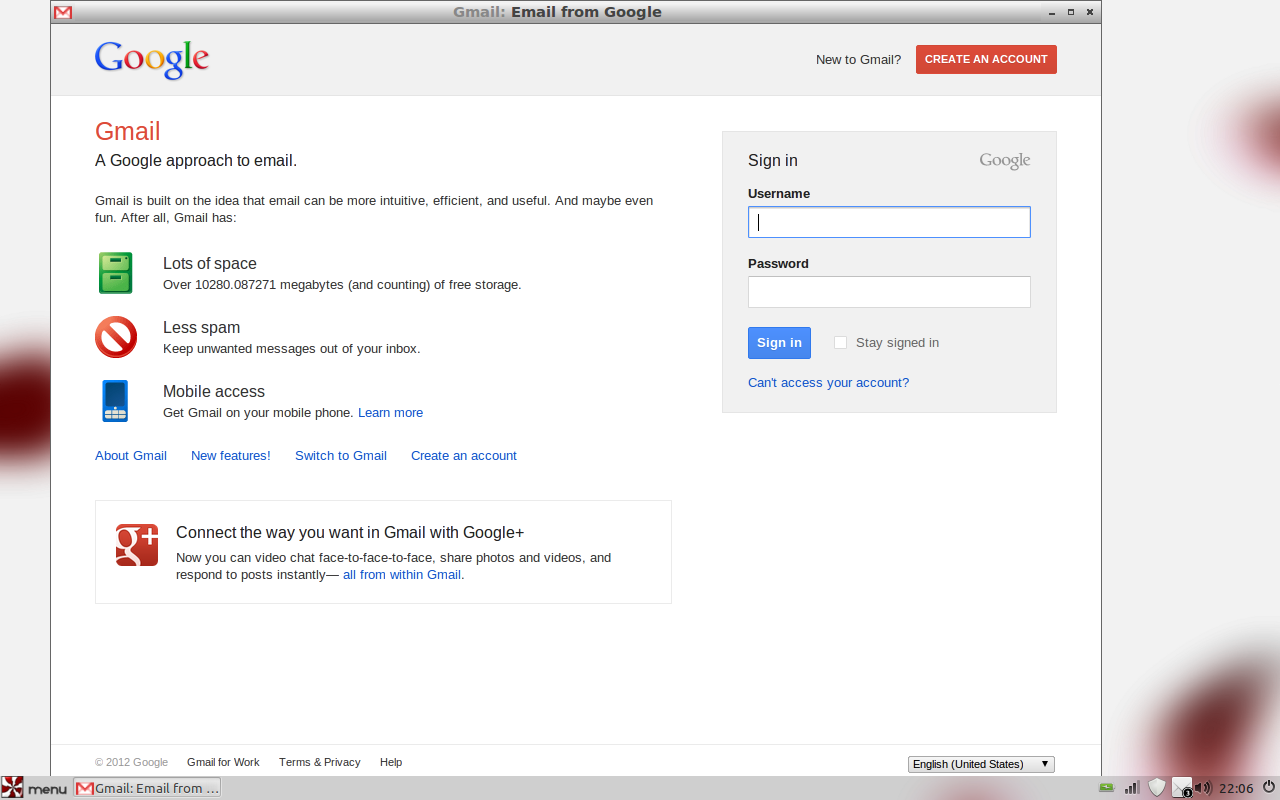
Mint comes with most of the generic software you would use on a daily basis. LibreOffice is installed for word processing, presentations and creating spreadsheets, Thunderbird is installed as the default mail client, Pidgin is the instant messaging software and Firefox is installed as the browser. GIMP is installed for image editing.

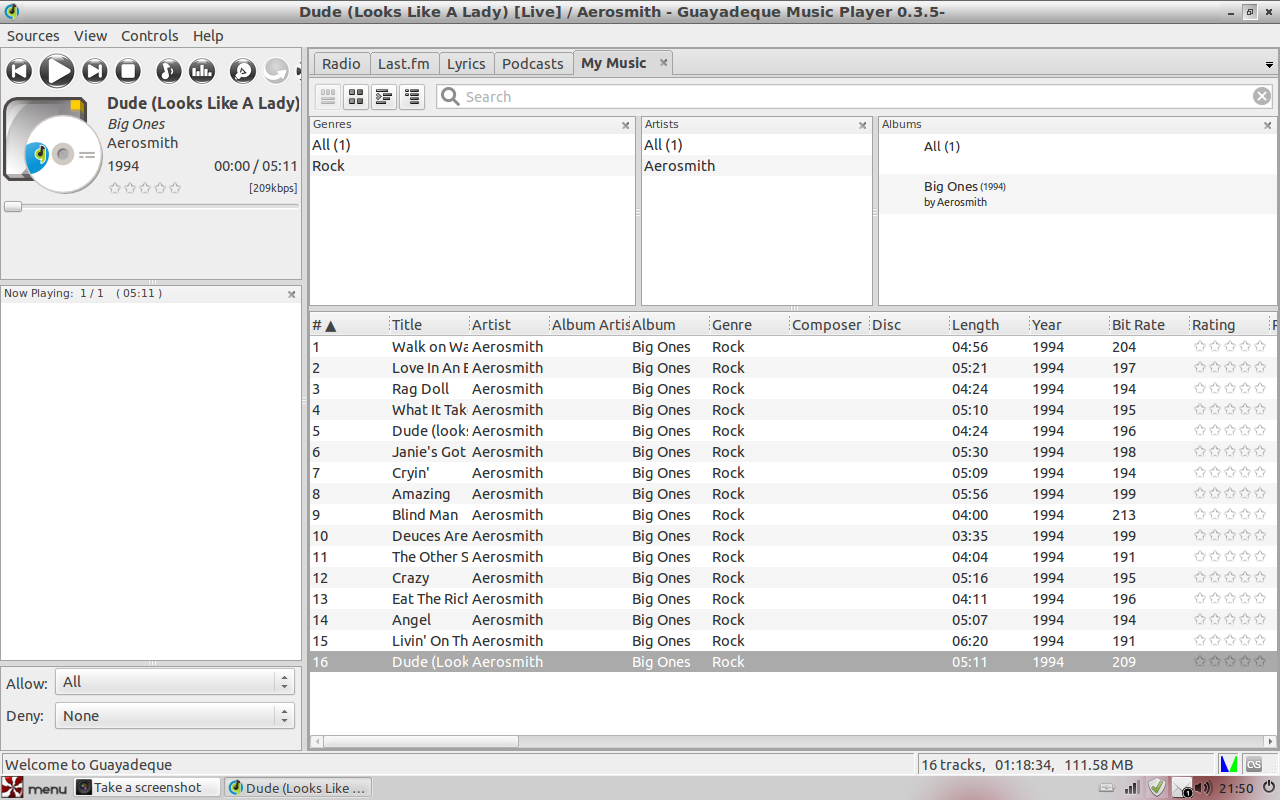
For multimedia VLC player is installed for viewing videos and Banshee is installed for listening to music.


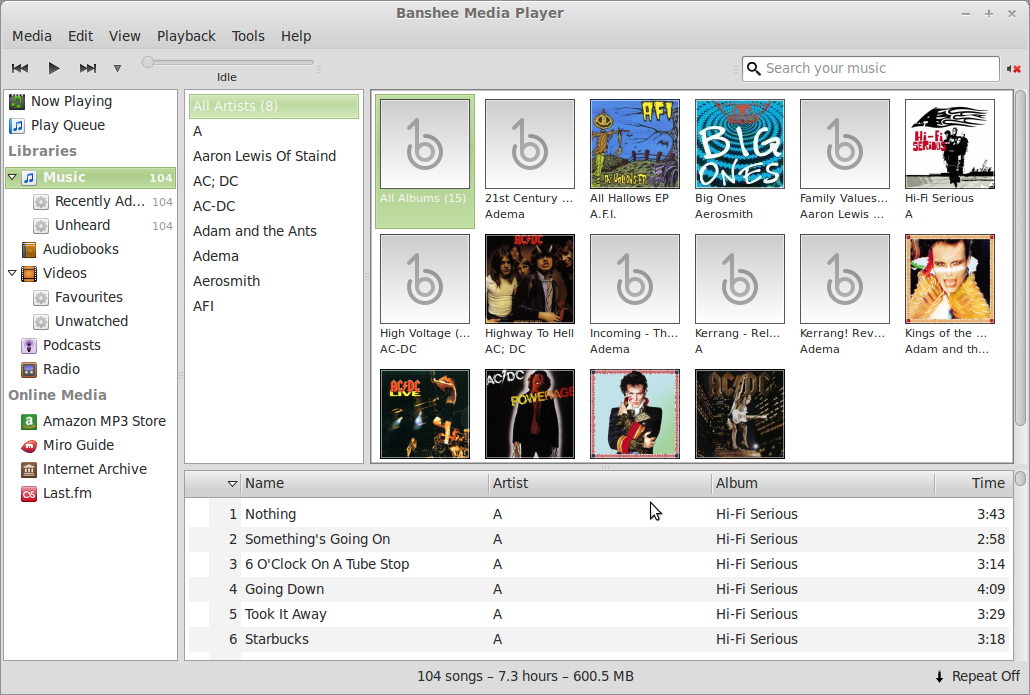
As the codecs were already installed Banshee was able to import and play my music files straight away.

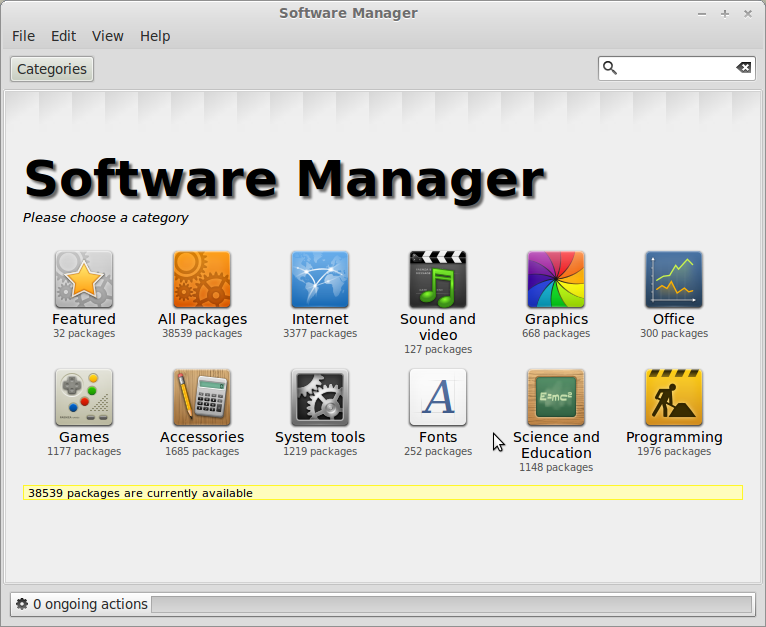
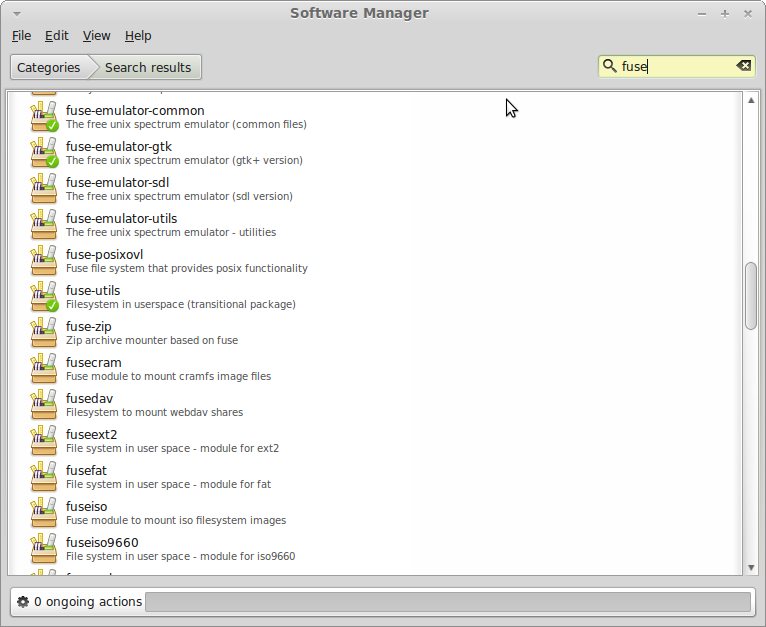
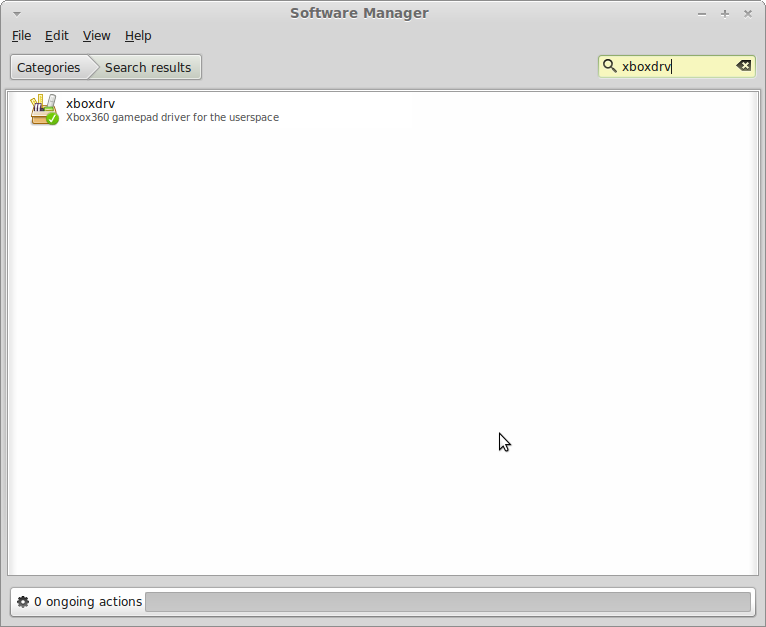
Now I prefer to use Chromium to Firefox but that is not a problem because the software manager enables me to download a heap of software that isn't already installed.

Panels

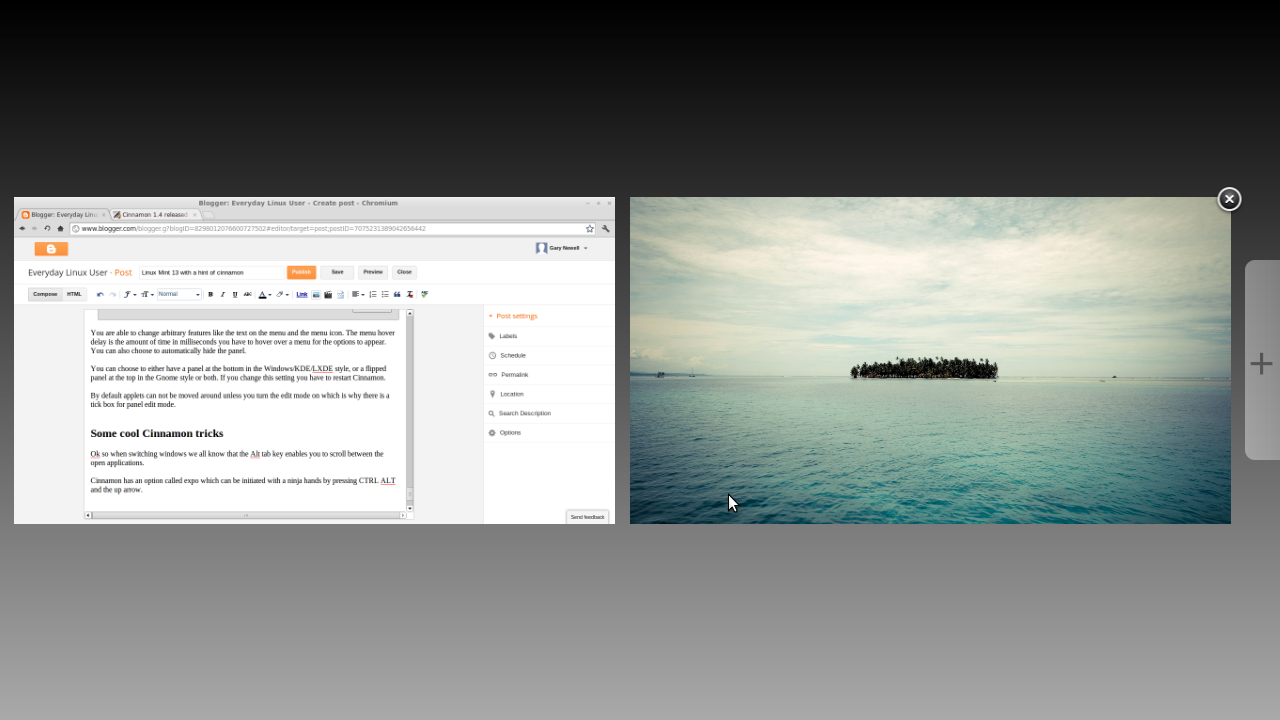
By default there is one Cinnamon panel which appears at the bottom of the screen. You can add more by clicking the panel settings icon on the bottom panel.


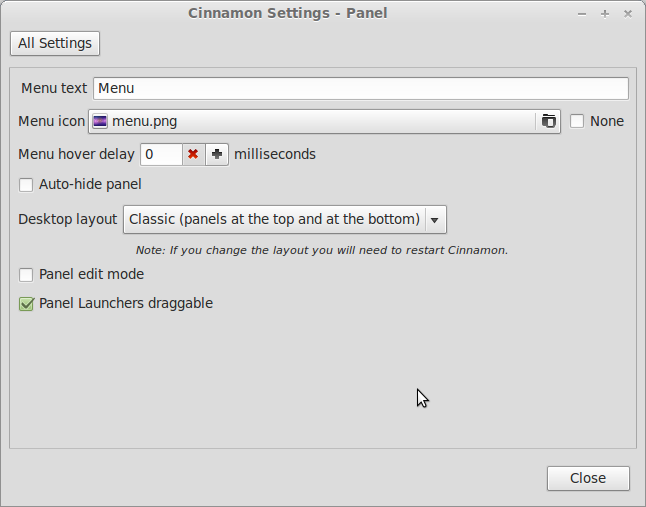
You are able to change arbitrary features like the text on the menu and the menu icon. The menu hover delay is the amount of time in milliseconds you have to hover over a menu for the options to appear. You can also choose to automatically hide the panel.

You can choose to either have a panel at the bottom in the Windows/KDE/LXDE style, or a flipped panel at the top in the Gnome style or both. If you change this setting you have to restart Cinnamon. 

By default applets cannot be moved around unless you turn the edit mode on which is why there is a tick box for panel edit mode.

Some cool Cinnamon tricks

Ok, so when switching windows we all know that the Alt tab key enables you to scroll between the open applications.

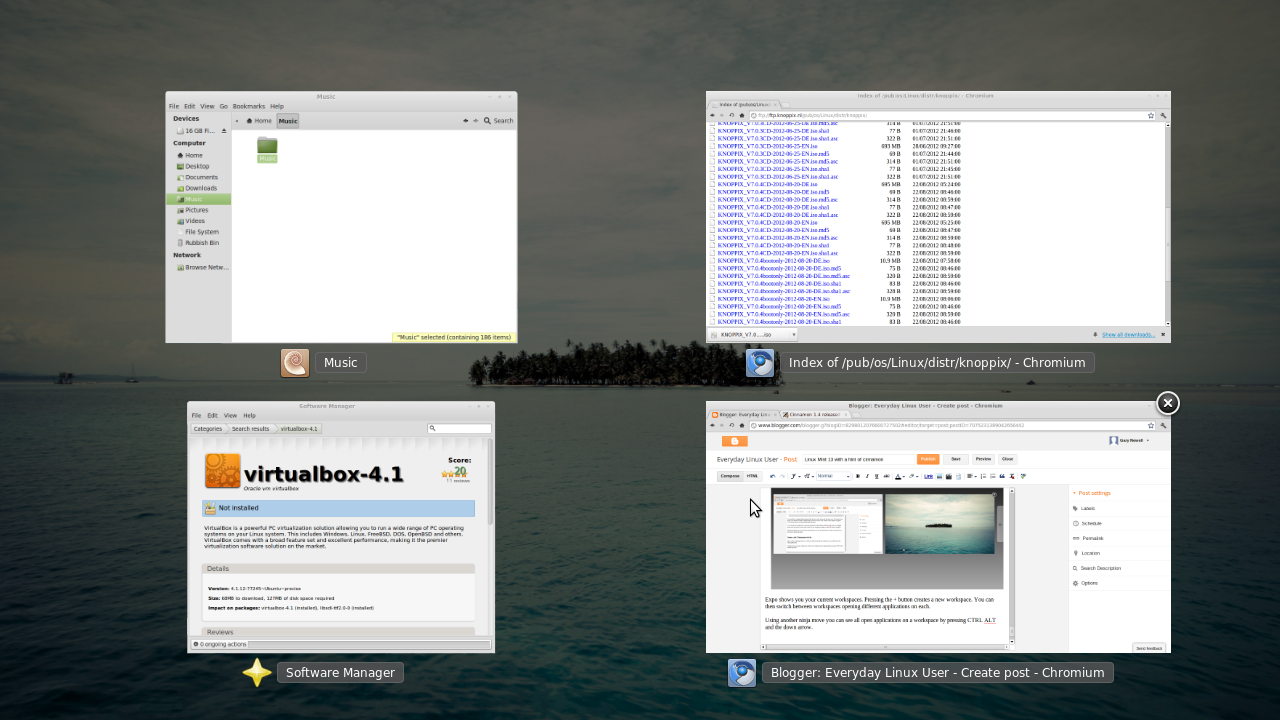
Cinnamon has an option called expo which can be initiated with ninja hands by pressing CTRL ALT and the up arrow. 


Expo shows you your current workspaces. Pressing the + button creates a new workspace. You can then switch between workspaces opening different applications on each.

Using another ninja move you can see all open applications on a workspace by pressing CTRL ALT and the down arrow.


If you want to really earn your black belt then moving the mouse to the top left corner brings up the expo again for switching workspaces.

Pressing CTRL ALT and the left or right arrows enables you to switch between workspaces. By holding down SHIFT CTRL ALT and the left or right arrows enables you to move the application to another workspace.

Applets

You can add and remove applets by pressing the panel settings icon on the system tray and then choosing add/remove applets.

There are a number of applets available similar to the ones found on the Mate desktop. There aren't as many of them though. There are applets for Bluetooth, calendars, windows list, launchers etc.

Summary

For my desktop PC which is a nice machine the Cinnamon desktop and Mint 13 compliment each other well to produce a really good operating system.

Linux Mint is an operating system that you can install on anyone's machine with the minimum of effort and most things just work without any fiddling.

The invisible panel when I first booted into the system was obviously not expected but once I sorted that out it all works great.

Should you use Mate or should you use Cinnamon? If your PC is powerful enough to handle it then Cinnamon every time. You can't put the panels in as many places in Cinnamon but the nifty way that workspaces are handled is ace. I don't know how many workspaces you can have but I got up to about 12 before I stopped trying to add any more.

Mate is now decent enough if you can't use Cinnamon and it is a lot more stable than it was in Mint 12.

I fell out of love with Linux Mint when I ran version 12 but my recent experience with Mint 13 has made me fall back in love with it again. 13 is not such an unlucky number.

Thanks for reading


Monday, 27 August 2012

ZX Spectrum Emulation on Linux Mint

Introduction

As well as having a keen interest in Linux I also have a very keen interest in retro gaming.

I have in my possession a number of different games consoles from over the years including an Atari 2600, Sinclair Spectrum 48k and +2, Commodore Amiga 500s, 600s and 1200s. I also have a Sega Megadrive/Mega CD, Sega Dreamcast and a Sony Playstation 1.

I grew up loving the Sinclair Spectrum and whilst I still love the real thing it is more convenient to play games via an emulator on my laptop or desktop PC than it is to plug in all the cables and wait 5 minutes for a tape to load only for the Spectrum to reset itself. (Especially in the case of Frank Bruno boxing which always seemed to do this, I always felt that WHSmith had robbed me of £1.99).

In this article I will show you how to install a Spectrum Emulator using Linux (Specifically Mint 13) and how to get the XBOX 360 Controller to work with the Spectrum Emulator.

Installing the Spectrum Emulator (FUSE)

This is probably the simplest part of the tutorial.

1. Open the Software Manager by clicking the Menu button and then Software Manager


2. Scroll down the list and find fuse-emulator-gtk


3. Now search for spectrum and install spectrum-roms.
4. Click the Menu button and go to the games section.
5. Click the FUSE Spectrum Emulator.


Obtaining games

There is a brilliant website for Spectrum fans called World Of Spectrum. Follow the link and click the archive section.

You will find a full directory of Spectrum games. Download the games you require and unzip them to a folder on your machine. (I created an Emulation folder under my home folder).

Loading games

To load a game in fuse:

1. Click File and then Open from the menu (Or just press F3).
2. Find the .tzx file of the game you want to play.
3. Click open.

The game should load straight away. (Much better than waiting 5 minutes for a real Spectrum).


Controlling games with an XBOX 360 Controller

This section shows how to use a wired XBOX 360 controller with the FUSE emulator.

First of you need to download xboxdrv.

1. Open Software Manager
2. In the search box enter XBOXDRV


3. Install the xboxdrv application.
4. Click the menu button and select terminal
5. Type sudo rmmod xpad
6. Type xboxdrv

To get the joypad to work with the Spectrum emulator you need to install a piece of software called Qjoypad. 

8. Click on the binary package.
9. Now click the .deb file that was downloaded and install the Qjoypad package.

This will have put a program called Qjoypad under the games section. 

10. Click the menu, go to games and run Qjoypad.

A little joypad icon will appear in your system tray.

11. Click the little joypad icon


The interface looks a bit confusing but basically this application enables you to map each axis on your xbox controller to a key on the keyboard.

12. Click add and then enter a name for the joypad. (This can be anything you like)
13. Click the Quickset button
14. You now need to map each control direction in turn. So for example click up on the left joystick and then press the key on the keyboard that you want to map to up.
15. Click the down arrow on the left joystick and then enter the key on the keyboard for the down button.
16. Repeat for all the other directions and buttons on the XBOX 360 controller.

Map the keys in FUSE

Within FUSE you now need to map the keyboard so that the up key is the same as the key you chose for up in the QJoypad application.

17. Within FUSE select Options -> Joystick -> Keyboard from the menu
18. Click the button for up dropdown and choose the key that maps to up on your xbox 360 controller.
19. Click the button for down dropdown and choose the key that maps to down on your xbox 360 controller.
20. Repeat steps 18 and 19 for the left, right and fire buttons.

Play the game

Attempt to play the game. 

The joystick should work and you should be able to play the game as it was meant to be played.

Increasing the window size

To increase the window size select Options -> Filter -> Double Size from the top menu (You can experiment with other screen sizes).

Issues

I found the best way to control games was to use the D Pad rather than the little joysticks on the XBOX 360 Controller as it responded better to movements.


Sunday, 26 August 2012

Linux Mint 13 - Everybody's best mate?

I had Linux Mint 12 installed on my laptop for quite a while but I was never settled with it. The reason for this was the choice of desktop.
The Samsung R20 laptop does not seem to handle the Cinnamon desktop at all well and the Gnome classic desktop was just a bit rigid.

I therefore had wanted to use the Mate desktop. The trouble was that panels kept disappearing and once they had disappeared it was a real hassle to get them to come back again.

I ended up removing Linux Mint 12 and installing Zorin. Zorin worked really well and looked more polished.

It has bothered me for some time why Linux Mint was so high in the distrowatch rankings yet it really wasn't for working for me all that well.

Now Linux Mint 13 has been released I have decided to give it another go especially as I have been informed the missing panels on the Mate desktop is now history.

The installation was a breeze. A point and click exercise in the same way Ubuntu is.


The boot time for Linux Mint 13 is fairly impressive, about 45 seconds on the Samsung R20 laptop.The screen goes black before Mint boots which is a bit disconcerting.

Depending on the installation instructions the first screen you will see is either the login screen or if you have chosen to automatically log in then you will see the Linux Mint desktop as shown above.

Personally I find the default desktop a bit dull so I looked at the stock backgrounds available and changed the background to the following image.


A dialogue window appears the first time you run Mint with links to documentation, support, details about the project and the community.


For most computer users the Mate desktop is fairly familar in that there is a task bar at the bottom with a menu button on one side and a series of icons to the right. Any tasks you run get displayed along the taskbar.


The problems I had in version 12 with the panels were that they would disappear if you tried to do too much with them (such as change the background colour).

I can happily say that the panels are fixed and you can change the background colour without fear of losing the task bar altogether.


You can choose to change the panel background to a solid colour or a background image. You can also change the opacity to make the bar more or less visible against the desktop background.

There are a few more tricks you can do with the panel such as remove the space and hide it so that it is just an arrow button on the bottom left hand corner which expands as you click it. You can also choose to hide the bar until you hover over it.


The Mate panels enable you to add various widgets. There are loads of widgets available from application launchers to a swimming goldfish. I find the most useful are the connect to server, force quit, workspace switcher and shutdown widgets.

You can have multiple panels and they can be added by right clicking a panel and choosing new panel.

The menu button opens up to reveal a large menu which takes up quite a bit of space.

The menu is split into the following sections:
  • Places - Includes menu items for computer, home folder, network, desktop and rubbish bin.
  • System - Includes Software Manager and Package Manager, Control Centre, Terminal, Lock screen, Logout and Quit
  • Favourites - A list of favourite applications
  • Search bar
There is a link in the top right hand corner to see all applications which changes the favourites section into a list of all the applications that have been installed.
 

The Applications section is split into different groups:
  • All
  • Accessories
  • Graphics
  • Internet
  • Office
  • Sound and Video
  • System Tools
  • Administration
  • Preferences
If you click on any group the list of applications changes to the applications that belong in that group.

The search feature works very well. If you start typing the name of the application or a description of the program a list of suggested applications appears.

The applications in Mint 13 are fairly standard. Firefox is the default browser and the office suite is Libreoffice. Banshee is available for music and VLC player is available for watching videos. Thunderbird is the default email client and Pidgin is installed for instant messaging. Gimp is available for image editing and Brasero is available for burning CDs and DVDs.

I loaded MP3s from a USB drive into Banshee and they played without requiring further installs of codecs.


Now the first thing I do when I install a new system is to try the internet because if there are issues then at least you have a way of troubleshooting the problem.

Linux Mint 13 makes it easy to connect to the internet.

Both the Orange Livebox and Three mobile broadband networks appeared straightaway.

My second port of call is usually to Youtube to see if I can view videos.

Mint has no issues playing Youtube videos as Flash is incorporated as standard.


For everyday use Linux Mint has a good set of applications already on offer, however should you need to install software you can pull up the software manager from the menu.

Either choose the category or start searching by enter a phrase in the search box.

Each application displayed has reviews and ratings alongside them.

If you prefer to use Synaptic to search for files then this is available as Package Manager on the menu.

So what do I think of Linux Mint 13? It works very well.

The plus points are the ease of installation, ease of use, ease of navigation and ease of connecting to the internet. Everything is installed for you so that you do not need to install extra codecs or Flash.

The panels work well now and the panels make Mint very versatile.

The menu system divides opinion because it is very full on but I quite like it and you get used to it. It is also possible to customise the menu to make it work for you the way you want it to.

There are a lot of distributions now which fall into the category of easy to use and to be honest it is hard to recommend any one distribution over another. Ubuntu, Mint and Zorin. They are all very good. 

 Thankyou for reading


Thursday, 23 August 2012

Evolution of the desktop


I recently wrote an article about Ubuntu and the Unity desktop which said that desktops were now becoming far more icon oriented and this was possibly due to the iPod generation and the way that people have become more accustomed to navigating via icons.

It was brought to my attention that icons have been a part of computing for a long time and way before the iPod.


In the beginning there was DOS and then came Windows version 1. (I am aware that there were other operating systems available such as MacOS and OS2 etc).

As you can see there are windows but the system does not really rely on icons.


Then came windows 2 and windows 2.1 and although little icons were starting to appear they were not fundamental to the use of the system in anyway whatsoever.

In Windows 3 icons became more prevalent and were used to start applications.

From this point of view the person who commented that icons have been around for a lot longer than the iPod is 100% correct.

In this case however the window is as important as the icon.

It is the use of icons that has changed over the years that is key to my argument that the iPod generation has led to the design influences of the new desktops.

In Windows 95 icons were used on the main screen and also on the menus but Windows 95 is menu heavy. The icons do not exist by themselves and there is text stating what each icon does.

The same can be said of Windows 98 and Windows ME. Visually nothing really changed between those versions.


In Windows XP the icons still exist but they are accompanied by lots of text and the system is still heavily reliant on the start menu.

Icons on the desktop are not arranged in any particular way and the system is not reliant on them.

In Windows Vista nothing really changed in terms of the use of the desktop.

The styles changed and a search bar was added but the desktop was still heavily reliant on menus and text.


In Windows 7 again nothing really changed.

The icons are still used as an accompaniment to the text and menus.

The icons on the desktop aren’t arranged in any specific fashion unless you as a user organise them in this way.


Now look at Windows 8.

The start menu has gone and the icon is now key to the running of the system.

Text is an accompaniment to the icon rather than the icon the accompaniment to the text.
 So back to my original point. The iPod is heavily icon centric.

Any text and any menus that may appear accompany the applications but because of the touch screen interface and space limitations the icon became more important.

People have become accustomed to this style of interface now which explains the image of Windows 8 above changing to the tile based interface.

The Unity interface is heavily icon centric as well. Menus are sparse and the icons are grouped together logically as opposed to Windows (pre version 8) whereby they are placed sporadically (unless you arrange them).

My point therefore is that whilst the icon has been around for generations the Unity interface is clearly inspired by the use of icons as they have been implemented by the iPod/iPad and Android.

In an odd way however the Unity interface reminded me of another version of Linux I have seen called xPud and there are some rudimentary similarities between the two. 


Tuesday, 21 August 2012

Ubuntu - All other versions of LINUX aspire to be this successful

Ubuntu is the LINUX distribution that divides opinion the most.

Ubuntu is innovative, forward thinking and the most likely LINUX distribution to have any hope of taking on Windows, MacOS and ChromeOS on the desktop. Ubuntu also has aspirations of taking on the mobile and tablet market dominated by Apple and Google.

So many other distributions are derived from UBUNTU including the distribution that is competing for the honour of top dog in the LINUX world, MINT.

Ask most people in the LINUX world which distribution they would recommend to people who are thinking of trying LINUX and UBUNTU would be the first word out of their mouths.

Ubuntu was the reason I started using LINUX full time and was the first distribution I felt comfortable enough with to ditch Windows at home forever. I would think a lot of the people who read this post will say the same thing.

I have said all this yet Ubuntu is criticised in equal measures. I think one reason for this is that they are deemed not to listen to their users. An example of this is the Unity interface. It flies in the face of everything the Ubuntu user base was wanting but Canonical continued on anyway. Now Unity divides opinion as much as Ubuntu itself.

This is a review of Ubuntu 12.04. I have downloaded it and installed it onto the Samsung R20 laptop.


The above is a screenshot of Ubuntu 12.04. I have changed the wallpaper to one of the stock wallpapers available.

Two things to notice here. The first is the block of icons down the left hand side and the second is the task bar at the top.

The one thing you will realise as you run Ubuntu is that it has a heavy use of icons. For me this is no surprise as the world has become accustomed to little blocks of icons. It is a symbol of the iPod generation. Every tablet and smart phone uses icons to symbolise applications. Menus are a thing of the past.

Before we worry too much about the desktop and look and feel lets start with the important stuff.

The first thing I do when I install a new operating system is to connect to the internet. So how well does Ubuntu do this? Well it is a breeze. Ubuntu has become so popular because it does just work and love it or loathe it you can't argue with it's completeness or its ease of use.

Clicking on the wireless network icon near the clock in the top right hand corner brings up a menu that shows both my Orange livebox and my Three mobile broadband. I was able to connect to both just by entering the security keys.

The browser installed by default is Firefox which isn't my favourite. Installing a different browser is as simple as going to the software centre and searching for the required one. (In my case Chromium).

The next thing I like to do is to test whether Flash is installed or not. Now I know from experience that to get Flash, Java and all the MP3s etc working I need to install Ubuntu Restricted Extras. I find it annoying that I still need to go to the software centre to do this. I think this is a problem for new users as there is no indication that this needs to be done and if you read forums, quite often the forum posts direct you to the command line which is a new user's nightmare especially if they are used to Windows and have never used a DOS window in their life. Maybe they could place the Ubuntu Restricted Extras in a more obvious place or show a message the first time you run Ubuntu asking if you want to install it.


To run the software centre click the appropriate icon on the left hand side.


One thing you will notice when you click applications is that they open to the right of the icon bar. This loses a bit of real estate when it comes to screen space.

The Ubuntu Software Centre is a great tool for searching for both free and paid for applications. It is very comparable to the Android Market Place. The software centre is very slick and it is easy to find the application you are looking for.

Having installed the restricted extras you can now watch videos on Google or run Rhythmbox to listen to your favourite MP3s.


The icon bar on the left can be amended to include other applications but by default has the following options.

1. Home (This is like the Windows start button)
2. Files and Folders
3. Firefox Web Browser
4. LibreOffice Writer
5. LibreOffice Calc
6. LibreOffice Impress
7. Ubuntu Software Centre
8. Ubuntu One
9. System Settings
10. Workspace Switcher
11. Rubbish Bin

If you install a new application it tends to pin itself automatically to the icon bar. You can remove it from the icon bar by right clicking the icon and then selecting unlock from toolbar.

Ubuntu comes with a premium set of software installed as standard including the LibreOffice suite, Rhythmbox for audio, Thunderbird for email,  Shotwell photo manager and Brasero for CD/DVD burning.

To access applications that aren't in the icon bar click the home icon


This is probably the bit that takes some getting used to but once you do it is actually very intuitive.

The unity interface is a modern take on a tabbed window. If you look at the bottom of the screen there are five icons which are virtual tabs.

  1. Home
  2. Applications
  3. Files
  4. Music
  5. Movies
The five icons determine the main block of icons that appear. The Home icon will show you a list of all the recent applications and files that you have viewed.

If you click the applications icon a new window appears showing recently used applications, installed applications and applications available for download.

Obviously you can't see every application that is installed on this one display. To expand the list of installed icons click the link next to the text "Installed" which says "see all n results" where n is the number of applications installed.

The applications available for download appear to be a random selection.

Now if you choose to view 81 installed applications the view can get quite cluttered. To get around this there is a filter menu in the top right hand corner which enables you to filter the categories you see.

You can select just one category or a selection of multiple categories. You can also filter by rating and software sources.

If you still can't find what you are looking for there is a search bar at the top and it works very well. Just start typing and the application you need is sure to appear.

One thing you will notice as you open applications is that they add themselves to the icon bar. If you try and open another version of the same application by left clicking on the icon then you are taken to the application that is already open. For example open the text editor and then try and open another one by clicking the text editor icon and you will just be shown the original editor. To open a second version of the application you have to right click on the icon and select to open a new window.

If you have multiple windows open for an application and you click the icon for that application in the icon bar then a nice little screen effect shows both windows or all windows (if more than 2 are open) and you can select the window you want to open.

If you don't like the order of the icons in the list then you can drag them around to put them in the order you want them to be in. If you want an application to constantly pin itself to the icon bar find it by clicking the home icon and searching for the application and then right click the icon and drag it to the icon bar.

Recently I have reviewed Zorin 6 and I think that Zorin 6 is a great distribution for Windows users who want to move across to LINUX as the look and feel is the same.

Ubuntu is great for new users for a different reason. It really is easy to use. It looks great and the performance is very good. I trust Ubuntu like no other distribution. It is the operating system that you can depend on to just work.

Unity clearly divides opinion and some people clearly hate it but I'm not sure what the fuss is about. It works very well. It might not be as customisable as other desktop environments (For instance it is not possible to move the bar from the left hand side, however you can resize the icons) but you can get very familiar with it in no time at all.

If you are still using Windows and you are unsure whether Ubuntu is a good fit then I really would recommend giving it a go. You can run Ubuntu as a live CD without affecting your Windows install or run it alongside Windows.

What are your views on Ubuntu? Is it still number one? Thanks for reading.

Links

Download Ubuntu 12.04
How to install Ubuntu


Saturday, 18 August 2012

Peppermint LINUX 3 - The mint with no holes

Introduction

There have been a number of reviews of Peppermint 3 already so I am somewhat behind the pace with this review.

I wrote a review about Peppermint 2 back in February but it didn't really contain all that much information except to say that Peppermint utilises the idea of cloud computing and wraps it up to make it look like you are running a local application.

As we have moved on a version I thought I'd have another look especially as the reviews have been mainly positive.

For this review I decided to do a full install to my Samsung R20 laptop alongside the Zorin 6 that is already there. The other reviews I have read have either been live reviews or were performed on a virtual machine.


So with the USB drive in I booted up the system and a blank canvas appears with just a small taskbar (LXDE) at the bottom.

The installation

(Skip to the next section if you aren't interested in the installtion)

I clicked the install icon in the top left hand corner and the installation begins. If you have installed Ubuntu or MINT before then the installation process is simple. (Click the images to make them bigger)

I will race through the installation as I'm sure you have all done this before and it is a fairly easy process. Step 1 - choose your language.

Step 2 - This is the pre-requisites screen. The two most important aspects are at the bottom of this screen. Choose whether you want to apply updates and also whether you want to install third party software which will enable you to play flash files.


Step 3 - Choose whether to connect to a wireless network to enable updates to be downloaded during the install.


Step 4 - Choose whether to replace the original operating system, install alongside it or go for the pimp my disk section or as it is termed custom.


Step 5 - Choose your timezone.
Step 6 - Choose your keyboard settings.


Step 7 - Create a user and password and choose whether to log in automatically.

Step 8 - Install.


The partitions were partitioned based on the settings in step 4 and the files were copied across and installed.

Peppermint 3 - The review

When I rebooted I was presented with a screen similar to the one in the live session except there was obviously no install icon anymore.

Setting up the internet was easy. My wireless card was found straight away and I was able to connect to both my Orange broadband and the Three mobile broadband.


As I had checked the box that installs the third party software as part of the install routine flash should work straight away. The easiest way to test this is to go to Youtube and see what happens.


As you can see from the image of Usain Bolt above there was no issue with regards to running Flash.

Peppermint is sparse when it comes to providing applications. It is not only marketed as a lightweight distribution it is marketed as a distribution where the cloud meets the desktop.

Some applications are necessary however and out of the box you get disk utility,  a file manager, a calculator, terminal, text editor, screen grabber, an IRC client, a music player and a media player.

By default you get Chromium installed as the default browser. As this is my favourite browser I obviously think this is good.

The music player is called Guayadeque. I had problems when I first tried to play MP3 files. There was an error about missing GStreamer plugins. This is a problem I have faced on both Ubuntu and Mint in the past and is quite common. (http://ubuntuforums.org/showthread.php?t=1101525). After installing the missing plugins I had to restart Guayadeque and then it played the MP3s perfectly.


So what about office software? Well this is where the web meets the desktop. Peppermint 3 runs GWOffice as the office suite.


I tried this out and the first thing I noticed was that I had to log in twice to create a spreadsheet but if I ticked the box to keep me logged in within the site specific browser (SSB) which runs GWOffice then on a subsequent start of the GWOffice applications I will not be asked for the log in details twice. It is obviously a choice thing whether you like to stay logged into your Google account on your computer or not. Personally I like to log out.


GWOffice obviously gives you access to all the applications you might need from home including a calendar, word processor, spreadsheet software and presentation tool.


So lets move on to the Site Specific Browser (SSB). This is the unique selling point of Peppermint Linux and what sets it apart from other distributions.

The idea of the SSB is that you can visit sites that provide web applications and turn them into what appears to be a normal desktop application.

To add an application simply enter the URL to the site, the name of the application, which menu group you wish the application to appear under and the icon you would like to use to represent the application.

The SSB makes it possible to turn all sorts of web applications into standalone desktop apps.

There are thousands of games available to play online and these are perfect for converting into SSB applications. For instance I have added Lemmings to the games section of my installation. (http://www.elizium.nu/scripts/lemmings/)


Youtube is another good target to use as an application.

Creating SSBs is very simple. I was concerned about how popups and navigation would work but having created about 20 applications I am yet to find an issue.


I basically went down the favourites list on my browser and turned as many as possible into applications.

The BBC website and Sky websites are perfect because you can turn live feeds into small applications.

The BBC site lets you watch TV but then choose different channels by clicking icons at the bottom of the screen.

All in all my impressions of Peppermint 3 are positive. I like the minimalist approach because even if I don't want to use web based applications I have a fairly clean slate in which to start installing the applications I need and there is the software manager and Synaptic Package Manager available should I need to do this.

I think that there could be a fuller release of Peppermint with more examples of the Site Specific Browser in action. It takes up virtually no space and no memory so why not include a dozen or so games and a few more applications such as Youtube and Twitter.

I don't know if there are legal reasons why Peppermint can't provide more links but there could be a small application with a list of sites to make it easier to create SSB applications.

There is the small issue with the GStreamer plugins that prevents MP3s from playing and for new users this would be annoying. It might be a good idea for Peppermint to provide an SSB for Spotify or one of the other streaming music services. It would be a good way of monetizing the product.

Finally it probably goes without saying that if you are going to use Peppermint 3 in the way it was intended then you obviously need a persistent internet connection to use the applications.

Have you used Peppermint LINUX? What are your views?

Thanks for reading.