Introduction
I have written quite a few reviews about various Linux distributions and in many cases I give a brief overview how to install the distributions.
There are however things that I have skipped that you really ought to consider before installing your first Linux distribution.
This article lists 5 things that you should consider when installing Linux for the first time.
1. Which Linux distribution should I choose?
I have recently discovered the beauty of
Reddit and there are a few sub-reddits that I read regularly such as Linuxnoobs and Linuxquestions.
One of the most common questions is "which distribution should I choose?".
The answer to such questions usually come from the experiences of various contributors and there is a bias towards one distribution or another. Very rarely does anybody ask important questions such as "What is your computer experience level?", "Do you want to it work straight away or are you happy to put some effort in?", "How old is your computer?", "What are the specifications?" and "What do you primarily use the computer for?".
So how can you decide which distribution is best for you if everyone gives an opinion that has a bias to their own needs?
Well first of all there is
distrowatch. Distrowatch is the go to place for Linux distributions. Nearly every distribution is listed there and it has a great search facility which enables you to search by category such as distributions for beginners, games, education, distributions for older computers and netbooks.
Distrowatch also has a chart which lists the popularity of Linux distributions based on the clicks of the download links on the site. This doesn't really prove popularity of course because I might install Ubuntu today and think it is rubbish and therefore choose another distribution straight away.
Rankings are also somewhat self-fulfilling prophecies in that because for instance Linux Mint is top, visitors to the site are much more likely to try the distributions at the top before trying the distribution at 256 in the list thereby making it even more popular. So rankings aren't the only method you should use to choose your distribution.
If you click on the link of any particular distribution within distrowatch you will see links to reviews for that distribution.
Again reviews can be somewhat biased as that is only natural. We all try to be objective with our opinions but we are only human.
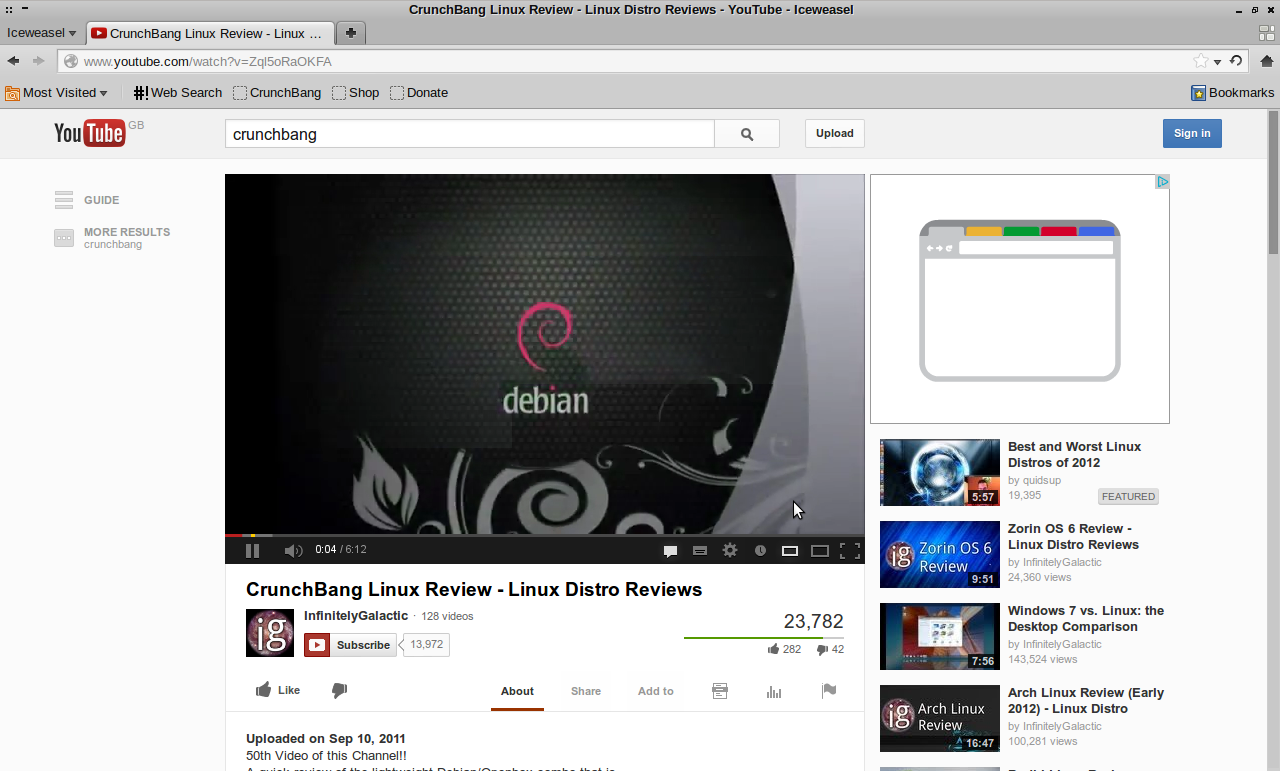
What you can really gain from reviews are obvious pitfalls, who the distribution is aimed at, screenshots and by reading the comments at the bottom other people's opinions of a distribution and of course the person who wrote the review because if the reviewer is not credible there are endless streams of people willing to tell them so. (Of course there are internet trolls everywhere so you have to take some of the comments with a pinch of salt).
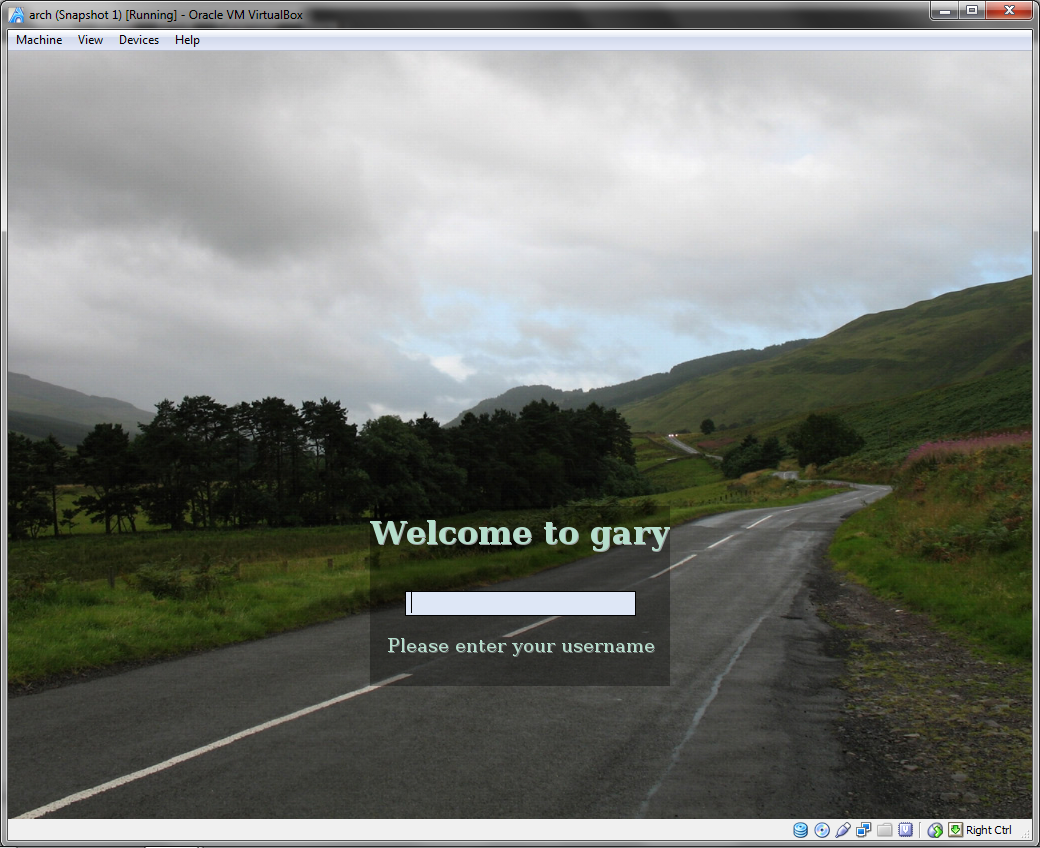
The best thing you can do is to download a few distributions and create live USB drives and try out the features of a few distributions until you find one you are happy with.
2. Are you replacing Windows or installing alongside Windows?
If you are using Windows and you have very little experience with Linux then it is probably a good idea to run Linux alongside Windows for a few months until you are happy that all your needs are served by Linux.
It is also a good idea to try out a few of the Linux applications in a Windows environment. Many of the larger open source applications are available for Windows so you can try them in advance of installing Linux.
For example:
There are loads of guides online showing you how to install various Linux distributions. I am yet to see a guide that actually asks you whether you have backed up your Windows partition even though many of them show how to install Linux alongside Windows.
A lot of modern laptops are sold with Windows 7 pre-installed. What this generally means is that most people don't receive a Windows 7 DVD.
Whether you are going to install Linux or not you should read this next bit.
"Create a recovery disk and a system image"
What would happen if Windows suddenly stopped working because you accidentally deleted key files or you accidentally contracted some kind of nasty virus or malware?
You need a recovery disk and you need to create a system image. There are loads of guides for doing this online including:
Now there is an inherent issue with the way Windows is installed when you first receive it on your shiny new machine and it causes big issues when creating system images.
Windows is installed on one big partition. (well actually for Windows 7 there is another smaller partition). The problem with this is that when you create a system image it creates a huge image file and you have nowhere to save it off to.
Where you save your system image is very important. You basically have a choice depending on the size of the image that is going to be created. You can backup to an external hard drive, secondary internal hard drive or a series of blank DVDs. You can also create another partition on your existing hard drive in which to save the image. (many manufacturers already create a partition for this purpose).
Saving a system image to a partition on the same hard drive is potentially dangerous in that if the drive itself is faulty then the system image will be destroyed along with the rest of the data therefore rendering the system image useless.
So what is the solution? You have a 1 terabyte drive with Windows taking the whole kaboodle. How do you back this thing up? You could of course buy lots of very cheap DVDs. This would work but one dodgy DVD and the whole process is pointless and do you really fancy restoring dozens of DVDs to get your Windows working again?
First of all deal with that huge Windows partition. Windows 7 has an option which enables you to shrink it down.
With the Windows partition shrunk down to size you can backup straight to an external hard drive and hopefully not fill it up.
What I like to do though is create a backup partition on the same drive and create the system image to the backup partition. (Note that I don't use the whole of the unpartitioned space for the backup partition but just enough to store the system image).
There is still the inherent problem that the system image is stored on the same physical drive. I get around this by copying the system image files off onto an external hard drive.
What are the benefits of doing this you might ask? Well if I want to restore quickly I don't need to rely on my external hard drive unless the whole drive is toast. I can use the system image stored on the local backup partition. If the drive is toast I can install a new drive and use the system image on the external hard drive.
4. Partitioning the hard drive
Whether you are installing alongside Windows or installing over the top of Windows you need to consider the partitions that you will create on your hard drive before installing.
There are a few distributions that try and help you partition your drive such as Ubuntu and Mint.
I think that they have the same inherent flaw as Windows does in that they try and create one large partition for everything. (with maybe small partitions for boot and swap). This means your home folder is lumped in with your applications.
So what is wrong with having your applications and data on the same partition? Well if you backup your home folder regularly and you have no plans on removing the chose distribution there is no problem in keeping your home folder on the same partition as every other system file.
For me though the best decision you can make is to create a separate home partition. This separates system files from user files. You will now be able to re-install your chosen version of Linux as many times as you like without affecting your documents, music, videos etc.
5. What is your motive for moving to Linux?
Giving up Windows is a bit like giving up smoking or drinking. If you aren't committed to the idea then you will not really break the habit.
You use Windows because that is what you were taught and what you have used everyday up until now. So why now choose Linux? What is your motive?
You have to want to use Linux and you have to be prepared for new experiences to enjoy it.
I am going to sound like a self help hypnosis recording now.....
- You don't need Microsoft Windows
- You don't need Microsoft Office
- You don't need Outlook
- You don't need Internet Explorer
When you can appreciate that there are alternatives to Microsoft Office, Outlook and Internet Explorer then you will appreciate Linux.
If you are going to install Linux and try and run all the Windows programs you run already then the question has to be asked "Why?".
Sure there is the WINE project that allows you to run many Windows applications but in many cases there is a more than viable option in the Linux repositories that is not just equal to but often better than the Windows equivalent.
Chrome (Chromium) for instance is a much better browser than Internet Explorer. (To be honest a blind dog with no sense of smell is better at browsing than Internet Explorer).
LibreOffice has moved on leaps and bounds and is more than useful enough for most users especially at home.
Do you really utilise Outlook at home? Do you really need it? Most people use Webmail now and if you really need an email client then there is Thunderbird which is a great replacement.
I found the key to making the move to Linux all those years ago was to forget the Windows applications because there is always a Linux equivalent.
I think the biggest mistake someone can make is to install Linux and then complain that it doesn't work the same way as Windows. If you want Windows use Windows.
Summary
If this article has done nothing else I hope it has encouraged a few Windows users to go and back up their computers because I fear there are so many people one bad file deletion away from having an expensive brick. (or they are in for a large PC World bill)
Another good idea for Windows users is to create a standard user and use that user for most tasks. It is much harder for a virus to penetrate your system if you are logged in as a standard user than as a power user or administrator.
Before I sign off consider this.... how many applications do you use under Windows that are also available via most Linux distributions. For each application that you use regularly check online and see if the the same application has a Linux version.
I am looking at the list of applications in my Windows launch bar and I can see DropBox, Skype, VirtualBox, Steam and Spotify. All of these are available from within Linux.
Thankyou for reading.
Introduction
I have written quite a few reviews about various Linux distributions and in many cases I give a brief overview how to install the distributions.
There are however things that I have skipped that you really ought to consider before installing your first Linux distribution.
This article lists 5 things that you should consider when installing Linux for the first time.
1. Which Linux distribution should I choose?
I have recently discovered the beauty of
Reddit and there are a few sub-reddits that I read regularly such as Linuxnoobs and Linuxquestions.
One of the most common questions is "which distribution should I choose?".
The answer to such questions usually come from the experiences of various contributors and there is a bias towards one distribution or another. Very rarely does anybody ask important questions such as "What is your computer experience level?", "Do you want to it work straight away or are you happy to put some effort in?", "How old is your computer?", "What are the specifications?" and "What do you primarily use the computer for?".
So how can you decide which distribution is best for you if everyone gives an opinion that has a bias to their own needs?
Well first of all there is
distrowatch. Distrowatch is the go to place for Linux distributions. Nearly every distribution is listed there and it has a great search facility which enables you to search by category such as distributions for beginners, games, education, distributions for older computers and netbooks.
Distrowatch also has a chart which lists the popularity of Linux distributions based on the clicks of the download links on the site. This doesn't really prove popularity of course because I might install Ubuntu today and think it is rubbish and therefore choose another distribution straight away.
Rankings are also somewhat self-fulfilling prophecies in that because for instance Linux Mint is top, visitors to the site are much more likely to try the distributions at the top before trying the distribution at 256 in the list thereby making it even more popular. So rankings aren't the only method you should use to choose your distribution.
If you click on the link of any particular distribution within distrowatch you will see links to reviews for that distribution.
Again reviews can be somewhat biased as that is only natural. We all try to be objective with our opinions but we are only human.
What you can really gain from reviews are obvious pitfalls, who the distribution is aimed at, screenshots and by reading the comments at the bottom other people's opinions of a distribution and of course the person who wrote the review because if the reviewer is not credible there are endless streams of people willing to tell them so. (Of course there are internet trolls everywhere so you have to take some of the comments with a pinch of salt).
The best thing you can do is to download a few distributions and create live USB drives and try out the features of a few distributions until you find one you are happy with.
2. Are you replacing Windows or installing alongside Windows?
If you are using Windows and you have very little experience with Linux then it is probably a good idea to run Linux alongside Windows for a few months until you are happy that all your needs are served by Linux.
It is also a good idea to try out a few of the Linux applications in a Windows environment. Many of the larger open source applications are available for Windows so you can try them in advance of installing Linux.
For example:
There are loads of guides online showing you how to install various Linux distributions. I am yet to see a guide that actually asks you whether you have backed up your Windows partition even though many of them show how to install Linux alongside Windows.
A lot of modern laptops are sold with Windows 7 pre-installed. What this generally means is that most people don't receive a Windows 7 DVD.
Whether you are going to install Linux or not you should read this next bit.
"Create a recovery disk and a system image"
What would happen if Windows suddenly stopped working because you accidentally deleted key files or you accidentally contracted some kind of nasty virus or malware?
You need a recovery disk and you need to create a system image. There are loads of guides for doing this online including:
Now there is an inherent issue with the way Windows is installed when you first receive it on your shiny new machine and it causes big issues when creating system images.
Windows is installed on one big partition. (well actually for Windows 7 there is another smaller partition). The problem with this is that when you create a system image it creates a huge image file and you have nowhere to save it off to.
Where you save your system image is very important. You basically have a choice depending on the size of the image that is going to be created. You can backup to an external hard drive, secondary internal hard drive or a series of blank DVDs. You can also create another partition on your existing hard drive in which to save the image. (many manufacturers already create a partition for this purpose).
Saving a system image to a partition on the same hard drive is potentially dangerous in that if the drive itself is faulty then the system image will be destroyed along with the rest of the data therefore rendering the system image useless.
So what is the solution? You have a 1 terabyte drive with Windows taking the whole kaboodle. How do you back this thing up? You could of course buy lots of very cheap DVDs. This would work but one dodgy DVD and the whole process is pointless and do you really fancy restoring dozens of DVDs to get your Windows working again?
First of all deal with that huge Windows partition. Windows 7 has an option which enables you to shrink it down.
With the Windows partition shrunk down to size you can backup straight to an external hard drive and hopefully not fill it up.
What I like to do though is create a backup partition on the same drive and create the system image to the backup partition. (Note that I don't use the whole of the unpartitioned space for the backup partition but just enough to store the system image).
There is still the inherent problem that the system image is stored on the same physical drive. I get around this by copying the system image files off onto an external hard drive.
What are the benefits of doing this you might ask? Well if I want to restore quickly I don't need to rely on my external hard drive unless the whole drive is toast. I can use the system image stored on the local backup partition. If the drive is toast I can install a new drive and use the system image on the external hard drive.
4. Partitioning the hard drive
Whether you are installing alongside Windows or installing over the top of Windows you need to consider the partitions that you will create on your hard drive before installing.
There are a few distributions that try and help you partition your drive such as Ubuntu and Mint.
I think that they have the same inherent flaw as Windows does in that they try and create one large partition for everything. (with maybe small partitions for boot and swap). This means your home folder is lumped in with your applications.
So what is wrong with having your applications and data on the same partition? Well if you backup your home folder regularly and you have no plans on removing the chose distribution there is no problem in keeping your home folder on the same partition as every other system file.
For me though the best decision you can make is to create a separate home partition. This separates system files from user files. You will now be able to re-install your chosen version of Linux as many times as you like without affecting your documents, music, videos etc.
5. What is your motive for moving to Linux?
Giving up Windows is a bit like giving up smoking or drinking. If you aren't committed to the idea then you will not really break the habit.
You use Windows because that is what you were taught and what you have used everyday up until now. So why now choose Linux? What is your motive?
You have to want to use Linux and you have to be prepared for new experiences to enjoy it.
I am going to sound like a self help hypnosis recording now.....
- You don't need Microsoft Windows
- You don't need Microsoft Office
- You don't need Outlook
- You don't need Internet Explorer
When you can appreciate that there are alternatives to Microsoft Office, Outlook and Internet Explorer then you will appreciate Linux.
If you are going to install Linux and try and run all the Windows programs you run already then the question has to be asked "Why?".
Sure there is the WINE project that allows you to run many Windows applications but in many cases there is a more than viable option in the Linux repositories that is not just equal to but often better than the Windows equivalent.
Chrome (Chromium) for instance is a much better browser than Internet Explorer. (To be honest a blind dog with no sense of smell is better at browsing than Internet Explorer).
LibreOffice has moved on leaps and bounds and is more than useful enough for most users especially at home.
Do you really utilise Outlook at home? Do you really need it? Most people use Webmail now and if you really need an email client then there is Thunderbird which is a great replacement.
I found the key to making the move to Linux all those years ago was to forget the Windows applications because there is always a Linux equivalent.
I think the biggest mistake someone can make is to install Linux and then complain that it doesn't work the same way as Windows. If you want Windows use Windows.
Summary
If this article has done nothing else I hope it has encouraged a few Windows users to go and back up their computers because I fear there are so many people one bad file deletion away from having an expensive brick. (or they are in for a large PC World bill)
Another good idea for Windows users is to create a standard user and use that user for most tasks. It is much harder for a virus to penetrate your system if you are logged in as a standard user than as a power user or administrator.
Before I sign off consider this.... how many applications do you use under Windows that are also available via most Linux distributions. For each application that you use regularly check online and see if the the same application has a Linux version.
I am looking at the list of applications in my Windows launch bar and I can see DropBox, Skype, VirtualBox, Steam and Spotify. All of these are available from within Linux.
Thankyou for reading.
Posted at 00:38 | by
Gary Newell